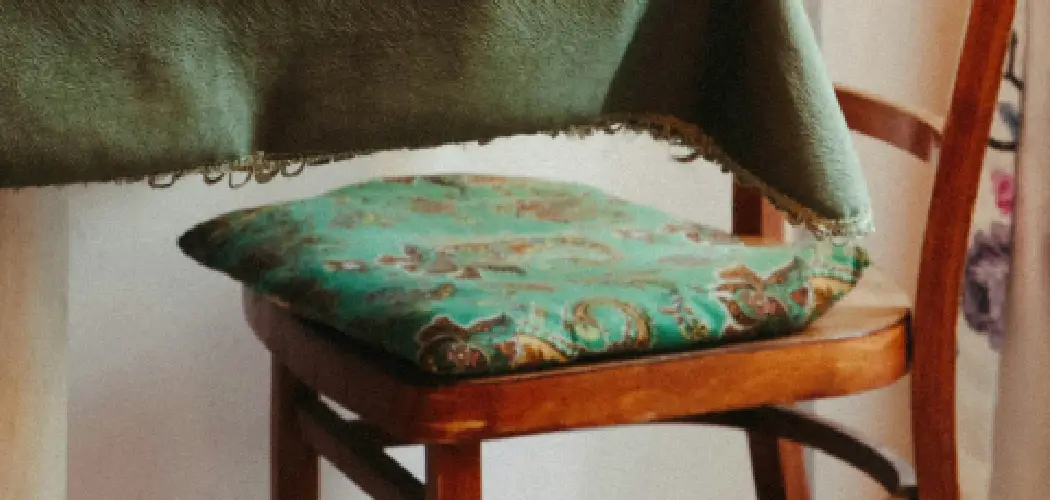
Sewing a chair cushion can be a rewarding and practical project for both novice and experienced sewers. This guide on how to sew a chair cushion will walk you through the essential steps and materials needed to create a comfortable and stylish cushion that can add a personal touch to any chair.

Whether you are looking to refresh an old chair or enhance a new one, making your own cushion allows for customization in terms of fabric choice, cushioning thickness, and design details. With a little patience and creativity, you can transform a simple piece of furniture into a centerpiece that reflects your style.
Materials Needed
Measuring Tape:
To ensure an accurate fit, you will need a measuring tape to measure the dimensions of your chair seat.
Fabric:
Choose a fabric that is durable and suitable for upholstery. Cotton, linen, or canvas are popular choices as they are easy to work with and come in various patterns and colors.
Foam Cushion:
The foam cushion will provide comfort and support for the person sitting on the chair. You can find pre-cut foam cushions at craft stores or online, or you can cut your own using a serrated knife.
Batting:
Batting is used to cover the foam cushion before adding the final layer of fabric. It helps to smooth out any lumps or bumps and gives the cushion a fuller, more professional look.
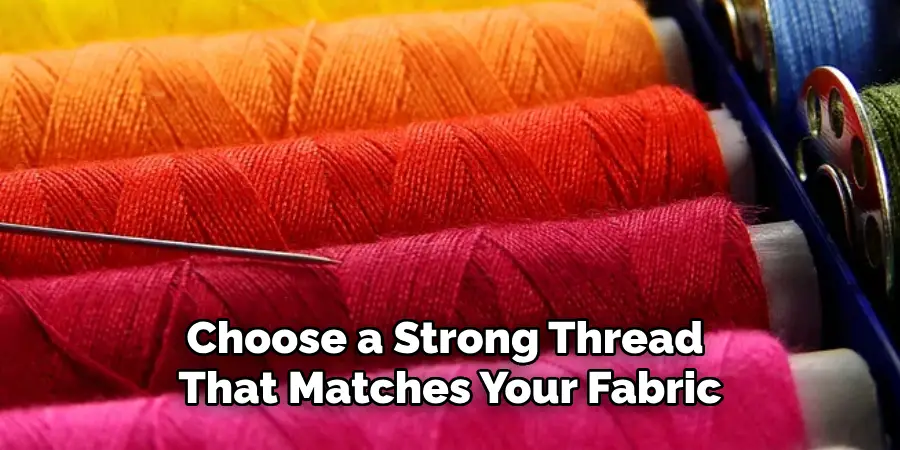
Thread:
Choose a strong thread that matches your fabric for sewing the cushion pieces together.
Sewing Machine:
Although you can hand sew a chair cushion, using a sewing machine will save time and effort. If you do not have access to one, consider borrowing or renting one from a friend or local craft store.
Pins:
Pins are essential for holding fabric layers together before sewing them. Depending on the thickness of your fabric, choose pins that are long enough to go through all layers comfortably.
8 Steps on How to Sew a Chair Cushion
Step 1: Measure and Cut Fabric
Begin by measuring the dimensions of your chair seat using the measuring tape. Be sure to measure both the width and length, and add an extra inch to each measurement to account for seam allowances. Once you have your measurements, lay your chosen fabric on a flat surface.
Using the measurements you recorded, mark the dimensions on the fabric with a pencil or tailor’s chalk. Repeat this process for the second piece of fabric, which will serve as the bottom of the cushion cover. Carefully cut out the fabric pieces using scissors, ensuring straight lines and precise corners. Cutting accurately will help maintain a neat and professional finish for your cushion.
Step 2: Cut the Foam Cushion
With your fabric pieces prepared, the next step is to cut the foam cushion to fit the dimensions of your chair seat. Lay the foam on a flat surface and place one of your fabric pieces on top as a guide. Using a pencil or marker, trace the outline of the fabric onto the foam. Remember to include the same extra inch you added for seam allowances.
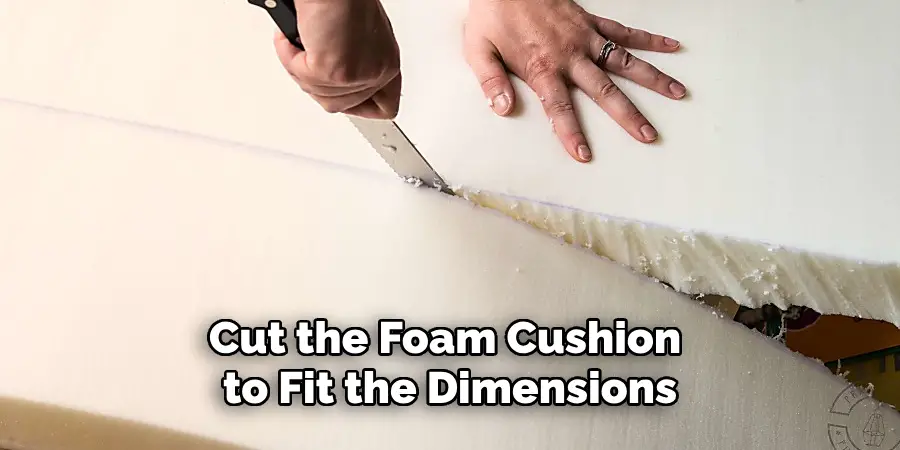
Once you have traced the outline, use a serrated knife or an electric carving knife to cut the foam along the marked lines. Ensure the cuts are smooth and even to avoid any unevenness that might affect the cushion’s appearance or comfort. Take your time with this step for the best results.
Step 3: Sew the Side Panels
To create the side panels of your cushion, cut two long rectangles from your fabric, each measuring the combined length and width of your chair seat plus an extra inch for seams. Fold each rectangle in half, right sides together, and sew one short end and the long edge using a 1/2-inch seam allowance. Leave one short end open to insert the foam cushion later. Repeat this for both rectangles.
The open short end will serve as the cushion’s flap, which you can secure using buttons, zippers, or velcro. Adding closure to your cushion allows for easy removal and cleaning of the fabric cover.
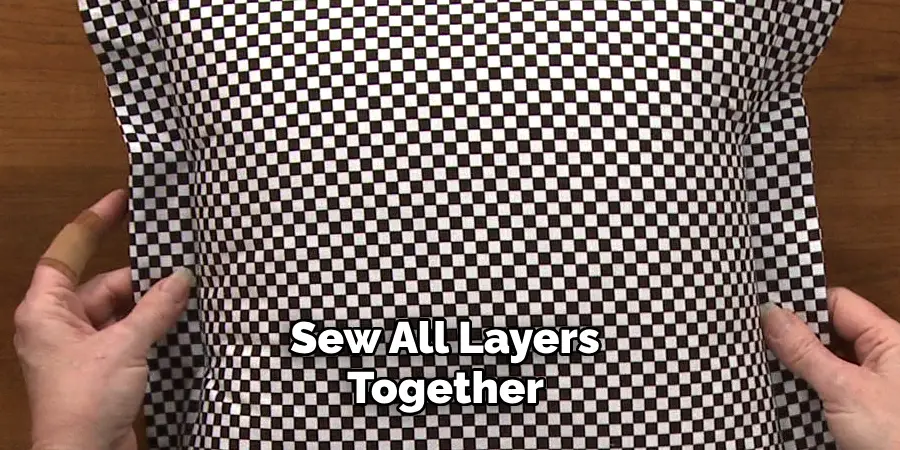
Step 4: Sew Fabric Layers Together
With all pieces cut and sewn, it is time to assemble them. Place one of the side panel pieces on a flat surface with its right side facing up. Lay the foam cushion on top of it so that they are aligned along one edge. Next, place batting over the foam followed by the second piece of fabric, right side down.
Fold over all layers at each corner and pin them together securely. Then, fold in any excess fabric along the edges and pin it in place. Sew all layers together using a 1/2-inch seam allowance, leaving one side open for inserting the foam cushion.
Step 5: Insert Foam Cushion
Once you have sewn three sides of your fabric layers together, insert the foam cushion through the remaining opening. Ensure that the cushion is placed evenly and smoothly inside the cover.
If you choose to add closure to your cushion, now is the time to do so. You can sew buttons or velcro on either end of the short flap or attach a zipper along its length.
Step 6: Finish Sewing
After inserting the foam cushion and adjusting it for a perfect fit, the next step is to close the remaining opening of the cushion cover. Begin by folding the raw edges of the open side inward, creating a clean line that matches the rest of your seam allowances. Secure the edges with pins to hold them in place and prevent shifting as you sew.
Using your sewing machine, stitch along the open edge, maintaining a consistent seam allowance of 1/2 inch to match the previous seams, ensuring a uniform appearance. If the opening features a closure like a zipper, velcro, or buttons, sew the respective components securely into place, following any manufacturer instructions for alignment and attachment.
Once the final edge is sealed, remove any stray threads and gently press the cushion with an iron to smooth out any wrinkles or creases. This final touch will ensure your newly sewn chair cushion looks polished and professional.
Step 7: Attach the Cushion to Your Chair
With your newly sewn cushion ready, all that is left is attaching it to your chair. Place the cushion on the seat and adjust it until it looks even and feels comfortable. You can secure it in place using ties or with a slip-resistant fabric underneath.
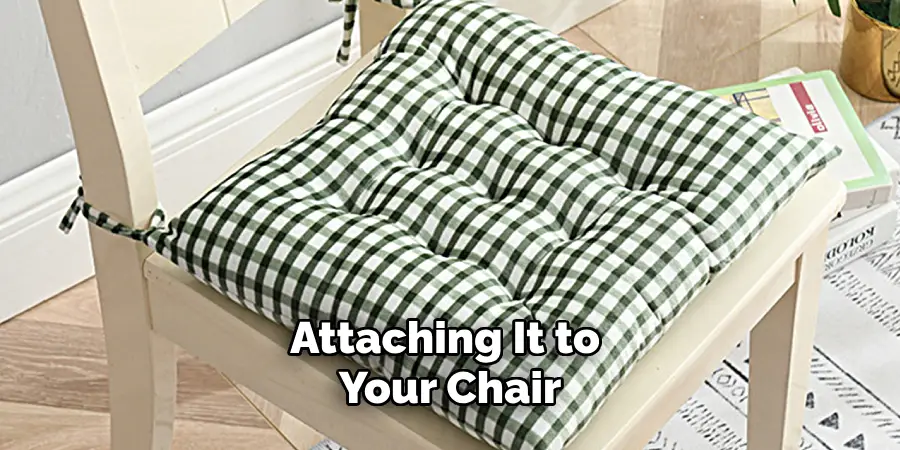
It’s time to sit down and enjoy your freshly made chair cushion!
Step 8: Care Instructions for Your Cushion
To keep your newly sewn chair cushion looking its best, it is essential to follow proper care instructions. Depending on the fabric you use, washing and drying methods may vary. However, most fabric covers can be hand or machine-washed in cold water with mild detergent and air-dried. Avoid using bleach or harsh chemicals that can damage the fabric or affect the foam cushion’s integrity.
Following these steps on how to sew a chair cushion, you can easily sew your own chair cushion and add a personal touch to your home decor. With the right materials and tools, this project is achievable for beginners and experienced sewers alike. Have fun creating and customizing cushions for all your chairs!
Frequently Asked Questions
Q: Can I Use a Different Type of Foam for My Cushion?
A: Yes, you can use other types of foam such as memory foam or high-density foam. Just make sure to cut it to the correct dimensions and adjust your sewing accordingly. The type of foam used will also affect the cushion’s firmness, so choose one that suits your comfort preferences.
Q: Can I Add Extra Padding for More Comfort?
A: Yes, you can add extra padding such as batting or foam scraps between the layers of fabric to create a more plush and comfortable cushion. Just make sure to adjust your dimensions and seam allowances accordingly.
Q: How Do I Choose Fabric for My Cushion?
A: It is best to choose sturdy, durable fabrics like cotton canvas or upholstery-weight fabric that can withstand regular use and washing. You can also consider using waterproof or stain-resistant fabrics if desired. Additionally, consider the color and design of the fabric to match your existing decor and personal style.
Q: Can I Make a Custom Size Cushion?
A: Yes, you can adjust the dimensions of the cushion according to your needs. Just remember to add an extra inch for seam allowances when cutting and sewing the fabric. It is also essential to ensure that the cushion will fit on your chair before starting the project. So, take accurate measurements beforehand and make any necessary adjustments to create a custom-sized cushion that fits perfectly on your chair.
Q: How Can I Easily Change My Cushions for Different Seasons?
A: One way to easily change your cushions for different seasons is by making removable covers with different fabrics or patterns that you can swap out whenever desired. This way, you can update the look of your chairs without having to make a new cushion from scratch. Alternatively, you can also add decorative accents such as pillows or throws to change the overall look and feel of your chairs without replacing the cushions.
Conclusion
Creating your own chair cushions can be a rewarding and creative experience that adds personality and comfort to your home. By following the step-by-step guide on how to sew a chair cushion provided, you can make cushions that not only fit your chairs perfectly but also reflect your individual style and decorative preferences. The flexibility of materials and custom sizing options allows you to experiment with different textures, colors, and foam types until you achieve the desired look and feel for your living space.
With the added benefit of being able to easily update or replace cushion covers to match seasonal decor changes, you can enjoy a fresh and inviting atmosphere throughout the year. Embrace the opportunity to craft something unique and enhance your home with personalized touches that offer both functionality and aesthetic appeal.