Painting cabinets and furniture can be a rewarding way to refresh your space without the cost of replacement. However, for a smooth and durable finish, it’s crucial to properly thin your paint if needed. Valspar Cabinet and Furniture Paint is a popular choice for its quality and finish, but achieving that perfect coat sometimes requires adjustments.

Understanding how to thin this specific type of paint ensures compatibility with spraying equipment, reduces brush marks, and facilitates a more even application.
This guide on how to thin valspar cabinet and furniture paint will walk you through the steps necessary to effectively thin Valspar Cabinet and Furniture Paint for your next DIY project.
Why Thin Your Valspar Cabinet and Furniture Paint?
Before diving into the steps on how to thin your paint, it’s essential to understand why you may need to do so.
Firstly, Valspar Cabinet and Furniture Paint is a water-based paint, meaning it has a higher water content compared to oil-based paints. This can result in thicker consistency out of the can, which can be difficult to work with and could lead to brush marks or an uneven finish.
Additionally, if you plan on using a sprayer for your project, it’s crucial to thin the paint to ensure proper flow and compatibility with the equipment.
Overall, thinning your paint allows for better control over its application and results in a smoother finish.
Needed Materials
- Valspar Cabinet and Furniture Paint
- Measuring Cup or Scale
- Water (if Thinning With Water)
- Paint Thinner (if Thinning With Paint Thinner)
- Stir Stick or Paint Mixer Attachment for Drill
- Mixing Container
- Spray Gun (if Using a Sprayer)
8 Step-by-step Guidelines on How to Thin Valspar Cabinet and Furniture Paint
Step 1: Determine the Amount of Thinning Needed
The first step in thinning your Valspar Cabinet and Furniture Paint is to determine how much thinning is needed. This will depend on the desired consistency for your project and the type of application method you plan on using.

If you are using a brush, roller, or pad applicator, aim for a slightly thick but workable consistency. If you plan on using a sprayer, the paint will need to be thinned significantly.
Step 2: Measure the Paint
Once you have determined the amount of thinning required, it’s time to accurately measure the paint you will thin. Pour the Valspar Cabinet and Furniture Paint into a mixing container. Use a measuring cup or scale to ensure that you have the correct quantity of paint for your project.
Measuring the paint precisely is crucial because it allows you to maintain the correct ratio of paint to thinner, ensuring a consistent and even finish. This accuracy will help you achieve the best possible outcome for your cabinets or furniture.
Step 3: Determine the Type of Thinner to Use
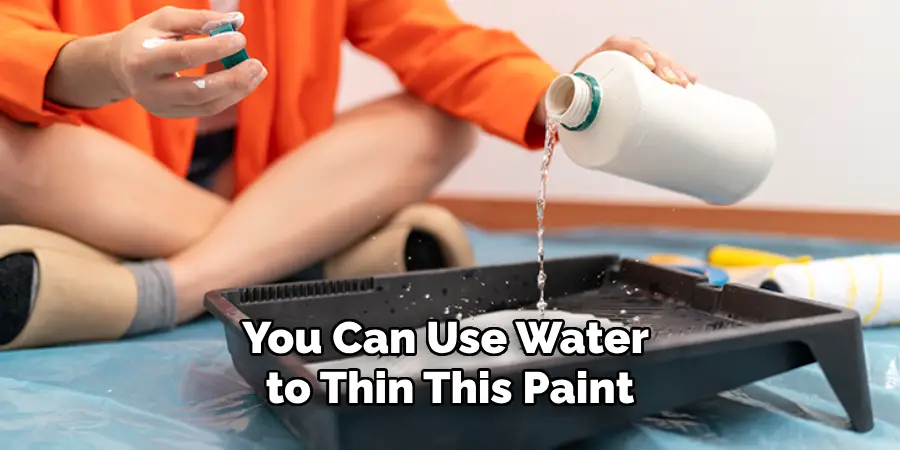
The type of thinner you use will depend on your application method. If using a brush, roller, or pad applicator, you can thin it with water. However, if you plan on using a sprayer, it’s essential to use a paint thinner recommended for water-based paints. Using the wrong type of thinner can result in clumps or an uneven finish.
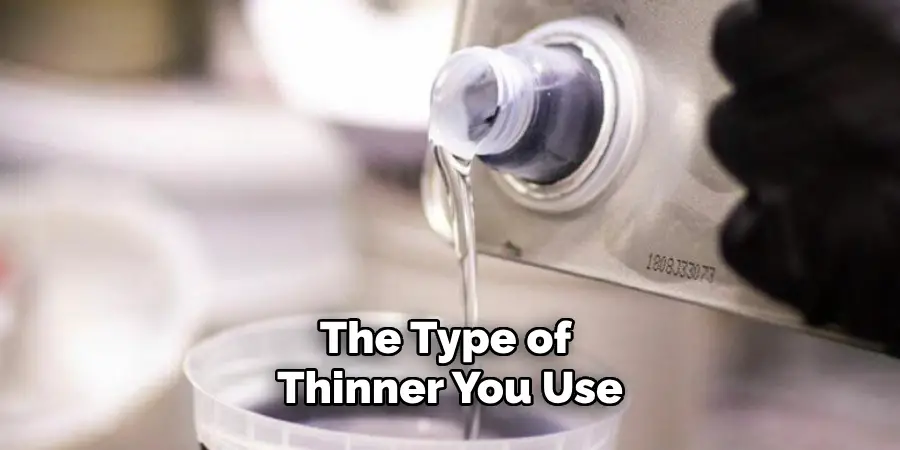
It’s always best to follow the manufacturer’s recommendations for thinning your paint. Valspar recommends using their Cabinet and Furniture Paint Thinner for the best results.
Step 4: Add Thinner to Paint
Now that you have determined the amount of thinning needed and which type of thinner to use, it’s time to add the thinner to the paint gradually. Start by adding small amounts at a time and mixing thoroughly.
If using water, add 1-2 ounces at a time and mix until you reach the desired consistency. If using paint thinner, follow the manufacturer’s instructions for the correct amount to add.
Step 5: Mix Thoroughly
After adding the thinner, it’s crucial to mix thoroughly to ensure that it is evenly distributed throughout the paint. Use a stir stick or a paint mixer attachment for your drill to achieve a smooth and consistent mixture.
It’s important not to rush this step as an uneven mixture can result in clumps or an inconsistent finish.
Step 6: Test Consistency
Once you have finished mixing, it’s essential to test the consistency of your thinned paint. Dip a brush into the mixture and apply it to a test surface or scrap piece of wood. If using a sprayer, follow the manufacturer’s instructions for testing consistency.
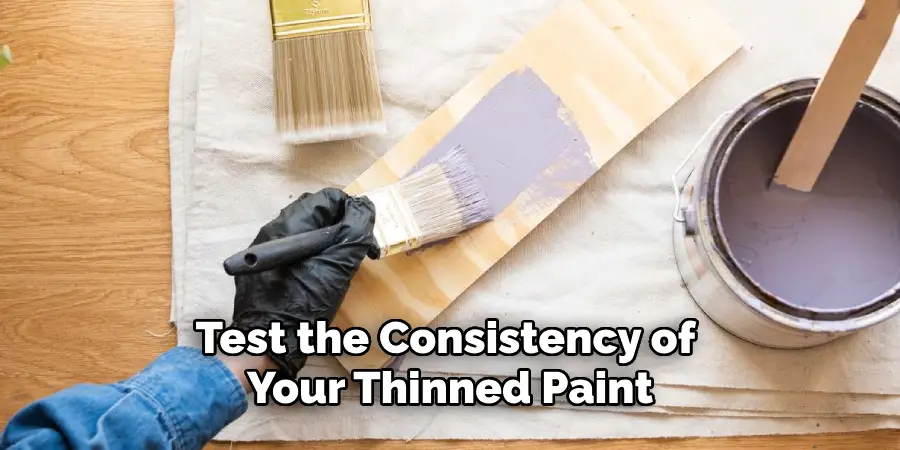
If the paint is too thick, add more thinner in small amounts. If it is too thin, add more paint until you reach the desired consistency.
Step 7: Strain Paint (Optional)
Straining your thinned paint may be necessary if there are any clumps or impurities present. Use a fine-mesh strainer or cheesecloth to remove any unwanted particles that could affect the finish of your project.
The straining process is especially crucial if using a sprayer, as any impurities could clog the equipment.
Step 8: Begin Painting
Once you have achieved your desired consistency and strained the paint, if necessary, it’s time to start painting! Use a brush, roller, pad applicator, or sprayer to apply the thinned Valspar Cabinet and Furniture Paint to your project.
It’s important to follow proper painting techniques for the best results. Apply thin coats and allow each coat to dry completely before applying another layer.
Following these eight steps on how to thin valspar cabinet and furniture paint will ensure that your Valspar Cabinet and Furniture Paint is adequately thinned for a smooth and professional finish. Happy painting!
Additional Tips and Tricks
- Keep in mind that thinning your paint can affect its coverage, so be sure to have enough paint for your project.
- If using a sprayer, make sure you clean it thoroughly before and after use to prevent clogs or damage.
- If using the paint thinner recommended by Valspar, be sure to follow the instructions on the label for proper ventilation and handling.
- It’s always a good idea to do a small test patch on your project before committing to thinning your entire batch of paint. This will allow you to adjust the mixture as needed without wasting too much paint.
- If you are unsure about how much thinner to add, start with smaller increments and gradually add more until you reach your desired consistency.
- Properly storing your thinned paint is crucial for its longevity. Seal the container tightly and store it in a cool, dry place. It’s best to use thinned paint within 24 hours of mixing.
- Don’t forget to clean up any spills or messes immediately to prevent them from drying and becoming difficult to remove. Use soap and water for water-based paint, and a recommended cleaner for paint thinner spills.
- Thinning your Valspar Cabinet and Furniture Paint can also help improve its flow and leveling properties, resulting in a smoother finish.
- If you have any leftover thinned paint, you can use it for touch-ups or small projects in the future.
- For optimal results, always follow the manufacturer’s recommendations and instructions for thinning your specific type of paint.
Frequently Asked Questions
Q: Can I Use Water to Thin the Valspar Cabinet and Furniture Paint?
A: Yes, you can use water to thin this paint if you plan on using a brush, roller, or pad applicator. However, if you are using a sprayer, it’s essential to use a paint thinner recommended for water-based paints.
Q: How Much Thinner Should I Add to My Paint?
A: The amount of thinner needed will depend on the type of paint, application method, and desired consistency. It’s best to follow the manufacturer’s recommendations and add small amounts at a time until you achieve your desired thickness.
Q: Can I Use Any Type of Thinner?
A: No, it’s important to use the type of thinner recommended by Valspar for their Cabinet and Furniture Paint. Using the wrong type could result in an uneven finish or clogging your equipment if using a sprayer.
Q: Do I Need to Strain the Thinned Paint?
A: Straining your thinned paint is not always necessary, but it can be helpful if there are any clumps or impurities present. This step is especially important if a sprayer is used to prevent clogs.
Q: How Long Does Thinned Valspar Cabinet and Furniture Paint Last?
A: It’s best to use thinned paint within 24 hours of mixing for optimal results. Be sure to seal the container tightly and store it in a cool, dry place until ready to use.
Conclusion
Knowing how to properly thin Valspar Cabinet and Furniture Paint is essential for achieving a smooth and durable finish on your cabinets and furniture. By accurately measuring, using the correct type of thinner, and properly mixing your paint, you can ensure a consistent and professional result.
Remember to follow proper painting techniques and handle any spills or messes promptly for the best outcome. Thanks for reading this article on how to thin valspar cabinet and furniture paint.