
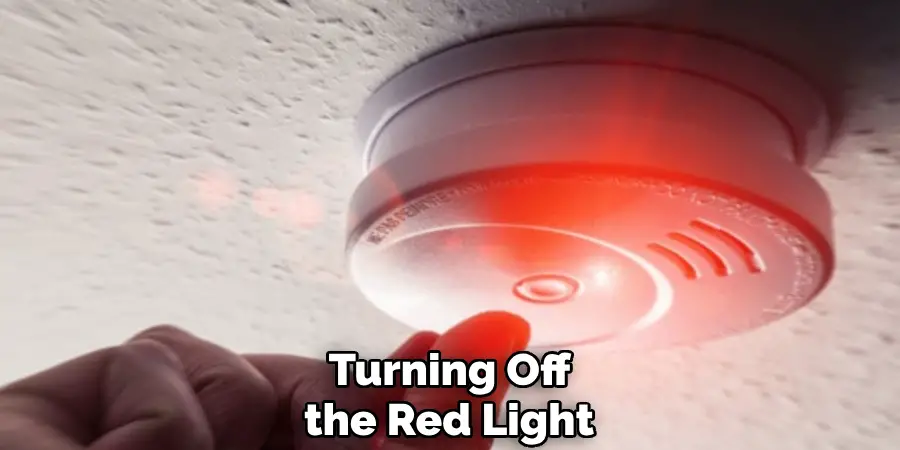
Are you tired of constantly having to deal with a blinking red light on your smoke detector? This annoying feature is designed to alert you when the battery is low or when there’s an issue with the detector, but it can also be a major source of frustration.

The persistent red light on a smoke detector often signals a specific issue, ranging from a need for battery replacement to a fault within the device itself. Understanding the steps to address and ultimately turn off this red light is crucial for maintaining the functionality and reliability of your smoke detector, ensuring it continues to serve its vital role in home safety.
In this guide, we will walk you through the common reasons behind the illumination of the red light and provide a step-by-step approach to how to turn off red light on smoke detector.
What are the Benefits of Turning Off the Red Light on Your Smoke Detector?
Before we dive into the steps, let’s first discuss why it is important to turn off the red light on your smoke detector. Some people may be tempted to simply ignore or cover up the blinking light, but this can have serious consequences in case of a fire emergency.
Here are some benefits of turning off the red light on your smoke detector:
- Ensure Proper Functioning: By addressing the underlying issue causing the red light, you can ensure that your smoke detector is in good working condition and will properly alert you in case of a fire.
- Save From Unnecessary Battery Replacements: The red light often signals low battery, which means constantly changing batteries when they are not actually dead. Turning off the red light will prevent this unnecessary expense.
- Avoid False Alarms: A faulty smoke detector can also cause frequent false alarms, which can be disruptive and may lead to ignoring a real emergency. Turning off the red light ensures that you are only alerted when necessary.
Now that we understand the importance of turning off the red light on your smoke detector let’s move on to the steps involved.
What Will You Need?
Before we begin, make sure you have the following items on hand:
- Ladder or Step Stool: Most smoke detectors are installed on the ceiling, so you may need a ladder or step stool to reach it.
- Replacement Batteries: If the red light signals a low battery, you will need new batteries to replace the old ones.
- Screwdriver: Some smoke detectors may require a screwdriver to open and access the battery compartment.
Once you have these items, you are ready to turn off the red light on your smoke detector.
10 Easy Steps on How to Turn Off Red Light on Smoke Detector:
Step 1: Determine the Cause of the Red Light
The first step in addressing the red light on your smoke detector is to identify why the red light is blinking. This will help you determine the specific issue and how to effectively resolve it.
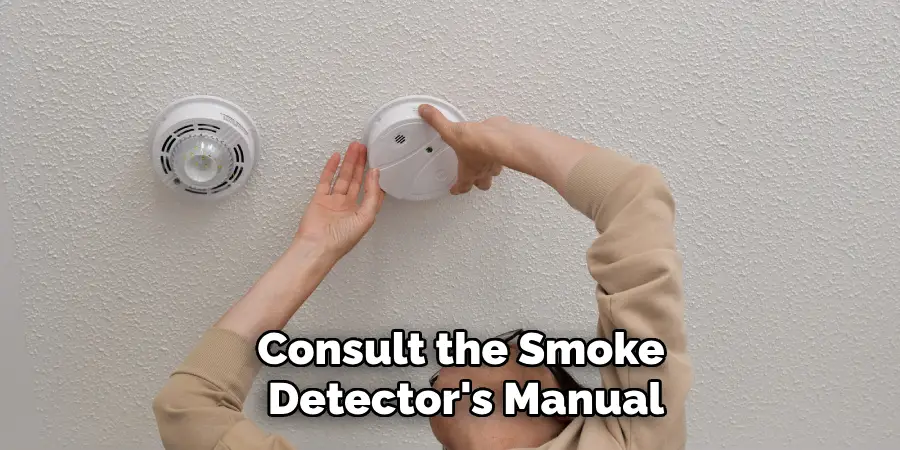
Begin by consulting the user manual of your smoke detector; most manuals will include a section on troubleshooting that explains what different lights and patterns mean. Common reasons for a blinking red light include low battery, need for device reset, or a fault in the detector. Once you have identified the cause, you can proceed with the appropriate solution.
Step 2: Turn Off the Power to the Smoke Detector
Before proceeding with any adjustments or battery replacement, it’s important to ensure your safety by turning off the power to your smoke detector.
This can typically be done by locating your home’s main electrical panel and switching off the circuit breaker connected to your smoke detectors. Taking this precaution prevents any electrical hazards while you work on the device. Remember, safety should always be your first priority.
Step 3: Remove the Smoke Detector from its Mounting Bracket
After ensuring your safety by turning off the power, the next step is to physically access the smoke detector. Begin by carefully climbing your ladder or step stool to reach the detector. Most smoke detectors are designed to easily twist off or open with a simple unclipping mechanism from their mounting bracket.
Depending on the model, rotate the smoke detector counter-clockwise or unclip it. This should detach it from the bracket, allowing you to see the inside of the detector where the battery compartment or reset button is located. Handle the device with care to avoid any damage.
Step 4: Replace the Batteries or Reset the Device
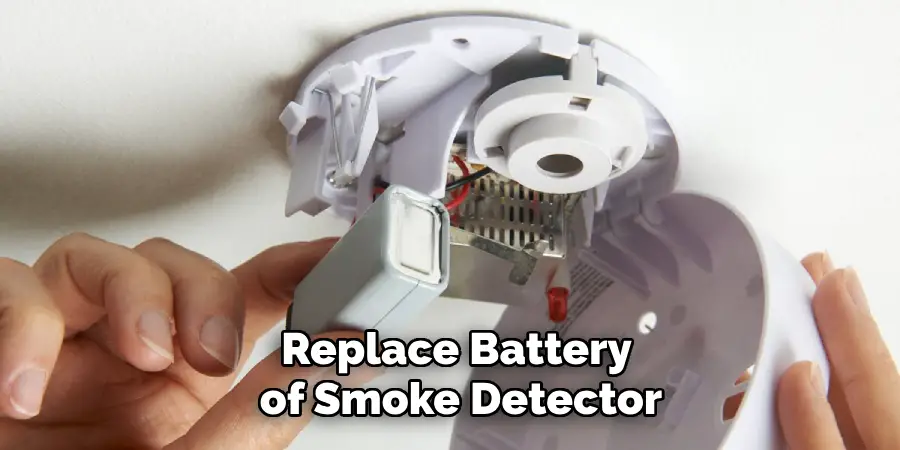
If the cause of the red light is a low battery, take this opportunity to replace the old batteries with new ones. Ensure that the batteries are correctly installed according to the polarity indicators (+ and -) inside the battery compartment.
If the red light persists even after battery replacement or if the initial diagnosis points towards a need for resetting the detector, locate the reset button. This button is usually found inside the smoke detector, identifiable by the user manual’s guidance. Press and hold the reset button for about 15-20 seconds. This action should clear any errors and reset the device’s internal system, potentially turning off the red light.
Step 5: Clean the Smoke Detector
Over time, dust and debris can accumulate inside your smoke detector, interfering with its sensors and potentially leading to a red light warning. After replacing the batteries or resetting the device, take a moment to gently clean the inside of the detector.
Use a soft, dry cloth or a can of compressed air to carefully remove any dust or particles. Avoid using water or cleaning solutions, as these can damage the sensitive components of the smoke detector. This step not only helps in turning off the red light but also ensures the proper functioning of your device.
Step 6: Reattach the Smoke Detector to its Mounting Bracket
Once the interior of the smoke detector is clean and you’ve addressed the cause of the red light, it’s time to put the device back in its place. Carefully align the smoke detector with the mounting bracket and rotate it clockwise or clip it back into position, depending on the model. Make sure it’s securely attached and that there’s no gap between the detector and the bracket to ensure optimal operation.
After completing these steps, turn the power back on at the main electrical panel and monitor the smoke detector for a few minutes to ensure the red light does not return. If the red light turns off and the device functions properly, you have successfully addressed the issue. If the red light persists, consider consulting a professional or replacing the smoke detector entirely to ensure your home’s safety.
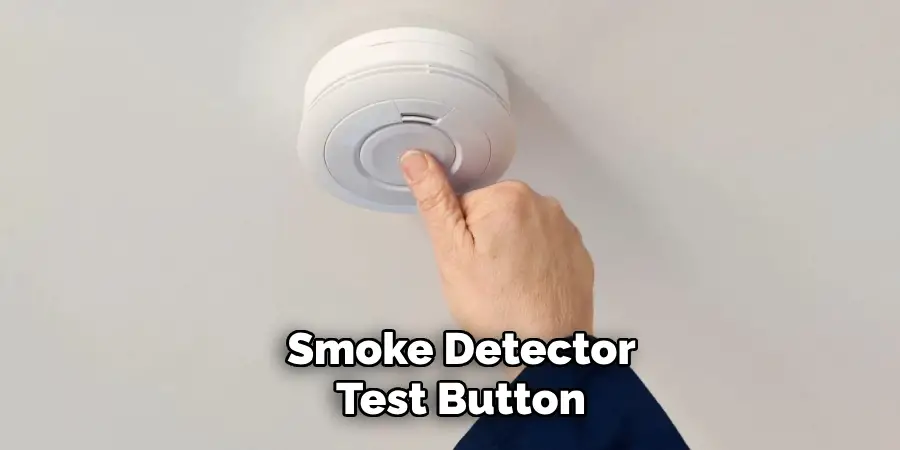
Step 7: Test the Smoke Detector
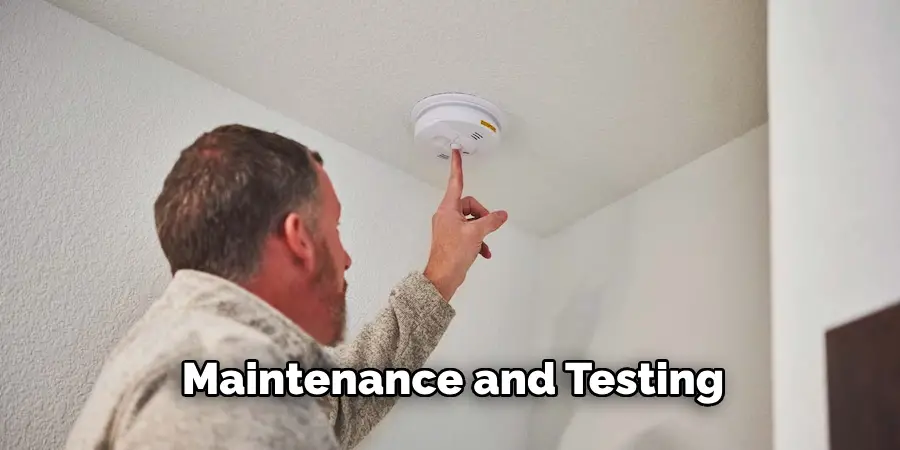
After reattaching the smoke detector to its mounting bracket and ensuring everything is secure, the next vital step is to test the device. This can be done by pressing the test button located on the smoke detector. Hold the button down for a few seconds until you hear a loud beep or alarm sound, indicating that the smoke detector is functioning correctly. It’s important to perform this test to confirm that the device is operational and capable of detecting smoke.
In case the smoke detector doesn’t respond to the test, review the previous steps to ensure everything was done correctly, or consult with a professional for further assistance. Remember, regular testing of your smoke detector is crucial for your safety and should be performed monthly.
Step 8: Document the Maintenance
Once you’ve tested the smoke detector and confirmed it’s working correctly, it’s crucial to document the maintenance performed. Keep a log with the date of battery replacement, cleaning, and any other maintenance activities. This record will help you track the smoke detector’s maintenance history and ensure timely future upkeep.
Additionally, noting when the batteries were last changed can serve as a helpful reminder of when they’ll likely need to be replaced again. This step is essential for maintaining the efficiency and reliability of your smoke detector, contributing to your home’s safety.
Step 9: Educate Family Members on Smoke Detector Maintenance and Emergency Protocols
Once maintenance is complete and your smoke detector is functioning correctly, it’s important to educate all household members about the significance of the smoke detector and the maintenance it requires. Discuss the steps taken to maintain the detector, how often it should be checked, and the importance of not disabling the device.
Additionally, use this opportunity to review or establish a fire escape plan for your home. Ensure everyone knows what the alarm sounds like, the primary and secondary escape routes, choke points, and the designated meeting spot outside the home. Educating your family members not only increases the efficacy of the smoke detector but also prepares them for acting swiftly and safely in case of an actual fire. Regular discussions and drills can significantly enhance your family’s safety and readiness.
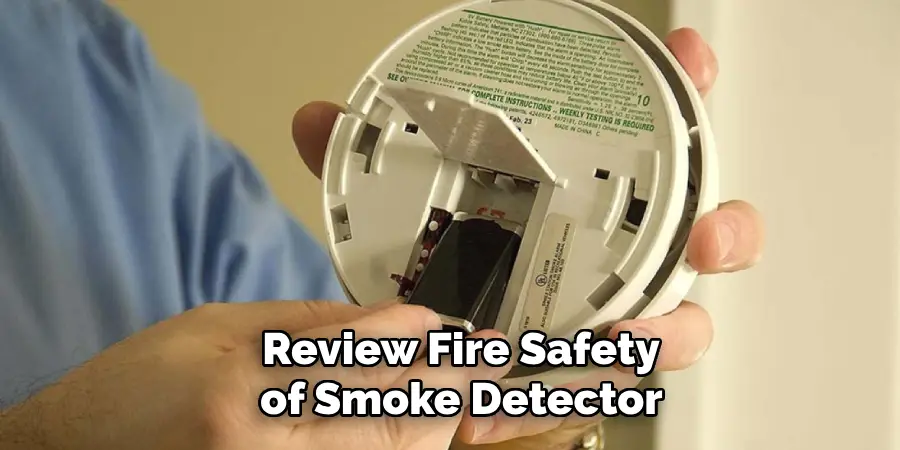
Step 10: Regularly Review and Update Your Fire Safety Plan
In addition to ongoing smoke detector maintenance, it is imperative to regularly review and update your household’s fire safety plan. This includes ensuring that escape routes remain accessible and free of obstructions, verifying that all family members are aware of and understand the plan, and updating it to accommodate any changes in the home layout or family circumstances.
At least once a year, gather your household to discuss and practice the fire escape plan. Modifications to the plan should be communicated immediately to ensure everyone is informed. Keeping your fire safety plan current is crucial in preparing your household for emergency situations, thereby enhancing the overall safety and well-being of all occupants.
By following these steps, you can effectively turn off the red light on your smoke detector and ensure its proper functioning.
5 Additional Tips and Tricks
- Check the Battery: Often, the red light on a smoke detector indicates a low battery. Replacing the old battery with a fresh one might turn off the red light, ensuring the device is powered and functional.
- Reset the Smoke Detector: Sometimes, simply resetting the smoke detector can turn off the red light. You can reset the device by turning off the power at the circuit breaker, waiting a few moments, and then turning the power back on.
- Clean the Smoke Detector: Dust, cobwebs, and other debris can interfere with your smoke detector’s sensors, causing it to flash a red light. Gently use a vacuum cleaner attachment or a soft brush to clean around the sensor area.
- Check for Environmental Factors: Occasionally, environmental factors like high humidity, steam, or extreme temperature fluctuations can trigger the red light. Ensure the smoke detector is not installed near bathrooms, kitchens, or windows where such conditions are prevalent.
- Consult the Manual or Manufacturer Support: If the above steps do not resolve the issue, it’s a good idea to consult the smoke detector’s manual for specific troubleshooting tips or contact manufacturer support for assistance. They might offer additional insights specific to your model or advise on a replacement if the device is faulty.
With these additional tips and tricks, you can troubleshoot and turn off your smoke detector’s red light successfully.
5 Things You Should Avoid When Trying to Turn Off the Red Light on Your Smoke Detector
- Do Not Ignore the Light: Ignoring the red light could mean overlooking a critical warning. The red light is designed to alert you to potential issues, and disregarding it can compromise your safety.
- Avoid Using Water or Chemical Cleaners: When attempting to clean your smoke detector, never use water or chemical cleaners. These substances can damage the device’s internal components, potentially leading to malfunction.
- Do Not Remove the Smoke Detector: Tempting as it may be, removing your smoke detector to stop the red light or any beeping noises is a grave mistake. This action leaves you and your household unprotected in the event of a fire.
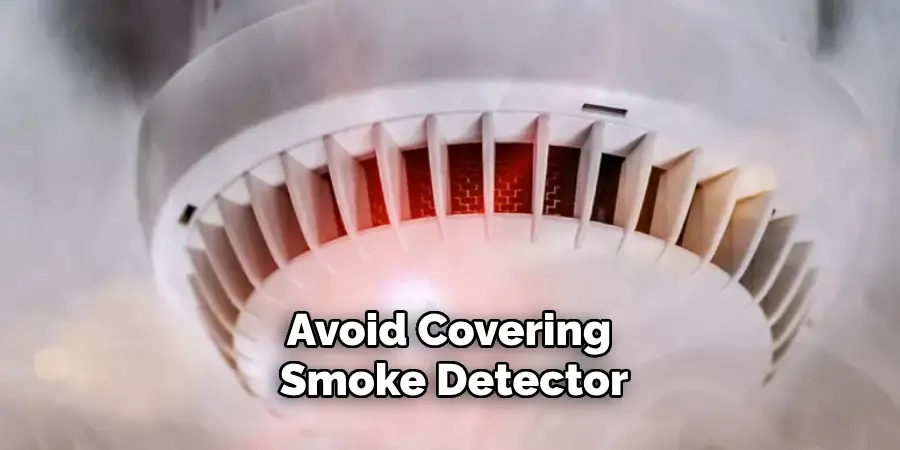
- Avoid Covering the Smoke Detector: Covering the smoke detector to silence its alarm or red light is risky. Obstructing the device can prevent it from detecting smoke, significantly reducing its efficacy.
- Do Not Disregard Manufacturer’s Instructions: Each smoke detector model has specific guidelines for maintenance and troubleshooting. Avoiding these instructions and trying DIY fixes without consulting the manual can result in improper handling and increased safety risks.
Adhering to these precautions ensures that your efforts to address the red light on your smoke detector are safe and effective, maintaining the device’s reliability and your home’s safety.
A flashing red light on a smoke detector often indicates a problem with the device. It could signal a low battery, an issue with the sensor or wiring, or environmental factors triggering false alarms. If you see a flashing red light on your smoke detector, it’s essential to take action and troubleshoot the problem as soon as possible.
Some common reasons for a flashing red light on a smoke detector include:
- Low Battery: As mentioned earlier, a low battery can cause the red light to flash. It’s crucial to replace the battery promptly to ensure the device remains functional.
- Dust or Debris Build-up: Dust, cobwebs, or other debris can accumulate on the smoke detector’s sensors and trigger false alarms or a flashing red light. Regular cleaning can help avoid this issue.
- Environmental Factors: High humidity, steam, or extreme temperatures can also cause a smoke detector to flash a red light. It’s best to install the device in an appropriate location to minimize the impact of these environmental factors.
- Sensor or Wiring Malfunction: In some cases, a flashing red light could indicate a problem with the sensor or wiring inside the smoke detector. If other troubleshooting steps do not resolve the issue, it’s best to contact the manufacturer for further assistance.
In summary, a flashing red light on a smoke detector should not be ignored and warrants prompt action to address any underlying issues.
How Do You Silence Your Low Battery Smoke Alarm?
Silencing a low-battery smoke alarm depends on the specific model and manufacturer of the device. However, most smoke detectors have a button or switch that can be pressed or turned to temporarily silence the alarm. This feature is meant to provide temporary relief from the noise while you change the battery.
To find out how to silence your low-battery smoke alarm, refer to the instructions in the device’s manual or contact the manufacturer for specific guidance. It’s crucial to note that silencing the alarm does not address the underlying issue, and you should replace the battery as soon as possible.
In addition to this, some smoke detectors have a low battery warning feature that announces “low battery” every few minutes until it is fixed. This serves as an added reminder to change the battery promptly.
Conclusion
A red light on a smoke detector is not an indication of danger, but it should not be ignored. It’s crucial to address the issue promptly by checking for low battery, cleaning the device, checking for environmental factors, consulting the manual or manufacturer support, and avoiding common mistakes.
Regular maintenance and following manufacturer instructions are vital in keeping your smoke detector functioning correctly and ensuring the safety of your home and loved ones. Remember, when in doubt, always contact the manufacturer for assistance or consider replacing the device if it is faulty.
Hopefully, the article on how to turn off red light on smoke detector has been informative and helpful in addressing any concerns or issues you may have with your smoke detector. Stay safe!