
Are you tired of your hardwired smoke detector constantly beeping and disturbing your peace? Or do you need to replace an old one? Whatever the reason, unplugging a hardwired smoke detector is not as easy as just pulling it out from the wall.
Unplugging a hardwired smoke detector may seem daunting, but it can be a straightforward task with the right guidance. These devices, designed to offer superior safety by being directly connected to your home’s electrical system, require more finesse when it comes to maintenance or replacement.
Whether you’re looking to replace an outdated model, troubleshoot false alarms, or perform necessary cleaning, understanding how to safely disconnect your smoke detector is crucial.
This guide aims to walk you through the process step-by-step on how to unplug hardwired smoke detector.
Is It Safe to Unplug a Hardwired Smoke Detector?
Before we dive into the steps of unplugging a hardwired smoke detector, it’s essential to address safety concerns. The short answer is yes; it is safe to unplug a hardwired smoke detector as long as you follow these precautions:
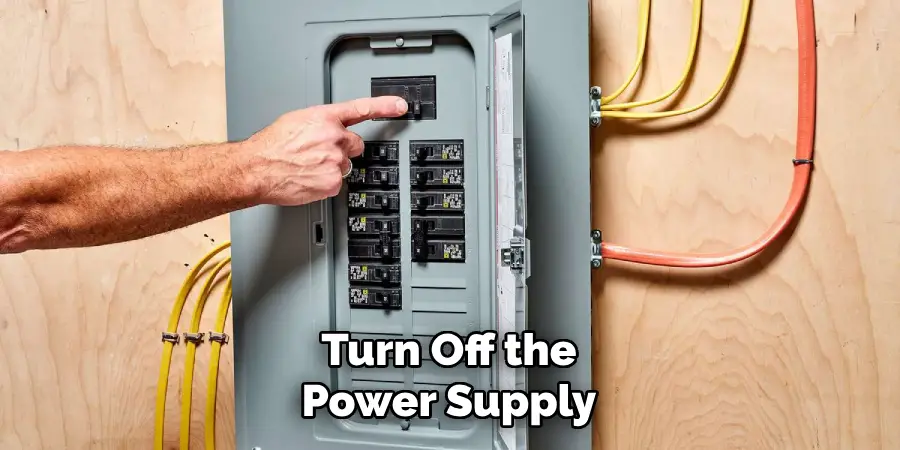
- Turn Off the Power: Before attempting any unplugging or maintenance task, make sure to turn off the power supply.
- Use a Ladder: If your smoke detector is installed on a ceiling or high wall, make sure to use a sturdy ladder and have someone spot you for safety.
- Wear Protective Gear: Dust and debris can fly around when unplugging a hardwired smoke detector, so it’s crucial to wear protective gear such as gloves and a face mask.
With these precautions in place, you can safely unplug your hardwired smoke detector without any risk of electrocution or injury.
What are the Benefits of Hardwired Smoke Detectors?
- Constant Power Supply: Hardwired smoke detectors are directly connected to your home’s electrical system, meaning they have a constant power supply. This ensures that the device is always functioning and will provide an alert in case of a fire or smoke.
- Interconnected System: Most hardwired smoke detectors are designed to be interconnected with other devices in your home. This means that if one detector goes off, all the other detectors will also sound an alarm. This feature ensures that everyone in your home is alerted of a potential fire hazard.
- Longevity: Hardwired smoke detectors have a longer lifespan compared to battery-operated ones. With regular maintenance and testing, these devices can last for up to 10 years before needing replacement.
These are just a few of the benefits of having hardwired smoke detectors in your home. Now, let’s move on to the steps for unplugging them.
What Will You Need?
To successfully unplug a hardwired smoke detector, you will need the following:
- A ladder or step stool
- A screwdriver (depending on the type of smoke detector)
- Wire cutters or wire nuts
It’s essential to have these tools ready before starting the process to avoid any unnecessary delays.
10 Easy Steps on How to Unplug Hardwired Smoke Detector
Step 1. Turn Off the Power:
Before attempting to unplug the smoke detector, ensure the power to the device is turned off. Locate your home’s electrical panel and switch off the circuit breaker corresponding to the smoke detector. This is a crucial step to prevent electric shock.
Step 2. Ensure Safety:
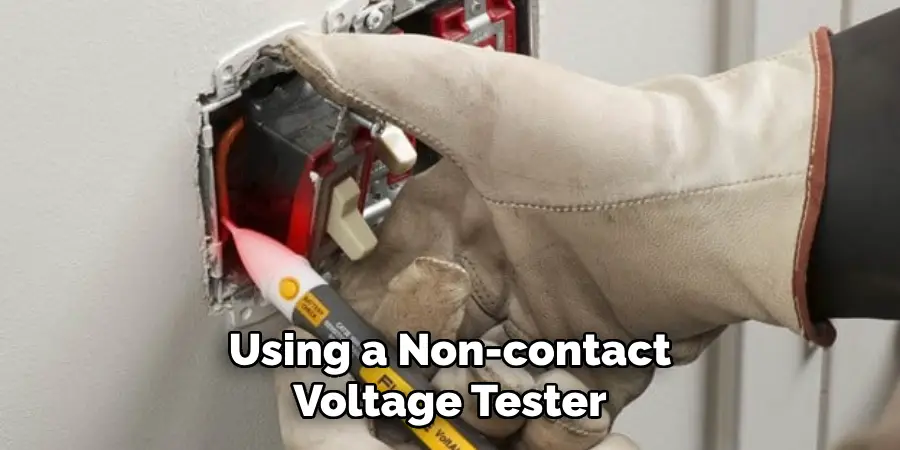
Once the power is off, take a moment to ensure your safety by using a non-contact voltage tester around the smoke detector area. This step helps verify that there is no active electrical current present, reducing the risk of electric shock. Climb safely onto your ladder or step stool to reach the smoke detector comfortably without overextending.
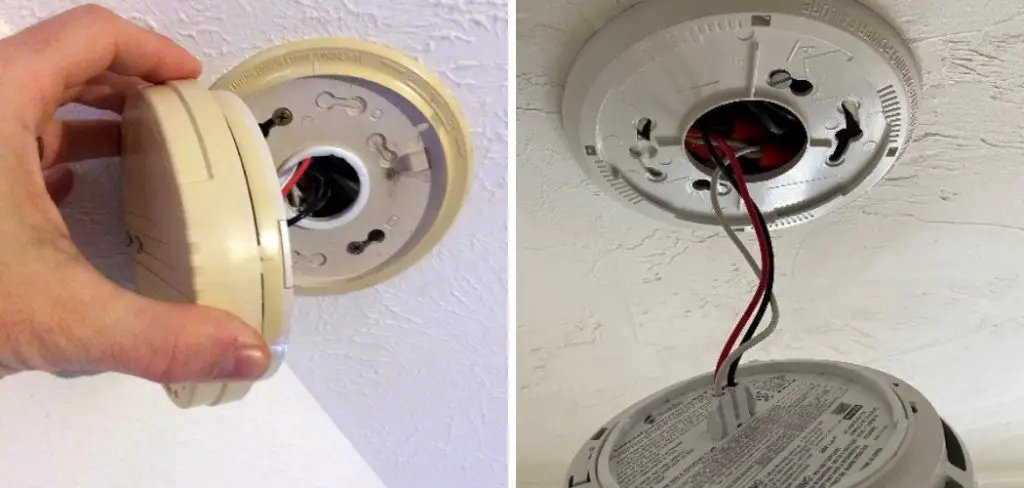
Step 3. Remove the Smoke Detector from its Mounting Bracket:
Gently twist the smoke detector in the direction indicated by arrows on the device or the mounting bracket, usually clockwise or counterclockwise. This should loosen the detector, allowing you to pull it away from the ceiling or wall.
Be careful during this process to avoid damaging the mounting bracket or the wires connected to the detector. Some models may have a locking mechanism or a button that needs to be pressed to release the detector from its bracket.
Step 4. Disconnect the Wiring:
After removing the smoke detector, you will see a set of wires connected to the back of the device, typically involving a black, white, and red wire. These wires are secured using plastic wire caps.
Gently twist these caps anticlockwise to unscrew and remove them, freeing the wires. It’s important to remember which wire connects where for future reference when installing a new detector or reconnecting the current one. If necessary, take a photo or make a note of the wiring configuration before disconnecting.
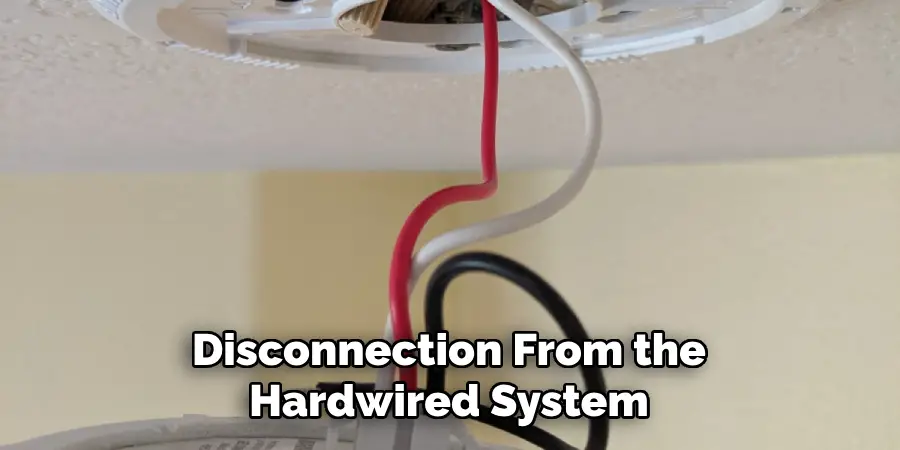
This detailed approach ensures a safe and successful disconnection from the hardwired system, allowing you to proceed with maintenance, troubleshooting, or replacement of the smoke detector. Always handle the device and the wires gently to avoid any damage or injury.
Step 5. Cap the Exposed Wires:
Once the smoke detector is disconnected, you should see exposed wires where it was connected. To ensure safety and prevent any electrical hazards, use wire nuts to cap each of the wires. Screw them on clockwise until they are snug and secure, covering the exposed metal part of the wires completely.
This step is crucial to prevent any accidental short circuits or electrical shocks while the detector is disconnected. If wire nuts were not originally provided or are missing, ensure you have a few on hand before beginning the process.
Step 6. Secure the Wires and Mounting Bracket:
After capping the wires, it’s important to ensure they don’t hang loosely from the ceiling or wall. Use electrical tape to secure the wire nuts to the wires, preventing them from coming off.
Gently push the capped wires back into the junction box in the ceiling or wall to keep them out of the way. Ensure that the mounting bracket remains securely attached to the ceiling or wall. If you are planning to install a new smoke detector immediately, this will make the installation process smoother.
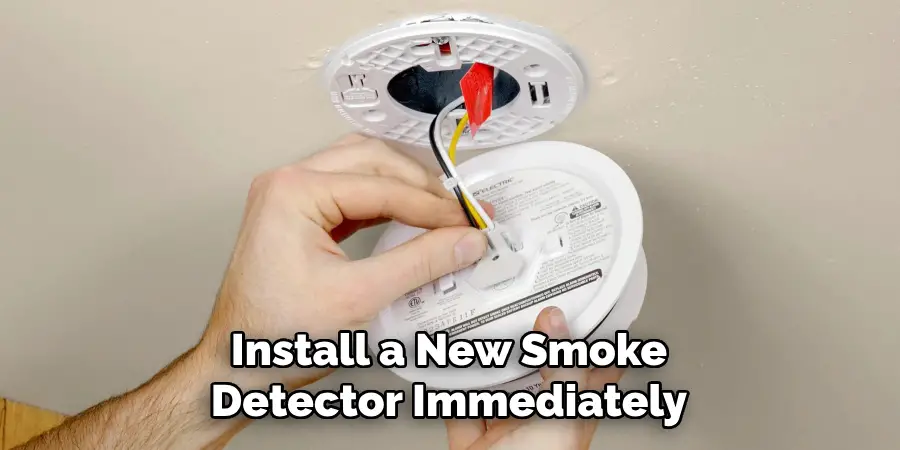
Step 7. Prepare for New Smoke Detector Installation (Optional):
If you’re planning to install a new smoke detector immediately after unplugging the old one, now is the time to prepare. Ensure you have the new device and all necessary installation tools at hand. Read through the installation instructions for your new smoke detector to familiarize yourself with the process. If the new detector has a different mounting bracket, you may need to replace the existing one.
Use a screwdriver to remove the old bracket and secure the new one in place, ensuring it is firmly attached to the ceiling or wall. This preemptive step can significantly streamline the installation process, making it quicker and more efficient.
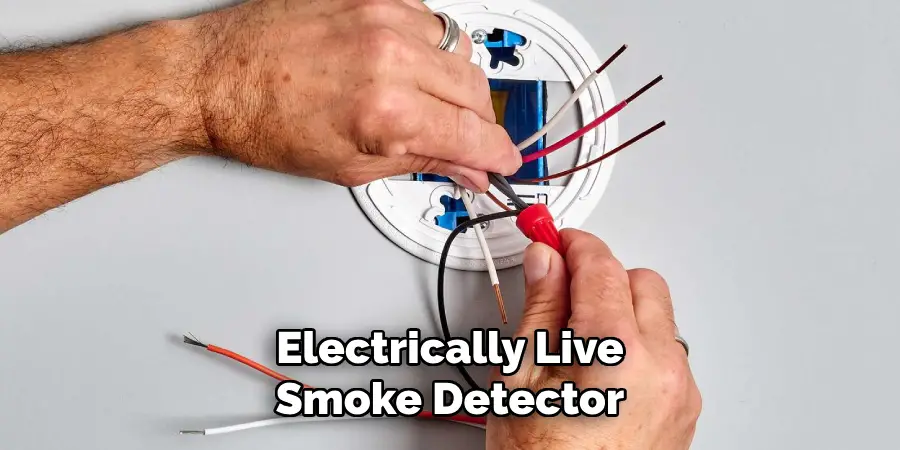
Step 8. Test the Electrical Circuit (Optional):
Before proceeding to install a new smoke detector, it might be a good idea to test the electrical circuit to ensure it’s working correctly. This can be done by turning the power back on at the electrical panel and using a voltage tester on the wires that were connected to the smoke detector.
If the circuit is live, the tester will indicate as much. This step is especially crucial if you’ve experienced issues with the smoke detector that could relate to the power supply. After testing, remember to turn off the power again before continuing with the installation of the new smoke detector. This ensures both your safety and the integrity of the electrical system in your home.
Step 9. Install the New Smoke Detector:
With all safety checks completed and the wiring properly secured, proceed to install the new smoke detector. Start by connecting the wires to the new device matching the colors appropriately (black to black, white to white, and, if present, red to red).
Use the wire nuts to secure the connections, ensuring they are tight and the wires are fully inserted. Attach the new smoke detector to the mounting bracket according to the manufacturer’s instructions, usually by aligning it and twisting it into place. Ensure the device is securely attached without any wobble.
Step 10. Test the Installed Smoke Detector:
After installing the new smoke detector, it’s essential to test it to ensure it’s working correctly. First, turn the power back on at the electrical panel. Then, locate the test button on the smoke detector—this is usually clearly marked. Press and hold the test button for a few seconds.
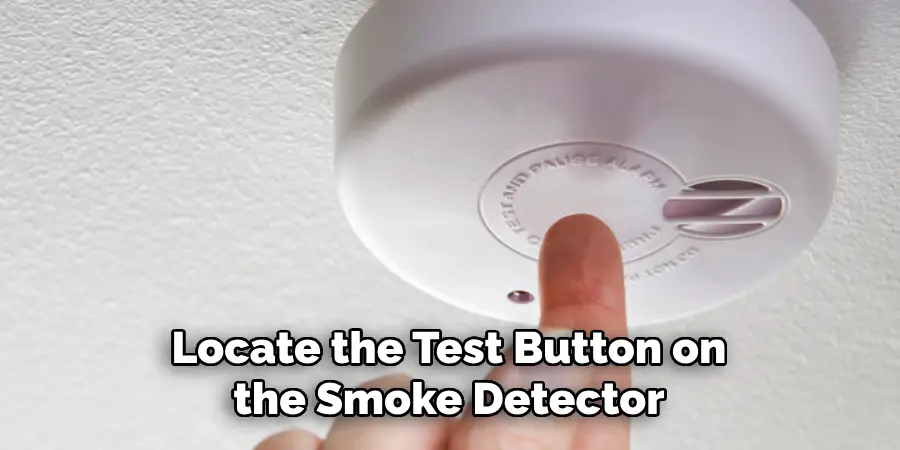
The detector should emit a loud warning sound, indicating it is operational. If your model has a test feature that simulates smoke, utilize this feature to ensure the detector accurately detects smoke. Testing confirms the installation was successful and that a fully functional smoke detection system once again protects your home.
By following these steps, you can safely and successfully disconnect a hardwired smoke detector. Whether for maintenance or replacement purposes, being able to perform this task yourself can save you time and money in the long run.
5 Additional Tips and Tricks
- Safety First: Always ensure that you turn off the main power supply to the smoke detector before attempting to unplug it. This prevents the risk of electric shock and ensures your safety throughout the process.
- Use the Right Tools: Arm yourself with a screwdriver that fits the device’s screws perfectly. Sometimes, a pair of needle-nose pliers may also be necessary to gently disconnect the wires. Having the right tools at hand simplifies the detachment process.
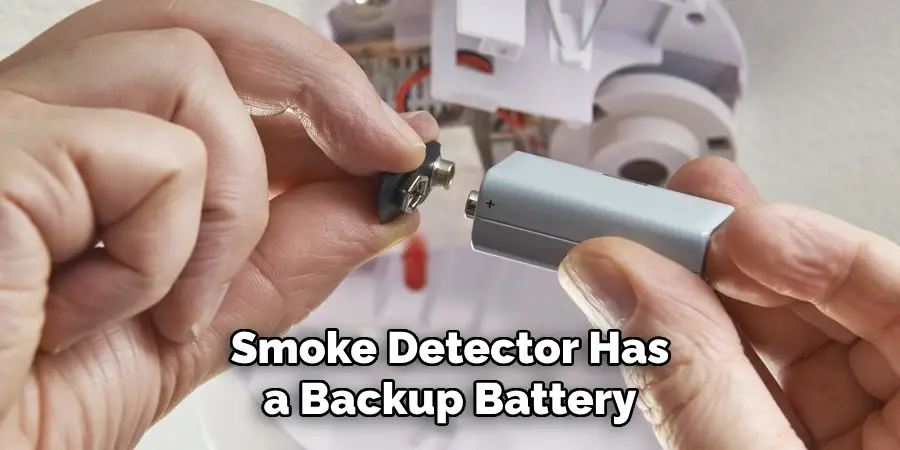
- Check for Secondary Power Sources: Some hardwired smoke detectors have a backup battery in case of a power outage. Be sure to remove this battery to power down the device fully before you start working on it.
- Label the Wires: Before disconnecting any wires, take a moment to label them or take a photo for reference. This step is crucial for ensuring that you can correctly reinstall or replace the smoke detector without any confusion.
- Consult the Manual: If you encounter any difficulties, refer to the smoke detector’s user manual. It often contains model-specific instructions and diagrams that can provide guidance and help you safely unplug the device.
With these extra tips and tricks, you can confidently unplug your hardwired smoke detector without any risks or complications.
5 Things You Should Avoid
- Skipping Safety Precautions: Never ignore the importance of turning off the main power supply. Working on an electrically live smoke detector can result in severe injury or electric shock.
- Using Improper Tools: Avoid the temptation to use a tool that doesn’t fit well with the screws or connectors. Inappropriate tools can damage the device and make it harder to repair or replace.
- Forgetting About the Backup Battery: Overlooking the removal of the backup battery can lead you to think the power is off when it’s not, potentially leading to safety hazards.
- Mixing Up the Wiring: Do not disconnect the wires without proper labeling or taking a photo first. Reconnecting wires incorrectly can cause the detector to malfunction, compromising your home’s safety.
- Forcing Parts Apart: Applying excessive force when removing the detector or disconnecting wires can break the device or the mounting bracket. Always handle the detector and its components gently to avoid damage.
By avoiding these common mistakes, you can ensure a smooth and safe experience when unplugging your hardwired smoke detector.
Why is Your Hardwired Smoke Detector Beeping?
Beeping is the most common issue with hardwired smoke detectors. It can occur due to various reasons, including low battery, power interruption, or dust buildup. To troubleshoot the beeping issue, follow these steps:
- Check the Battery: If your smoke detector has a backup battery, check if it needs replacement. A low battery can cause intermittent beeping.
- Reset the Alarm: Sometimes, a power surge or interruption can trigger the alarm to beep continuously. Resetting the smoke detector by turning off the main power for a few minutes and then turning it back on can solve this issue.
- Clean the Detector: Dust and debris buildup inside the detector can also cause beeping. Use a can of compressed air or gently vacuum the detector to remove any debris.
- Replace the Detector: If none of the above steps work, it may be time to replace your smoke detector. Over time, these devices can wear out and need replacement for optimal functionality.
In conclusion, understanding the common causes of beeping in hardwired smoke detectors and knowing how to troubleshoot them can help ensure your home’s safety and peace of mind.
How Can You Troubleshoot False Alarms?
False alarms can be frustrating and disruptive, but they can also indicate an underlying issue with your smoke detector. Here are some steps you can take to troubleshoot false alarms:
- Check for Obstructions: Make sure there are no obstructions, such as dust or insects, inside the detector that could trigger a false alarm.
- Clean the Detector: Dust and debris buildup can also cause false alarms. Use a can of compressed air or gently vacuum the detector to remove any debris.
- Replace the Battery: A low battery can cause false alarms, so make sure to replace it regularly.
- Check for Interference: Sometimes, other electronic devices in close proximity to the smoke detector can interfere with its signals, leading to false alarms. Move any potential sources of interference away from the detector.
- Test the Alarm: If none of the above steps work, it may be time to test the alarm itself. Follow the manufacturer’s instructions to test your specific model.
Continue to experience false alarms after trying these troubleshooting tips. Replace your smoke detector to ensure accurate alarms in case of a real emergency. Remember, it’s always better to be safe than sorry when it comes to the safety of your home and family.
What are the Signs of a Faulty Smoke Detector?
A faulty smoke detector can put your home and family at risk in the event of a fire. Here are some signs that may indicate your smoke detector needs to be replaced:
- Age: Most smoke detectors last 8-10 years before needing to be replaced.
- Frequent False Alarms: If your smoke detector is constantly beeping or going off without any apparent reason, it may be malfunctioning and need to be replaced.
- No Response during Testing: If the alarm does not sound when testing, it may indicate a faulty smoke detector that needs replacement.
- Visible Damage: Any physical damage, such as cracks or discoloration, could affect the smoke detector’s functionality and warrant replacement.
- Inconsistent Performance: If your smoke detector has consistently failed to detect or respond to previous alarms, it may be time for a new one.
If you notice any of these signs with your smoke detector, it’s essential to replace it as soon as possible for the safety of your home and family.
Conclusion
How to unplug hardwired smoke detector involves more than simply detaching the device from its mount. It requires a careful and informed approach to ensure safety and maintain the reliability of your fire alarm system.
By turning off the power, using the correct tools, removing the backup battery, correctly labeling and disconnecting wires, and handling the device with care, you can successfully unplug your hardwired smoke detector without compromising your safety or the device’s functionality.
Additionally, understanding how to troubleshoot common issues like beeping and false alarms extends the life of your smoke detector and ensures it functions at its best. Remember, the goal is not just to unplug the device but to do so in a way that upholds safety standards and prepares you for easy reinstallation or replacement.
Always prioritize safety, and when in doubt, consult with a professional to guide you through the process.