Are you a teacher tired of spending countless hours explaining complex diagrams and illustrations while teaching in the classroom?
Using an Aver document camera can significantly enhance teaching and presentation experiences by providing a clear, live view of documents, images, and objects. This versatile tool allows users to project high-quality visuals onto screens, making sharing information with an audience easier. Whether in a classroom, conference room, or office, the Aver document camera offers features such as zoom capabilities, image capture, and video recording, enabling dynamic engagement with materials.
This guide will walk you through the essential steps on how to use aver document camera, ensuring you make the most of its capabilities to elevate your presentations and discussions.
What Will You Need?
Before diving into using the Aver document camera, ensure you have all the necessary components. Here’s a list of items you’ll need:
- Aver document camera
- Power adapter and cable
- HDMI/ VGA cable (depending on your display device)
- Computer or projector with an available USB port
- Document or object for presentation
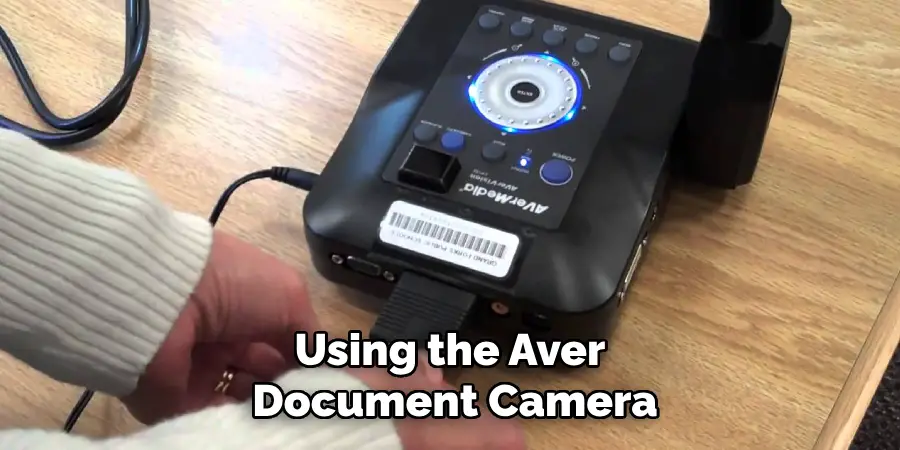
Once you have all these items, follow the steps below to get started with your Aver document camera.
10 Easy Steps on How to Use Aver Document Camera
Step 1: Set Up Your Equipment
To begin using your Aver document camera, first ensure that you have all your equipment properly arranged. Then, place the document camera on a flat, stable surface near your display device—this could be a computer monitor, projector, or television screen. Next, plug the power adapter into an electrical outlet and connect it to the Aver document camera. Once powered on, use the HDMI or VGA cable to connect the camera to your display device; make sure that both ends are securely plugged in.
Now that your connections are established, turn on your display device and select the appropriate input source that corresponds to the cable you used. If everything is set up correctly, you should see the live feed of your document camera on the screen. Adjust the camera angle and height as needed to capture the best view of your materials.
Step 2: Familiarize Yourself with the Controls
Now that your Aver document camera is set up and displaying on your screen take a moment to familiarize yourself with its controls. Locate the main buttons and features, typically including options for zooming in and out, adjusting brightness, and capturing still images. Some models may also have touch controls or a remote for added convenience.
Experiment with each control to understand how they affect the live feed, ensuring you’re comfortable using them during your presentation. This will help you effectively showcase documents or objects without any distractions.
Step 3: Prepare Your Document or Object
Once you’re familiar with the controls of your Aver document camera, it’s time to prepare the document or object you wish to present. Ensure the materials are clean and free from clutter to ensure optimal visibility. If you’re showcasing a physical object, position it in a well-lit area to highlight its details clearly. For documents, consider adjusting the lighting in the room to avoid glare on the pages.
Place the material directly under the camera lens, ensuring it is within the focus range for the best image quality. This preparation will enhance the viewer’s experience, allowing them to engage with the content more effectively.
Step 4: Adjust the Camera Settings
With your document or object positioned correctly, it’s time to adjust the camera settings for optimal viewing. Begin by selecting the appropriate resolution on your document camera if your model allows for it, as different resolutions may enhance clarity depending on the detail of the material. Next, utilize the zoom feature to focus on specific areas of your document or object, ensuring that essential information is visible to your audience. Adjust the brightness and contrast settings to create a well-lit, easily viewable image.
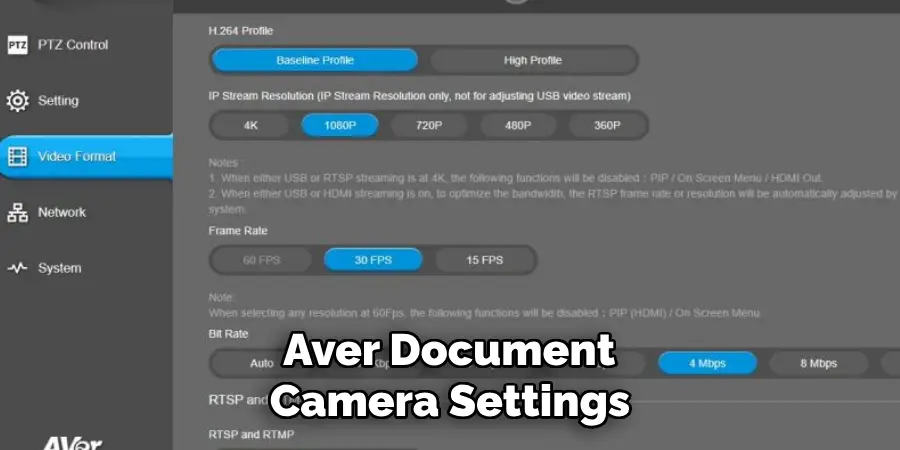
Finally, if your camera supports image stabilization, enable this feature to reduce shakiness or blurriness during your presentation. These adjustments will help capture your audience’s attention and maintain their engagement throughout your session.
Step 5: Start Your Presentation
Now that you’ve adjusted your camera settings, it’s time to begin your presentation. Take a deep breath and feel confident in the preparation you’ve made. Start by introducing the document or object you will showcase, providing context and relevant background information to engage your audience.
As you present, utilize the zoom and focus features to highlight key points, allowing your viewers to see intricate details. Remember to periodically gauge your audience’s reactions and adjust your pace and focus as needed to maintain their interest. This interactive approach will create a more dynamic learning environment, fostering meaningful discussions and inquiries.
Step 6: Engage Your Audience
As you continue your presentation, actively engage your audience by inviting questions and encouraging participation. For effective interaction, pause periodically to allow attendees to ask for clarification or share their thoughts on the presented material. You can also pose questions to the audience to prompt discussions or reflections on what they are seeing.
Utilizing features such as the freeze frame or image capture on the Aver document camera can help maintain focus on specific content while you address inquiries. By fostering an engaging atmosphere, you enhance the learning experience and encourage a deeper understanding of the subject matter.
Step 7: Incorporate Visual Aids
To further enhance your presentation, consider incorporating additional visual aids alongside your document camera feed. This could include slides, charts, or videos that complement the information you share. If you use presentation software, switch to the corresponding application on your display device while keeping the document camera feed visible.
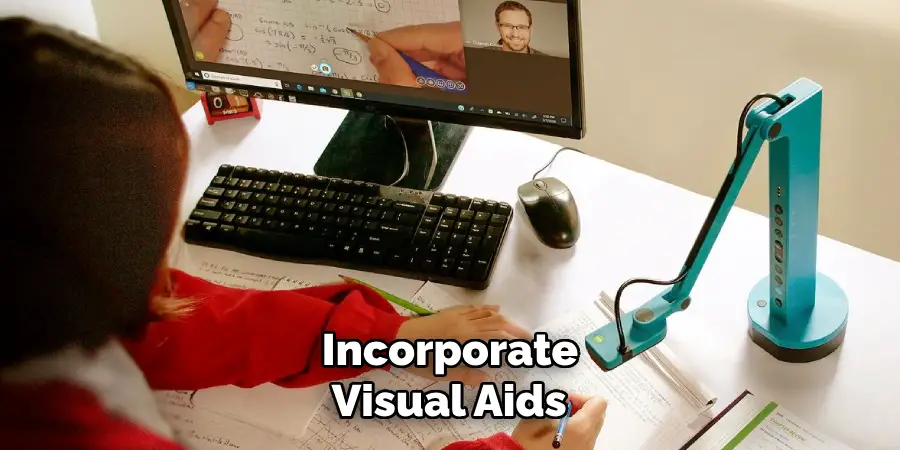
This way, you can create a multi-faceted approach to your presentation, appealing to different learning styles within your audience. Make sure to seamlessly transition between the document camera and your visual aids to maintain a coherent flow and keep your audience engaged. Utilizing multiple formats will reinforce your message and make your presentation more dynamic and memorable.
Step 8: Conclude Your Presentation
As you near the end of your presentation, it’s crucial to summarise the key points you’ve covered. Recap the main aspects of the document or object showcased, reinforcing the significance of the information shared. Invite final questions from your audience to clarify any outstanding points and ensure comprehensive understanding.
Express appreciation for their participation and engagement throughout the session, as this fosters a positive learning environment. Additionally, provide any relevant resources or follow-up materials that could enhance their knowledge.
Step 9: Gather Feedback
After concluding your presentation, take the time to gather feedback from your audience. This can be done through informal conversations, feedback forms, or surveys. Encourage participants to share their thoughts on the clarity of your presentation, the effectiveness of the document camera usage, and any other aspects that could be improved.
Understanding your audience’s perspective is invaluable for refining your presentation skills and enhancing future sessions.
Step 10: Review and Reflect
Finally, once your presentation is complete, set aside time to review and reflect on the experience. Consider what worked well and what could be improved for next time. Evaluate how effectively you used the Aver document camera and whether the audience engaged with the material as you intended. Document these reflections to inform your preparation for future presentations, ensuring continuous growth in your capabilities as a presenter.
By following these ten steps, you can effectively utilize the Aver document camera to engage and educate your audience in various settings.
5 Things You Should Avoid
- Neglecting Preparation: Remember to complete essential preparation steps before your presentation. Failing to organize materials or test equipment can lead to technical difficulties and a disjointed presentation.
- Overloading Visuals: Avoid cluttering your presentation with too many visuals or distractions. Ensure that each element you display serves a clear purpose and enhances understanding of the critical content.
- Ignoring Audience Engagement: Don’t overlook opportunities to engage your audience. Failing to interact with viewers can lead to disengagement and decreased interest in your presentation.
- Inconsistent Lighting: Be cautious of inconsistent lighting, as poor lighting can hinder visibility and clarity. Regardless of the environment, ensure your document camera is set up in a well-lit area to showcase your materials effectively.
- Rushing Through Content: Only speed through your presentation by allowing time for questions or discussions. Ensure you pace yourself, allowing your audience to process information and interact with the presented content.
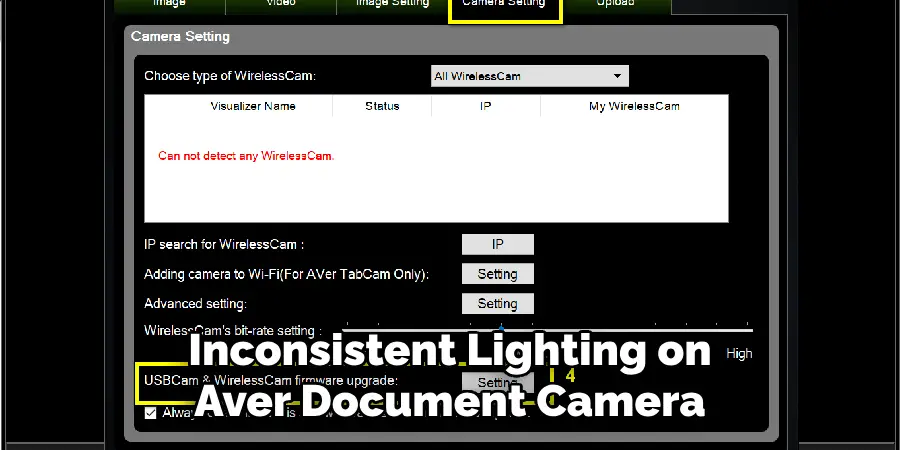
By avoiding these common mistakes, you can make the most of your Aver document camera and deliver a successful presentation that engages and educates your audience.
Conclusion
In summary, the Aver document camera is a versatile tool to enhance your presentations by fostering engagement and improving visual communication.
By carefully preparing your materials, actively involving your audience, and incorporating various visual aids, you create a dynamic learning environment that caters to diverse learning styles. Remember to maintain a steady pace, ensure clarity, and allow for questions throughout your presentation. Furthermore, by reflecting on your experience and gathering feedback, you can continuously refine your skills and maximize the impact of your future presentations.

