The Elmo Projector is a versatile educational tool that enhances learning experiences by allowing educators to share images, documents, and objects in real-time. With its user-friendly design and high-quality projection capabilities, the Elmo Projector brings teaching materials to life, facilitating interactive lessons and engaging students in various subjects.
This guide explores the key aspects of how to use elmo projector. Whether used in classrooms, presentations, or training sessions, this innovative device helps bridge the gap between traditional teaching methods and modern technology, making it an essential addition to any educational environment.
What is an Elmo Projector?
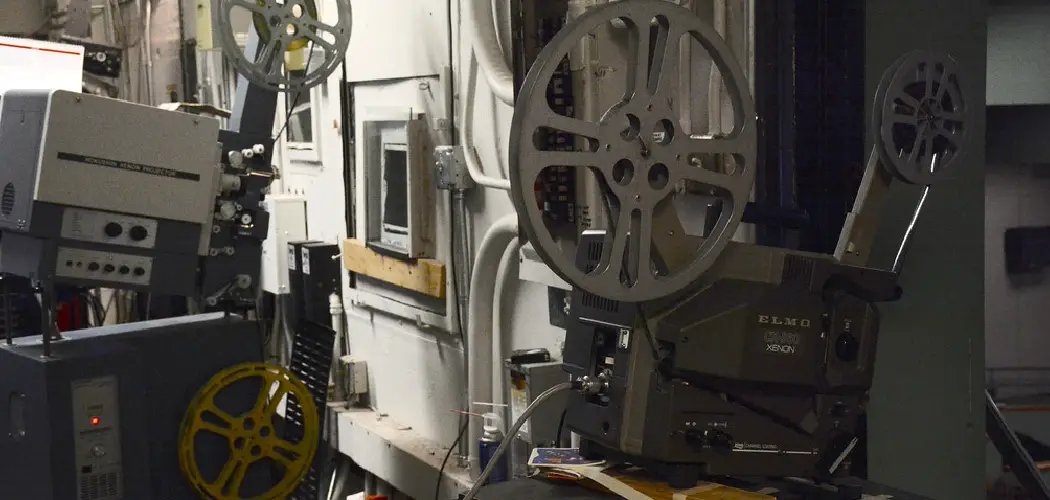
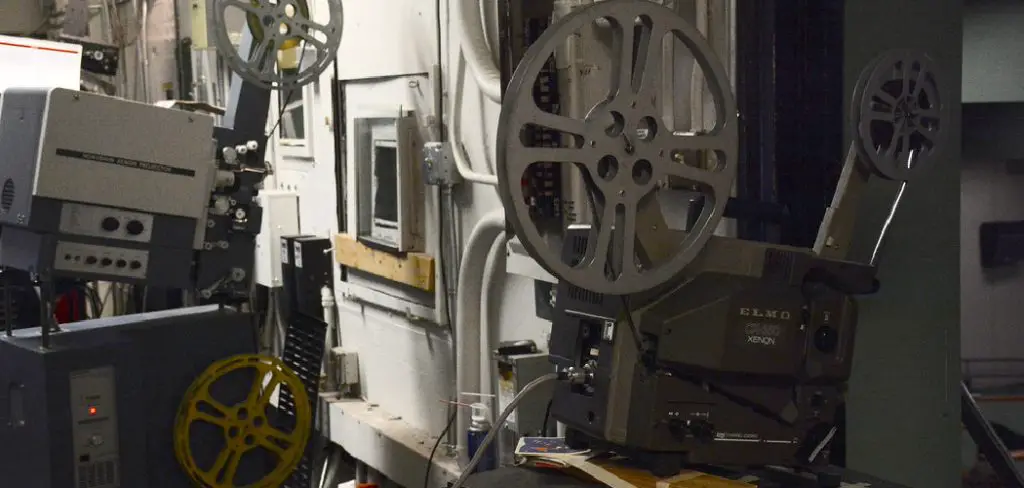
An Elmo projector is a type of visual presenter or document camera that allows users to display images, documents, and three-dimensional objects onto a screen or wall for better visibility and comprehension. This device captures and projects live images using a high-resolution camera, making it ideal for classrooms, conference rooms, and training environments.
Elmo projectors often come equipped with a range of features, such as zoom functions, annotation capabilities, and connectivity options that allow integration with computers and other devices. By transforming traditional teaching resources into dynamic visual presentations, Elmo projectors facilitate enhanced engagement and understanding among students and audiences.
Importance of Understanding the Use of an Elmo Projector
Understanding how to effectively use an Elmo projector is crucial for maximising its potential as an educational tool. Proper knowledge of its features and functionalities not only enhances the teaching experience but also fosters student engagement and participation. By mastering the use of an Elmo projector, educators can present complex concepts visually, making learning more accessible and enjoyable for students.
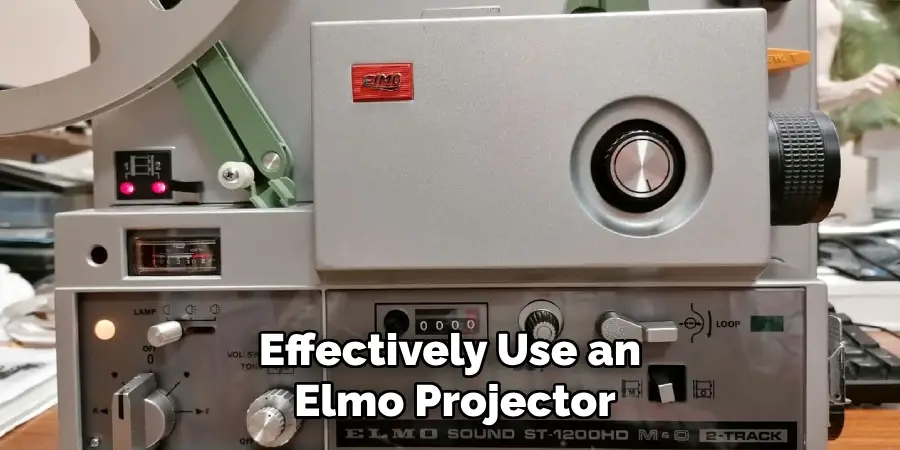
Additionally, being adept in operating this technology allows for seamless integration into lesson plans, thus promoting a more interactive and stimulating classroom environment. As technology continues to evolve in education, familiarity with tools like the Elmo projector prepares educators to adapt to various instructional methods and elevate the overall learning experience.
10 Methods How to Use Elmo Projector
1. Setting Up the Elmo Projector for Optimal Use
To get started with an Elmo projector, it’s crucial to ensure that the device is set up correctly. Begin by choosing an appropriate location for the projector. This should be a stable surface where the projector can be positioned without obstruction, ideally in a room with controlled lighting conditions to maximize visibility. Once you’ve found the right spot, connect the power cord to a suitable outlet.
Turn on the projector by pressing the power button, typically located on the top or side of the unit. Ensure the projector is connected to your desired input source, such as a computer, DVD player, or any other multimedia device, using the appropriate cables (VGA, HDMI, or USB).
2. Connecting the Elmo Projector to a Computer
One of the most common uses of an Elmo projector is for displaying content directly from a computer. To achieve this, you’ll need to connect the computer to the projector using a suitable cable, typically VGA or HDMI, depending on your computer’s output port.
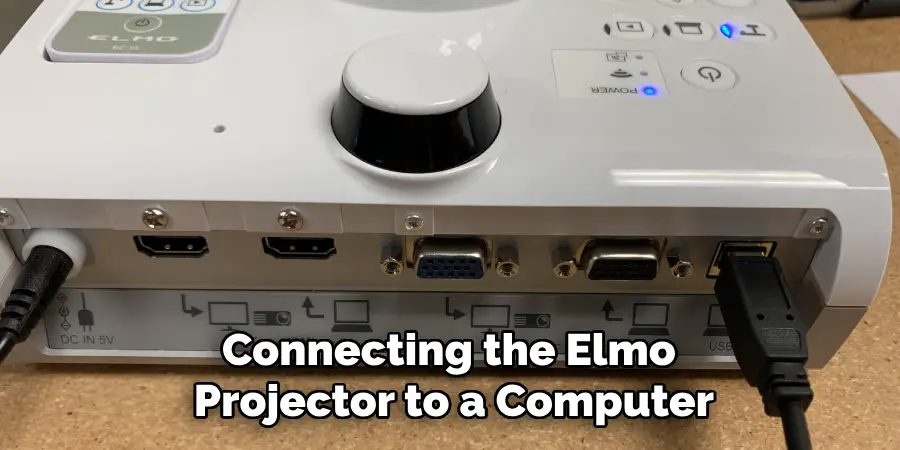
After connecting the cable, switch the projector’s input source to match the connection type you’ve used. Most projectors have a button labeled “Input” or “Source” that allows you to cycle through options.
Once the input is selected, the computer’s display should be mirrored on the projection screen. If the image doesn’t appear, check the display settings on your computer.
3. Using the Elmo Projector as a Document Camera
Elmo projectors are often equipped with built-in document cameras, making them highly versatile for displaying physical documents, objects, or even live demonstrations. To use the projector in this mode, unfold the camera arm and position it above the item you wish to display. Ensure that the item is placed within the camera’s field of view.
Power on the document camera by selecting the appropriate mode on the projector’s control panel. The live image from the document camera will then be projected onto the screen.
4. Adjusting the Image Quality and Brightness
To ensure that the content displayed through your Elmo projector is of the highest quality, it’s important to fine-tune the image settings. Most Elmo projectors come with options to adjust brightness, contrast, and color settings. Start by navigating to the projector’s menu, usually accessible via a remote control or on-device buttons.
From the menu, locate the image or picture settings. Here, you can increase or decrease the brightness depending on the ambient lighting of the room. Higher brightness is typically needed in well-lit environments, while lower brightness may be more suitable for darker rooms.
5. Integrating Audio with the Elmo Projector
For presentations that include video or audio elements, integrating sound with your Elmo projector setup is essential. Begin by identifying whether your Elmo projector has built-in speakers or if you need to connect external speakers. If using external speakers, connect them to the projector via the appropriate audio-out port, typically a 3.5mm headphone jack or RCA connectors.
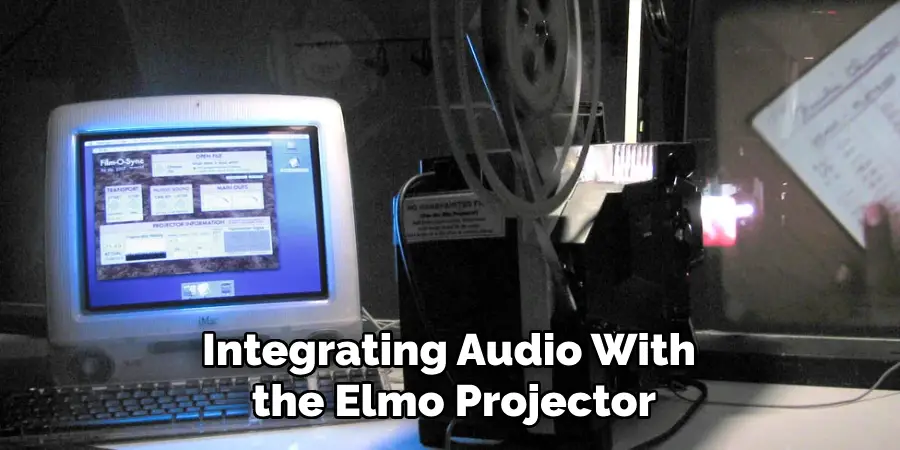
After the physical connection is made, ensure that the audio source (e.g., computer, DVD player) is properly connected to the projector using HDMI (which carries both video and audio) or a separate audio cable if necessary. Navigate to the projector’s audio settings menu to adjust the volume levels and test the audio output.
6. Using the Elmo Projector for Interactive Presentations
One of the advanced features of some Elmo projectors is the ability to conduct interactive presentations. This is particularly beneficial in classrooms or collaborative work environments. To use this feature, you may need to connect the projector to a compatible interactive whiteboard or use an interactive pen provided with the projector.
Start by installing any necessary software that accompanies the projector or interactive device. Once set up, you can interact directly with the projected content, drawing, annotating, or navigating through presentations. This functionality transforms a traditional projection setup into an engaging, hands-on experience.
7. Capturing and Recording Presentations
Some Elmo projectors offer the capability to capture and record the presentations or documents displayed. This is particularly useful for creating lecture materials or preserving meeting discussions for future reference. To utilize this feature, connect a USB drive or SD card to the projector’s recording input. Navigate to the projector’s recording menu, and select the option to start recording.
The projector will then capture the displayed content, including any annotations or interactive elements you may add during the session. Once finished, stop the recording and safely remove the storage device. You can then transfer the recorded files to a computer for editing or distribution.
8. Utilizing the Elmo Projector for Video Playback
The Elmo projector is not just limited to presentations and documents; it can also be used effectively for video playback. To play a video, connect the projector to a media source such as a laptop, DVD player, or USB drive containing the video files. Ensure the projector is set to the correct input source. If you’re using a USB drive, insert it into the appropriate port and navigate through the projector’s menu to access the media player.
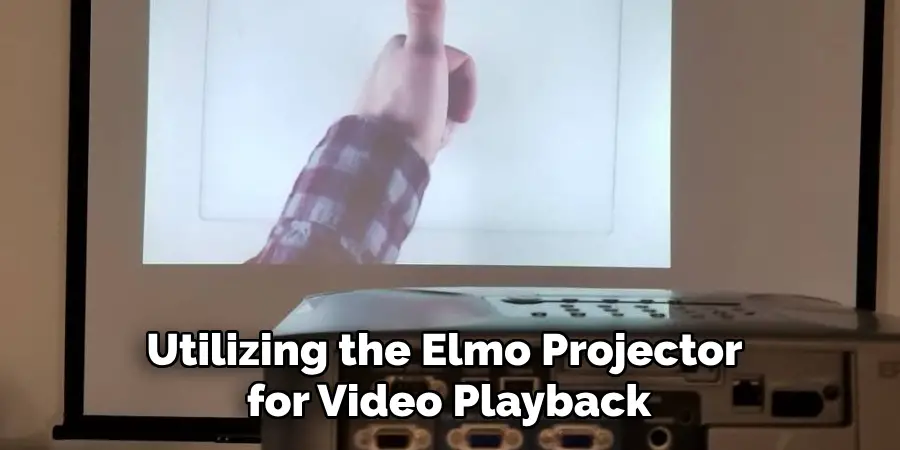
Select the desired video file and play it directly from the projector. For videos with sound, ensure your audio setup is correctly configured, as described earlier. Adjust the playback settings, including aspect ratio and volume, to suit your audience and environment.
9. Performing Regular Maintenance and Troubleshooting
To keep your Elmo projector in optimal working condition, regular maintenance is essential. Start by cleaning the projector’s lens regularly using a microfiber cloth to prevent dust buildup, which can blur the image. If your projector has a filter, check and clean it according to the manufacturer’s instructions to ensure proper airflow and prevent overheating.
Periodically check the projector’s lamp hours and replace the bulb when it nears the end of its lifespan to maintain brightness and image quality. If you encounter issues such as no display, poor image quality, or connectivity problems, refer to the troubleshooting section of the user manual. Common fixes include checking cable connections, resetting the projector to factory settings, or updating the firmware.
Keeping the projector clean and addressing minor issues promptly will extend its life and ensure consistent performance.
10. Exploring Advanced Features and Customizations
Finally, to get the most out of your Elmo projector, take the time to explore its advanced features and customization options. Depending on the model, your projector may offer features such as split-screen display, where you can project two sources side by side, or picture-in-picture mode, which allows a smaller window of one source to be displayed over another. Additionally, you may be able to adjust settings such as keystone correction, which helps to straighten the image if the projector is not perfectly aligned with the screen.
Conclusion
By following these ten methods, you can fully harness the capabilities of an Elmo projector, whether for educational, professional, or entertainment purposes. From initial setup to exploring advanced features, each step ensures that you deliver high-quality presentations and experiences tailored to your audience’s needs.
Hopefully, this article gave you some helpful tips about how to use elmo projector successfully, so now that you have the proper knowledge on how to get the job done, why not give it a try today?