How do you install a fire alarm system in your home or office? A fire alarm system is a crucial safety measure that can save lives and reduce property damage in the event of a fire.

Wiring a fire alarm system is a critical task that plays a pivotal role in the safety and security of any building, be it residential or commercial. The process involves creating a network of alarms that are efficiently connected to detect and warn people through visual and audio appliances when smoke, fire, carbon monoxide, or other emergencies are present.
Wiring a fire alarm system not only ensures compliance with safety standards but also provides peace of mind by enhancing the protective measures within a structure.
This guide aims to simplify the complexities involved in the wiring process, offering step-by-step instructions on how to wire fire alarm system.
What are the Benefits of Wiring a Fire Alarm System?
Before delving into the wiring process, let’s first understand why wiring a fire alarm system is essential.
- Early Detection: A wired fire alarm system allows for early detection of smoke or fire, giving people more time to evacuate the building and call for help. In an emergency situation, every second counts, and a wired system can significantly reduce response time.
- Coverage and Reliability: Wired fire alarm systems provide comprehensive coverage of a building, ensuring that all areas are adequately protected. Additionally, these systems have a reliable power source, making them less susceptible to failures or malfunctions.
- Remote Monitoring: With advances in technology, most wired fire alarm systems now offer remote monitoring capabilities. This means that even when you are not on the premises, you can still receive alerts and notifications in case of an emergency.
- Cost-Effective: While the initial installation costs may be higher than a wireless system, wired fire alarm systems require minimal maintenance and have a longer lifespan, making them more cost-effective in the long run.
Now that we understand the benefits of wiring a fire alarm system let’s move on to the steps involved in the process.
What Will You Need?
- Fire Alarm Control Panel
- Smoke/Heat Detectors
- Manual Call Points
- Sounders/Strobes
- Power Supply and Backup Battery
- Conduit, Wires, and Connectors
Once you have gathered all the necessary equipment, follow these steps to wire your fire alarm system.
8 Easy Steps on How to Wire Fire Alarm System
Step 1. Plan Your Layout:
Before you start, it’s crucial to plan the layout of your fire alarm system. Determine where you will place the fire alarm control panel, smoke/heat detectors, manual call points, and sounders/strobes. Consider the layout of your building and place detectors in high-risk areas such as kitchens, bedrooms, and hallways.
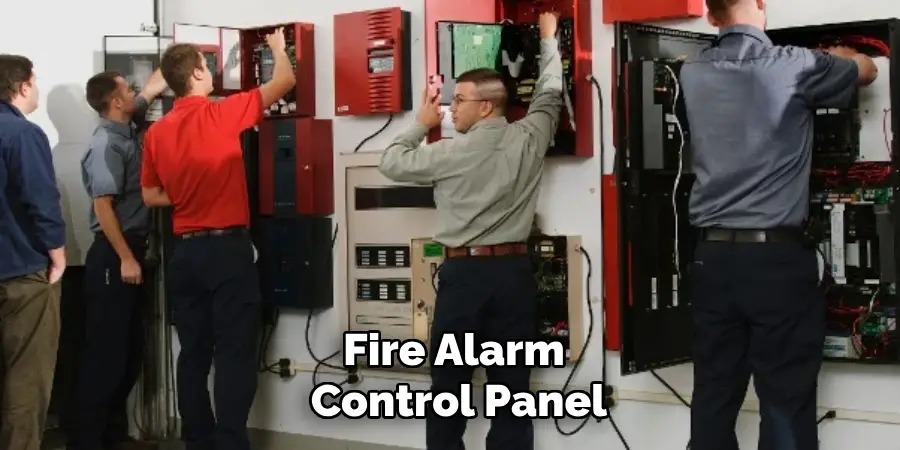
Step 2. Install the Fire Alarm Control Panel:
The Fire Alarm Control Panel (FACP) serves as the brain of your fire alarm system, managing and monitoring the inputs and outputs to detect fire conditions and alert occupants. To install the FACP:
- Select an Appropriate Location: The FACP should be installed in a location that is both accessible to first responders and secure from potential tampering or environmental damage. It’s commonly placed in utility rooms, near the main entrance, or in other easily accessible areas.
- Mount the Panel: Securely mount the panel on the wall, respecting the manufacturer’s instructions regarding clearance, ventilation, and environmental conditions. Ensure the installation surface can support the panel’s weight.
- Connect Power Supply: Connect the FACP to a dedicated power source. This step should comply with the electrical codes in your area. It’s crucial to connect both the primary power supply and the backup battery to ensure the system remains operational during a power outage.
- Label and Organize Wiring: It’s essential to label each wire according to its connection point. This practice will help during both the installation and any future troubleshooting or maintenance work. Use cable organizers to prevent wire tangling and ensure a neat installation.
The installation of the Fire Alarm Control Panel is a critical step that sets the foundation for the rest of the system. Proper installation ensures that the system will function correctly and reliably, providing the necessary protection for the premises and its occupants. After completing this step, you can proceed with installing the detection devices and alarm signaling equipment.
Step 3. Install Smoke/Heat Detectors:
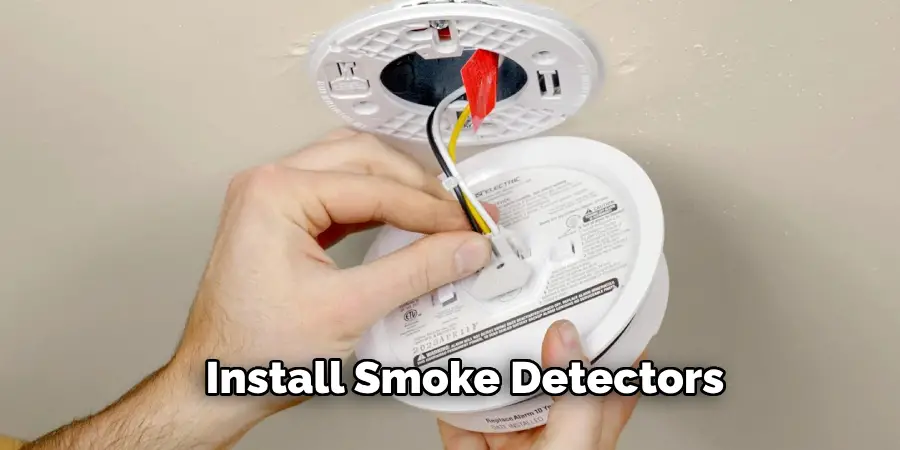
After setting up the Fire Alarm Control Panel, the next critical step is to install Smoke/Heat Detectors. These devices are the first line of defense in identifying potential fire hazards, rapidly detecting smoke or an increase in temperature that could indicate the onset of a fire.
To ensure optimal coverage and functionality, it’s important to strategically place these detectors throughout the premises.
Smoke detectors are most effective when placed on ceilings as smoke rises. They should be centrally located in each room, away from walls and corners, to avoid dead zones.
For heat detectors, placement is crucial in areas where smoke detectors may not perform well, such as kitchens or garages, where normal activities could trigger false alarms.
Step 4. Connect Manual Call Points:
Manual Call Points (MCPs), also known as manual pull stations, provide a means for occupants to manually initiate an alarm in case of a fire. Strategically placing MCPs at exits, hallways, and other accessible locations ensures that individuals can easily activate the fire alarm system if they detect a fire. To install MCPs:
- Choose Accessible Locations: Ensure that the MCPs are easy to reach, especially for individuals with disabilities.
- Connect Wiring: Connect the wiring from the FACP to each MCP as per the manufacturer’s instructions.
- Test the Connection: After installation, it’s crucial to test each MCP to ensure they correctly transmit a signal to the FACP when activated.
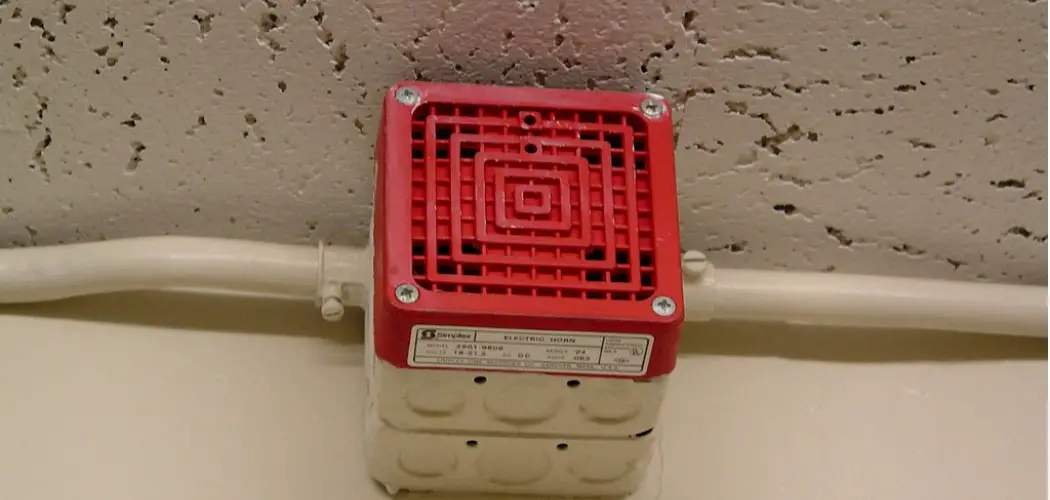
Step 5. Install Sounders/Strobes:
Alerting occupants in the event of a fire is critical for safety, and this is achieved by installing sounders and strobes throughout the building. Sounders, or alarms, create an audible signal that is unmistakable, ensuring that everyone in the building is aware of the emergency situation regardless of where they are. Strobes, on the other hand, provide a visual alert, which is particularly important in noisy environments where the sound of an alarm might not be heard or for individuals who are hearing impaired.
These devices should be distributed in a manner that maximizes their effectiveness, covering all areas, including remote corners and spaces that are less frequently used.
Connecting these to the Fire Alarm Control Panel allows for a synchronized alert system that activates immediately upon detection of a fire, ensuring a swift response and evacuation process. Proper installation of sounders and strobes is not only a requirement for compliance with safety regulations but also a crucial component in safeguarding lives and property.
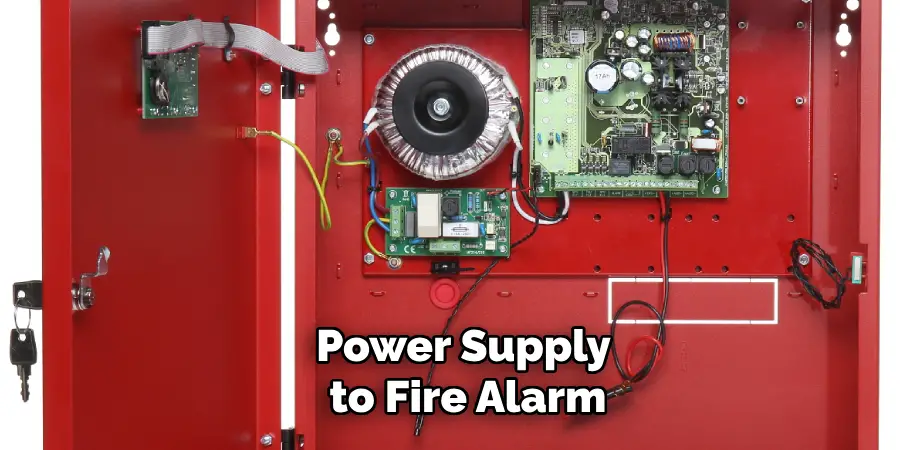
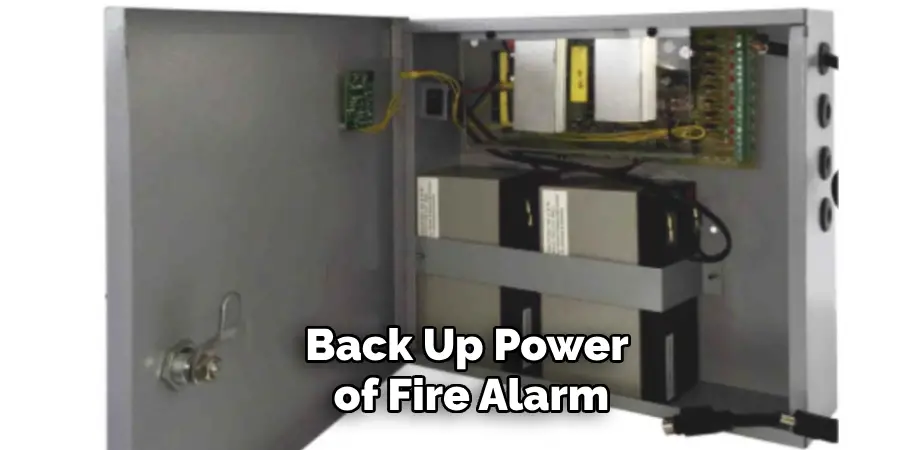
Step 6. Wire the Power Supply and Backup Battery:
Ensuring a reliable power supply to your fire alarm system is essential for its continuous operation, particularly during emergencies when power outages are common. The next step involves wiring the power supply and backup battery. Start by connecting the primary power source to the Fire Alarm Control Panel (FACP).
This connection should be made in accordance with your local electrical codes to ensure safety and compliance. Following this, attach the backup battery, which will power the system in the event of a primary power failure. It’s important to regularly check and maintain the battery to guarantee that it will function when needed. Proper installation of the power supply and backup battery guarantees that your fire alarm system remains operational 24/7, ensuring the safety of the building’s occupants at all times.
Step 7. Conduct System Tests and Inspections:
After completing the installation and wiring of the fire alarm system, including the Fire Alarm Control Panel (FACP), Smoke/Heat Detectors, Manual Call Points (MCPs), Sounders/Strobes, and ensuring a reliable power supply and backup battery, the next crucial phase is conducting comprehensive system tests and inspections.
This essential step verifies the functionality and effective operation of each component within the system. Testing involves simulating various emergency scenarios to ensure that the detectors accurately identify smoke or heat, the manual call points send immediate signals to the FACP, and the sounders and strobes activate promptly to alert occupants.
Additionally, inspections assess the physical and operational condition of the equipment, checking for any signs of damage or wear that could impede performance. These evaluations should be thoroughly documented, and any discovered issues should be promptly addressed to maintain optimal system integrity.
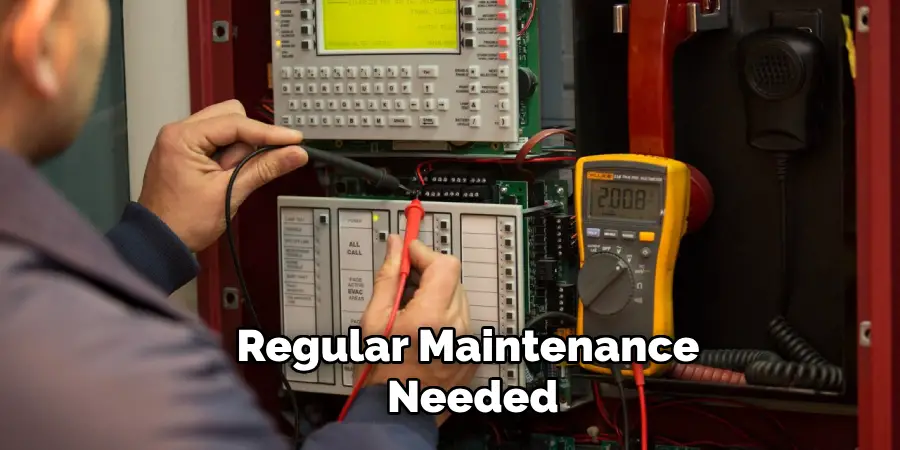
Step 8. Implement Regular Maintenance Schedule:
Implementing a regular maintenance schedule is imperative to ensure the fire alarm system remains reliable and effective. Regular maintenance includes cleaning detectors to prevent false alarms caused by dust accumulation, testing all system components for functionality, and replacing any parts that are not operating as they should.
It’s crucial to document each maintenance activity, including the date, findings, and corrective actions taken. Establishing a schedule for these activities, such as quarterly or bi-annually, depending on the system’s complexity and manufacturer’s recommendations, ensures the system’s longevity and reliability. This preventive approach helps identify potential issues before they escalate into serious problems, thereby safeguarding the premises and its occupants continuously.
By following these steps, building owners can ensure the proper installation and function of their fire alarm systems.
5 Additional Tips and Tricks
- Label Everything: Before you start wiring, label each wire and component. This makes troubleshooting and future upgrades significantly easier, reducing the time spent tracing wires back to their source.
- Use the Right Tools: Invest in quality tools designed for wiring fire alarm systems, such as wire strippers, crimpers, and a multimeter. Proper tools ensure a safer installation and help prevent damage to wires and components.
- Follow Local Codes and Standards: When installing or modifying fire alarm systems, always consult and adhere to local building codes and NFPA standards (National Fire Protection Association). Compliance with these regulations ensures the system’s legality and effectiveness in an emergency.
- Test as You Go: After installing each component, test it before moving on to the next. This approach helps identify any issues early in the process, making it easier to rectify problems without having to retrace your steps.
- Plan for Future Expansion: When designing and installing the system, consider potential future expansions or upgrades. Leave some extra capacity in control panels and conduit runs to facilitate easy additions or changes to the system later on.
With these additional tips and tricks, you can ensure a smooth and effective installation of your fire alarm system.
5 Things You Should Avoid When Wiring a Fire Alarm System
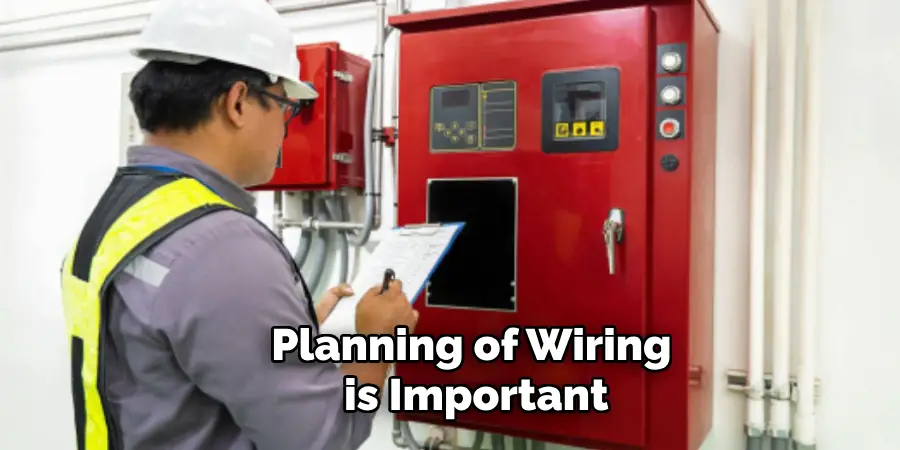
- Skipping the Planning Phase: Jumping into installation without a detailed plan is a recipe for problems. It’s essential to map out every aspect of the system, including component placement and wiring paths, to avoid costly mistakes and rework.
- Ignoring Manufacturer’s Instructions: Each fire alarm system component may have specific installation requirements. Failure to follow these can lead to improper system functioning or void warranties.
- Using Mismatched Components: Not all components are compatible. Using parts from different manufacturers or systems without checking compatibility can result in system failure or hazardous conditions.
- Poor Wire Management: Leaving wires tangled, unsecured, or too tightly pulled can lead to damage and signal interference. Proper organization and securing of wiring ensure reliability and ease of maintenance.
- Overlooking Backup Power Solutions: Fire alarm systems must operate during power outages. Neglecting to install or maintain backup power solutions, like battery backups or generators, compromises the system’s effectiveness in emergencies.
By avoiding these common mistakes, you can further ensure the reliability, compliance, and functionality of your fire alarm system.
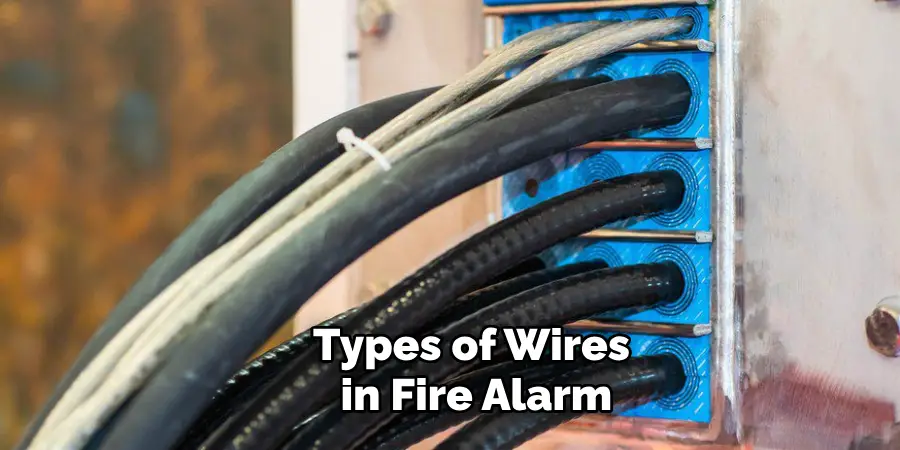
What Wires Are Used in Fire Alarm System?
The specific types of wires used in a fire alarm system may vary, depending on the system’s design and components. However, there are some standard wire types commonly found in fire alarm systems:
- Power Supply Wiring: This type of wire supplies power to various components of the fire alarm system, such as control panels, notification appliances, and detectors.
- Initiating Device Circuits (IDC) Wiring: These wires connect to devices that detect potential fire hazards, such as smoke detectors, heat detectors, and manual pull stations.
- Notification Appliance Circuit (NAC) Wiring: NAC wiring connects to audible or visual notification appliances, such as horns, strobes, or speakers.
- Control Loops Wiring: These wires connect to control panels and allow communication between different system components.
- Data Communication Wiring: In modern fire alarm systems, data communication wiring connects all devices, including detectors, alarms, and control panels, to a central monitoring station.
When wiring a fire alarm system, the correct types and gauges of wires are crucial to ensure proper compatibility and functionality. Consulting with the manufacturer’s specifications and following local codes and standards can help determine the appropriate wire types for your specific system.
Are Fire Alarms AC or DC?
Fire alarm systems can operate on both alternating current (AC) and direct current (DC). The power source for a fire alarm system is typically AC, supplied through a building’s electrical grid.
However, most fire alarm systems also have built-in backup power sources, such as batteries or generators, that provide DC power in case of an AC power outage.
Some components of a fire alarm system, such as smoke detectors and control panels, may also require DC power to function properly. Therefore, a combination of both AC and DC power is essential for the proper functioning of a fire alarm system.
Why is Your Fire Alarm System Beeping?
There are several reasons why a fire alarm system may be beeping, including:
- Low Battery: Most fire alarm systems have backup batteries that provide power in case of an AC power outage. If the battery is low or dead, the system will beep to alert you to replace it.
- Faulty Component: A malfunctioning component, such as a smoke detector or control panel, can cause the system to beep. It is crucial to identify and replace the faulty component as soon as possible.
- Loose Connections: Loose wiring connections can disrupt the system’s electrical flow and result in beeping. Checking and securing all connections can resolve this issue.
- Power Outage: If there is a power outage, the system may beep to alert you that it is running on backup power. Once the power is restored, the beeping should stop.
If your fire alarm system continues to beep after addressing these potential causes, it may indicate a more severe problem and require professional assistance. It’s important not to ignore a beeping fire alarm system as it could mean there is a potential fire hazard or malfunction in the system. Promptly addressing any issues can ensure the safety and functionality of your fire alarm system.
Conclusion
In conclusion, how to wire fire alarm system requires careful preparation, adherence to specific standards, and attention to detail.
From the planning phase to selecting the correct types of wires and ensuring the compatibility of components, every step is vital to create a reliable and effective fire alarm system. Avoid common mistakes such as neglecting the manufacturer’s instructions or overlooking the need for backup power solutions.
Remember, the primary goal of a fire alarm system is to ensure the safety of occupants by providing early warning in the event of a fire. Properly wired and maintained, your fire alarm system will function as an integral part of your building’s safety measures, offering peace of mind and protection for both property and lives.
Following the guidelines and best practices outlined in this document will assist in the successful installation and operation of your fire alarm system.