Are you tired of tables that look empty and bare? Adding a leaf to your table is an easy way to give it a more decorative and sophisticated touch.
How to add a leaf to a table is a practical solution for extending your dining or work surface to accommodate more people or projects. Many dining tables are designed with this flexibility in mind, allowing you to adjust the table size to suit your needs. Whether you’re hosting a large dinner party or need extra space for a project, knowing how to insert a table leaf properly can be incredibly useful.
This guide will provide you with step-by-step instructions, ensuring that the process is straightforward and efficient. This will allow you to maximize the functionality of your furniture seamlessly.
What Will You Need?
Before you begin the process of adding a leaf to your table, it’s essential to gather all the necessary materials. Here’s what you’ll need:
- Your table with extension leaves
- The leaf or leaves that came with your table
- Table pads (optional but recommended)
- A helper (optional but highly recommended)
A second pair of hands can make this process much easier and safer, especially if the table is heavy or oversized.
10 Easy Steps on How to Add a Leaf to a Table
Step 1. Prepare the Table
Start by clearing the table of any items to ensure an unobstructed workspace. This includes removing tablecloths, placemats, or any decorations on the surface. Starting with a clean and empty table is crucial to avoid any items falling or breaking during the process. Once the table is cleared, move it to a spacious area.
This additional space allows for more effortless movement and alignment of the table parts as you insert the leaf. Make sure the surface is sturdy and not wobbling by adjusting any legs or mechanisms that may need tightening. This will provide better stability when handling potentially heavy components.
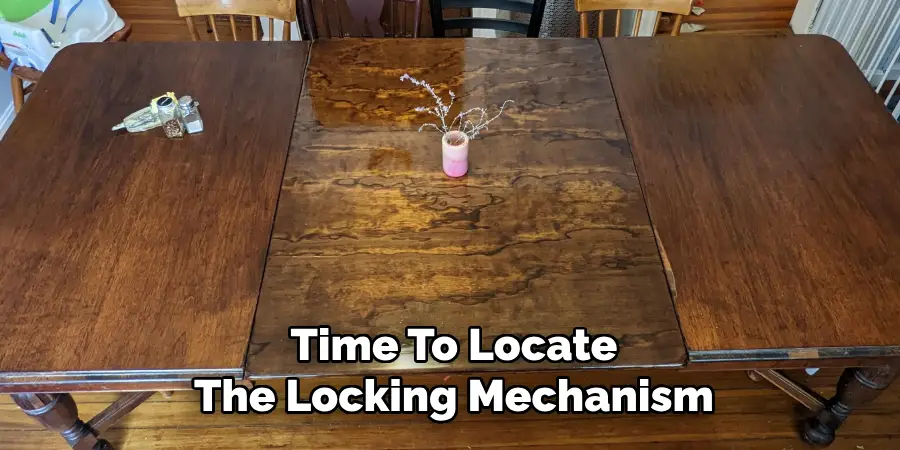
Step 2. Unlock the Table Mechanism
Once your table is in position, it’s time to locate the locking mechanism that keeps the table together. This mechanism is usually found underneath the tabletop. Depending on your table’s design, it might be a latch, lever, or clasp. Carefully unlock or unfasten this mechanism to allow the table to slide apart easily. Ensure you do this step gently to avoid causing damage to the table’s structure.
Step 3. Separate the Table Halves
With the locking mechanism released, gently pull the table halves apart to create an opening for the leaf. You might need the help of another person to ensure the halves slide smoothly without straining the table’s joints or causing damage. Keep the table halves evenly spaced on both sides to maintain balance. Once there’s enough room in the middle of the table for the leaf, make sure the sections are stable and supported if necessary. This stage is crucial as it prepares the table to accommodate the additional leaf securely when inserted.
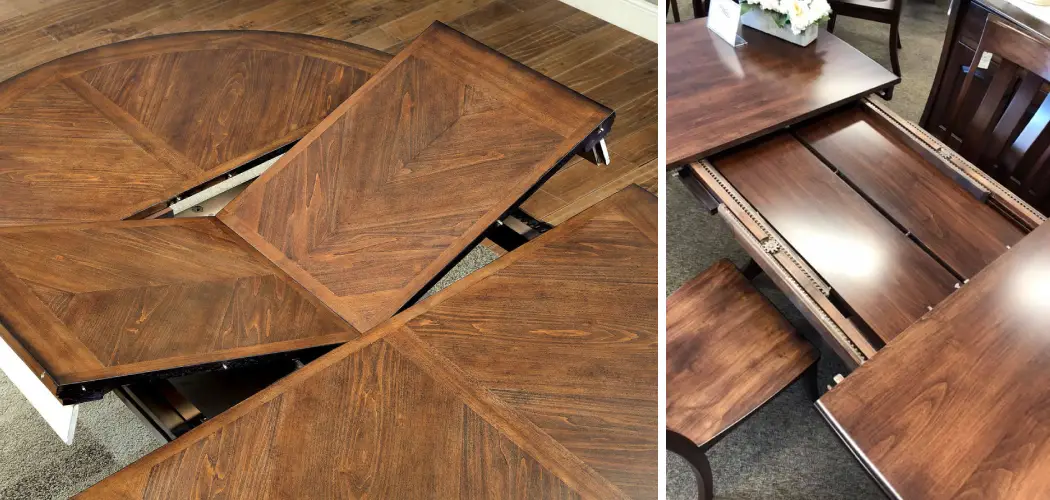
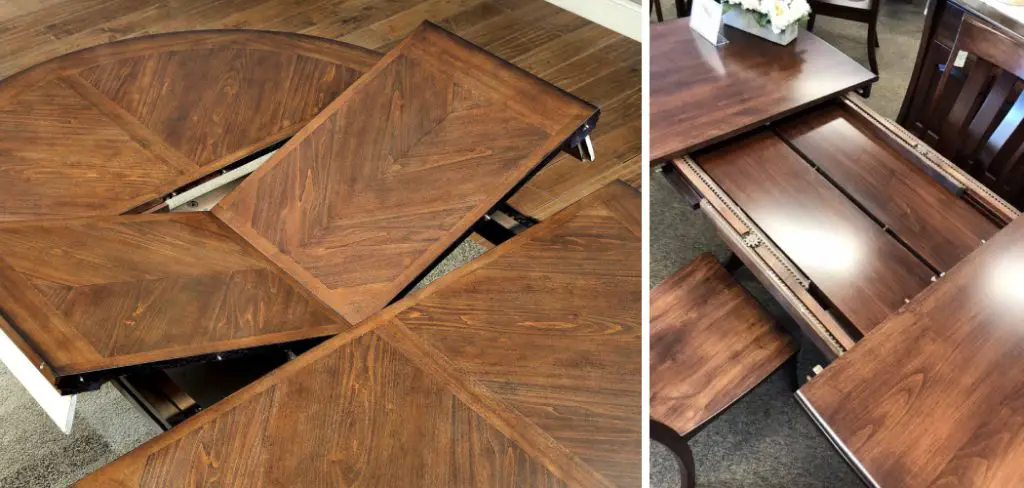
Step 4. Insert the Leaf
Now that the table halves are adequately separated and stable, it’s time to introduce the leaf. Begin by retrieving the leaf that came with your table design. Ensuring the leaf is clean and free from any debris or dust that might affect the table’s surface or joining seams is essential. Align the leaf with the tracks or grooves, typically found on the underside of the table. These guides help ensure a precise fit. Some tables may have alignment pegs or holes that further assist in positioning.
Once aligned, gently slide or drop the leaf into place. This may require you to slightly jiggle the leaf to lock it into a snug fit, ensuring that the edges of the leaf sit flush with the table’s halves. A helper at this stage can be beneficial, especially if the leaf is cumbersome. Double-check that there are no gaps or uneven areas, as improperly seated leaves can cause instability.
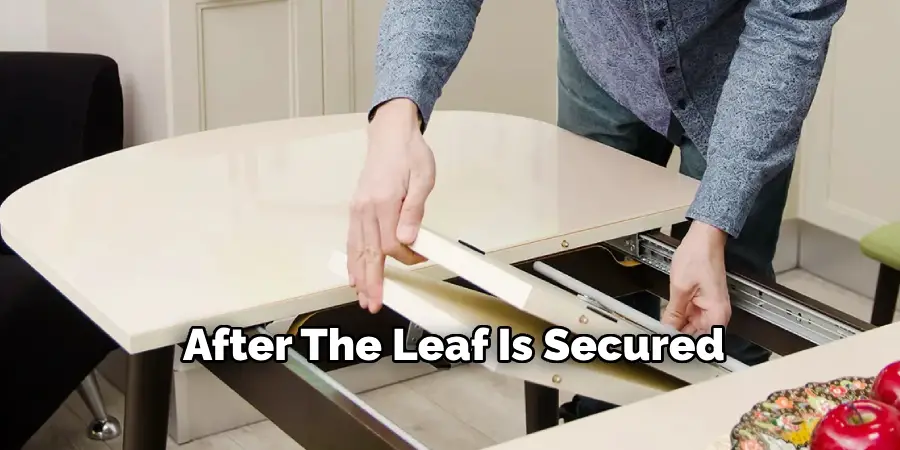
Step 5. Secure the Table Leaf
With the leaf in place, the next crucial step is securing it. Ensure that the leaf is aligned correctly and rests evenly with the table’s edges. Some tables will have built-in latches or fasteners along the underside that you’ll need to engage to lock the leaf securely in position. If your table doesn’t have such features, it might rely on friction or gravity, so it’s essential to ensure everything is stable and won’t shift during use.
Step 6. Realign the Table Halves
After the leaf is secured, carefully slide the table halves back together. This might require some effort to ensure that the table edges align perfectly with the newly inserted leaf. Take your time to adjust the table halves so that the seam where the leaf joins is straight and the tabletop surfaces are flush. A seamless join is crucial, not only for aesthetics but also to ensure the table’s stability during use.
If necessary, engage the locking mechanism (if your table has one) to keep the table halves snugly in place. This additional security helps to prevent the table from separating during use, maintaining a sturdy and safe surface for dining or working.
Step 7. Test the Stability of the Table
Now that the leaf is securely in place and the table halves have been realigned, it’s essential to ensure the table remains stable and secure. Gently apply pressure on different table areas to check for wobbling or shifting. Pay close attention to the seams where the table halves meet the leaf, ensuring they are tight and have no visible gaps.
If your table has additional locks or fasteners, double-check that they are engaged. A stable table not only provides a uniform surface for dining and working but also prolongs the life of the table by reducing strain on the joints and locks. It’s best to make any adjustments before setting up the table for use if any adjustments are needed.
Step 8. Check the Table’s Level
Before using your newly extended table, it’s critical to check if the table’s surface is level. Use a spirit level, if available, by placing it across different tabletop areas, including where the leaf has been inserted. A level table is essential for ensuring that items placed on it won’t shift or roll off unexpectedly. If one side of the table is higher than the other, adjust the table legs or any adjustable feet if available.
For some tables, you may need to recheck or re-tighten the fasteners or locks under the table to achieve an even surface. Ensuring that your table is level enhances its functionality and contributes to a balanced and aesthetically pleasing dining arrangement.
Step 9. Clean the Table Surface
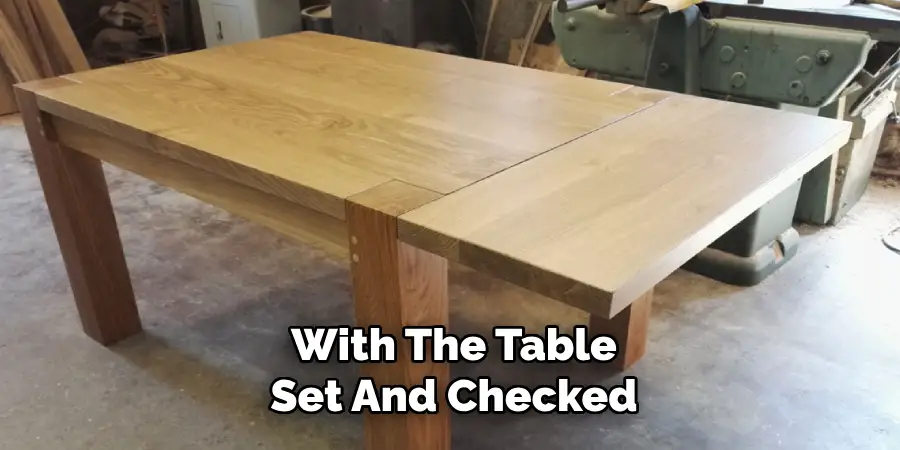
With the table set and checked for stability and levelness, clean the table surface. Remove any dust or debris that may have settled during the setup. Use a soft, damp cloth to wipe down the table, paying particular attention to the seams where the leaf was inserted.
A mild detergent can be applied for stubborn spots, but ensure it’s safe for your table’s material. Cleaning enhances the table’s appearance and maintains its surface quality, providing a spotless setting for dining or other activities. After washing, the table is ready to use, offering expanded space for your needs.
Step 10. Enjoy Your Expanded Table
With the table extended, thoroughly checked for stability and levelness, and the surface cleaned, it’s now ready for use. Arrange table settings, decor, or workspace essentials to take full advantage of the additional space you’ve created. Whether you’re hosting a gathering, working on a project, or sharing a meal with loved ones, your table now offers the flexibility and functionality to suit various needs. Appreciate the seamless extension for practical use and an enhanced dining or work experience. Enjoy the versatility and the opportunity to unite people around your expanded table.
By following these steps, you can successfully extend your table to accommodate more people or activities and safely secure it for use.
5 Things You Should Avoid
- Forgetting to Measure: Before you start, measure the available space where the table leaf will be added. Ignoring this step might result in insufficient seating or an awkwardly large table in a small space.
- Ignoring Alignment: When inserting the leaf, ensure that the table halves are perfectly aligned. Misalignment could result in an uneven tabletop, making it unstable and visually unappealing.
- Using Excessive Force: Avoid using too much force when adding or removing the table leaf. Handling it roughly can cause damage to the table’s structure or the connecting hardware.
- Not Securing Properly: Once the leaf is in place, secure it appropriately to prevent it from shifting or detaching during use. Overlooking this can lead to accidents or damage to the table.
- Neglecting Leaf Storage: Store the table leaf safely in a dry, protected area when not in use. Please do so to avoid warping or damage from environmental factors, which could make future installations difficult.

Conclusion
How to add a leaf to a table is a straightforward process that can significantly enhance the functionality and versatility of your dining space.
By taking careful measurements, ensuring proper alignment, handling the leaf with care, securing it adequately, and storing it correctly when not in use, you can maintain the table’s integrity and appearance for years to come. These steps help ensure that both the table leaf installation and removal are seamless, allowing for a practical expansion option whenever the need arises.
By avoiding common pitfalls, you can enjoy the benefits of a larger table surface without compromising on stability or aesthetics.
you can also check it out Repair Water Damaged Mdf Table Top