
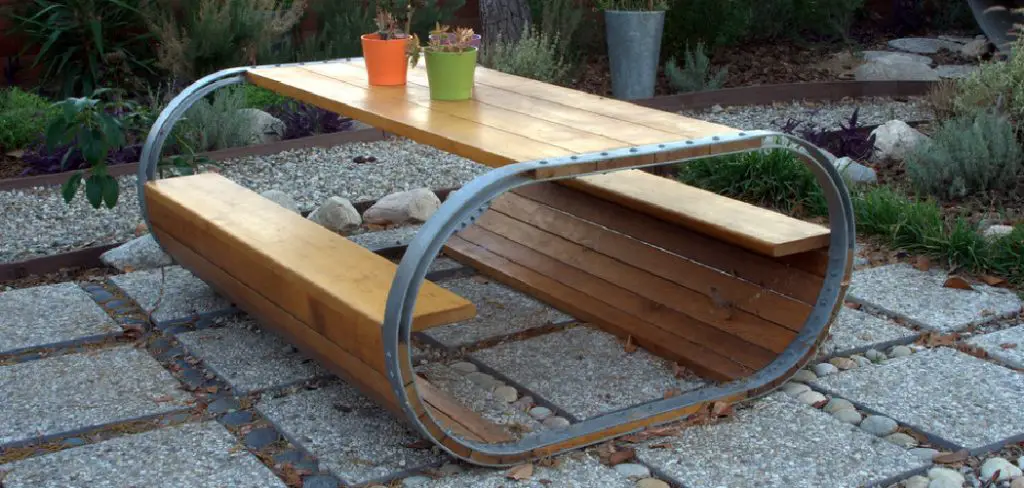
Covering a metal desk frame is a practical and creative project that can instantly modernize your workspace while adding a personalized touch. Whether you want to make your desk blend with your room decor or simply hide scratches and dents, learning how to properly cover a metal desk frame is a valuable DIY skill.
This guide on how to cover metal desk frame will give you a comprehensive step-by-step process, the necessary tools and materials, and answer the most commonly asked questions. With the right approach and techniques, you can achieve a professional-looking result without overspending. Before you begin, it’s important to know not just the “how” but also the “why” behind each step so you make informed choices and avoid common mistakes.
Tools and Materials You’ll Need
- Measuring tape or ruler
- Soft cloth and cleaning solution
- Protective gloves
- Screwdriver or Allen wrench (for disassembling/reassembling parts, if necessary)
- Sandpaper or sanding block (if prepping surface)
- Primer (for painting)
- Paint or adhesive-backed vinyl/laminate
- Paintbrush, roller, or spray gun (for painting)
- Utility knife or scissors (for cutting materials)
- Double-sided tape or strong adhesive (for attaching covers)
- Drop cloth or protective sheeting
- Safety goggles and mask (for sanding or spraying)
- Level (to ensure proper alignment)
- Clean rags for wiping surfaces
7 Simple Step-By-Step Guidelines on How to Cover Metal Desk Frame
Step 1: Assess and Prepare Your Workspace
Before diving in, start by thoroughly assessing your workspace. Make sure it’s well-ventilated, especially if you’ll be using paint or adhesives. Clear the area of unnecessary items to prevent any accidents or spills.
It’s smart to lay down a drop cloth or protective sheeting before you begin. This helps contain dust and makes cleanup easier. Remove items from the desk and, if possible, move the desk frame to an open area for more workspace and better maneuverability.
Step 2: Clean the Metal Frame Thoroughly
Preparation is the key to a long-lasting finish. Begin by wiping the entire metal frame using a soft cloth and a suitable cleaning solution. Focus on removing dust, oils, and any sticky residues, as they can interfere with adhesion later.
For tougher grime or grease spots, use a degreasing agent. After cleaning, make sure the frame is completely dry—moisture left behind can cause paint, vinyl, or laminate to lift prematurely, ruining your effort.
Step 3: Sand the Surface for Better Adhesion
Once the metal frame is clean and dry, sanding the surface is essential. Use fine-grit sandpaper or a sanding block to gently roughen the entire frame. This process provides “tooth” for paint, primer, or adhesive coverings, making them bond more securely.
Take your time and don’t rush this step. Go over corners and hard-to-reach spots. After sanding, wipe down the frame with a clean rag to remove any residual dust that might interfere with adhesion in the next steps.
Step 4: Decide on Your Preferred Covering Method
There are several ways to cover a metal desk frame: painting, wrapping with vinyl or laminate, or even adding fabric covers. Each method has unique preparation steps, so choose according to your needs and the intended look and functionality.
If painting, you’ll want a high-quality metal primer followed by paint. For vinyl or laminate, ensure your covering is cut to the correct size before attempting to apply it. Consider durability, ease of cleaning, and whether you’ll want to change designs in the future when selecting your method.
Step 5: Prime and Paint (If Painting)
If you’ve chosen to paint your desk frame, apply a metal primer in light, even coats. Primer will help seal the metal’s surface, prevent rust, and ensure a smooth paint finish. Allow the primer to dry completely, following the manufacturer’s recommended drying times.
Next, apply your chosen paint using a brush, roller, or spray gun. Multiple thin coats work better than one thick layer and reduce the risk of drips. Allow each coat to dry thoroughly for the best results.
Step 6: Apply Vinyl or Laminate Covering
For those who prefer vinyl or laminate, carefully measure and cut the material to fit each section of the frame. Peel back a small portion of the adhesive backing at a time to ensure precise alignment and minimize bubbles. Use a utility knife or scissors for trimming excess material as you apply.

Smooth out the covering with your hands or a flat edge as you adhere it to the frame. Take your time to press out any air bubbles for a seamless look. If using fabric, use double-sided tape or a strong adhesive and stretch it taut for a snug fit.
Step 7: Reassemble and Inspect Your Work
After your covering of choice is fully applied and any paint is completely dry, carefully reattach any disassembled components. Make sure all screws and bolts are tightened securely, and the frame is stable and level.
Inspect the entire desk frame for any missed spots or areas needing a touch-up. Clean up your workspace, dispose of any waste materials properly, and give your newly covered desk frame one final wipe-down for a polished appearance.
Following these steps on how to cover metal desk frame, you can easily transform an old or plain metal desk frame into a stylish and unique piece of furniture.
Common Mistakes to Avoid
One common mistake is skipping the cleaning or sanding stage, which can result in poor adhesion and an uneven finish. Another issue is rushing the drying process between coats of primer and paint. Inaccurate measurements often lead to wasted material and sloppy-looking results.
Carelessness when trimming excess material can make edges look unprofessional. Finally, ignoring safety precautions like goggles and masks during sanding or spraying can risk your health.
Do You Need To Use Professionals?
While many people can cover a metal desk frame themselves, there are situations where hiring a professional might be the better option. If the desk frame is unusually large, intricate, or has significant rust or structural damage, professional help ensures a safe and high-quality finish. Professionals are also recommended if you lack the required tools or workspace to complete the project safely and efficiently. They can help select the right type of covering and use techniques that minimize mistakes and maximize durability.
For those seeking a highly customized or commercial-grade finish, experts can deliver results that may be difficult to replicate at home. Ultimately, while DIY is rewarding and often more cost-effective, recognize your comfort level and the complexity of your project before deciding whether to go pro.
Frequently Asked Questions
Q1: What Is The Best Material To Cover A Metal Desk Frame?
The best material depends on your priorities: paint is versatile and long-lasting, vinyl or laminate offers a variety of colors and patterns, and fabric can provide a unique texture. Consider the environment—offices may benefit from durable, easy-to-clean coverings like vinyl, while a home workspace might prioritize aesthetic appeal. Whatever you choose, ensure it’s suitable for metal surfaces for optimal adhesion.
Q2: How Do I Prevent Bubbles Or Wrinkles When Applying Vinyl?
Achieving a smooth finish with vinyl starts with careful preparation. Clean and dry the surface completely, then work slowly, peeling back only small portions of the adhesive at a time as you apply the vinyl. Use a flat edge or squeegee to smooth out bubbles as you go. If you spot any air trapped underneath, gently lift the vinyl and reapply it, or use a pin to release the trapped air for a flawless look.
Q3: How Long Does The Covering Last?
The longevity of your desk covering depends on several factors, including the method and material used, how much the desk is used, and the surrounding environment. A well-applied coat of quality paint or durable vinyl can last for years with proper maintenance. Be sure to clean the desk regularly and avoid harsh chemicals that might degrade the covering over time.
Q4: Can I Remove Or Change The Cover In The Future?
Yes, most coverings—paint, vinyl, or laminate—can be removed or replaced with some effort. Paint may require sanding and repainting, while vinyl can be peeled away and replaced with a new design. Always check the specific removal instructions for your chosen materials to avoid damaging the underlying metal. Planning ahead for removability helps maintain the desk’s value and appearance down the line.
Conclusion
Covering a metal desk frame is both a practical way to improve your workspace and a chance to express your personal style. By carefully following the steps on how to cover metal desk frame—preparing the workspace, selecting materials, and applying your chosen cover—you set yourself up for lasting satisfaction and a desk that looks as good as new. Avoiding common mistakes and knowing when to call in a professional can make the difference between a project you’re proud of and one that falls short.
No matter your experience level, taking the time to research and plan will pay off with a durable and attractive result. So gather your tools, set aside a little time, and get ready to transform your metal desk frame into a stylish centerpiece for your office or home.