
Zero gravity chairs have become a staple in backyards, patios, and even living rooms across the country, and for good reason.

Inspired by the reclined position astronauts assume during liftoff, these chairs distribute your weight evenly, creating a feeling of weightlessness that melts away stress. They offer a unique blend of comfort and support that traditional outdoor furniture often lacks. If you’ve just brought one home, you’re on the verge of discovering a new level of relaxation.
This guide on how to open zero gravity chair will walk you through everything you need to know, from unboxing to reclining in blissful comfort.
What Will You Need?
Getting your zero gravity chair ready for use is a straightforward process. Before you begin, gather these few items to make the setup smooth and simple:
- Your Zero Gravity Chair: Still in its box or folded up.
- A Clear, Flat Space: Ensure you have enough room to unfold the chair without bumping into furniture or walls. An outdoor patio or a spacious living room is ideal.
- Scissors or a Box Cutter: To carefully open the packaging.
- Optional Accessories: Some chairs come with a detachable sunshade or cup holder. Have these handy if you plan to install them right away.
10 Easy Steps on How to Open Zero Gravity Chair
Opening your zero gravity chair is a simple process, but following these steps ensures you do it correctly and safely. Most models are designed for intuitive setup, allowing you to go from boxed to blissful in just a few minutes. We’ll break down each action in detail so you can confidently set up your chair and start relaxing.
Step 1: Unpack the Chair Carefully
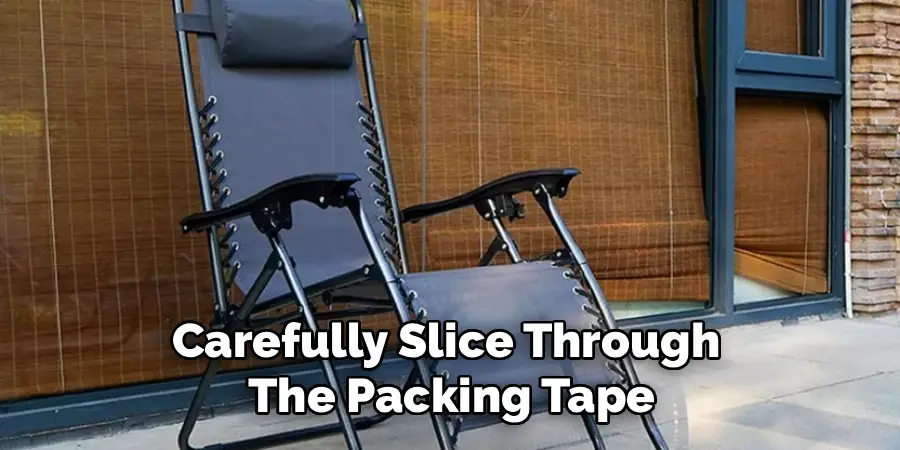
The first step is freeing your chair from its packaging. Place the box on a flat, stable surface. Use a pair of scissors or a box cutter to carefully slice through the packing tape. Be mindful not to cut too deeply, as you could accidentally scratch the chair’s frame or fabric.
Once the top is open, you may find protective materials like plastic wrap, foam sheets, or cardboard inserts. Remove all these materials from around the chair. It’s a good idea to keep the box and some of the packaging for a short time, just in case you discover a defect and need to return the product. Gently slide the chair out of the box.
Most zero gravity chairs are pre-assembled and simply folded for shipping, so you should be able to lift them out as a single, compact unit.
Step 2: Identify the Front and Back
Before you start unfolding, take a moment to orient the chair. It might seem obvious, but identifying the front and back will prevent you from trying to open it backward. The front of the chair is where the seat and leg rest are located. You’ll typically see the armrests pointing toward the front.
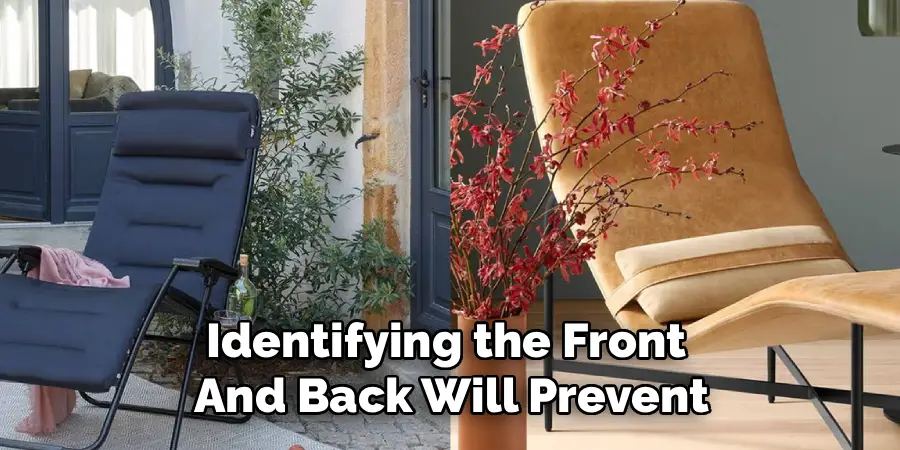
The back of the chair is where the main support legs and the top of the backrest are. The locking mechanisms are usually located on the sides, just under the armrests. Recognizing these key components will make the subsequent steps much more intuitive. Place the folded chair on the ground with the feet pointing down and the backrest facing up.
Step 3: Position the Chair on a Flat Surface
This step is crucial for both safety and proper function. Find a level area where you intend to use the chair, whether it’s on your deck, lawn, or indoors. An uneven surface can cause the chair to wobble, making it unstable and unsafe to sit in. It can also put uneven stress on the frame, potentially damaging it over time.
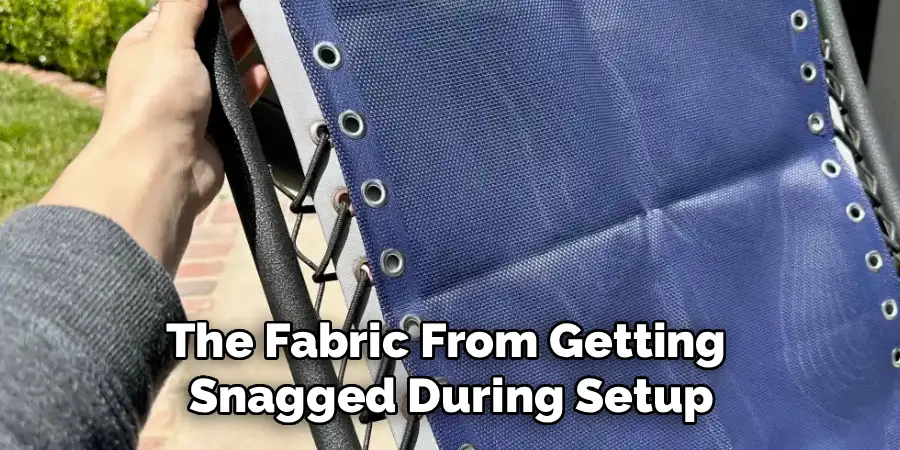
Ensure the ground is clear of rocks, debris, or any objects that could get in the way of the unfolding mechanism. Having a stable foundation is the key to enjoying your chair securely. This also prevents the frame from getting scratched or the fabric from getting snagged during setup.
Step 4: Grasp the Armrests and Backrest
Now you’re ready to begin the main unfolding motion. Stand behind the chair. Place one hand on the top of the backrest and the other hand on one of the armrests. If the chair feels heavy, you can use both hands on the backrest for a more stable grip. Your goal is to create leverage to pull the front and back sections apart.
Your grip should be firm but not overly tight. This positioning gives you maximum control over the unfolding process, allowing you to guide the chair open smoothly without it snapping open unexpectedly.
Step 5: Pull the Sections Apart
With your hands in position, gently pull the backrest toward you while pushing the armrest away. This action will cause the chair to start expanding, similar to opening an accordion.
The front legs and the back legs will slide apart, and the seat will begin to lower into place. You should feel a smooth, fluid motion as the frame extends. Don’t use excessive force; a well-designed chair will open with minimal effort.
If you feel resistance, stop and check if any part of the frame is snagged or if the chair is not on a level surface. Pulling too hard against a jam could bend the frame.
Step 6: Extend the Frame Fully
Continue the pulling and pushing motion until the chair is fully extended into its upright, seated position. The front and back legs should now be far apart, forming a stable “A-frame” structure on each side. The seat fabric should be taut, and the chair should stand securely on its own.
Give it a gentle nudge to ensure it’s stable and doesn’t rock. At this point, the chair looks like a regular outdoor recliner. You are now ready to test the reclining function, but first, you need to understand the locking mechanism.
Step 7: Locate the Locking Mechanism
The locking mechanism is what allows you to secure the chair in your desired reclined position. Look for the locks located on the underside of each armrest. On most models, these are either small levers that you flip or twist-knobs that you turn.
These locks engage with the frame to hold it in place. Before you sit down, ensure the locks are in the “unlocked” position. This will allow the chair to move freely when you recline. Typically, pulling a lever toward you or turning a knob counterclockwise will unlock it. Familiarize yourself with how your specific locks work, as this is key to both comfort and safety.

Step 8: Sit and Test the Reclining Motion
Carefully sit down in the chair, making sure your weight is centered. To recline, simply lean back and gently push off with your feet on the footrest bar. As you lean back, your body weight will cause the chair to glide smoothly into a reclined position.
The legs will rise as the backrest lowers. You don’t need to push hard; the chair’s design uses your own body weight to create a seamless transition. Find a position that feels comfortable.
You can go from a slight recline to the full “zero gravity” position where your feet are elevated above your heart. Move back and forth a few times to get a feel for the chair’s balance and motion.
Step 9: Lock the Chair in Position
Once you’ve found the perfect angle of recline, it’s time to lock the chair in place. Without making any sudden movements, reach down to the locks under the armrests. Engage them by either flipping the levers away from you or tightening the knobs.
You should feel them catch and hold the frame securely. This prevents the chair from shifting while you are relaxing. To change your position, simply unlock the mechanism, adjust your recline, and then lock it again. Always make sure the locks are fully engaged before you settle in to relax.
Step 10: Attach Any Accessories
Your chair is now open and ready for use. If it came with accessories like a clip-on side table, cup holder, or adjustable pillow, now is the time to install them. The pillow usually attaches with an elastic strap that slides over the top of the backrest, allowing you to position it for neck or lumbar support.
The side table typically clips onto the side frame of the chair near the armrest. These accessories are designed for easy attachment and removal. Once they are in place, your zero gravity oasis is complete. Sit back, recline, and enjoy the feeling of weightless relaxation.
5 Things You Should Avoid
To ensure your chair lasts for years and you use it safely, avoid these common mistakes:
- Don’t Plop Down or Jump into the Chair: This can put sudden, excessive stress on the frame and joints, potentially leading to damage. Always sit down gently.
- Don’t Exceed the Weight Limit: Every chair has a manufacturer-specified weight capacity. Overloading it can bend the frame or tear the fabric, making it unsafe.
- Avoid Forcing the Reclining Mechanism: If the chair doesn’t recline smoothly, don’t force it. Check that the locks are disengaged and that nothing is obstructing the frame.
- Don’t Leave It Exposed to Harsh Weather: While many chairs are weather-resistant, prolonged exposure to sun, rain, and snow can cause the fabric to fade and the frame to rust. Store it indoors or use a cover when not in use.
- Don’t Forget to Lock It: Once you find your perfect position, always engage the locks. An unlocked chair can shift unexpectedly, which could be jarring and unsafe.
Conclusion
How to open zero gravity chair is a simple process that unlocks a world of comfort and relaxation.
By following these steps, you can safely set up your chair and begin enjoying its many benefits, from reduced back pressure to overall stress relief. Remember to handle your chair with care and avoid common mistakes to ensure it provides you with a perfect relaxation spot for years to come.
Now, go ahead, recline, and experience that wonderful feeling of weightlessness.
