Are you in the market for a new desk? Have you been considering an L-shaped desk? If so, this guide is for you! In this post, we’ll show you how to assemble l shaped deskstep by step. We’ll also provide tips on how to make the process go as smoothly as possible. So read on to learn more!
Planning on assembling an L-shaped desk? It can be a daunting task, but with the right tools and instructions, it can be done in a snap! In this blog post, we’ll provide you with all the information you need to get your desk assembled in no time. So pull up a chair, and let’s get started!
Why is Assembling L Shaped Desks a Great Option?
1. To Get Ample Workspace
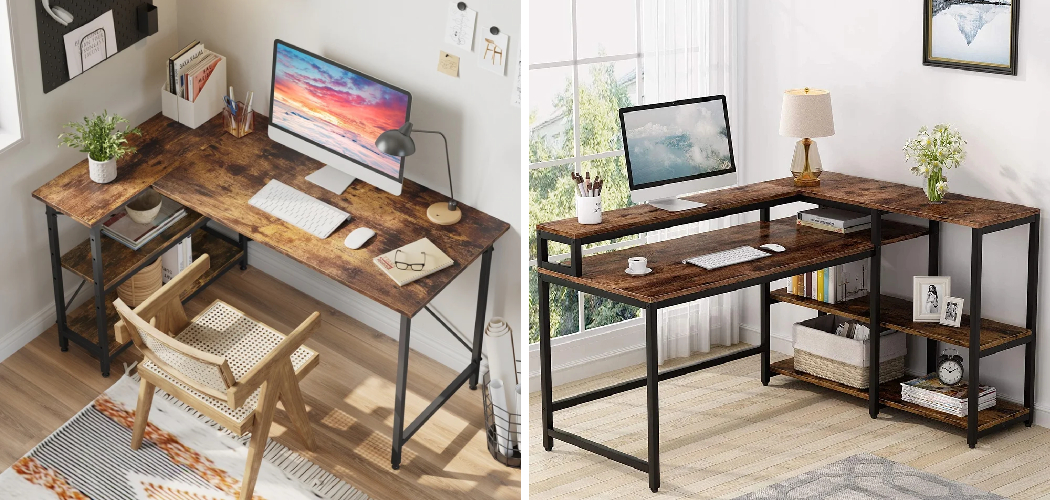
L-shaped desks offer more workspace, as the corner allows for additional space for computer monitors or documents. So if you want to maximize your workspace, an L-shaped desk is the way to go.
2. To Save Space
L-shaped desks also save space in a room by fitting into corners and maximizing the use of your walls. This can be especially helpful if you have limited room for a home office or are trying to make the most of a small workspace.
3. To Achieve a Professional Look
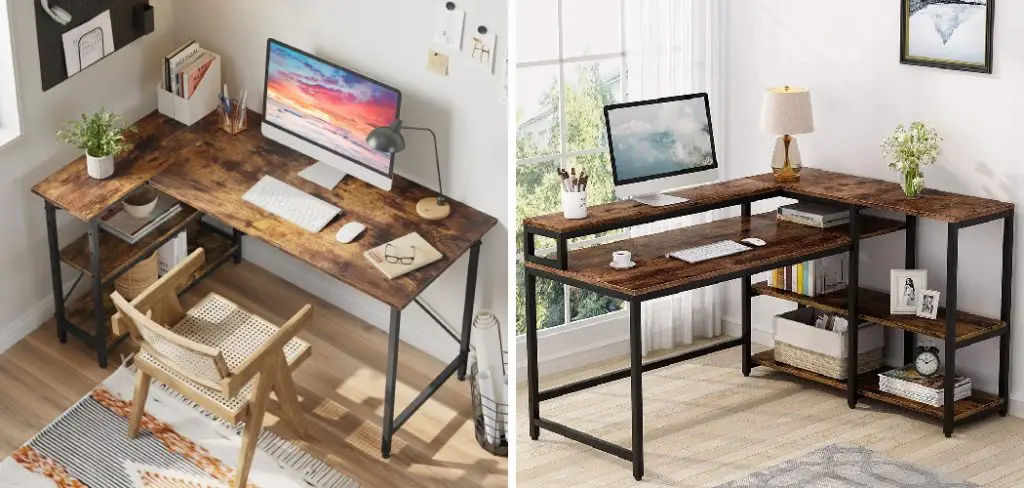
L-shaped desks have a polished, professional appearance that can elevate the look of any office or workspace. So if you want to make your workspace look sleek and put-together, an L-shaped desk is the perfect option.
4. Versatility
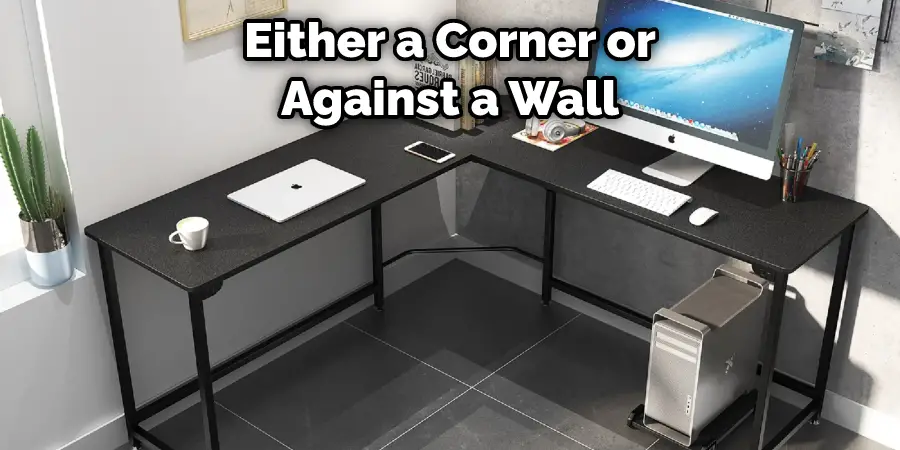
L-shaped desks can be placed in either a corner or against a wall, making them a versatile option for any office layout or space constraints. So if you want flexibility in where you place your desk, an L-shaped option is the way to go.
5. Durability
These desks are often made with durable materials such as wood or metal, ensuring that they can stand up to daily use and last for years to come. But make sure to check the materials and weight capacity before purchasing an L-shaped desk to ensure it will meet your needs.
Things You May Need to Assemble L-Shaped Desk
- Allen wrench or screwdriver
- Hammer
- Measuring tape
- Screws and bolts
How to Assemble L Shaped Desk in 7 Easy Steps
Step 1: Gather All the Necessary Materials
This is a very important thing to do before starting the assembly process. Make sure you have all the necessary parts and tools for the desk, such as screws, screwdriver, Allen wrench, and any other hardware required for assembly.
Step 2: Place the Main Desk in its Desired Location
Before assembling the other components of the desk, place the main desk in its desired location to make it easier to assemble the rest of the desk. So make sure you have enough space to work with before starting.
Step 3: Attach the Legs to the Main Desk
Using your screwdriver or Allen wrench, attach the legs to the main desk according to the manual’s instructions. Make sure they are securely attached before moving on to the next step. You also have to make sure to carefully follow the manual in terms of which screws and hardware to use for each step.

Step 4: Attach the Second Desk Piece to the Main Desk
This step involves attaching the second desk piece, which will form the L shape of the desk, to the main desk. Again, carefully follow the instructions in the manual and use the appropriate hardware for this step.
Step 5: Connect any Additional Components to the Desk
Some L-shaped desks may come with additional components, such as shelves or drawers. Assemble and attach these according to the instructions in the manual. You have to be careful and make sure they are securely attached before moving on to the next step.
Step 6: Double Check all Attachments & Tighten them if Necessary.
Before using your new desk, make sure to double-check all attachments and tighten any screws that may have become loose during the assembly process. Also, make sure that the desk is stable and secure before using it.
Step 7: Clean and Organize your Desk
Before using your desk, take the time to clean it and organize any necessary items such as pens, paper, or computer equipment. You can also add personal touches, such as desk decor to make it feel like your own workspace.
Some Additional Tips to Assemble L Shaped Desk
1. Make Sure to Lay Out All the Parts
Before starting assembly, lay out all of the pieces and double-check that everything is there. This will prevent any hiccups during assembly. But make sure to set aside any extra parts, as they could potentially be for different models or variations.
2. Refer to the Instruction Manual
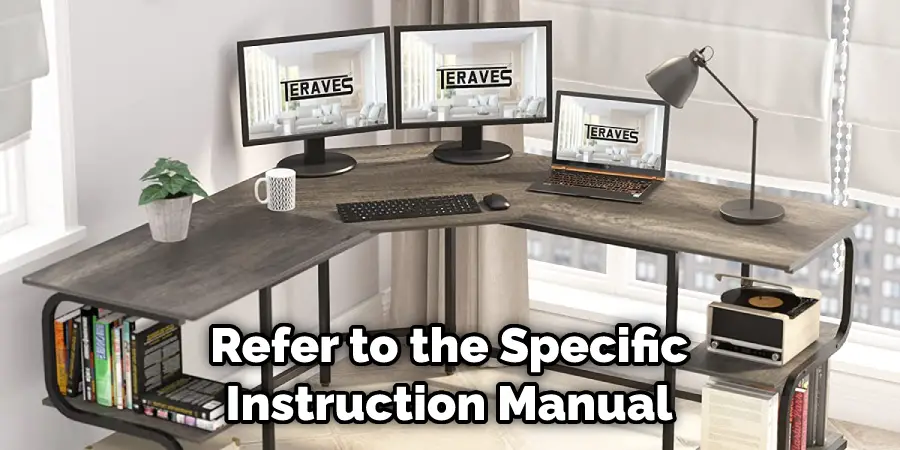
Each desk may vary slightly in assembly instructions, so it is important to refer to the specific instruction manual that came with your L Shaped desk. This will ensure that you are assembling it correctly and efficiently.
3. Take Your Time
Assembling a desk can be time-consuming and sometimes frustrating, so it is important to take your time and not rush through the process. This will prevent any mistakes or potential accidents. And always remember to use caution when using tools during assembly.
4. Ask for Help if Needed
If you are unsure about any steps or feel uncomfortable with the assembly process, don’t be afraid to ask for help from a friend or family member. It is always better to have an extra set of hands and eyes, especially when dealing with larger pieces and tools.
Frequently Asked Questions
How Do I Know Which Parts Go Where?
Refer to the assembly instructions or manual that came with your desk. It should have labeled diagrams and step-by-step instructions on how to assemble it correctly. Also, make sure you have all the necessary parts before starting assembly.
What Tools Will I Need?
Most L-shaped desks will require a screwdriver and possibly an adjustable wrench for tightening screws and bolts. You may also need a ruler or measuring tape to ensure the proper alignment of parts during assembly.
Are There Any Special Tips or Tricks?
Make sure to tighten all screws and bolts securely, but be careful not to overtighten as this can strip the threads or damage the parts. It may also be helpful to have a partner assist you with holding larger pieces in place while assembling.
Can I Assemble the Desk on my Own?
It is possible to assemble the desk on your own, but it may be easier with a partner to assist with holding and aligning pieces. Make sure to carefully follow the instructions and take your time during assembly to ensure all parts are properly secured.
Can I Modify or Customize my Desk?
This will depend on the specific model of desk you have. Consult the manufacturer or the assembly instructions for guidance on any possible modifications. Improper modifications may affect the stability and structural integrity of the desk.
What Should I Do if I Have Missing or Damaged Parts?
Contact the manufacturer as soon as possible to request replacement parts. They may also be able to provide troubleshooting assistance if you encounter any difficulties during assembly. Also, be careful when handling the desk to prevent any further damage.
Do I Need to Do Any Maintenance on my Desk?
Regular maintenance, such as cleaning and tightening screws and bolts, can help keep your desk in good condition and ensure its stability. Consult the manufacturer for specific maintenance guidelines for your desk model.
How Do I Maintain my L Shaped Desk?
Regularly check for any loose screws or bolts and tighten them as necessary. It is also important to clean and organize your desk to keep it looking its best, as well as prevent clutter buildup that could affect its stability. And always use caution when moving or adjusting the desk to prevent damage.
Conclusion
Now that you know how to assemble l shaped desk, it’s time to set up your office! Place your desk in a spot with good lighting and a comfortable chair. Arrange your office so that it’s both functional and stylish. Then, sit back and enjoy your new workspace!
By following these simple steps, you can easily assemble your L-shaped desk in no time. With a little bit of patience and some elbow grease, you’ll have a sturdy and stylish desk that will last for years to come. So what are you waiting for? Get started today and enjoy the fruits of your labor tomorrow.