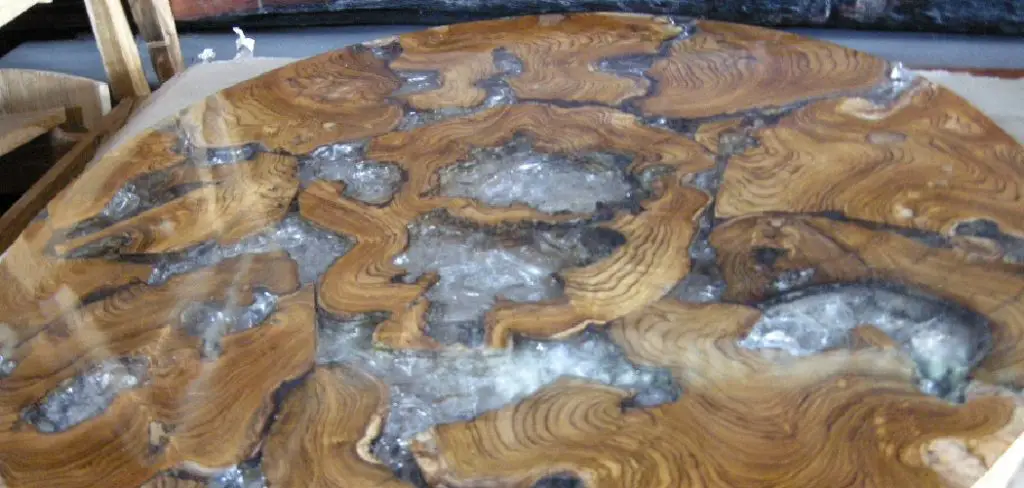
Epoxy tables have become popular in home decor due to their stunning aesthetic appeal and exceptional durability. These tables combine natural wood and epoxy resin to create unique, eye-catching designs that fit seamlessly into various interior styles. However, for an epoxy table to function as intended, it’s crucial to securely attach the legs.
Properly fastening the legs ensures stability and enhances the table’s overall usability over time. This article will provide a detailed, step-by-step guide on how to attach legs to epoxy table surfaces. Whether you are a craftsman or simply completing a DIY project, following these instructions will help you achieve a sturdy and professional-looking finish, allowing your epoxy table to be both functional and visually striking.
Materials and Tools Needed
Materials Overview
Gathering the necessary materials is essential before attaching legs to your epoxy table. Based on your style preferences, you will need an epoxy table surface, either pre-made or custom-designed. Table legs can also be purchased pre-made or custom-made, depending on your desired look and functionality. You’ll require leg attachment hardware such as metal brackets, wooden plates, or threaded inserts for secure attachment. Additionally, wood glue, screws, and extra epoxy resin may be needed for reinforcing the connection points, ensuring long-lasting stability and a polished finish.
Tools Overview
To attach the legs properly and efficiently, ensure you have the right tools on hand. A drill with the appropriate bits will be necessary for creating pilot holes and securing hardware. A screwdriver or a drill driver will help tighten screws effectively. Measuring tools, such as a measuring tape or square, are essential for precise placement to avoid misaligned legs. You’ll also need clamps to hold components firmly in place during assembly, which ensures accuracy. Finally, use safety equipment like gloves and safety goggles to protect yourself throughout the process, especially when handling tools and epoxy materials.
Preparing the Epoxy Table for Leg Attachment
Surface Preparation
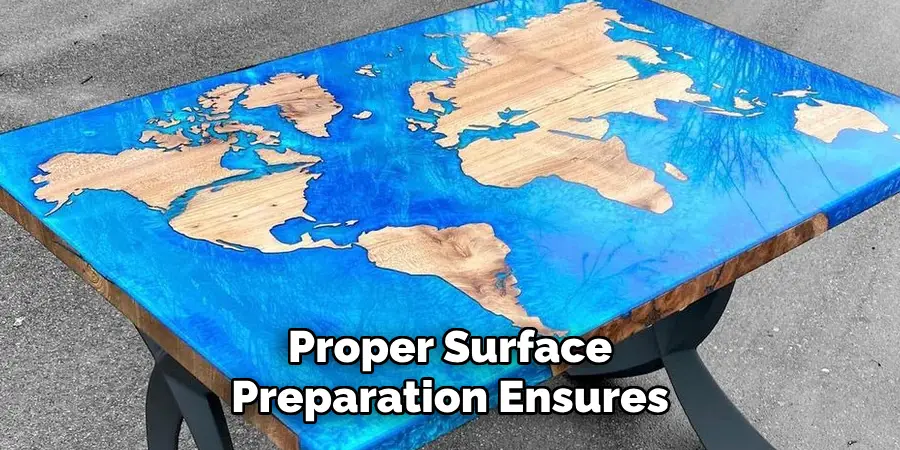
Proper surface preparation ensures the legs are securely attached to the epoxy table. Start by thoroughly cleaning the underside of the table where the legs will be installed. Use a soft cloth and a mild cleaning solution to remove any dust, debris, or sticky residue from the resin. Once clean, lightly sand the underside of the table to create a slightly rough surface,
as this improves adhesion for glues or attachment hardware. Be careful not to over-sand and risk damaging the resin layer. Inspect the underside for any imperfections or uneven areas, as these can interfere with the stability of the leg attachment. Address any issues by filling low spots with additional epoxy or sanding high spots for a smoother, even surface.
Choosing the Leg Placement
Precise measurement and marking of the legs’ placement are crucial to ensure balanced support and a professional appearance. Begin by measuring equal distances from the table’s edges to locate where the legs will be positioned. Use a measuring tape and mark these points clearly with a pencil or marker. Verify that the placement allows for even weight distribution and aesthetic symmetry. Next, use a square or level to ensure the legs are aligned properly, avoiding a crooked or unstable installation. Double-check these measurements before proceeding to the attachment for optimal results.
How to Attach Legs to Epoxy Table: Choosing the Right Legs for an Epoxy Table
Types of Legs for Epoxy Tables
Selecting the appropriate legs for your epoxy table is crucial and largely depends on the desired aesthetic and functional needs. Metal legs are popular for their sleek, industrial appearance and modern appeal. They offer excellent durability and can easily support heavier tables, making them ideal for larger epoxy pieces.
On the other hand, wooden legs complement rustic or traditional styles, providing a warm and organic touch to your table. They are versatile and can be stained or painted to match your decor. If you aim for a distinct and personalized result, custom-designed legs made from unique materials or shapes can add an artistic flair, although they may come at a higher cost. The choice of material heavily influences both the visual impact and the longevity of your epoxy table.
Selecting the Right Attachment Method for the Legs
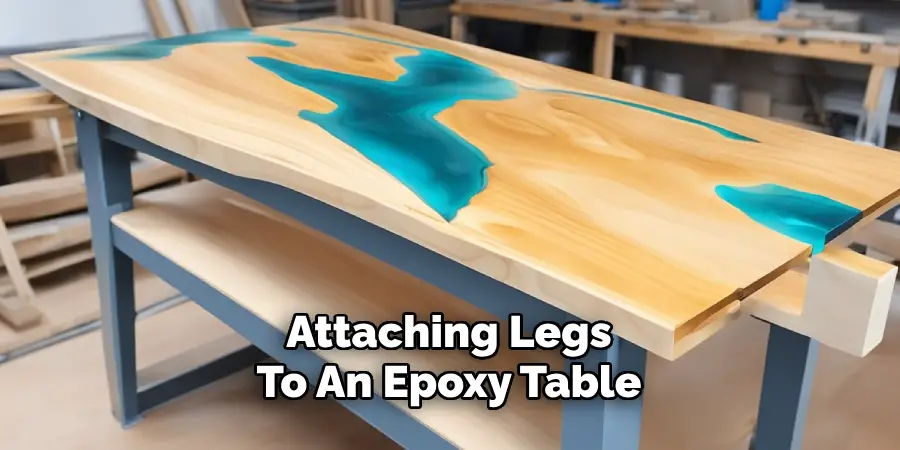
When attaching legs to an epoxy table, you have several methods to consider, each with its own benefits and limitations. Threaded inserts provide a secure and removable connection, ideal for heavy-duty or portable tables. Metal brackets offer stability and are particularly suitable for thin or lightweight table surfaces but may require additional attention to alignment.
Direct screwing into the epoxy, with or without reinforcement, is a straightforward approach but may not provide the strongest hold for larger tables unless reinforced with wood glue or additional epoxy resin. Choosing a method depends on the type of legs, the size and weight of the table, and the level of stability required.
How to Attach Legs to Epoxy Table: Attaching the Legs with Brackets
Using Metal or Wooden Brackets
Metal or wooden brackets provide a reliable and robust method for attaching legs to an epoxy table. To start, position the brackets on the underside of the table based on your pre-measured and marked leg placement points. Carefully mark the spots where you will drill pilot holes for the screws using a pencil or marker. Ensure that the brackets align correctly with the table’s edges and sit flush against the surface. Misalignment at this stage can affect the final product’s stability and aesthetic. Once marked, use a drill with an appropriate drill bit to create shallow pilot holes that prevent the epoxy surface from cracking when driving in screws or bolts.
Securing the Legs with Brackets
With the pilot holes in place, secure the brackets to the table’s underside by driving screws or bolts through the holes in the brackets. Once the brackets are firmly fixed, position the legs into the brackets according to their design. Tighten screws or bolts through the bracket and into the legs, ensuring they are snug but not over-tightened to avoid damaging the hardware. Use a square or level to verify that the legs are perpendicular to the table surface and are evenly aligned. Adjustments during this stage help prevent wobbling or uneven table structure.
Reinforcing with Wood or Epoxy
For extra durability, apply a layer of wood glue or epoxy resin at the connection points between the brackets and the table or legs. This reinforcement is particularly beneficial for larger or heavier epoxy tables, as it can improve the strength and lifespan of the attachment. Allow the glue or epoxy to cure fully before moving or using the table.
Attaching Legs Using Threaded Inserts
Installing Threaded Inserts into the Epoxy Table
Threaded inserts provide a secure and durable method for attaching legs to your epoxy table. Start by selecting inserts that are the correct size and type for both your table surface and the legs you plan to use. Brass or stainless steel inserts are ideal for their strength and corrosion resistance. Measure and mark precise locations for the holes where the inserts will be installed, ensuring equal distances from the table’s edges for balanced support.
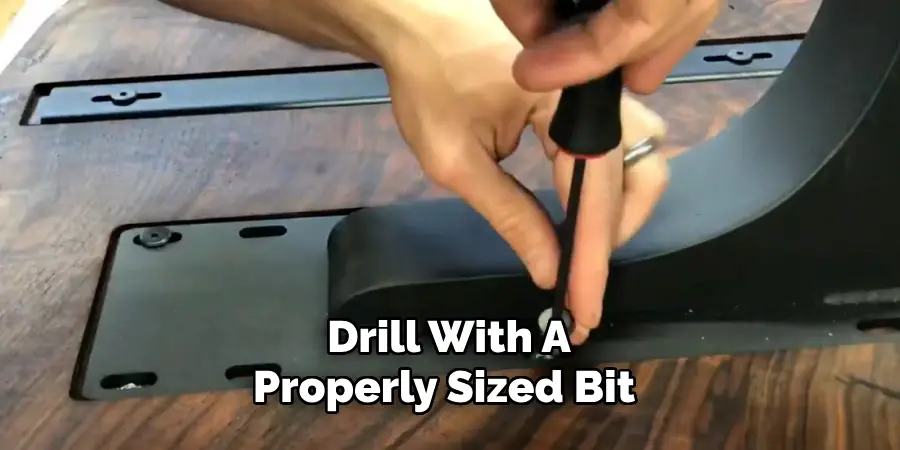
Use a drill with a properly sized bit to create pilot holes; the drill bit’s diameter should match the threaded inserts’ core size to ensure a snug fit. Be gentle during drilling to avoid cracking or chipping the epoxy resin. Once the holes are ready, carefully screw in the threaded inserts using a screwdriver or installation tool, ensuring they sit flush with the table surface. Apply a small amount of epoxy resin inside the holes before inserting the threads to further secure them.
Attaching the Legs to the Threaded Inserts
To attach the legs, align them with the installed inserts and secure them using bolts that thread directly into the inserts. Use a wrench or a drill to tighten the bolts, applying even pressure to avoid stripping the threads or over-tightening, which could damage the attachment points. Check for proper alignment during installation using a square or level to ensure the legs are perpendicular to the table’s surface and that the table is stable. Make any necessary adjustments to maintain balance and symmetry for the finished product.
Final Assembly and Checking for Stability
Ensuring Proper Alignment and Stability
After attaching the legs to your epoxy table, it’s essential to double-check that everything is properly aligned and stable. Begin by placing the table on a flat and even surface to assess its balance. Use a spirit level to confirm that the tabletop is perfectly horizontal, and check each leg to ensure it is perpendicular to the surface. Inspect all screws, bolts, or other attachments to make sure they are fully tightened but not over-tightened to avoid causing damage to the epoxy or hardware. Gently rock the table to identify any wobble or instability — if any issues are found, readjust the legs or tighten the connections as needed to achieve a sturdy and stable piece.
Reinforcing the Connection (Optional)
For added security and longevity, reinforce the leg connections using supplementary methods. Apply a thin layer of wood glue or epoxy resin at the critical connection points between the legs and the table surface. Alternatively, additional brackets can be installed to provide extra support, particularly for larger or heavier tables. Allow any adhesive or resin used for reinforcement to fully cure before using the table. Finally, a comprehensive stability check is performed by pressing down on different areas of the table, confirming that the structure remains solid and level, and addressing any residual instability through minor adjustments.
Finishing Touches and Protective Coating
Sanding and Refining the Attachment Areas
To achieve a professional finish, carefully sand any rough areas around the leg attachment points. Use fine-grit sandpaper to smooth out any sharp edges or imperfections caused by drilling or securing the legs. Work gently to avoid damaging the epoxy surface, ensuring a smooth and seamless transition between the attachment area and the rest of the table. If necessary, touch up the surface with a small amount of epoxy resin to blend any uneven areas for a flawless appearance.
Applying a Protective Coating
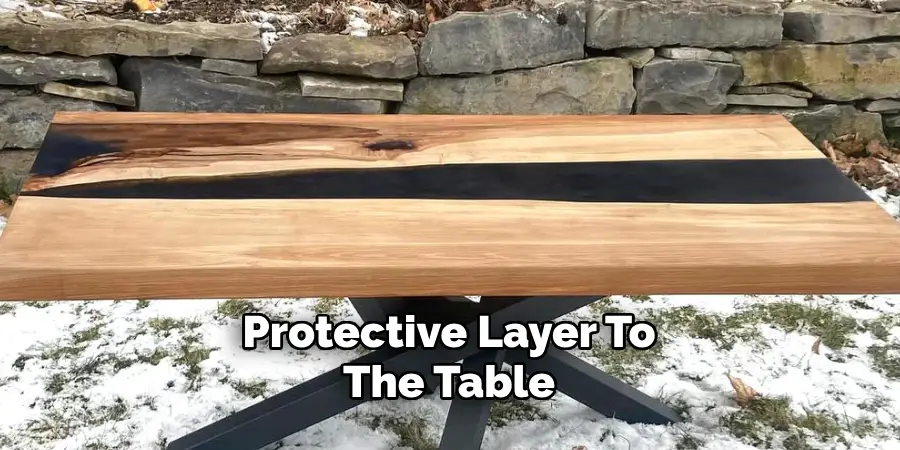
Once the sanding and refinements are complete, apply a protective layer to the table to safeguard it against scratches and wear. A clear epoxy resin or varnish is ideal for sealing the surface and the leg attachment points. Using a brush or roller, evenly coat the entire table, covering all exposed areas, including the connections. Allow the coating to cure fully as per the product instructions to ensure a long-lasting, durable finish that enhances the table’s aesthetics and durability.
Conclusion
Attaching legs to an epoxy table involves several key steps, including proper preparation and selecting the right legs and attachment method. The process continues with securely fastening the legs and ensuring the final structure is stable and balanced. Understanding “how to attach legs to epoxy table” allows for customization based on the table’s design and style, offering versatility in creating unique furniture pieces. By experimenting with different leg materials and attachment techniques, you can craft a one-of-a-kind table that reflects your personal taste. With careful execution, your epoxy table will be both functional and visually stunning.
you can also check it out Sand Round Table Legs