
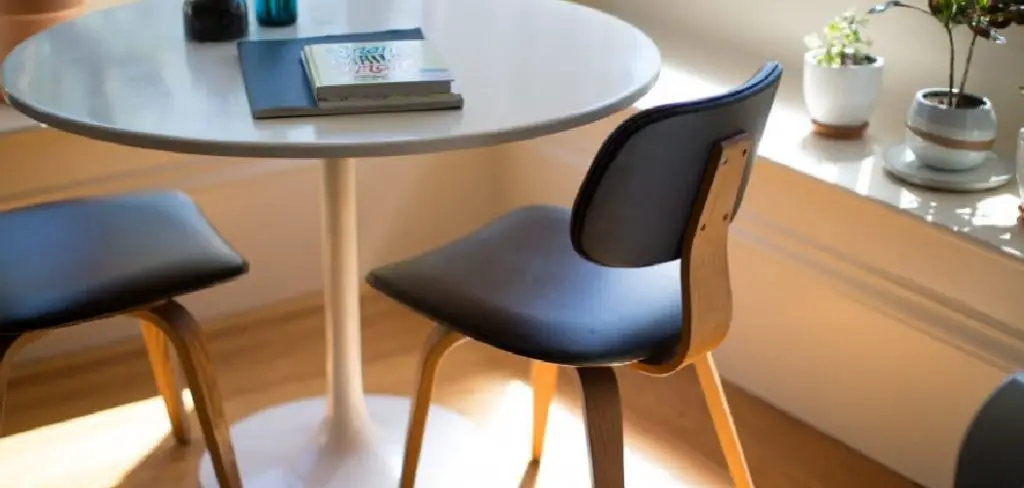
Are you looking to refinish your round table legs? Sanding is the essential first step in any woodworking project.
When sanding round table legs, there is much that goes into ensuring the job is done correctly. A painstaking process from start to finish, you can save time and effort in the long run by making sure your woodworking methods are top-notch. It might seem intimidating at first, but with a few tips and tricks, you will be surprised at how easy this seemingly complex project can become!
From finding the right tools for the job to getting an even sanded finish on all sides of your piece, we will break down everything you need to know so that you, too, can learn how to sand round table legs like a professional!
What Will You Need?
Before you start, it is important to have the right tools. For sanding round table legs, you will need the following:
- Sandpaper
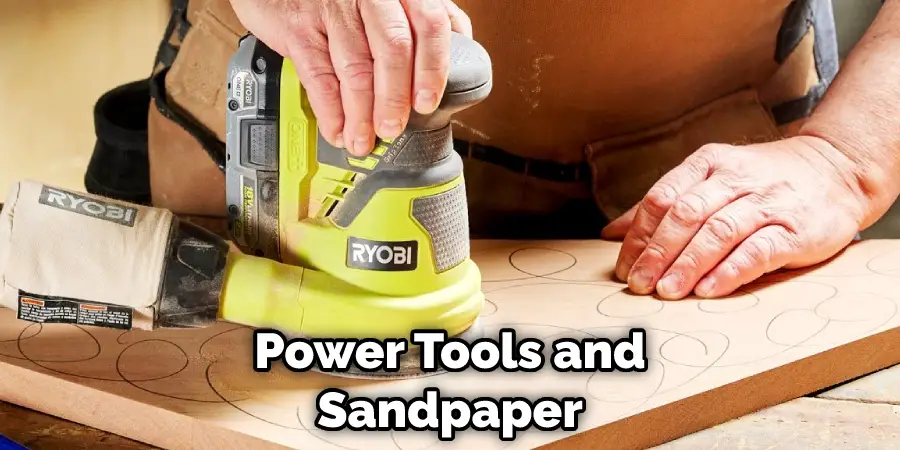
- A power sander or sanding block
- Protective eyewear
- Face mask
- Vacuum cleaner with a brush attachment
- Woodworking lubricant (such as mineral oil)
- Clamps
- A clean, dry cloth
- Finishing product of your choice (stain, sealer, etc.)
Now that you have all the necessary supplies, it is time to get started!
10 Easy Steps on How to Sand Round Table Legs
Step 1. Wiping Down the Area:
Start by wiping down the area you plan on sanding. Make sure all sawdust, dirt, and debris are removed from the surface before beginning. Be careful not to move the table legs when cleaning as this could cause uneven sanding.
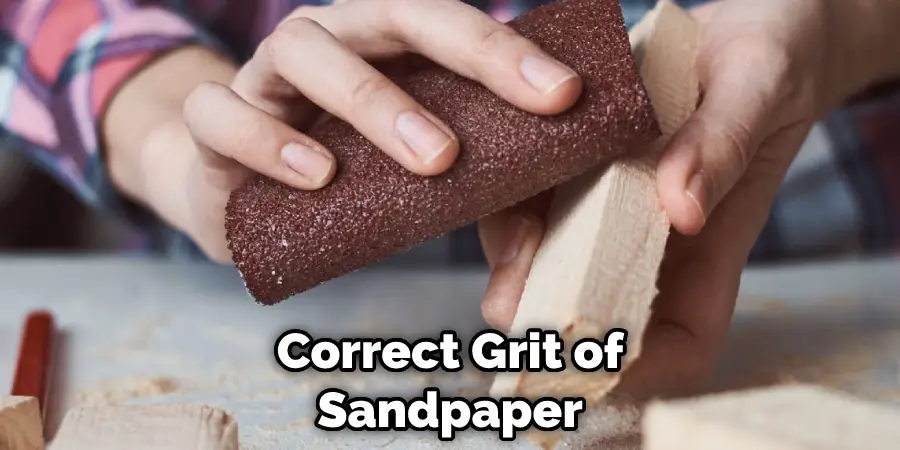
Step 2. Prepare Your Sandpaper:
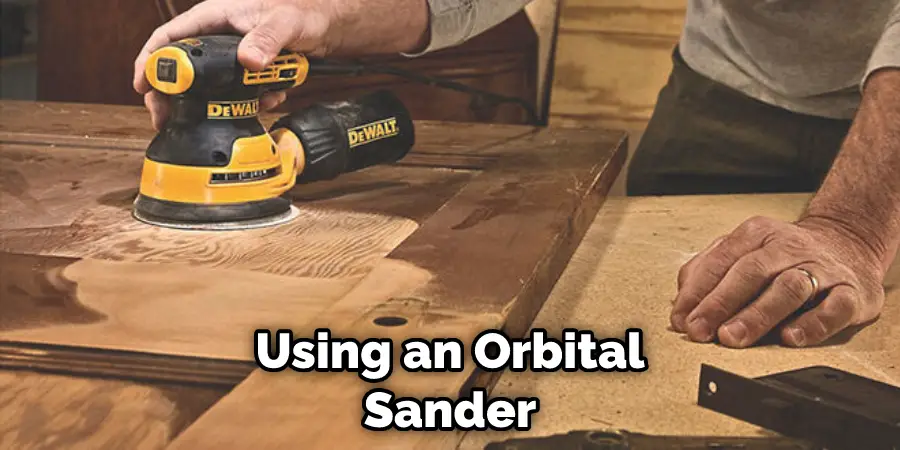
Now that your workspace is clean, it is time to prep your sandpaper. Begin by attaching the correct grit of sandpaper to a power sander or block sander, depending on how much work you need to be done. If you use a power sander, ensure it is properly adjusted and lubricated before beginning.
Step 3. Move in a Circular Motion:
Using either tool, start sanding in a circular motion keeping an even pressure across the whole leg using medium-firm strokes around the entire circle. Work along one side of your piece before switching sides until you have worked your way up to finer-grit sandpaper. Don’t forget to pause every few strokes to keep track of how the surface looks.
Step 4. Clean Up:
Once you have completed the power-sanding process, use a vacuum cleaner with a brush attachment to clean up any dust or debris that may have been left behind from your work moments ago. You can also use a soft, dry cloth to get into any tight spaces. Another great way to remove any residue is by using a woodworking lubricant like mineral oil.
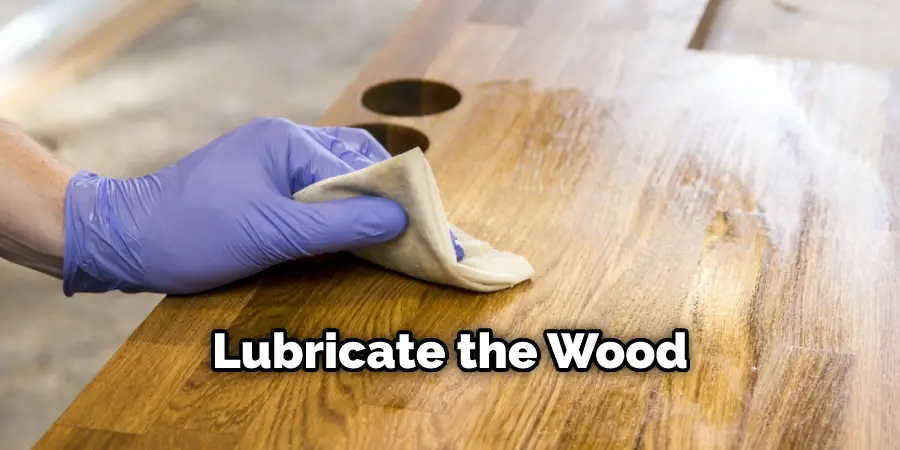
Step 5. Apply Woodworking Lubricant:
Now it is time to lubricate the wood. Using a cloth, apply the woodworking lubricant of your choice in an even layer across your piece and let sit for a few minutes before continuing on with the next step. Remember to use a fresh cloth each time you apply the lubricant.
Step 6. Wet Sanding:
Taking a dampened cloth, begin wet sanding the round table legs in long strokes, keeping consistent pressure throughout each stroke. Make sure that no excess water is left behind after your sanding session. Otherwise, this could cause the wood to warp.
Step 7. Dry Sanding:
Once all of the lubricants have been removed, it is now time for dry sanding. Using a clean, dry cloth and light pressure, move in circular motions to achieve an even finish on both sides of your piece. It is important to take your time while doing this process as the surface needs to be completely even before applying a finishing product.
Step 8. Check Your Progress:
At this point, you will want to inspect your work to ensure that you have achieved the desired effect before continuing with the next step. If any areas need more attention, be sure to go back over them with a finer-grit paper until satisfied with how they look. Also, ensure to wipe away any excess dust or debris during this process.
Step 9. Finishing:
Now comes the fun part! Once all the sanding is finished, apply the finishing product of your choice. Whether it be a wood stain, sealer, or paint, it will help bring out your piece’s natural beauty and protect against moisture, warping, and wear and tear over time. Be careful not to use too much product, as this could cause the finish to become uneven or spotty.
Step 10. Inspect and Enjoy:
After completing all these steps, take one final look at your work to ensure everything looks how you want it before standing back and admiring how amazing your round table legs turned out! Don’t forget to clean up any mess you made along the way. Enjoy your new finish!
Now that you know how to sand your round table legs like a pro, get ready to show off your new skills! Your friends and family will be amazed at how great they look with your own hard work and dedication. So go ahead, grab some sandpaper, and get to work!
5 Additional Tips and Tricks
- Start with the coarsest grit of sandpaper. This will help you quickly cut down any bumps or rough spots in your table legs.
- Make sure to keep your movements consistent and light when sanding round edges, as too much pressure can cause dips and gouges in the wood.
- Replace your sandpaper often to ensure that it is not clogged with sawdust and debris. A fresh sheet of sandpaper will provide a smoother finish to the surface of your table legs.
- When using an orbital sander, tilt it slightly so the pad does not make contact with the edge of the table leg – this can lead to uneven edges due to uneven pressure being applied on one side of the table leg.
- When you’re done sanding, vacuum the entire area thoroughly to remove any sawdust that may still be present in the air and on surfaces – this will ensure a clean finish and help maintain a healthy workspace.
By following these tips and tricks, you’ll be able to sand round table legs quickly and easily for a smooth, professional finish!
5 Things You Should Avoid
- Avoid Using a Power Sander: Power sanders can easily remove more material than you’d like, leaving your table legs with an uneven finish. Instead of using an electric sander, hand-sand the legs to get the most control over how much material you’re taking off.
- Don’t Start Too Coarse: It may be tempting to go straight for a coarse-grit sandpaper to speed up the process, but this can create gouges and scratches in the wood that will be hard to get out later. Start with a lower grit, such as 150 or 180, and work your way up as necessary.
- Don’t Use Circular Motions: When sanding round table legs, it’s important to sand with wood grain. If you use circular motions, you can create swirl marks in the finish that will be difficult to hide once you’ve applied a top coat. Instead, try using long strokes as much as possible when sanding round table legs.
- Don’t Forget to Wear Protective Gear: Whenever you’re working with power tools and sandpaper, it’s important to remember your safety equipment, such as goggles and dust masks. Not only will this keep dust out of your eyes, but it’ll also help to prevent breathing in any hazardous particles while sanding.
- Don’t Rush: Sanding is a time-consuming process, but taking your time will result in a better finish and less work for you in the long run. Don’t rush through it; take your time and make sure every surface is smooth and even before moving on to the next one.
Following these guidelines will help ensure that you get a beautiful finish on your round table legs without having to do any extra work! Sanding can be tedious, but taking the time to do it right will save you time and energy later when finishing up your project.
Conclusion
Now you know how to sand round table legs. With access to these basic materials, anyone can transform the appearance of their furniture with minimal effort. Even if you sidestep traditional power tools, there’s no need to fret; doing it manually requires more energy and a sturdier stance, but once you get into the groove, it’s not difficult at all.
In addition to the fact that this project is cost-effective and satisfying – after completing it, you can enjoy an aesthetic transformation without sacrificing your time or budget – it is also easy enough for everyone, from beginning woodworkers to experienced veterans.
Whether used as a refresher for polished furniture or giving something potential-laden dimension, sanding round table legs will ultimately make your space look better than ever before.