
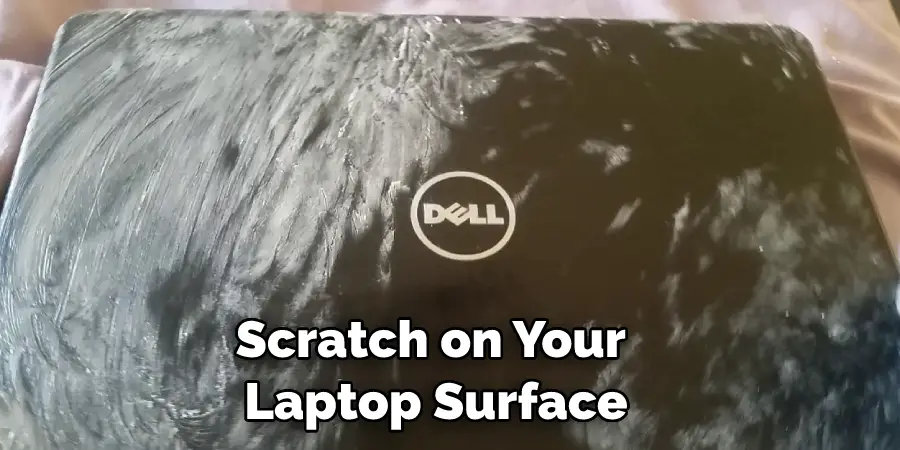
You’ve just bought your new laptop, and you’re excited to start using it. But when you unpack it, you notice scratches on the surface. What can you do to get rid of them and make your laptop look new again? In this blog post, we’ll show you how to remove scratches from laptop surface using a few simple steps. Read on for more information!
Why Should You Remove Scratches from The Laptop Surface?
Scratches on the surface of your laptop can make it look old and worn, even if the rest of the computer is in perfect condition. In addition, scratches can act as a magnet for dirt and dust, making it difficult to keep your laptop clean.
While it’s possible to cover up small scratches with stickers or decals, deeper scratches will require more work to fix. You can try using toothpaste or metal polish to fill in the scratch, but these methods may not be very effective.
The best way to remove scratches from your laptop is to take it to a professional computer store and have them fix it for you. This will ensure that the job is done correctly and that your laptop looks as good as new.
How to Remove Scratches From Laptop Surface Step by Step Guide
Step 1: Identify the Type of Scratch on Your Laptop Surface
There are two types of scratches that can occur on your laptop surface – superficial and deep. Superficial scratches only affect the topmost layer of the coating on your laptop, while deep scratches can penetrate through this layer and damage the underlying material.
Step 2: Gather the Right Materials
For superficial scratches, all you need is a can of compressed air and a lint-free cloth. If the scratch is deeper, you’ll also need white toothpaste, a magic eraser, or sandpaper.
Compressed Air: You can find compressed air cans in most stores’ cleaning aisle.
Lint-free Cloth: A lint-free cloth is a soft, clean cloth that won’t shed any fibers. You can find these clothes in the cleaning aisle of most stores, or you can use a coffee filter or paper towel.
White Toothpaste: Any toothpaste will work, but white toothpaste is less likely to leave behind a residue.
Magic Eraser:Magic erasers are made of a porous material that can lightly sand away at the surface of your laptop.
Sandpaper: If the scratch is very deep, you may need to use sandpaper. Only use this as a last resort, as it can damage the finish on your laptop.
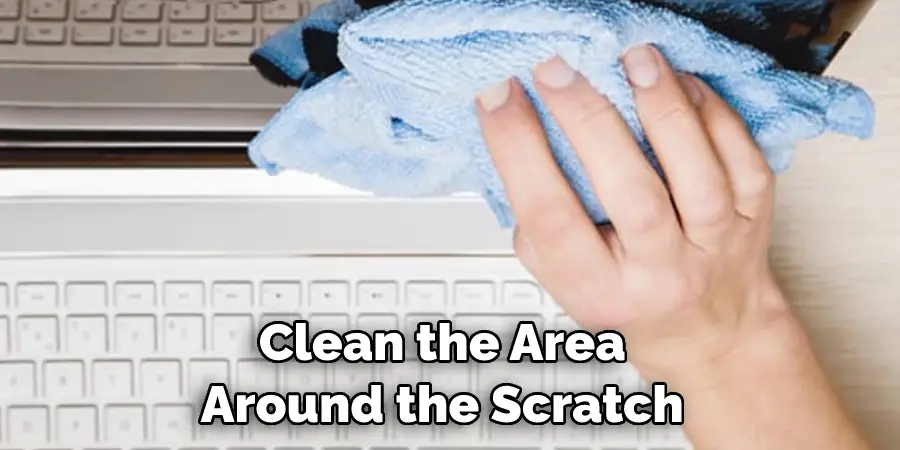
Step 3: Clean the Area Around the Scratch
Before you start trying to remove the scratch, it’s important to clean the area around it. This will help ensure that dirt or debris doesn’t make the scratch worse.
Use a lint-free cloth and some distilled water to wipe down the area around the scratch gently. If there is any caked-on dirt, you can use a cotton swab dipped in distilled water to remove it.
Step 4: Remove the Scratch
Once the area around the scratch is clean, you can start working on removing the scratch itself.
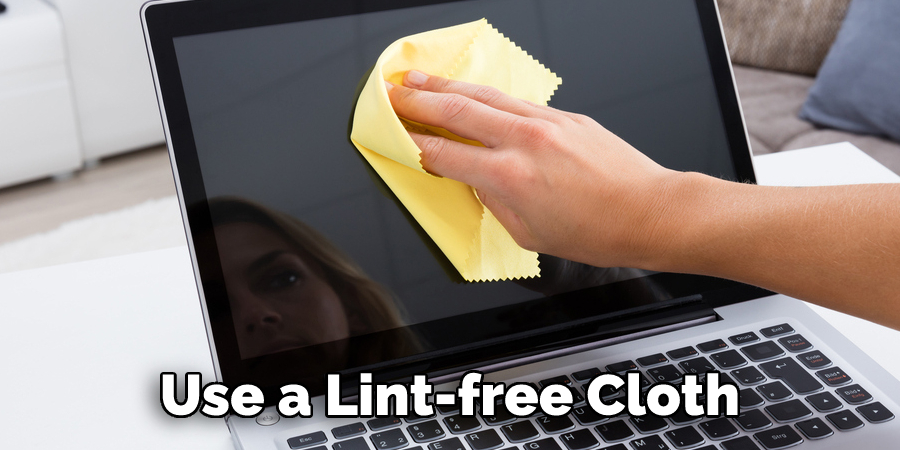
For superficial scratches, hold a can of compressed air about 6 inches away from scratch and spray it for about 30 seconds. Then, use a lint-free cloth to wipe away any residue left behind.
If the scratch is deeper, you’ll need to use one of the following methods:
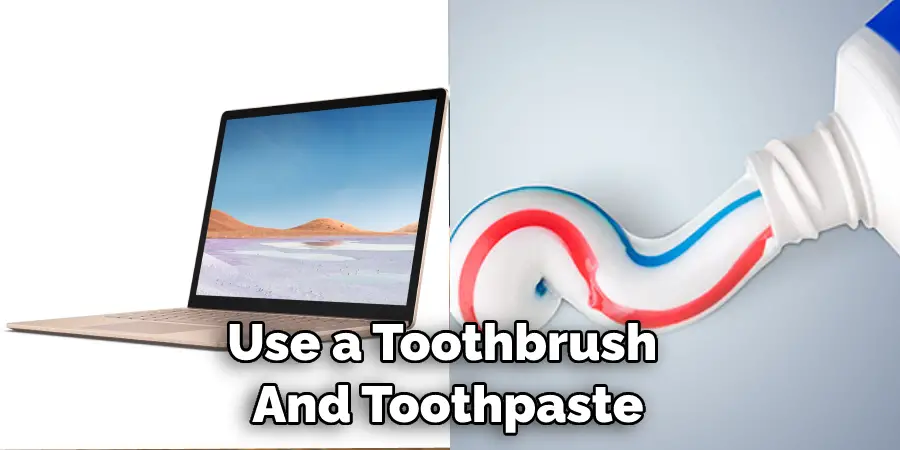
White toothpaste: Dab a small amount of toothpaste onto the scratch and use a lint-free cloth to rub it in using circular motions. Once the toothpaste is dry, use a clean cloth to wipe it away.
Magic eraser: Dampen the eraser and rub it over the scratch using circular motions. The porous material will lightly sand away at the surface of your laptop, removing the scratch.
Sandpaper: If the scratch is very deep, you may need to use sandpaper. Only use this as a last resort, as it can damage the finish on your laptop. Start with fine grit sandpaper and work your way up to a coarser grit if necessary. Rub the sandpaper over the scratch using circular motions until it’s gone. Then, use a clean cloth to wipe away any residue.
Step 5: Protect Your Laptop Surface
Once you’ve removed the scratch, it’s important to protect your laptop surface from future damage.
You can do this by using a screen protector or a keyboard cover. Screen protectors are thin sheets of material that adhere to your laptop screen and help prevent scratches. Keyboard covers wrap around your laptop keyboard and provide a barrier between the keys and the rest of your laptop.
You can also use a carrying case or sleeve to protect your laptop when you’re not using it. This will help keep it safe from scratches, bumps, and other types of damage.
Now that you know how to remove scratches from laptop surface, it’s important to take steps to protect it from future damage. You can do this by using a screen protector or keyboard cover or a carrying case or sleeve.
7 Tips to Fix Scratches on a Laptop Screen
Here are seven tips on how to fix scratches on a laptop screen:
- Use a microfiber cloth: Start by gently wiping the screen with a microfiber cloth to remove any dust or debris. This will help you see the scratches more clearly.
- Apply a toothpaste mixture: Create a mixture of toothpaste and water (equal parts) and apply it to the scratched area in a circular motion with a soft cloth. Let it sit for a few minutes, and then gently wipe it off with another cloth. Repeat as necessary until the scratch disappears.
- Use a pencil eraser: Gently rub the scratched area with a clean pencil eraser, moving your hand in a circular motion. This can help you remove superficial scratches.
- Apply petroleum jelly: Apply a small amount of petroleum jelly to the scratched area and then gently rub it with a microfiber cloth until the scratch is no longer visible.
- Try a scratch repair kit: You can purchase a scratch repair kit specifically designed for laptop screens. Follow the instructions carefully to avoid damaging your screen further.
- Use a screen protector: If you’re unable to remove the scratches, consider using a screen protector to cover them up and prevent further damage.
- Replace the screen: If none of the above methods work, then you may need to replace the screen. Contact your manufacturer or professional repair service for assistance.
How to Use a Scratch Remover Kit
A laptop scratch remover kit can be a great way to fix minor cosmetic damage to your laptop. The kit typically includes polish, a buffer, and instructions for use. First, clean the area around the scratch with a soft cloth to use the kit.
Next, apply the polish to the scratch using a circular motion. Allow the polish to dry for the recommended time before buffing it out with the buffer. Finally, wipe away any excess polish with a clean cloth. With just a few simple steps, you can make your laptop look like new again.
How to Use a Toothbrush and Toothpaste to Remove the Laptop Scratches?
There are a few different ways to remove scratches from your laptop. You can use a toothbrush, toothpaste, sandpaper, or pencil eraser. If you decide to use a toothbrush and toothpaste, wet the toothbrush’s bristles in water and add a small amount of toothpaste to the bristles.
Rub the bristles back and forth over the scratch until it disappears. If the scratch is still visible, you can try using sandpaper. Wet the sandpaper in water and rub it over the scratch until it disappears.
If you don’t have any sandpaper, you can try using a pencil eraser. Wet the eraser in water and rub it over the scratch until it disappears. Keep reading for more information about how to remove scratches from laptop surface.
How to Use a Cloth and Vinegar to Remove the Laptop Scratches?
It’s inevitable. No matter how careful you are, your laptop is going to get scratched. Those pesky marks can ruin the look of your otherwise perfect device, whether it’s from accidentally dropping it or just from everyday use.
But there’s no need to fret – with a little bit of elbow grease and a household staple like vinegar, you can remove scratches from your laptop and make it look good as new. Here’s what you need to do:
First, power down your laptop and unplug it from any power source. Then, using a soft, lint-free cloth, gently rub the affected area with a vinegar-soaked cloth in a circular motion. Be sure not to apply too much pressure, as you don’t want to damage the screen further.
After a few minutes of rubbing, you should see the scratches start to fade. If they’re still visible, repeat the process until they disappear completely. Once satisfied with the results, power on your laptop and resume using it as usual.
With this simple trick, you can keep your laptop looking sharp for years. So next time those pesky scratches appear, reach for the vinegar bottle instead of the panic button.
How to Prevent Scratches on Laptop Surfaces in The Future
In today’s world, laptops have become an essential part of daily life for many people. So whether you use your laptop for work, school, or to stay connected with friends and family, keeping it in good condition is important.
One way to do this is to prevent scratches on the surface. While there are various ways to do this, one of the best is to invest in a good laptop case. A case will not only protect your laptop from scratches, but it will also help to keep it clean and dust-free. In addition, if you’re looking for extra protection, you can purchase a tempered glass screen protector.
This will help to protect your screen from scratches, fingerprints, and other marks. By taking these simple steps, you can help to keep your laptop looking its best for years to come.
Frequently Asked Question
Can You Use Toothpaste to Remove Scratches from A Laptop Surface?
Yes, toothpaste can be used to remove scratches from a laptop surface. Simply put a small amount of toothpaste on a cloth and rub the scratch until it is gone. Be sure to clean the area with a damp cloth afterward to remove any remaining toothpaste.
Are There Any Home Remedies for Removing Scratches from My Laptop Surface?
Yes, there are a few home remedies that you can try to remove scratches from your laptop surface. Try using toothpaste, window cleaner, or olive oil to help buff out the scratches. Be sure to test any of these remedies on a small area of your laptop first to make sure they don’t cause any damage.
Conclusion
In conclusion, if you are experiencing scratches on your laptop surface, there are a few methods you can try to remove them. We recommend trying the toothpaste method as it is the most affordable and easiest to do. If that does not work for you, we suggest using a commercial scratch remover or even some of the home remedies listed above.
Thanks for reading our post about how to remove scratches from laptop surface. Whichever method you choose, test it out on a small area first to ensure it does not damage your laptop. Have you tried any of these methods before? Let us know in the comments below!