
Do you have an older monitor that isn’t VESA compatible? Are you looking for ways to mount or display it as a work of art or for its aesthetic value? Mounting your non-VESA monitor can open up new opportunities for personal expression and create beautiful displays in your home or office.
Whether it’s for practical use or to use as wall art and enhance your interior décor, this task can be daunting. But take heart – with the right materials and some ingenuity, you can easily create an eye-catching feature out of something many people would overlook completely!
In this blog post, we’ll walk you through exactly how to convert that old monitor into something worthy of admiration. Read on to discover tips and tricks on how to mount non vesa monitor!
What Will You Need?
Before you get started, there are a few tools and materials that you will need to have in order to properly mount your non VESA monitor. Here is a list of the items you should gather before getting started:
- Monitor stand or wall bracket
- Mounting screws
- Screwdriver
- Wall plugs (if mounting on the wall)
- Tape measure
- Pencil/marker
- Level (optional)
Once you’ve gathered all of these things, then it’s time to begin!
10 Easy Steps on How to Mount Non Vesa Monitor
Step 1. Measure the Pattern:
Start by removing the non-VESA monitor from its base or stand and take a look at the back of it. You should see two sets of holes – four on the top and usually one or two more on the bottom. Measure how far apart they are to ensure you get a bracket that fits correctly.
Step 2. Choose Your Mount:
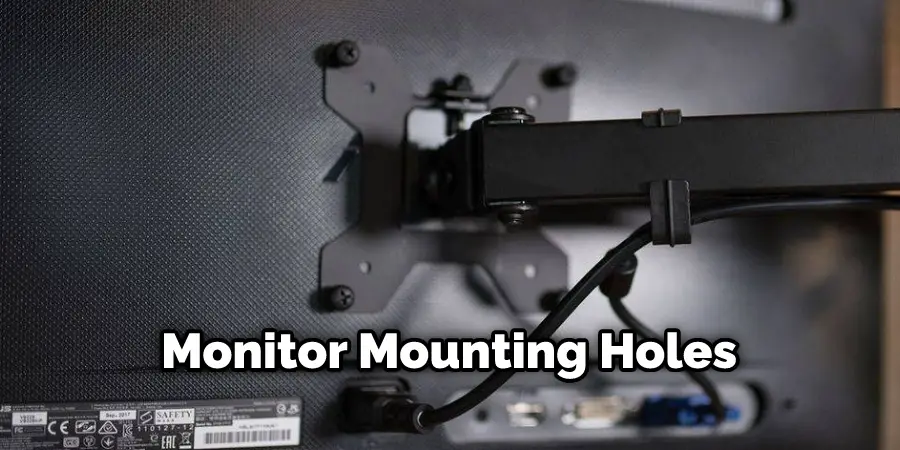
Once you’ve determined how far apart your monitor mounting holes are, it’s time to decide how you want to mount your monitor! Several options are available for mounting non-VESA monitors: wall brackets, desktop stands, and VESA adapters (which allow you to use standard VESA mounts).
Step 3. Measure Distance From Wall / Tabletop:
If you’re mounting your monitor on a wall, use a tape measure to determine how far away from the wall you want it to be. This will help you select the right length of mounting screws for the job. If you’re mounting it on a desktop, measure how much distance from the edge of the table you want to place it at.
Step 4. Mark Mounting Holes:
Once you’ve determined how far apart and how high up the mounting holes need to be, it’s time to mark them with a pencil or marker. Make sure that they are level before you drill! Because the holes are non-standard, they may not be perfectly aligned with one another.
Step 5. Drill Holes / Attach Wall Bracket:
If you’re mounting on a wall, use the drill to make holes for the wall plugs. Then insert the plugs and screw in the wall bracket. If you’re mounting your monitor on a desktop, simply attach the stand directly to the surface.
Step 6. Secure Monitor:
Once you have attached your mount to either the wall or tabletop, it’s time to secure your monitor! Place it onto the mount and then use screws (the ones that came with your mount) to secure it in place. Make sure that both screws are tightened securely so that there is no wiggle room. If you have a level, check to ensure it’s still even after securing the monitor.

Step 7. Connect Cables:
Now it’s time to connect the cables that will power your monitor. Plug in the power cable and any video cables if necessary, then secure them in place with cable ties or clips. Be careful not to pull too hard on the cables – they could become damaged if they are tugged too harshly.
Step 8. Adjust Viewing Angle:
Once everything is connected and secured, you can adjust the viewing angle of your monitor as desired! A tilting mount may be your best option here, as it allows you to adjust the monitor’s tilt for optimal viewing easily. You can also use a monitor arm to achieve the same result.
Step 9. Test Monitor:
Now that everything is connected and in place, it’s time to test out your setup! Turn on the power and make sure that your monitor is functioning properly. Check that all of the cables are securely connected, and double-check the viewing angle to ensure it is comfortable for viewing.
Step 10. Enjoy Your Non VESA Mounted Monitor:
Congrats – you did it! You have successfully mounted a non-VESA monitor. Now enjoy your new feature and take pride in knowing that you converted a seemingly worthless object into something beautiful with some elbow grease! Good job!
By following these steps, you can easily mount a non-VESA monitor and have it up and running in no time. Don’t be afraid to take on the challenge – it’s easier than you think! Once you have your monitor set up, you can use it for whatever purpose you need it for, and you’ll always have the satisfaction of knowing that you did it all yourself.
5 Additional Tips and Tricks
- When choosing a mounting arm, make sure that it is compatible with your non VESA monitor. This will ensure the best fit and stability for your setup.
- Consider adding an ergonomic monitor stand to help reduce neck strain while viewing your screen. You may want to adjust the height or tilt of your screen to accommodate different users in office settings.
- Check whether your monitor has built-in screw holes that can be used for mounting directly onto the wall or other surface using screws and anchors.
- Make sure you select a mount with all of the necessary mounting hardware for installation, such as pivot plates, screws, and washers.
- Consider using extra padding material such as foam tape or neoprene to reduce any vibration or rattling from the mount. This will also help protect your monitor from scratches and abrasions.
With these extra tips, you should have no trouble mounting a non VESA monitor in the desired location.
5 Things You Should Avoid

- Do not mount your monitor with items that are too heavy for it. The item’s weight could cause the monitor to shift or break if it is not secured properly.
- Avoid using adhesives, tape, or any other sticky material when mounting your non VESA monitor, as these may weaken over time and fail.
- Never attempt to mount a non VESA monitor on surfaces that cannot support its weight, such as drywall or soft furniture material like foam padding.
- Do not force screws into place, as this can damage the hardware and make it difficult to remove in the future.
- Avoid trying to fit a non VESA monitor onto a surface that is too small or too big for it. Make sure that the surface you are mounting your monitor on is adequate in size to provide a secure and stable fit.
By following these simple tips, you can ensure that your non VESA monitor is properly mounted and will last many years. Always remember to measure twice and mount once when it comes to mounting a non VESA monitor!
What if Your Tv Has No Vesa Mount?
If your TV doesn’t have a VESA mount, there are still ways to mount your device safely. Invest in an adapter plate that can be attached with screws or adhesive and then mounted onto the wall. This will provide a secure fit and ensure that you don’t damage the TV.
Additionally, if the TV is too heavy for a traditional mount, consider using wall-mounted articulating arms that support heavier weights than standard mounting hardware. Finally, make sure to measure twice and mount once when it comes to mounting any type of monitor!
By taking these precautions, you can ensure that your non VESA monitor is securely mounted and lasts for many years to come.
Is Wall Mount the Same as Vesa?
No, the wall mount and VESA are not the same. Wall mounts refer to any type of hardware used to secure an object or device to a wall. This could be anything from traditional screws and anchors to brackets and tilt-swivel arms.
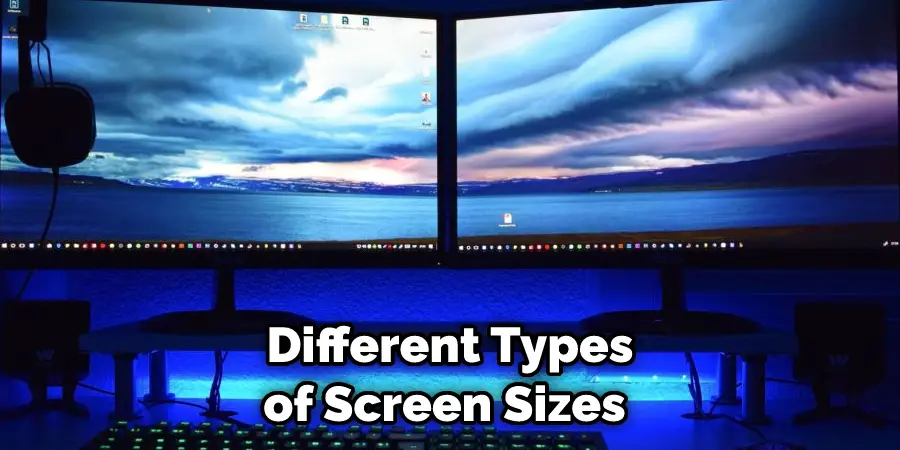
VESA refers specifically to a mounting standard developed by the Video Electronics Standards Association. This type of mount is typically found on flat-screen TVs, computer monitors, and other display devices – it’s designed for easy installation and compatibility with different types of screen sizes and weights.
So while both types of mount may be used to secure a non VESA monitor in place, they are not necessarily interchangeable. Always make sure you know what kind of mount you need before attempting any kind of installation.
It is important to choose the correct mount and hardware when mounting a non VESA monitor to ensure safety and stability. With these tips, you’ll be able to get your monitor safely mounted with confidence!
Conclusion
Overall, mounting a non-VESA monitor can be an intimidating task in the beginning. However, anyone can do it with the right tools and these helpful step-by-step instructions. Be sure to measure your monitor’s dimensions and buy the appropriate mounting hardware before mounting your monitor on walls or desks.
Remember to make sure you are installing the monitor securely and safely to prevent any accidents. Double check that all screws are tightened before leaving yourself logged out of work or turning off for the night! So don’t stop mounting your own non-VESA monitor―you’ll be surprised how easy it is!
Hopefully, the article on how to mount non vesa monitor was helpful in guiding you through the process. Good luck with the installation of your non-VESA monitor!