
Are you looking for a way to save space on your desk? Are you worried that your monitor is too big and takes up too much room? Then, mounting your monitor on the wall may be the perfect solution for you! In this blog post, we will show you how to mount monitor on wall and give you some tips on how to do it. Keep reading to learn more!
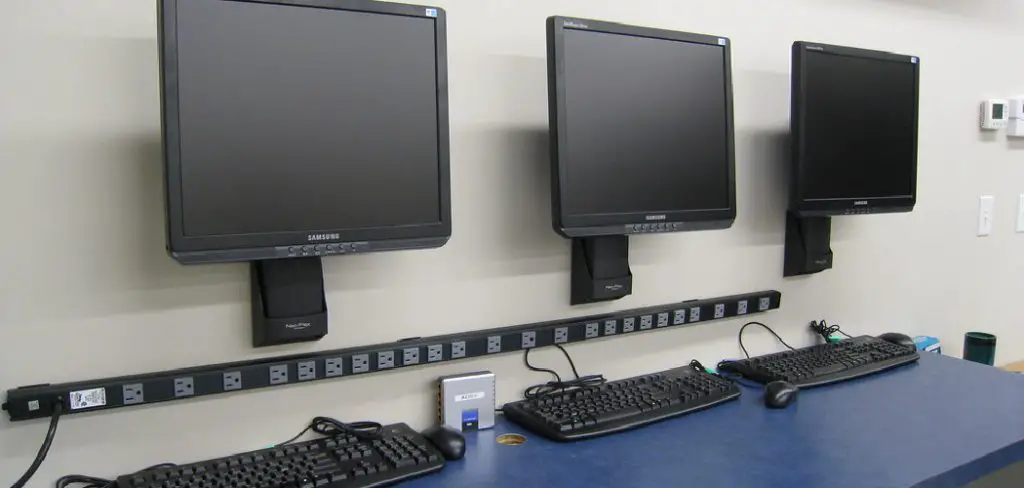
What Causes Monitor Wall Mounts To Fall?
There are a few different things that can cause your monitor wall mount to fall. One of the most common reasons is that the mount is not properly secured to the wall. Another reason can be that the monitor is too heavy for the mount. Additionally, the mount may not be compatible with your monitor.
The other thing to remember is that the wall itself may not be strong enough to support the weight of your monitor and mount. Finally, make sure that the screws that you use to secure the mount are the right size. They may not hold the mount in place if they are too big or too small.
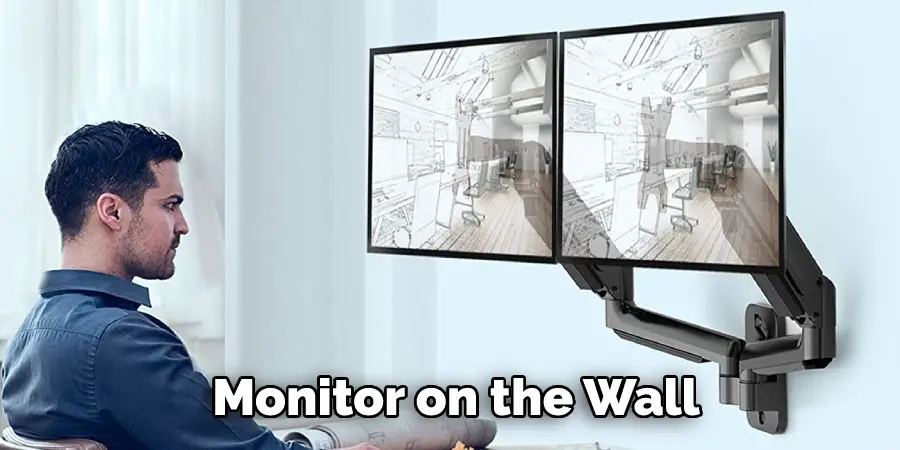
Why Should I Mount My Monitor on the Wall?
You might want to mount your monitor on the wall for a few reasons. One reason is that it can help you save space. If you have a small desk, mounting your monitor on the wall can give you more room to work. Additionally, it can help you keep your desk organized.
If your monitor is mounted on the wall, you will have fewer cords and cables. Another reason to mount your monitor on the wall is that it can help reduce eye strain.
If you spend a lot of time looking at your monitor, mounting it at eye level can help reduce strain on your eyes. Finally, mounting your monitor on the wall can give you a better viewing experience. If you want to improve your gaming experience or watch movies, mounting your monitor on the wall can give you a better viewing angle.
Step by Step How to Mount Monitor on Wall:
1. Choose the Right Mount
The first step in mounting your monitor on the wall is to choose the right mount. There are a few different types of mounts, so you will need to decide which one is right for you.
The most common type of mount is the VESA mount. This type of mount is compatible with most monitors. If you are not sure if your monitor is compatible with a VESA mount, you can check the manual or look online. Avoid using a universal mount, as they are not as reliable.
2. Choose the Right Location
The next step is to choose the right location for your monitor. You will need to find a spot on the wall that is strong enough to support the weight of your monitor and mount. Additionally, you will want to find a spot that is close to an outlet. This will make it easy to plug in your monitor. If you are mounting your monitor above your desk, you will also want to ensure enough space. Avoid mounting your monitor in a spot where it will be in the way.
3. Measure Your Monitor
Once you have chosen the right location, you will need to measure your monitor. You will need to know your monitor’s width, height, and depth. Additionally, you will need to know the weight of your monitor. Use a tape measure to get accurate measurements. First, measure the width of your monitor. Next, measure the height of your monitor. Finally, measure the depth of your monitor.
4. Mark the Wall
After you have measured your monitor, you will need to mark the wall. Use a pencil or pen to mark the spot on the wall where you will mount your monitor. Make sure that the mark is level. Use a level to double-check that the mark is level. First, hold the level against the wall. Next, use a pencil or pen to mark the leveled spot on the wall.
5. Drill Pilot Holes
The next step is to drill pilot holes in the wall. Pilot holes will make it easier to screw in the screws. Use a drill bit that is the same size as the screws. First, insert the drill bit into the drill. Next, hold the drill against the wall. Make sure that the drill bit is lined up with the mark that you made. Finally, drill the pilot holes into the wall. If you are not using a drill, you can also use a hammer and nail to make the pilot holes.
6. Attach the Mounting Bracket
After you have drilled the pilot holes, you will need to attach the mounting bracket. The mounting bracket is what your monitor will be mounted to. There are a few different types of mounting brackets. To attach the mounting bracket, you will need to use screws.
First, hold the mounting bracket against the wall. Make sure that the bracket is lined up with the pilot holes. Next, use screws to attach the bracket to the wall. Make sure that the screws are tight. If the screws are not tight, the bracket will not be secure.

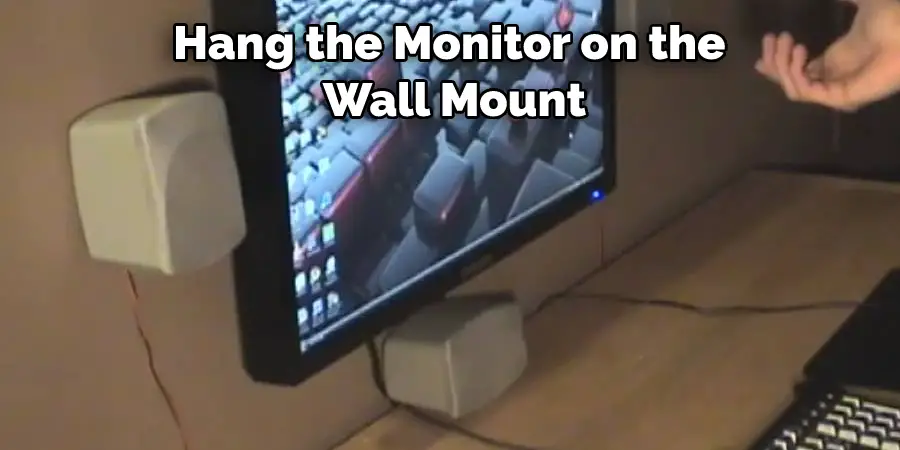
7. Hang the Monitor on the Wall Mount
After you have attached the mounting bracket, you will need to hang the monitor on the wall mount. This is a two-person job. First, hold the monitor up to the mounting bracket. Make sure that the monitor is lined up with the bracket. Then, use the screws to secure the monitor to the bracket. Finally, attach the power cord to the back of the monitor and plug it into an outlet. If everything is plugged in, turn on your monitor.
8. Connect the Cables
Using a desktop computer, you will need to connect the cables. The most common cables are HDMI, DVI, and VGA cables. To connect the cables, first, locate the ports on the back of your monitor. Next, locate the ports on the back of your computer. Finally, connect the cables to the ports. Make sure that the cables are snug. If the cables are not snug, the connection will be loose, and your image will be fuzzy.
9. Adjust the Tilt
After you have mounted your monitor, you must adjust the tilt. The tilt is the angle at which your monitor is tilted. First, find the screws on the back of your monitor to adjust the tilt. Next, loosen the screws. Then, tilt the monitor to the desired angle. Finally, tighten the screws. If the screws are too tight, the monitor will be difficult to adjust. If the screws are too loose, the monitor will be unstable.
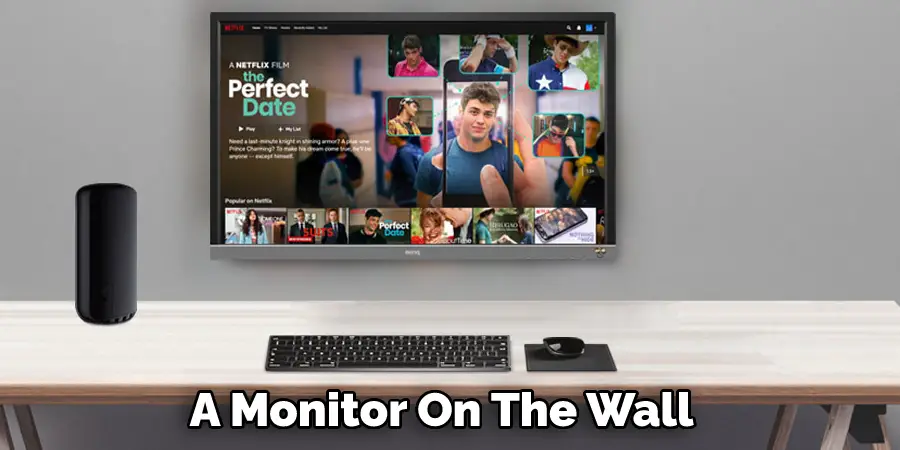
10. Enjoy Your New Monitor!
You have successfully mounted your monitor on the wall! Now you can enjoy the benefits of a larger screen. You will also have more desk space. Mounting your monitor on the wall is a great way to save space. Enjoy your new monitor!
Tips and Warnings on How to Mount Monitor on Wall:
Tips:
- If your monitor is widescreen, you may want to buy a mount that swivels.
- Make sure the mount you purchase can hold the weight of your monitor.
- Some mounts come with built-in speaker brackets. You may want to consider this option if your monitor doesn’t have speakers.
- Many mounts come with a built-in leveler. This is a nice feature to have, but it’s not essential.
- Some mounts are designed for specific models of monitors. If you’re unsure about what mount to buy, check with the manufacturer of your monitor.
Warnings:
- Be careful when handling your monitor. It’s easy to drop and break it.
- Make sure the mount is securely attached to the wall before attaching your monitor. Otherwise, it could fall and be damaged.
- Use caution when tightening the screws on the mount. Too much force can strip the threads or damage the monitor.
- Don’t use your monitor as a shelf. It’s not designed to hold books or other objects.
- Don’t place your monitor in a high-traffic area where it could be knocked over.
- If you have young children, ensure they can’t reach the monitor. It could hurt them if it falls on them.
How Much Does It Cost To Mount A Monitor On The Wall?
The cost of mounting a monitor on the wall varies depending on the type of mount you purchase. The most basic mounts start at around $20. More advanced mounts can cost upwards of $100. If you need to purchase cables, they will cost extra. You can hire a professional if you’re not comfortable mounting the monitor yourself. Expect to pay around $50 for labor.
Conclusion
So there you have it! A step-by-step guide on how to mount monitor on wall. Mounting your monitor is a great way to save space and improve the look of your desk. It’s also a great way to reduce neck and back pain. If you follow the tips in this article, you should be able to mount your monitor without any problems. Thanks for reading!
You Can Check It Out To How to Make Your Office Cozy