
Building a side table can be a rewarding project that adds both functionality and aesthetic appeal to your home. Whether you’re an experienced woodworker or a DIY enthusiast, constructing a side table allows you to exercise your creativity while enhancing your skills.
In this guide, we’ll walk you through how to build a side table. From selecting the right materials to assembling the final piece, we aim to simplify the process and help you craft a perfect addition to your living space.
Benefits of Building Your Own Side Table
Creating your own side table offers numerous advantages beyond the satisfaction of completing a DIY project. One of the key benefits is the ability to customize the design according to your specific style preferences and the dimensions of your space. This ensures that the table perfectly complements your existing decor and fulfills your unique functional requirements.
Additionally, building your side table can often be more cost-effective than purchasing a pre-made one, as it enables you to select materials within your budget. Moreover, embarking on this woodworking journey allows you to develop new skills and refine existing ones, fostering a deeper appreciation for craftsmanship.
Ultimately, a hand-built side table stands out as a personalized piece that reflects your creativity and dedication.
Materials and Tools Needed
Before you begin building your side table, it’s important to gather all the necessary materials and tools to ensure a smooth and efficient construction process. Here’s a list of what you’ll need:
Materials
- Wood: Select quality lumber such as oak, pine, or walnut for the tabletop, legs, and any additional shelves.
- Wood Screws: Ensure you have a variety of sizes to secure the different components effectively.
- Wood Glue: Useful for adding extra strength to joints and connections.
- Finish: Choose from paint, stain, or varnish to give your table a polished look.
Tools
- Saw: A handsaw or power saw will be required to cut wood pieces to the desired size.
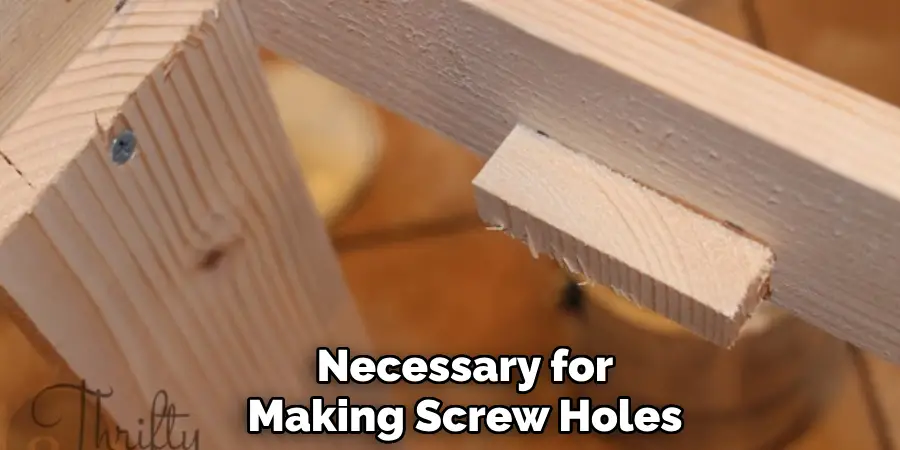
- Drill: Necessary for making screw holes and assembling components.
- Screwdriver: Used for fastening screws into place.
- Sandpaper: Essential for smoothing rough edges and surfaces.
- Measuring Tape: To ensure accurate measurements for each component.
- Square: Helpful for ensuring precise right angles during assembly.
- Paintbrush or Cloth: For applying your chosen finish.
With these materials and tools on hand, you’ll be well-equipped to start building your custom side table.
Planning and Designing Your Side Table
Before you start cutting and assembling, it’s crucial to have a well-thought-out plan for your side table. Begin by considering the primary purpose and location of your table—whether it will be used next to a sofa, as a nightstand, or in an entryway.
This will help determine the ideal dimensions and features. Sketch out a rough design, including the height, width, and depth, to visualize your project. Think about any additional components you might want, such as lower shelves or drawers, for added functionality.
Additionally, decide on the style or design theme; whether you prefer a rustic, modern, or traditional look, this will influence your choice of wood and finish. Planning also involves budgeting for materials and ensuring you have the necessary tools to complete the project efficiently. Taking the time to plan and design your side table thoroughly can save you headaches later, helping ensure a successful and satisfying build.
10 Methods How to Build a Side Table
1. Simple Wooden Plank Table
A simple wooden plank table is a beginner-friendly option requiring minimal tools and materials. Begin by cutting a solid wood plank to your desired tabletop size.
Choose four wooden legs, such as dowels or pre-made tapered legs, and attach them to the underside of the plank using metal brackets or wood screws. Sand all surfaces smooth, then stain or paint the table to match your decor. This minimalist design is quick to assemble, versatile, and ideal for living rooms or bedrooms.
2. Crate Side Table
Repurpose a wooden crate to create a rustic and functional side table. Start by sanding the crate thoroughly to remove splinters and rough edges. Paint or stain the crate to suit your decor, then position it vertically or horizontally to serve as the table base.
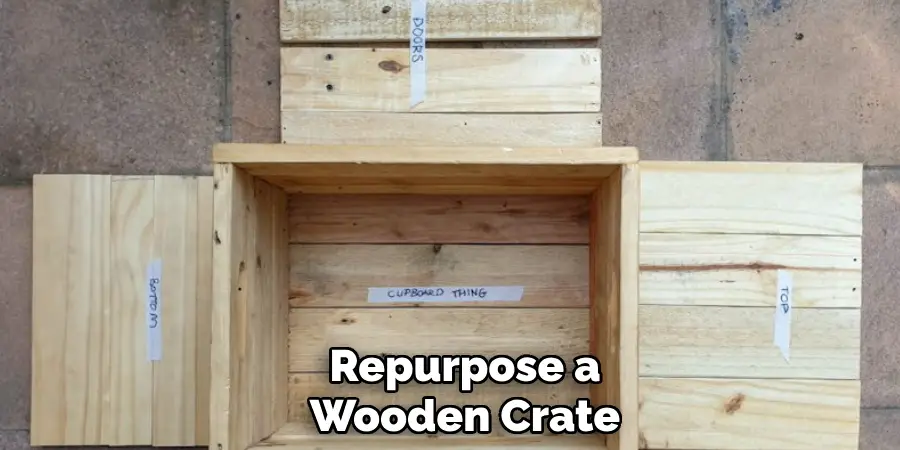
The open sections of the crate can be used for storage, such as holding books or blankets. Attach a sturdy piece of glass or wood to the top for a smooth surface. This method is eco-friendly and adds character to any room.
3. Pipe and Wood Industrial Table
For an industrial-style side table, combine wood and metal pipes. Begin with a wooden board as the tabletop, cutting it to your preferred size. Purchase metal pipes and flanges from a hardware store to create the base.
Screw the flanges into the bottom of the tabletop, then assemble the pipes to form legs and a support structure. This design can be customized with various pipe finishes, such as black, silver, or brass, to complement your space. The result is a sturdy, modern piece with an edgy aesthetic.
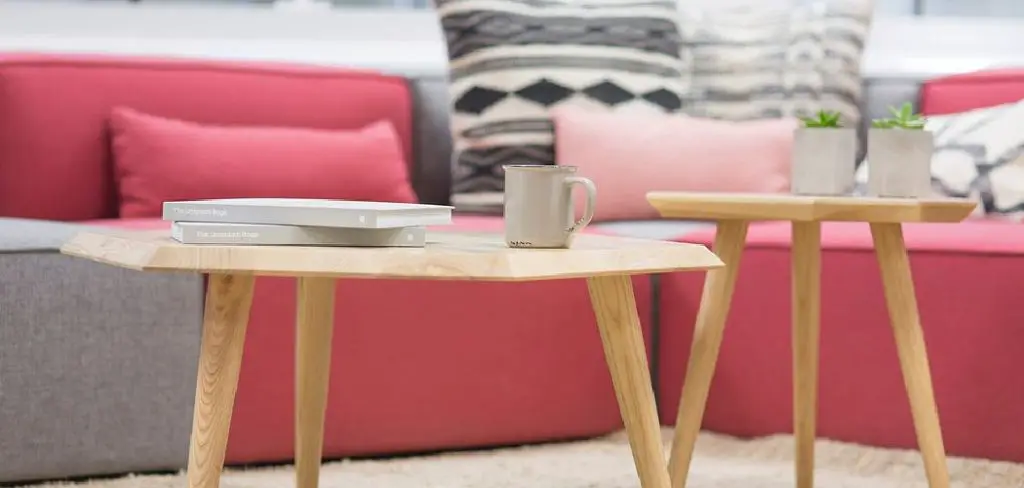
4. Mid-Century Modern Tripod Table
The mid-century modern tripod table is both stylish and functional. To build this, start with a round or rectangular tabletop made from plywood or solid wood.
Cut three tapered wooden legs and sand them to a smooth finish. Attach the legs to the tabletop at equal angles using angled brackets or pocket hole screws. To achieve the signature mid-century look, stain the table in a warm wood tone or paint it in retro-inspired colors. This method results in a sleek table perfect for small spaces.
5. Concrete Top Table
A concrete top side table is a durable and contemporary option. Create a mold for the tabletop using a shallow tray or custom-built wooden frame. Mix quick-set concrete according to the instructions and pour it into the mold.
Let the concrete cure completely, then remove the mold and sand any rough edges. Attach metal or wooden legs to the concrete top using strong adhesive or screws. Seal the concrete to prevent staining and add a polished look. This design is perfect for modern or industrial interiors.
6. Stacked Books Table
For a quirky and creative side table, use a stack of large, sturdy books as the base. Arrange the books in a stable stack, ensuring they are level. Use adhesive between the books for added stability. Top the stack with a piece of glass or wood to create a flat surface.
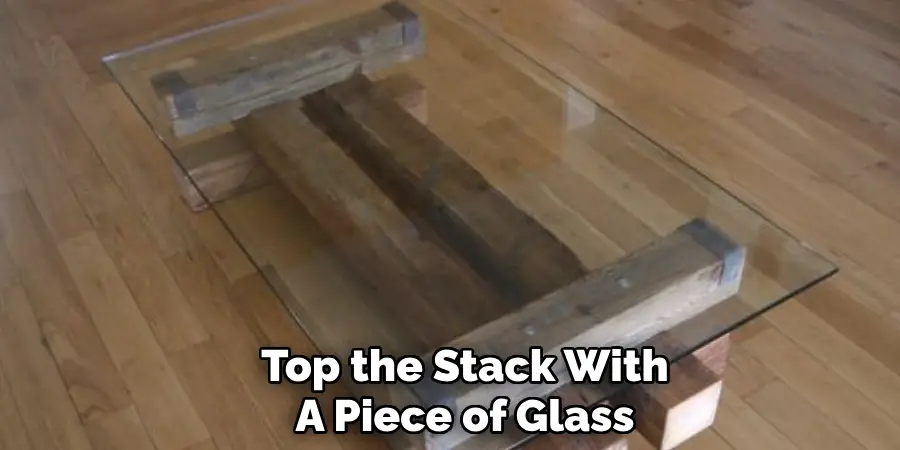
This method is ideal for book lovers and adds a whimsical touch to the decor. For extra durability, drill a metal rod through the center of the books to anchor them together.
7. Hairpin Leg Table
Hairpin legs are a trendy choice for building a side table with a modern or minimalist aesthetic. Purchase a set of three or four hairpin legs and a wooden slab or board for the tabletop.
Sand and finish the wood, then attach the legs to the underside using screws. Hairpin legs come in various finishes, including black, silver, and gold, allowing for customization. This design is lightweight, easy to assemble, and blends well with a variety of decor styles.
8. Cinder Block and Wood Table
Create a robust and industrial-style side table using cinder blocks and wood. Use two or more cinder blocks as the base, stacking them vertically or horizontally for your desired height.
Place a wooden plank on top of the blocks as the tabletop. Sand and finish the wood to match your decor, and paint the cinder blocks if desired. This method is cost-effective, quick to assemble, and works well for outdoor or casual indoor spaces.
9. Foldable Side Table
A foldable side table is a practical choice for small spaces or multi-use areas. Start by crafting a tabletop from wood or plywood, ensuring it is lightweight yet sturdy.
Attach foldable metal legs or hinges to the bottom of the tabletop, allowing the legs to collapse when not in use. This design is ideal for spaces that require flexible furniture, such as apartments or dorms. Paint or stain the table for a polished look, and consider adding a carrying handle for portability.
10. Tree Stump Table
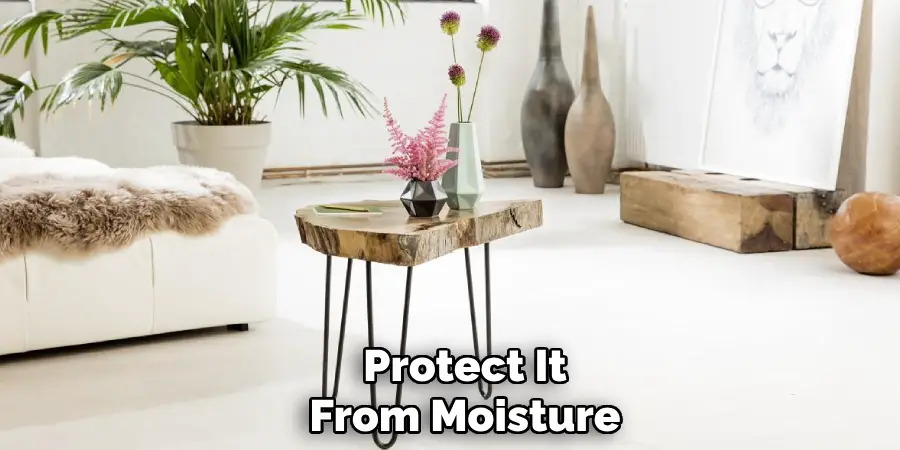
A tree stump side table brings a natural and rustic charm to any room. Begin by selecting a sturdy, dried tree stump of the desired height. Remove the bark using a chisel or sandpaper, then sand the surface until smooth.
Seal the stump with polyurethane to protect it from moisture and enhance the wood grain. For a modern twist, paint the stump partially or entirely in a bold color. Add casters to the bottom for easy mobility, or leave it stationary for a sturdy, nature-inspired table.
Conclusion
In conclusion, crafting your own side table can be a rewarding and creative endeavor, allowing you to customize the design to perfectly suit your style and space. Whether you prefer the rustic appeal of repurposed materials, the sleek lines of mid-century modern aesthetics, or the industrial flair of metal and concrete, there’s a DIY option for everyone.
By exploring various materials such as wood, metal, concrete, and even books, you can produce a unique and functional piece that enhances your home décor. Thanks for reading, and we hope this has given you some inspiration on how to build a side table!