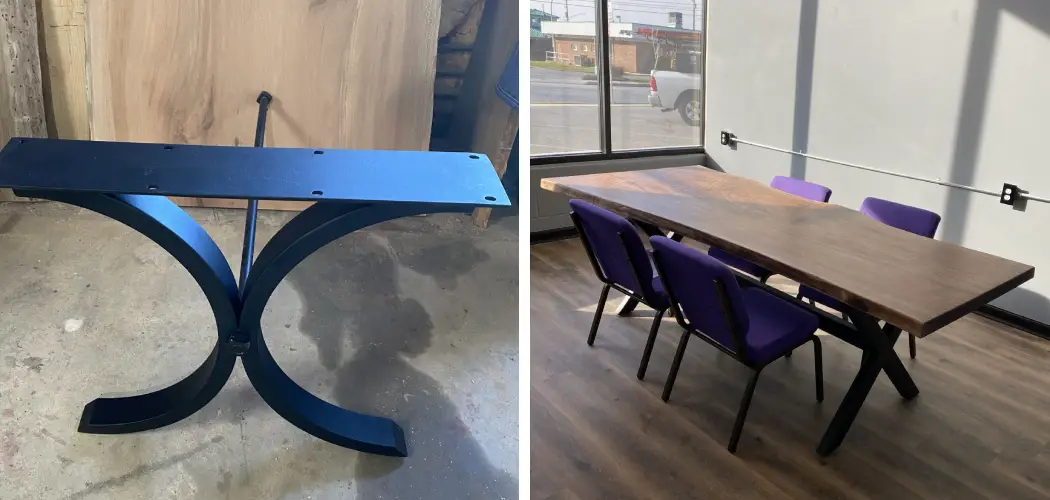
Stabilizing your metal table’s legs is important for safety and aesthetics. Unstable legs can cause accidents, as well as detract from the overall look of the table. To ensure that your metal table is secure, it’s important to take steps to stabilize its legs. You can easily ensure that your table stays sturdy and stable with a few simple materials.
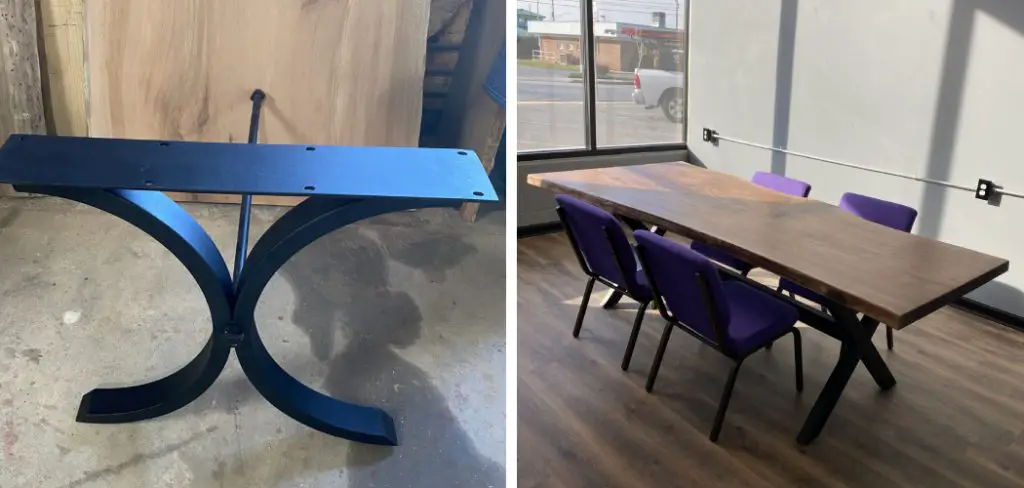
One of the main advantages of stabilizing metal table legs is that it can improve stability and reduce wobbling. Securely attaching the legs to the frame this method reduces movement and improves balance. This can be especially advantageous when using a glass top or heavy items on top of a table, as they won’t be able to move around easily.
Another advantage is that it can reduce noise. Stabilizing metal table legs also makes them less likely to scratch or scrape on the floor, helping to preserve their longevity. In this blog post, You will learn in detail how to stabilize metal table legs.
Step by Step Processes for How to Stabilize Metal Table Legs
Step 1: Inspect the Table Legs
Check each table leg for any signs of instability, such as bent or cracked metal. If you notice anything out of the ordinary, it is best to contact a professional repairman or furniture store before attempting to fix them yourself.
Before stabilizing your table legs, ensure that the legs and tabletop are levels. This will help ensure that your table is stable once you have finished stabilizing.
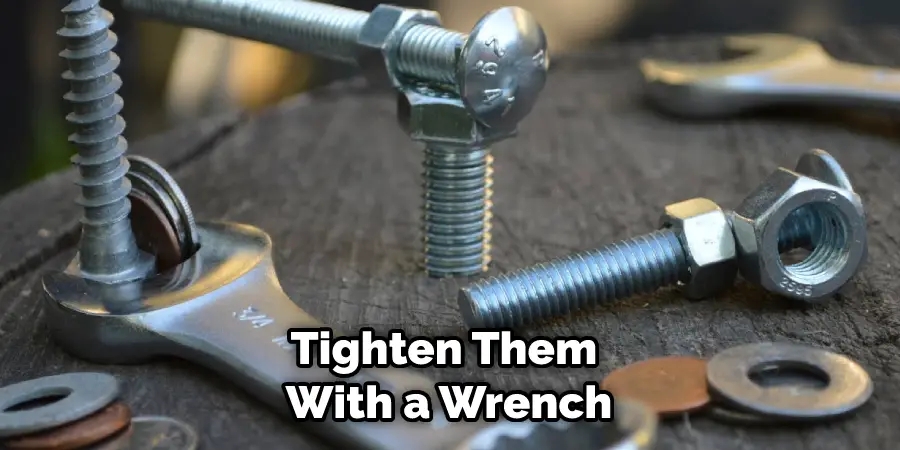
Step 2: Tighten the Nuts and Bolts
If you find that the nuts and bolts on your table legs are loose, tighten them with a wrench. Be sure to use the correct sized wrench for your particular model of table leg; if you don’t, you could cause damage to the metal or strip the threads.
If your table legs are wobbly, you can add supports to help stabilize them. There are various support options available in stores, such as adjustable glides and plastic wedges.
Step 3: Secure the Table Legs
If the wobble persists or if you want extra stability for your table legs, you can secure them to the floor. Use L-brackets, angle brackets, and anchor screws to secure your legs to the floor. This will ensure that the table won’t move, even if it is jostled or pushed.
Step 4: Make Sure Everything Is Level
Before you have finished stabilizing your table legs, make sure that the legs and tabletop are levels. This will help ensure that your table is stable once you have finished stabilizing. Once all of the steps have been completed, you can finally enjoy a stable and safe metal table.
Follow these easy steps to find out Stabilise Metal Table Legs in no time. You will be glad you did.
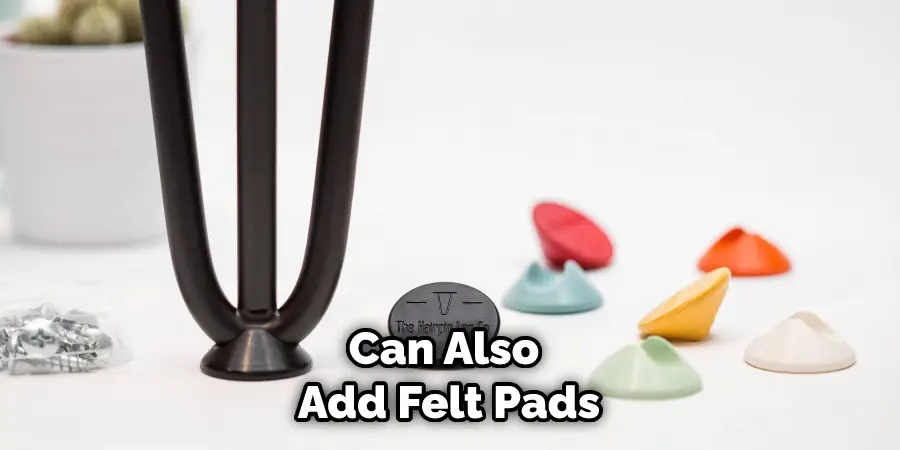
You can also add felt pads or rubber feet to the bottom of your table legs to help keep them in place and reduce noise and vibration when moving the table.
Safety Tips for How to Stabilize Metal Table Legs
- Wear safety glasses to protect your eyes from potential flying debris.
- Wear thick work gloves to protect yourself from sharp metal edges and other hazards.
- Secure the table to the ground with a bungee cord or ratchet strap to prevent it from shifting while you’re working on it.
- Carefully inspect the legs and base of the table to ensure that all parts are secured properly.
- Make sure that all screws, bolts, and other fasteners are tight before you start working.
- If you’re using a drill or any power tools, ensure they’re in good condition, and their cords are out of the way.
- Place a thick towel or piece of cardboard between the table and your work surface to prevent scratching the metal legs.
- Test the stability of the table when you’re done by pushing down on it gently in different directions. If there are still any unstable spots, repeat any necessary steps or use additional fasteners to ensure the table is secure.
Following these safety tips ensures that your metal table legs are stabilized properly and safely. With a little bit of time and effort, you can have a sturdy table that will stand up to daily use.
How Can You Avoid Damaging the Leg or Table During Stabilizing?
- Ensure the table is stable and secure before beginning. Place it against a wall or other sturdy surface to ensure that the leg is not under undue stress while stabilizing it.
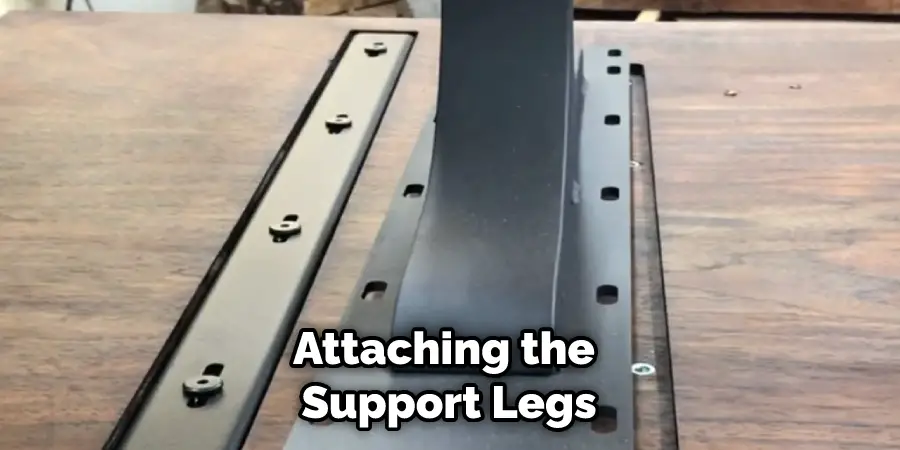
- Inspect the area where you’ll be attaching the support legs to ensure there are no sharp edges, screws, nails, or other objects that could cause damage when attaching the support legs.
- Use a soft cloth or towel to protect the leg from accidental bumps and scrapes while stabilizing it.
- Take your time when drilling pilot holes for screws, as going too quickly can cause damage to the table leg or surface of the furniture you’ll be attaching the support legs.
- Make sure that all screws, bolts, and fasteners are tightened securely but not too tightly, as this may cause damage to the leg or table surface.
- Once you’ve finished stabilizing your metal table legs, check them periodically to ensure they remain secure and that there is no visible damage. This will help extend the life of your furniture and keep it looking great for years to come.
By following these steps, you can avoid damaging your table legs or furniture surface while stabilizing them. This will help ensure that your furniture remains secure and looks great for years to come.
How Should You Clean and Maintain Metal Table Legs After Stabilization?
Once you have stabilized your metal table legs, cleaning and maintaining them regularly is important. This will help ensure that the stability of your table legs remains for a long time. The following steps should be taken when cleaning and maintaining metal table legs:
- Wipe down the metal legs with a soft cloth or brush to remove any dirt or debris.
- Lightly scrub the metal surface with a non-abrasive cleaner and warm water to remove any hard stains, grease, or grime. Let the cleaner sit for a few minutes before wiping off the excess with a soft cloth.
- Dry off the legs thoroughly, so no moisture remains.
- Apply a thin layer of furniture wax to the metal legs, focusing on areas that are prone to corrosion or wear and tear. Allow the wax to dry completely before buffing it in with a clean cloth.
- Touch up any scratches or dents with a touch-up kit or paint.
By following these steps, you can help keep your metal table legs looking their best and ensure that they remain stable for years to come. Regular maintenance is key in keeping furniture pieces like metal table legs in great condition.
How Can You Restore a Metal Table Leg That Has Been Damaged?
If you have noticed that one of your metal table legs is bent, cracked, or otherwise damaged, the good news is that it can be repaired. Here are some tips on how to restore a metal table leg:
- Use a vice and hammer to bend the metal back into shape. This is best done with patience and caution, as it can be easy to accidentally make the metal too weak if you hit it too hard.
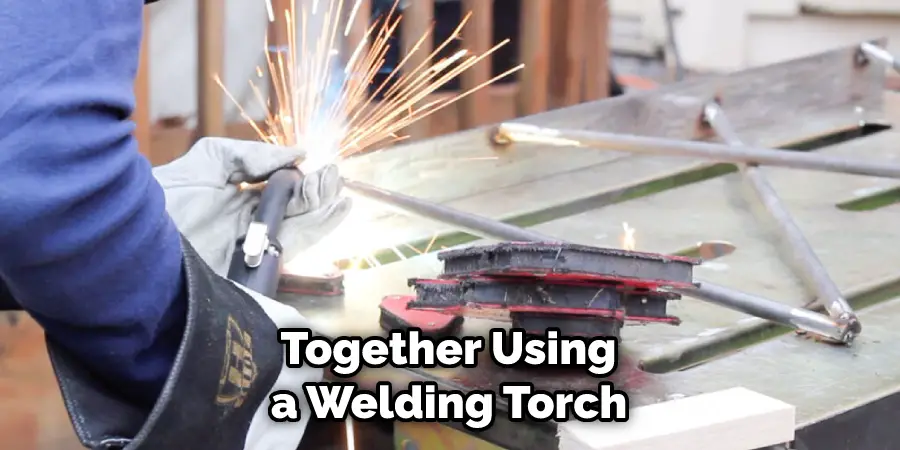
- If the metal has cracked, you can weld it together using a welding torch and steel rod. Make sure that the pieces are aligned properly before applying heat and pressure.
- A metal pipe or tube is a good way to strengthen the leg. Cut the pipe to the same length as the leg and then slide it over the existing leg. This will add strength and stability to the table.
- If you’re looking for an even more sturdy fix, consider using epoxy putty. This can be molded into any shape and applied directly to the leg for a secure hold.
These tips should help you restore and stabilize your metal table legs. With patience and care, you can have your furniture back in action in no time.
How Do You Know if a Particular Type of Hardware is the Best Option for Stabilizing Metal Table Legs?
When choosing hardware for stabilizing metal table legs, consider the condition of the leg and how much support is needed. Look for something that can handle the tabletop’s weight and any movement or vibrations caused by daily use.
If there is a lot of movement in one area, such as near a joint, then you may need to use more than one type of hardware to help secure it and provide the necessary stability. Different pieces of hardware are designed with specific uses and strengths, so make sure you choose something that can handle the job.
If you are uncertain, consult an expert or research online for advice on which type of hardware best suits your particular situation.
The type of metal used for the table leg also matters when selecting hardware; some metals may require different types of fasteners or other materials that are not as strong or secure as others. Additionally, avoid over-tightening the screws and bolts since this can distort and damage the metal legs.
Always check your work after tightening the screws to ensure that all of the hardware is secure.
Conclusion
In conclusion, it is possible to stabilize metal table legs with a few simple steps. By drilling pilot holes, using coach bolts, and filling the space between the bolt head and the leg with epoxy putty, you can strengthen your table legs and ensure their stability.
Additionally, using furniture pads or glides on the feet of your table helps protect hard flooring surfaces from scratches.
With these steps, you can guarantee a sturdy and long-lasting table. I hope this article has been beneficial for learning how to stabilize metal table legs. Make Sure the precautionary measures are followed chronologically.