Maintaining the cleanliness of Epson printer rollers is crucial for ensuring consistent print quality and preventing frustrating paper jams. Over time, dust, ink residue, and paper debris can accumulate on the rollers, leading to misaligned prints and operational issues.
By regularly cleaning the rollers, users can significantly improve the performance and lifespan of their printers. This article will guide you on how to clean Epson printer rollers effectively, from gathering the necessary materials to employing the proper cleaning techniques.
We will also cover tips for establishing a regular maintenance schedule, ensuring your printer remains in optimal condition, and delivering high-quality results for every print job.
Understanding the Role of Printer Rollers
Function of Printer Rollers
Printer rollers play a vital role in the functionality of Epson printers, facilitating the movement and alignment of paper throughout the printing process. These rollers grip and feed the paper into the printer precisely, ensuring that each page is correctly aligned for accurate printing. When printer rollers are dirty or worn, their ability to perform these tasks diminishes significantly.
Dust, ink residue, or debris accumulation can lead to inconsistent paper feeding, which may result in blurred or misaligned prints. In severe cases, this can cause paper jams that interrupt printing and require manual intervention, ultimately affecting productivity and print quality.
Signs of Dirty Rollers
Identifying when printer rollers need cleaning is essential for maintaining optimal printer performance. Common signs include frequent paper jams, where the printer struggles to push the paper through, and streaky or faded prints that reflect improper ink distribution.
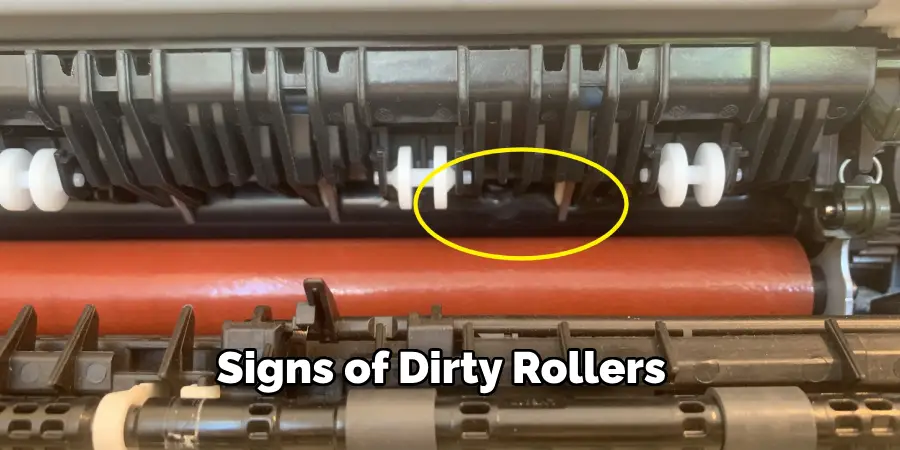
Misaligned prints, where text or images do not line up correctly on the page, indicate that the rollers may be dirty or covered in debris. Regular visual inspections can help detect dust accumulation on the rollers, ensuring users can promptly address cleaning needs.
By recognizing these signs early, users can prevent further issues and keep their printers operating smoothly, thus avoiding costly downtime and repairs.
Preparing to Clean the Rollers
Gathering Necessary Materials
Before beginning the cleaning process, it is essential to gather the right materials to ensure effective and safe cleaning of the printer rollers. You will need a few essential items: lint-free cloths, isopropyl alcohol (preferably 70% or higher for optimal cleaning efficacy), cotton swabs, and possibly a small brush for loosening any stubborn debris. Using a lint-free cloth is crucial as it prevents lint from being left behind on the rollers, which can interfere with printer performance.
Isopropyl alcohol is ideal for dissolving ink residue and sanitizing the rollers without leaving harmful residues. Cotton swabs are perfect for reaching narrow spaces around the rollers, while a small brush can help remove any stubborn dirt or dust. It’s important to use these appropriate cleaning materials to avoid damaging the rollers or other printer components during the cleaning process.
Turning Off and Unplugging the Printer
Safety should always be a priority when cleaning your printer. Begin by turning off the printer using the power button and then unplugging it from the power source. This will prevent any accidental activation during the cleaning process, which could potentially cause injury or damage to the device. Wait a few moments to allow the printer’s internal components to power down fully.
If applicable, remove any USB cables or network connections to ensure complete disconnection from external devices. This step is critical to protect you from electrical hazards and safeguard your printer from any unintended movements or functions while cleaning. Following these precautions will help create a safe environment for performing maintenance tasks, ensuring a thorough and risk-free cleaning experience.
How to Clean Epson Printer Rollers: Cleaning the Printer Rollers
Accessing the Rollers
To effectively clean the printer rollers, the first step is to locate and access them. Depending on the Epson printer model, this may involve a series of simple actions. Start by opening the printer’s paper tray, as it often provides initial roller access. Next, look for the paper feed cover, which may require a gentle pull or push to remove. Some models may also have a front panel that needs to be opened to expose additional compartments.
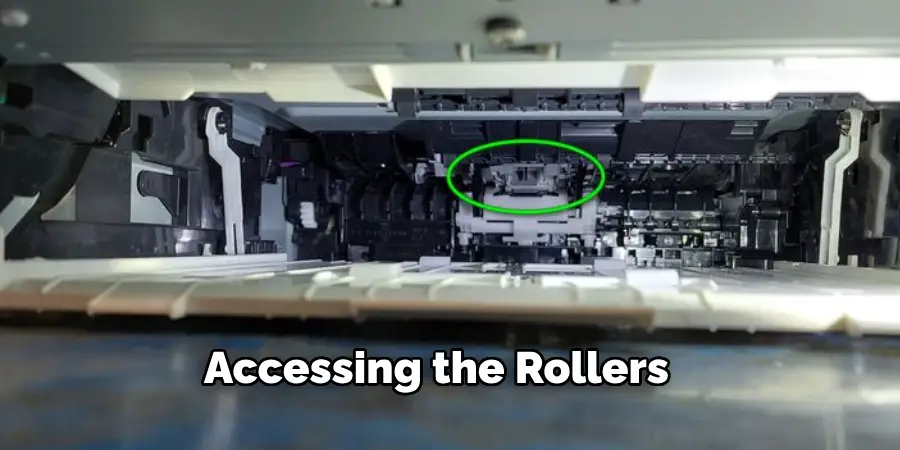
If you’re having trouble finding the rollers, refer to the printer’s user manual for specific instructions related to your model. Additionally, inspecting your printer’s internals after accessing the compartments can help you identify the rollers by their cylindrical shape—typically located toward the entrance of the paper path. Following the appropriate method for your model is crucial to prevent any damage during this process.
Cleaning the Rollers
Once you have gained access to the rollers, it’s time to clean them effectively. Begin by taking a lint-free cloth and lightly moisten it with isopropyl alcohol—ensure that the cloth is damp but not dripping wet. Gently wipe the rollers, applying a bit of pressure to ensure that any dust, ink residue, or paper debris adheres to the cloth.
Move the cloth in a forward motion, following the direction of the roller to avoid causing any damage. Clean each roller thoroughly, rotating them as needed to reach all surfaces. It’s important to remember not to use excessive force, as aggressive scrubbing can cause the rollers to wear down or, in some cases, detach from their housing.
Maintaining a light touch ensures a thorough cleaning while preserving the integrity of the rollers.
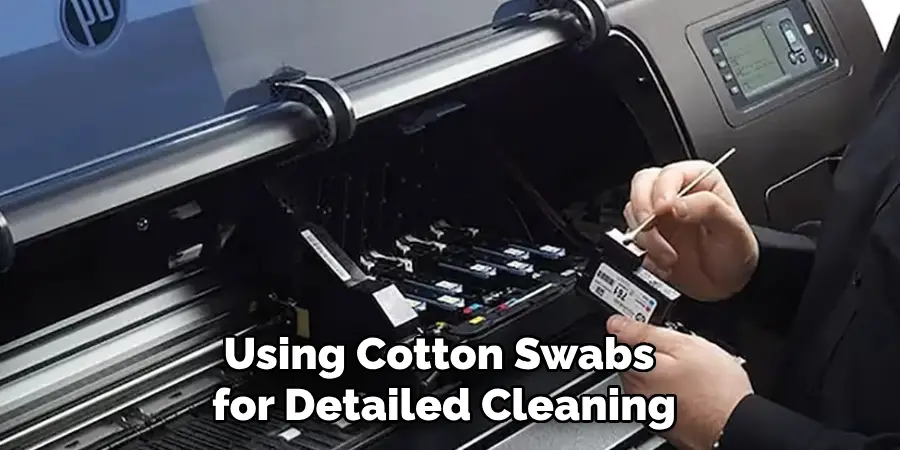
Using Cotton Swabs for Detailed Cleaning
In areas that are hard to reach with a cloth, cotton swabs become invaluable. Dampen a cotton swab with isopropyl alcohol, making sure it is moist but not saturated to prevent dripping. Carefully insert the swab into tight spots around the rollers and other printer components that may be dirty.
This allows for precise cleaning in nooks and crannies that a cloth cannot access. Use a gentle twisting motion to clean around the rollers and any associated parts. Be cautious to avoid applying too much liquid, as excess moisture can seep into sensitive internal components, potentially causing damage.
After cleaning, inspect your work to ensure that all visible debris and residue have been removed, leaving the rollers and surrounding areas pristine and ready for operation.
Reassembling and Testing the Printer
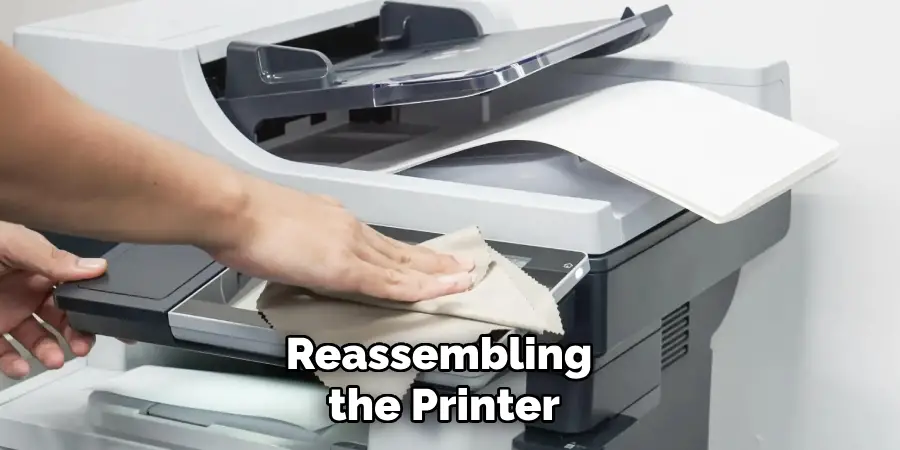
Reassembling the Printer
Once you have completed cleaning and allowed any cleaned components to dry, it’s time to reassemble the printer. Begin by carefully repositioning any covers or panels you had removed earlier, ensuring that they snap or lock into place securely. If you take out the paper feed cover or any other panel, verify that all latches are correctly engaged to avoid any operational issues.
Next, replace the paper tray, ensuring it is aligned properly within its designated compartment. Ensuring that all parts fit seamlessly back into their original positions is crucial, as any misalignment could affect the printer’s performance. Double-check that no tools, cleaning materials, or debris have been left inside the printer before reconnecting.
Testing the Printer
After reassembly, testing your printer is vital to ensure it is functioning correctly. Start by plugging the printer back into the power source and turning it on. Once powered, run a test print to check for improvements in print quality. Look for sharpness and clarity in the text and images; any streaks or defects may indicate the need for further cleaning or maintenance.
It’s also good practice to perform a print head alignment through the printer’s settings menu, if available. This helps ensure that all print head parts are properly calibrated for optimal printing. While testing, pay attention to the paper feeding; it should be smooth and free from jams.
If you notice any unusual sounds or persistent issues, consider checking again for debris or misalignments. Successful testing confirms that your printer is back in working order and ready for use.
Preventative Maintenance Tips
Regular Cleaning Schedule
Establishing a regular cleaning schedule is essential for maintaining the performance of your Epson printer. Aim to clean the rollers every few months to prevent the build-up of dust and debris.
If you notice any print quality issues or paper jams, increase the frequency of your cleaning sessions. Consistency ensures that your printer remains in good working condition, reducing the risk of interruptions in your printing tasks.
Avoiding Common Issues
Always use the correct paper type recommended for your printer model to avoid issues that can lead to dirty rollers. Keeping your printer clean is also beneficial; ensure it’s placed away from excessive dust or debris. Regularly check for stray paper remnants and maintain the surrounding area free from clutter. These simple practices help to minimize the potential for dirty rollers and enhance overall printer reliability.
Conclusion
In summary, learning how to clean Epson printer rollers is a straightforward yet crucial process for maintaining optimal printing performance. The key steps include preparing your printer, accessing and effectively cleaning the rollers, and testing the device afterward for any irregularities. By incorporating these cleaning practices, you can help prevent future issues and prolong the lifespan of your printer. Regular maintenance enhances print quality and reduces the likelihood of paper jams, ensuring a seamless printing experience. Remember, proper care and maintenance are vital to keeping your Epson printer running smoothly, helping you achieve high-quality prints every time.