
Are you tired of seeing faint or blurry prints from your printer? Have you noticed streaks or spots on your documents? If so, it may be time to clean your printer drum. A dirty printer drum can affect the quality of your prints and even cause damage to your printer over time.
A printer drum, also known as a photoreceptor drum, is a crucial component in laser printers, playing a key role in creating crisp and vivid printouts. Over time, dust, toner residue, and other debris can accumulate on the drum’s surface, leading to streaks, spots, or faded areas on printed pages. Regular cleaning of the printer drum can help maintain the quality of your prints and extend the life of your printer.
This guide will provide you with simple, straightforward steps on how to clean a printer drum, ensuring that your documents continue to look professional and clear.
What is the Importance of Cleaning a Printer Drum?
As mentioned, keeping your printer drum clean is essential for maintaining the overall quality and longevity of your printer. Here are some specific benefits of regularly cleaning your printer drum:
- Improved Print Quality: A clean printer drum ensures that toner can evenly distributed on the page, resulting in sharp and vibrant prints.
- Prolonged Printer Life: Dirt and debris on the printer drum can cause excessive wear and tear on your printer, leading to costly repairs or replacements.
- Cost Savings: Regularly cleaning your printer drum can prevent print quality issues that may require reprinting, saving you time and money.
Once you understand the importance of cleaning your printer drum, it’s time to learn how to do it correctly.
What Will You Need?
To effectively clean your printer drum, you will need the following materials:
- Lint-free cloth or cotton swabs
- Isopropyl alcohol
- Compressed air can
- Latex gloves (optional)
Once you have gathered the necessary materials, you can start cleaning your printer drum.
10 Easy Steps on How to Clean a Printer Drum
Step 1. Turn Off and Unplug Your Printer:
Before you start cleaning, make sure your printer is turned off and unplugged from the power source. This is a crucial safety step to prevent any electric shock or damage to the printer. Additionally, allow the printer to cool down before handling any internal components.
Step 2. Open the Printer Cover:
Carefully open the printer cover to access the drum unit. Most printers have a front or top cover that can be easily opened or removed. Refer to your printer’s manual if you are unsure how to open your printer to access the drum. This step is essential for getting to the printer drum, usually near the toner cartridge.
Step 3. Remove the Toner Cartridge and Drum Unit:
Once the printer cover is open, you must remove the toner cartridge to access the drum unit. In most laser printers, the toner cartridge and drum unit are either attached or closely located. Gently pull the toner cartridge out of the printer. If the drum unit is separate, remove it as carefully as possible to avoid any damage. Place these components on a clean, flat surface where they won’t be disturbed. This step is critical for ensuring that the drum can be cleaned without obstructions.
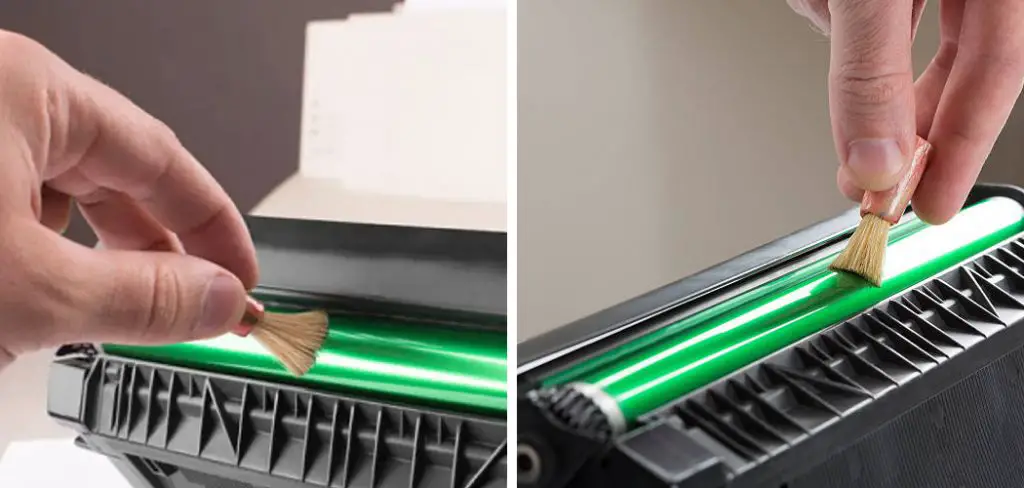
Step 4. Clean the Drum Unit:
With the toner cartridge and drum unit removed, take your lint-free cloth or cotton swab and lightly dampen it with isopropyl alcohol. Gently wipe the surface of the drum unit with the cloth or swab, being cautious not to apply too much pressure as the drum is sensitive and can easily be damaged. Rotate the drum as you clean it to ensure the entire surface is covered. This step is crucial for removing any dust, toner residue, or debris that may have accumulated on the drum’s surface.
Step 5. Use Compressed Air for Additional Cleaning:
After gently wiping the drum’s surface, take the can of compressed air and use it to blow away any remaining dust or debris from the drum unit and the area surrounding it. Hold the can a few inches away from the drum to avoid damage, and spray short bursts of air. This step helps ensure that even the smallest particles are removed, further improving print quality and prolonging the life of your printer drum.

Step 6. Inspect the Drum for Damage:
After cleaning the drum unit with a lint-free cloth and compressed air, inspect the surface for any signs of damage, such as scratches or wear. If you notice any damage, consider replacing the drum unit to ensure the best possible print quality. Careful inspection at this stage can save you from future printing issues related to drum damage.
Step 7. Reassemble the Printer Components:
Once the drum unit is clean and you’ve inspected it for any damage, it’s time to place the drum unit and the toner cartridge back into the printer. Ensure they are correctly aligned and securely fitted into their designated spots within the printer. Handle these components gently to avoid any unnecessary wear or damage. This step is crucial for ensuring your printer is ready to produce high-quality prints again.
Step 8. Close the Printer Cover:
After reinserting the drum unit and the toner cartridge, carefully close the printer cover. Ensure it is properly secured and there are no parts left exposed or improperly aligned. This step is essential to protect the printer’s internal components and prepare it for operation.
Step 9. Plug In and Turn On Your Printer:
Now that the printer cover is closed and everything is back in place plug your printer back into the power source. Carefully turn on the printer and wait for it to go through its startup routine. This is an important step, allowing the printer to recalibrate and recognize the newly cleaned drum unit. Ensure no error messages are displayed and that the printer indicates it is ready for operation before proceeding to the final step.
Step 10. Perform a Test Print:
Finally, it’s time to perform a test print to ensure that the cleaning process is successful and that the printer is functioning correctly. Select a document with both text and graphics to get a comprehensive idea of the print quality. Check the test print closely for any inconsistencies, streaks, or areas lacking clarity.
If the print quality has noticeably improved and there are no issues, the cleaning process has been successful. If problems persist, reinspect and clean the drum unit again, or consider consulting a professional for further assistance. This step is critical to ensuring your printer delivers optimal performance and print quality.
By following these ten easy steps, you can effectively clean your printer drum and maintain the longevity of your printer. Regularly cleaning your printer drum will not only improve print quality but also save you money in the long run by extending the life of your printer.
5 Additional Tips and Tricks
- Use a Microfiber Cloth: Always opt for a microfiber cloth when cleaning the printer drum. Its fine fibers are perfect for picking up tiny particles of toner and dust without leaving scratches on the sensitive drum surface.
- Avoid Harsh Chemicals: Never use harsh chemicals, alcohol, or strong solvents to clean the printer drum. These can damage the drum’s coating. Instead, use distilled water if necessary, applied sparingly.
- Gentle Handling: Always handle the printer drum with care. It is a sensitive component that can easily be damaged by fingerprints, scratches, or too much pressure. Be as gentle as possible when taking it out or placing it back in.
- Regular Cleaning Schedule: Establishing a regular cleaning schedule can significantly extend the life of your printer drum. Cleaning it gently every time you change the toner can prevent build-up that could lead to more significant problems down the line.
- Consult the Manual: Before cleaning your printer’s drum, it’s crucial to consult the printer’s manual. Different models may have specific instructions or precautions that need to be taken. Consulting the manual can prevent accidental damage.

With these additional tips and tricks, you can ensure your printer drum stays clean and functioning at its best.
6 Things You Should Avoid
- Don’t Use Paper Towels or Tissues: These materials can leave lint or small paper fibers on the drum, potentially causing damage or print quality issues. Stick to microfiber cloths instead.
- Avoid Direct Contact with Your Skin: Oils and sweat from your hands can leave residues on the printer drum that affect print quality. Always handle the drum with clean gloves or a cloth.
- Never Apply Excessive Force: When cleaning the drum, applying too much pressure can scratch or dent the surface. Always use gentle, light strokes to avoid causing damage.
- Do Not Expose to Direct Sunlight: Prolonged exposure to sunlight can harm the printer drum’s sensitive materials. Keep the drum covered and avoid cleaning it in direct sunlight to prevent deterioration.
- Steer Clear of Compressed Air: While it may seem effective to remove dust, using compressed air can force dirt deeper into the printer, leading to more significant issues. Opt for gentle wiping to remove surface dust and toner.
- Avoid Using Wet Cloths: Wet cloths can leave too much moisture on the drum, potentially causing damage. Use a damp cloth instead of a wet one and dry thoroughly afterward.
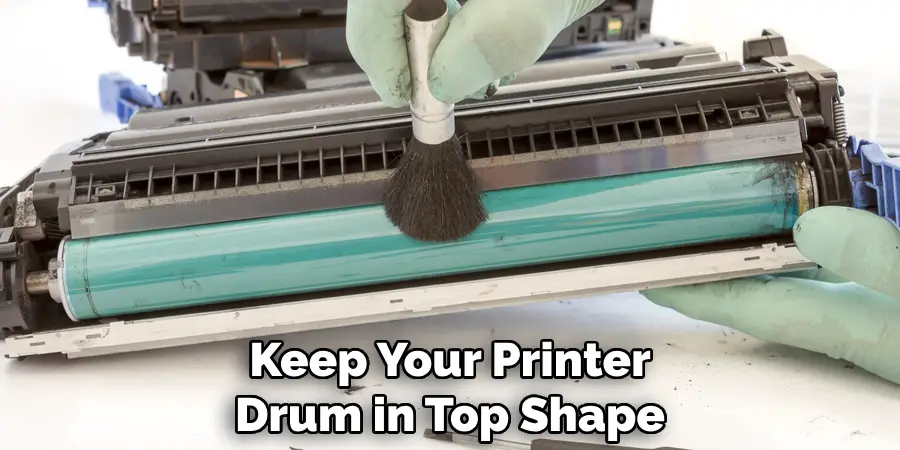
By avoiding these common mistakes, you can keep your printer drum in top shape and ensure long-lasting print quality.
Some Frequently Asked Questions
1. How Do You Know if Your Printer Drum is Bad?
A few signs can indicate a problem with your printer drum. Here are some red flags to look out for:
- Faded or Blurry Printouts: If you notice that your prints are coming out faded or blurry, it could be a sign that the printer drum is not functioning properly. This could be due to wear and tear on the drum’s surface, causing it to produce lower-quality prints.
- Smudges or Streaks on Paper: Similar to faded or blurry printouts, smudges or streaks can also be a sign of a damaged printer drum. This could be caused by scratches or dents on the drum’s surface, affecting its ability to transfer toner onto the paper evenly.
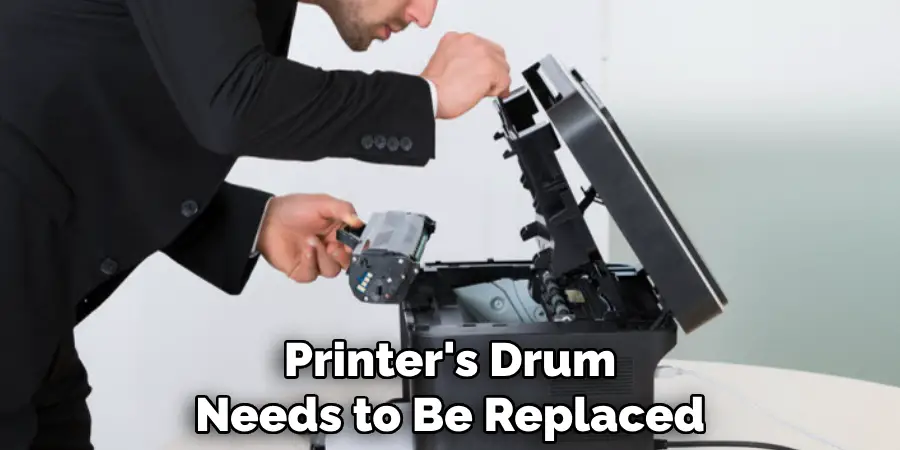
- Visible Damage: If you notice visible damage to the printer drum, such as scratches or dents, it’s a clear sign that it needs to be replaced. These damages can significantly impact print quality and should not be ignored.
- Error Messages: Many printers have error messages that specifically indicate an issue with the printer drum. If you receive these types of errors, it’s best to consult the manual and take appropriate action, such as cleaning or replacing the drum.
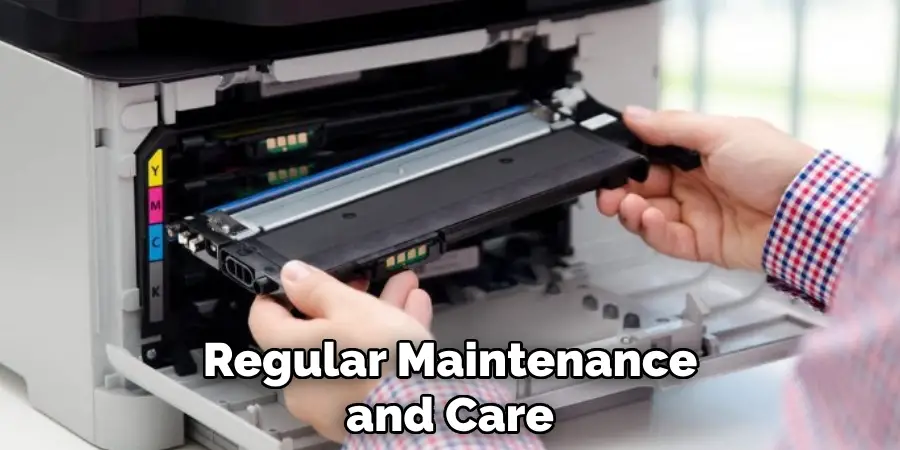
If you notice any of these signs, addressing the issue promptly is important. Neglecting a damaged printer drum can lead to further problems and shorten the lifespan of your printer. Regular maintenance and care can help prevent these issues and keep your printer functioning at its best.
2. Can a Printer Work Without a Drum?
No, a printer cannot work without a drum. The printer drum is essential for transferring toner onto the paper to create prints. With it, the toner would be able to adhere to the paper properly, resulting in blank or incomplete prints.
If your printer’s drum needs to be replaced, it’s important to do so as soon as possible to continue using your printer. Most printer manufacturers offer replacement drum units for their specific models, and it’s recommended to use these official replacements for optimal performance.
In conclusion, the printer drum plays a crucial role in producing high-quality prints and should be properly maintained to ensure its longevity.
3. Should You Replace the Toner or Drum?
It depends on the specific situation. If your prints come out faded or blurry, it’s likely a sign that the toner needs replacing. However, if there are visible scratches or dents on the printer drum’s surface, it may need to be replaced as well.
In general, it’s best to follow the manufacturer’s recommendations for when to replace both the toner and the drum. Regularly cleaning both components can also help extend their lifespan and improve print quality. If you need help determining which component needs to be replaced, consult the printer’s manual or reach out to a professional for assistance.
Overall, proper maintenance and care of both the toner and drum are essential for a functioning printer and high-quality prints.
4. What Type of Printer Drum Should You Use?
The type of printer drum you should use depends on your specific printer model. It’s crucial to use the recommended drum unit from the manufacturer to ensure compatibility and optimal performance.
There are two main types of printer drums: laser drums and inkjet drums. Laser drums are used in laser printers and use a laser beam to transfer toner onto paper, while inkjet drums are used in inkjet printers and use liquid ink to create prints. Using the correct type of drum for your printer is important, as using the wrong one can result in damage or poor-quality prints.
If you’re unsure which type of drum is compatible with your printer, consult the manual or reach out to the manufacturer for assistance. Using the right type of drum can make a significant difference in print quality and the longevity of your printer.
5. Does Printer Make Noise?
Yes, it is normal for a printer to make some noise while in operation. The type and level of noise can vary depending on the printer model and its components. For example, laser printers tend to be louder due to their use of heated rollers and fusers, while inkjet printers are generally quieter.
However, if you notice any unusual or excessively loud noises coming from your printer, it could be a sign of a problem. This could indicate an issue with the drum, toner cartridge, or other components within the printer. It’s best to address these noises promptly and consult the manual or a professional for assistance if needed.
In general, some noise from a printer is normal, but any loud or unusual sounds should be investigated further. Regular maintenance and care can also reduce the noise level of your printer.
Conclusion
Keeping your printer drum clean is integral to ensuring your printer operates smoothly and continues to produce high-quality prints. It’s a delicate process that requires gentle handling to avoid damage. Regular maintenance, including careful cleaning and avoiding common damaging practices, can significantly prolong the life of your printer drum and improve your printer’s performance. Always consult your printer’s manual for specific cleaning instructions and use the recommended tools and products.
By dedicating time to maintaining your printer’s drum, you not only safeguard the quality of your prints but also contribute to the longevity of your printer, ensuring it serves you well for years to come. Remember, a well-maintained printer drum is key to flawless printing results.
Hopefully, the article on how to clean a printer drum has provided you with valuable insights and helpful tips. With this knowledge, you can now confidently maintain your printer drum and experience optimal print quality every time. Happy printing!