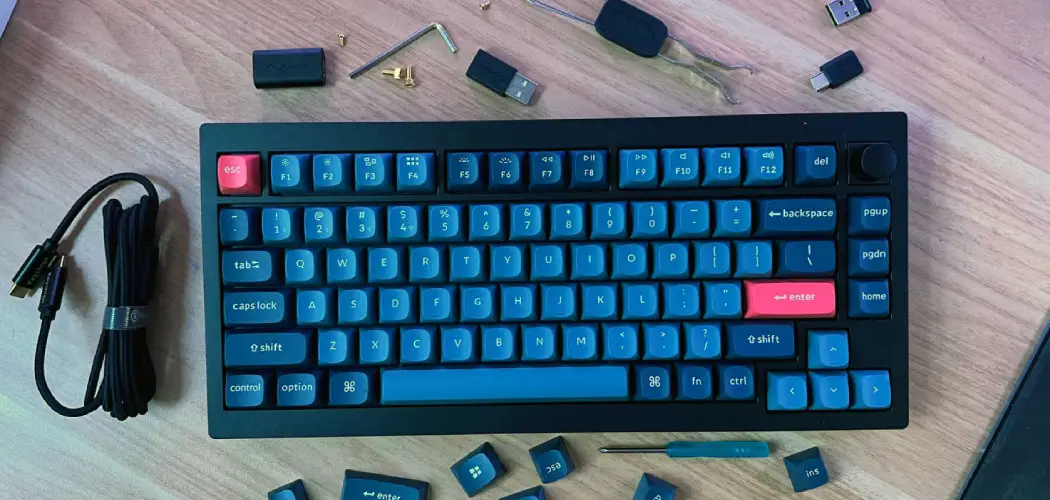
Do you have a set of GMK keycaps that are starting to look dirty and worn out? Don’t worry, we’ve got you covered. In this guide, we’ll walk you through the steps on how to clean GMK keycaps and make them look as good as new.
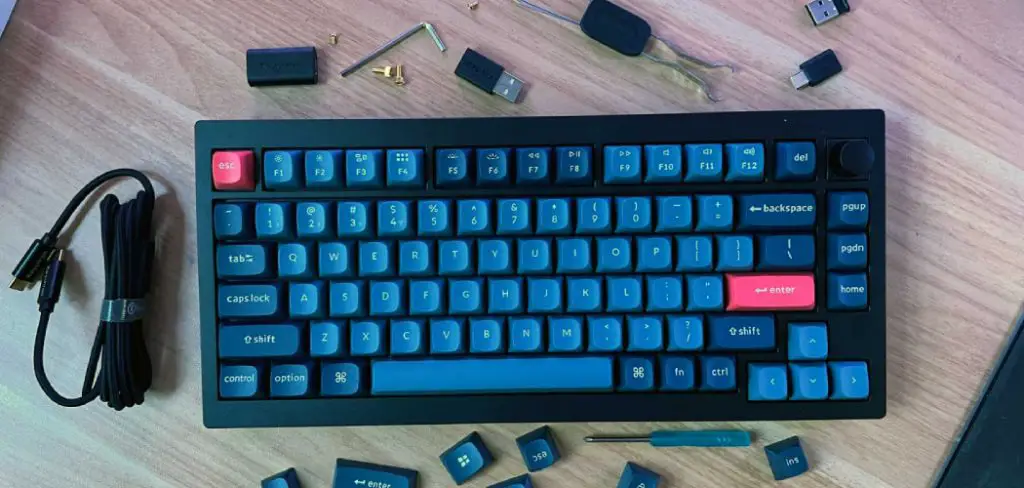
Cleaning GMK keycaps is essential for any keyboard enthusiast who wants to keep their setup pristine and functioning optimally. Over time, keycaps can accumulate dust, oils from fingerprints, and other debris, impairing the aesthetics and affecting the typing experience. Cleaning these high-quality keycaps is straightforward, involving a few simple tools and techniques to ensure they remain in top condition.
In this guide, we’ll explain effective methods for thoroughly and safely cleaning your GMK keycaps, helping to extend their lifespan while maintaining their vibrant appearance.
What Will You Need?
Before we dive into the cleaning process, here are a few essential items you’ll need to gather:
- A bowl or container large enough to fit all your keycaps
- Dish soap or mild detergent
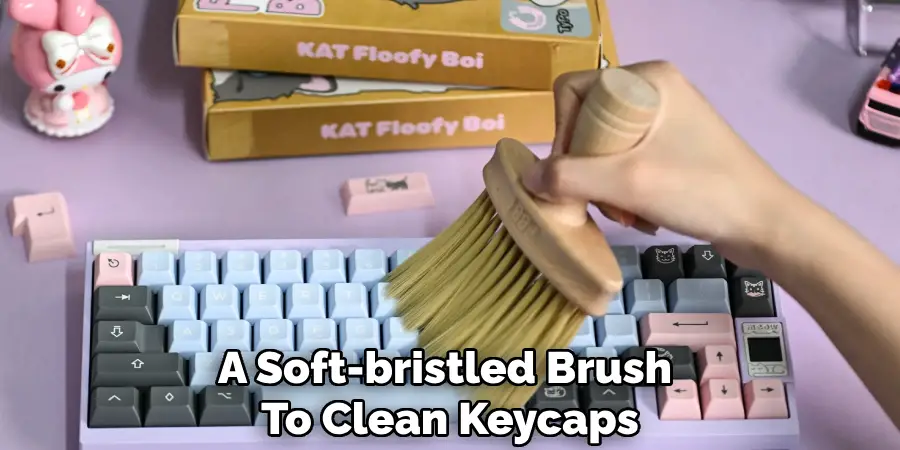
- A soft-bristled toothbrush (or similar brush)
- Microfiber cloth or towel
- Rubbing alcohol
- Cotton swabs
- Keycap puller (optional but recommended)
Once you have all these items ready, let’s get started on cleaning your GMK keycaps.
10 Easy Steps on How to Clean GMK Keycaps
Step 1: Remove the Keycaps from Your Keyboard
The first step in cleaning your GMK keycaps is to remove them from the keyboard carefully. A keycap puller is highly recommended, as it minimizes the risk of damaging the keycaps and your keyboard switches. Begin by gently sliding the puller under the keycap you wish to remove. Apply gentle pressure to lift the keycap straight up, ensuring you do not rock it to one side, as this could cause breakage.
Take your time with this process, especially for larger keycaps like the space bar or enter key, which may have stabilizers. After you have removed all the keycaps, place them in the bowl or container you prepared earlier. Keep them organized to avoid confusion when reassembling your keyboard later. This step prepares your keycaps for thorough cleaning and allows you to inspect them for any damage or wear before the cleaning begins.
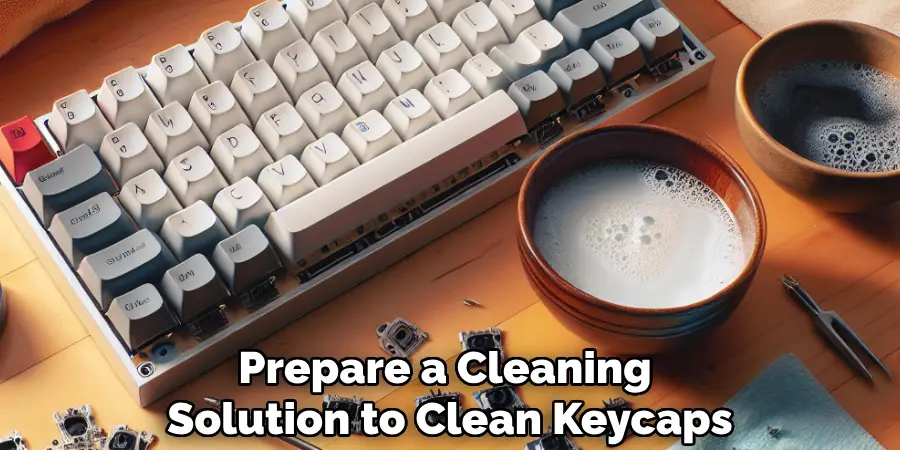
Step 2: Prepare the Cleaning Solution
Once your keycaps are safely removed and organized, the next step is to prepare a cleaning solution. Fill your bowl or container with warm water and add a few drops of dish soap or mild detergent. Stir the mixture gently to create a soapy solution. This will help to break down any grime and oils on the keycaps without being harsh on the plastic material. Ensure the water is warm, as hot water can warp keycaps over time, and cold water may not effectively lift the dirt.
Step 3: Soak the Keycaps
After preparing the cleaning solution, it’s time to let your keycaps soak. Carefully place all the removed keycaps into the bowl filled with warm, soapy water. Ensure that each keycap is fully submerged, allowing the cleaning solution to penetrate any grime or residue. Let the keycaps soak for approximately 10 to 15 minutes; this will enable the solution to break down stubborn dirt and oils accumulated over time.
During this soaking period, it’s a good opportunity to clean the keyboard surface as well. Use a microfiber cloth with mild soap and water to wipe down the keyboard base, carefully avoiding any electronic components. Once the keycaps have soaked adequately, it’s time to move to the next step, ensuring that they are thoroughly cleaned while maintaining their integrity.
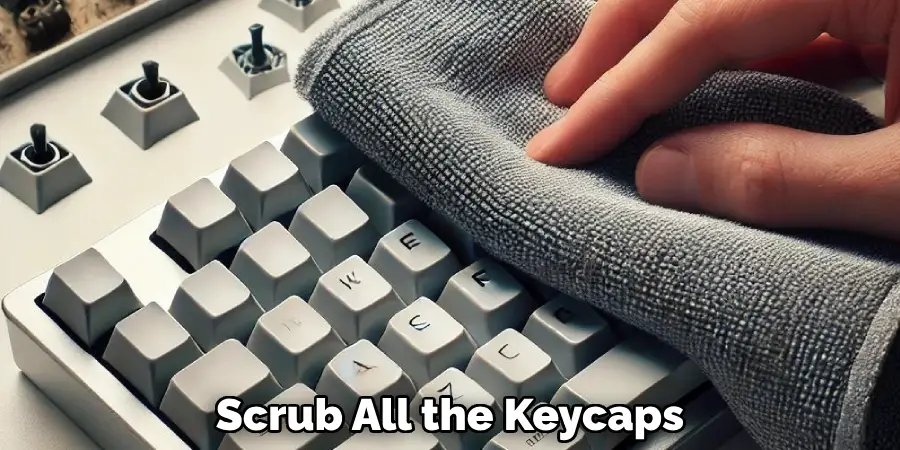
Step 4: Scrub the Keycaps
After soaking your keycaps, it’s time to give them a thorough scrub. Using the soft-bristled toothbrush, gently brush each keycap to remove any remaining dirt, grime, or oils. Pay special attention to the sides and the edges where debris accumulates. Be careful not to use excessive force, as this could damage the keycap’s surface or lettering.
For particularly stubborn stains, you may want to dip the toothbrush into the soapy solution for added cleaning power. Once you’ve scrubbed all the keycaps, rinse them under warm running water to remove any soap residue. Ensuring they are spotless helps maintain the longevity and appearance of your GMK keycaps.
Step 5: Rinse the Keycaps
Once you have scrubbed all the keycaps, it’s crucial to rinse them thoroughly to remove any soap residue that could lead to a sticky feel after cleaning. Place each keycap under warm running water, allowing it to flow over them for a few seconds.
Make sure to rotate each keycap to ensure that all surfaces are rinsed thoroughly. After rinsing, gently shake off any excess water to prevent pooling, which can lead to water spots on the plastic.
Step 6: Dry the Keycaps
After rinsing, the next important step is drying your keycaps properly. Lay a clean microfiber cloth or towel on a flat surface and arrange the rinsed keycaps in a single layer, ensuring they’re not touching each other to prevent scratches.
Allow them to air dry completely, which usually takes a few hours. Avoid using a heat source like a hairdryer for drying, as excessive heat can warp the plastic material. Ensuring the keycaps are completely dry is essential to prevent moisture from seeping back into the keyboard when you reassemble.
Step 7: Inspect the Keycaps
Once the keycaps are dry, taking the time to inspect them is vital. Look for any signs of wear, chips, or scratches that may not have been evident before cleaning. If you notice any damage, consider replacing the keycap to ensure a consistent appearance and typing experience.
Additionally, check the legends (letters and symbols) on the keycaps for any fading or peeling. If any keycaps are severely worn out, consider looking into customized options or replacements to maintain the aesthetic and functionality of your keyboard.
Step 8: Clean the Keyboard Base
While your keycaps are drying, cleaning your keyboard base thoroughly is an excellent opportunity. Wipe down the surface with a slightly damp microfiber cloth and a mild cleaning solution. Pay attention to the areas around the switches and any gaps where dust accumulates. If there are any stubborn spots, consider using cotton swabs dipped in the cleaning solution to reach tight spaces. Be careful not to let any liquid seep into the switch mechanisms.
Step 9: Reassemble the Keycaps
After ensuring that the keycaps and keyboard base are clean and dry, it’s time to put your keyboard back together. Begin by referring to the organized arrangement you created during the keycap removal. Gently press each keycap back onto its corresponding switch, ensuring it is aligned properly to avoid misplacement. For larger keycaps such as the space bar or enter key, confirm that stabilizers are correctly seated before pressing down to secure them.
Step 10: Final Touch
After reassembling all the keycaps, give your keyboard one final wipe with a dry microfiber cloth to remove any fingerprints or smudges that may have occurred during the cleaning process. Your GMK keycaps, now looking refreshed and vibrant, will improve your setup’s aesthetic and enhance your overall typing experience. Enjoy the satisfaction of your clean keyboard and the joy it brings to your daily tasks.
By following these straightforward steps, you can easily clean and maintain the appearance and functionality of your GMK keycaps. Regular cleaning will not only extend the lifespan of your keycaps but also ensure a more pleasant typing experience.

5 Things You Should Avoid
- Avoid Harsh Chemicals: Using solid solvents or abrasive cleaners can damage the plastic surface of the keycaps and fade the legends. Stick to mild soap and water for safe cleaning.
- Don’t Use Excessive Force: When scrubbing the keycaps, apply gentle pressure to avoid scratching or damaging the surface. Excessive force can wear down the keycap material or alter its shape.
- Refrain from Submerging the Keyboard: Never submerge the entire keyboard in water, as this can damage the electronic components. Permanently remove keycaps before cleaning the keyboard base.
- Avoid Heat Sources for Drying: Do not use hair dryers or other heat sources to dry the keycaps, as excessive heat can warp or melt them. Instead, allow them to air dry thoroughly.
- Don’t Neglect Regular Maintenance: Failing to clean your keycaps and keyboard regularly can lead to the buildup of dirt and grime, making future cleaning more difficult. Establish a routine to keep everything in optimal condition.
By avoiding these common mistakes, you can ensure that your GMK keycaps retain their vibrant appearance and functionality for years.
Conclusion
In conclusion, maintaining your GMK keycaps through regular cleaning enhances their visual appeal, prolongs their lifespan, and ensures an improved typing experience.
By following the outlined steps on how to clean gmk keycaps—removing keycaps, scrubbing, rinsing, drying, inspecting, cleaning the keyboard base, and meticulous reassembly—you can keep your keyboard looking fresh and functioning optimally. Remember to avoid harsh chemicals, excessive force, and unnecessary heat to protect your keycaps from damage. Establishing a cleaning routine will help prevent dirt accumulation and mitigate the effort required for future cleaning.
With these practices in place, you can enjoy a pristine and enjoyable typing setup for years to come.