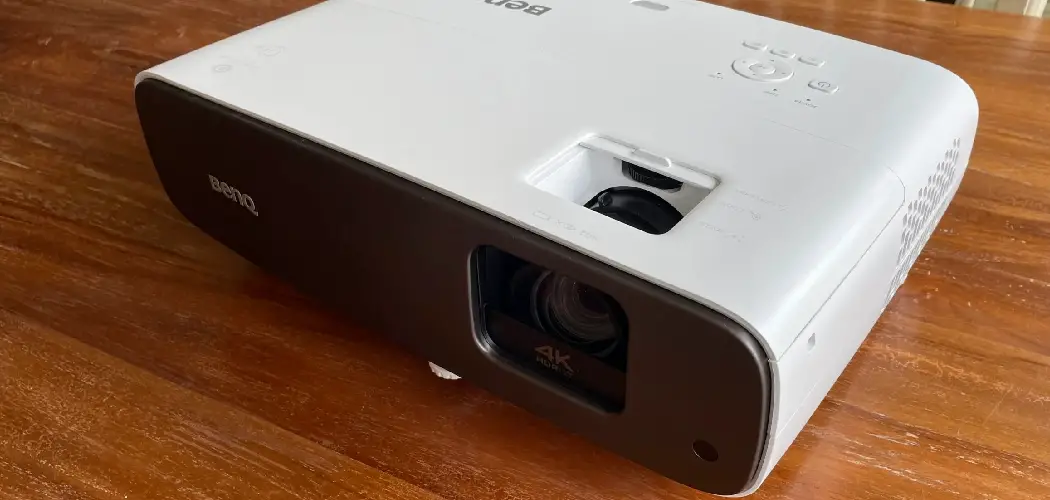
Are you tired of your projector’s image looking dim and dirty? Does it seem like no matter how much you clean the outside, the inside is always dusty and grimy? Don’t worry; cleaning the inside of a projector is easier than you might think.
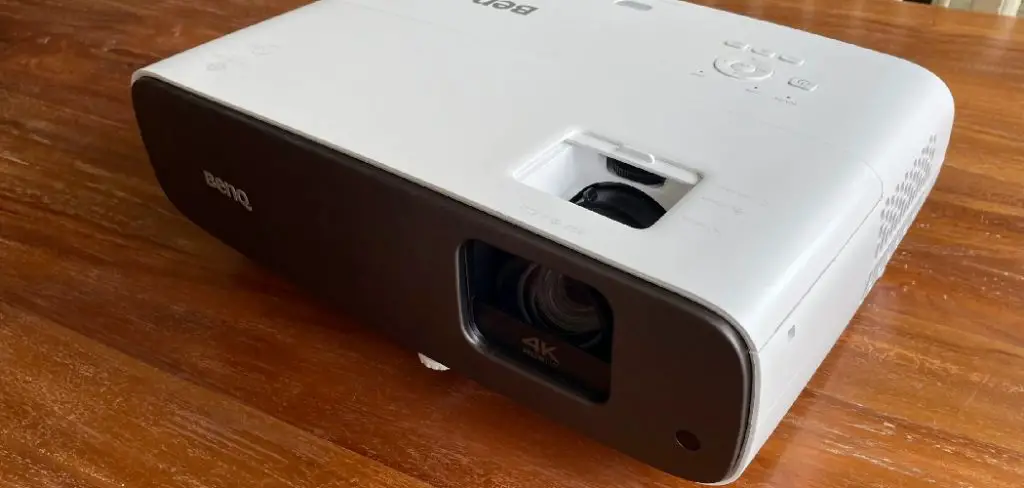
How to clean the inside of a projector is an essential maintenance task that can significantly enhance its performance and longevity. Over time, dust and debris can accumulate within the device, leading to overheating, reduced brightness, and potential damage to internal components. Proper cleaning ensures optimal image quality and helps prevent common issues such as color distortion or flickering images.
In this guide, we will walk you through the steps and tools required to safely and effectively clean the interior of your projector, ensuring that it delivers the best visual experience possible.
What Will You Need?
Before starting, gather the following items:
- Soft, lint-free cloth
- Compressed air canister or bulb blower
- Cleaning solution (preferably one designed for electronics)
- Small brush or cotton swabs
Once you have these items, you are ready to begin the cleaning process.
10 Easy Steps on How to Clean the Inside of a Projector
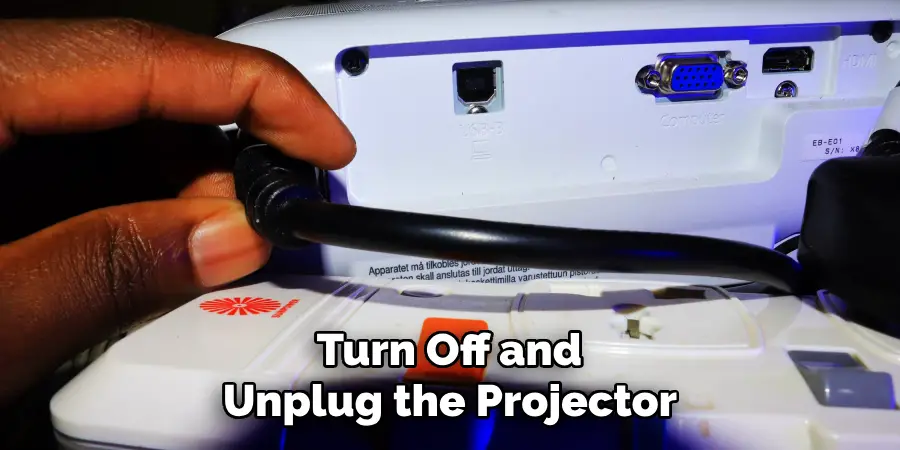
Step 1: Turn Off and Unplug the Projector
Before you start the cleaning process, safety is your top priority. Ensure the projector is turned off and unplugged from the power source. This precaution protects you from electrical shock and allows the internal components to cool down, reducing the risk of burns or damage during cleaning.
Wait at least 15 minutes after turning it off to allow any residual heat to dissipate. Handling a cold projector ensures you can work comfortably and safely as you prepare to access the interior for cleaning.
Step 2: Remove the Projector’s Cover
Once the projector has cooled down, the next step is to remove the outer cover. Depending on the make and model of your projector, this may involve unscrewing several screws or releasing clips that hold the cover in place.
Carefully consult your user’s manual for specific instructions on how to remove the cover without damaging any components. Once the cover is off, you should have access to the internal parts, paving the way for a thorough cleaning. Take care during this process to ensure you do not unnecessarily touch any sensitive components.
Step 3: Use Compressed Air to Remove Dust
With the cover removed, it’s time to tackle the accumulated dust and debris inside the projector. Take your compressed air canister or bulb blower and hold it safely from the internal components. Gently blow out dust from the lens area, fans, and other accessible parts.
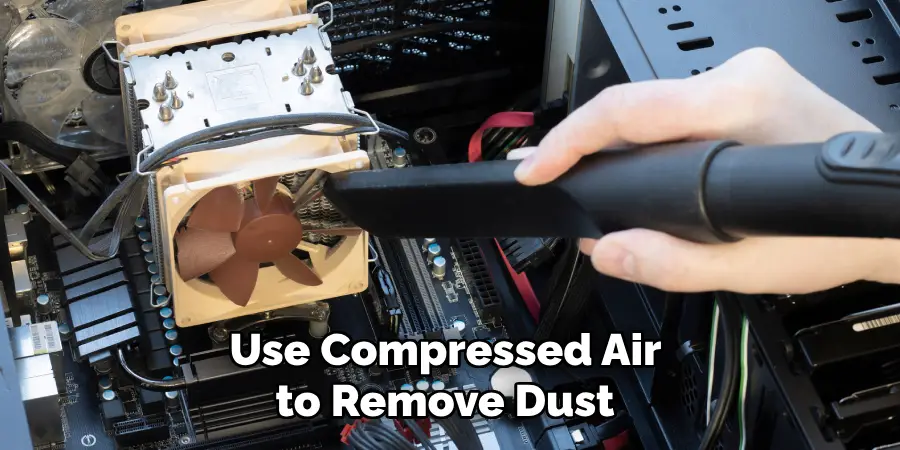
Aim to direct the air to prevent dust from being pushed deeper into the device. Be cautious not to touch any sensitive components directly with the nozzle, which could cause damage. This step is crucial for enhancing airflow and preventing overheating, as excessive dust can hinder the projector’s performance.
Step 4: Clean the Lens
Your projector’s lens is one of the most critical components for ensuring high-quality images. Using a soft, lint-free cloth, gently wipe the surface of the lens to remove any smudges or fingerprints. If there is stubborn dirt or debris, lightly dampen the cloth with a cleaning solution designed for electronics, ensuring not to apply the solution directly onto the lens.
Always wipe in a circular motion from the center outwards to avoid scratching the lens. A clean lens will significantly improve image clarity and brightness, ensuring that your projector delivers the best visual experience.
Step 5: Clean the Internal Components
After the lens is spotless, it’s time to focus on the other internal components. Using your small brush or cotton swabs, gently remove dust from the circuit boards, fans, and any other reachable areas. Take care to avoid excessive pressure, as some components can be delicate.
If you encounter stubborn dirt, you may lightly dampen the brush with the cleaning solution, ensuring it is not dripping wet, to prevent moisture from affecting the circuits. This meticulous cleaning will help enhance the projector’s overall performance and longevity by maintaining optimal conditions for its internal workings.
Step 6: Check and Clean the Air Filters
Many projectors are equipped with air filters to trap dust and debris, preventing them from entering the internal components. Inspect these filters for any visible signs of dirt or blockages. If removable, take them out and gently clean them with a soft brush or cloth. If they are significantly dirty or damaged, consider replacing them to maintain optimal airflow.
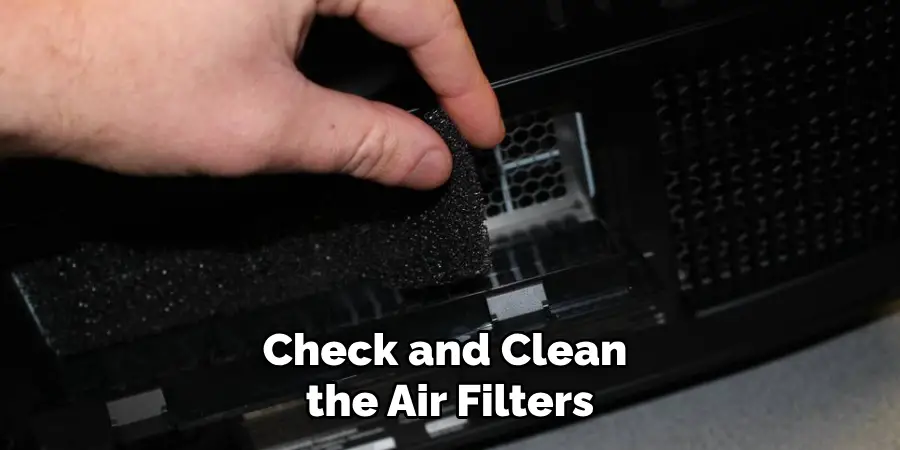
A clean air filter is essential for preventing overheating and ensuring the projector operates efficiently. If the filters are not removable, gently blow out dust with your compressed air canister. Ensuring these filters are clean will enhance the projector’s performance and extend lifespan.
Step 7: Reassemble the Projector
After you have completed the cleaning process and ensured all internal components are dust-free, it’s time to reassemble the projector. Carefully replace the outer cover, aligning it with the original screw holes or clips. Make sure there are no leftover screws or components before securing everything in place.
It’s essential to ensure the cover fits snugly to protect the inner workings from dust and debris. Once everything is correctly positioned, tighten the screws or fasten the clips to ensure the projector is securely closed.
Step 8: Plug in and Test the Projector
With the projector reassembled, the next step is to plug it back into the power source. Turn on the projector and allow it to warm up briefly. Test the image output by projecting an image or video.
Check for clarity, brightness, and color accuracy to ensure your cleaning efforts have paid off. If everything looks good and the projector is functioning as intended, you have completed the interior cleaning process!
Step 9: Regular Maintenance
Establish a regular cleaning routine to keep your projector in optimal condition. Depending on usage and environmental factors, consider cleaning the projector’s interior every six months to a year.
Regular maintenance not only prolongs the projector’s life but also ensures that you always enjoy high-quality images during your presentations and movie nights.
Step 10: Store Properly
If you frequently transport your projector, consider how you store it when not in use. Utilize a protective case to shield it from dust and general wear and tear. Avoid exposing the projector to extreme temperatures or humidity, which can affect its performance and longevity. Proper storage will help maintain the projector’s condition and functionality for years.
By following these steps and maintaining a regular cleaning schedule, you can ensure that your projector delivers top-notch performance every time.
5 Things You Should Avoid
- Using Harsh Chemicals: Avoid using strong solvents or abrasive cleaners, as these can damage sensitive components and coatings on the lens. Stick to cleaning solutions specifically designed for electronics.
- Directly Touching Internal Components: Do not touch circuit boards, connectors, or other fragile parts with your fingers, as oils and dirt can transfer and potentially cause damage or short circuits.
- Using Excessive Force: Avoid applying too much pressure when cleaning, especially with brushes or cloths. Delicate components can be easily damaged if handled too roughly.
- Neglecting Static Electricity Precautions: Always be mindful of static electricity inside electronic devices. Use an anti-static wrist strap or work on a grounded surface to prevent discharges that can harm internal components.
- Rushing the Reassembly Process: When putting the projector back together, take your time. Ensure all components are aligned correctly and that no screws are left out. Rushing this step may lead to improper sealing or functionality issues.
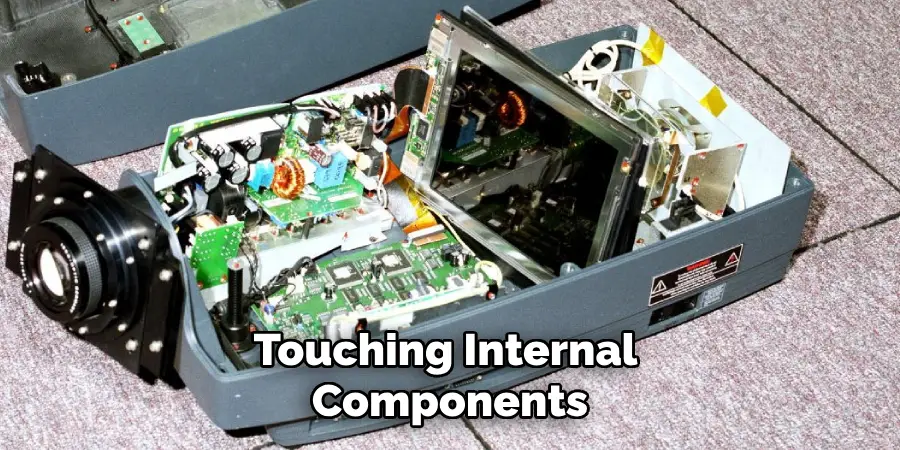
You can effectively clean and maintain your projector for long-lasting use by avoiding these common mistakes.
How Do You Clean Foggy Lenses?
Foggy lenses can be a common issue with projectors, especially in high-humidity environments. Here are some simple steps to clean foggy lenses and restore their clarity:
- First, ensure the projector is turned off and unplugged from the power source.
- Use a soft cloth or lens cleaning solution designed for electronics to gently wipe away any visible dirt or smudges on the lens surface.
- If the lens is still foggy, use an anti-fog cleaner specifically designed for optical surfaces. Apply it according to the manufacturer’s instructions and remove any excess product carefully.
- For stubborn fogging, you can use a hairdryer on its lowest setting to gently blow warm air over the lens surface. This can help evaporate any moisture that may be causing the fogging.
- Once the lens is transparent, reassemble the projector and test it to ensure proper functionality.
Remember to always use gentle cleaning techniques and avoid harsh chemicals when cleaning foggy lenses or any other part of your projector.
Conclusion
How to clean the inside of a projector may seem daunting, but with the right approach and tools, it can be a straightforward process that significantly enhances its performance and longevity.
By following the steps outlined in this guide—from safely disassembling the unit and thoroughly cleaning the internal components to reassembling with care—you ensure that your projector functions optimally for years. Regular maintenance and proper storage practices will help keep your device free from dust and debris, allowing for crisp images and a great viewing experience.
Remember, preventive care can go a long way in protecting your investment in audiovisual technology.

