Are you having trouble closing the lid on your Epson printer? This can be a common issue for many people, but luckily, you can follow some simple steps to close the lid safely and correctly every time. This guide will walk you through the steps to ensure your Epson printer’s lid is closed correctly.
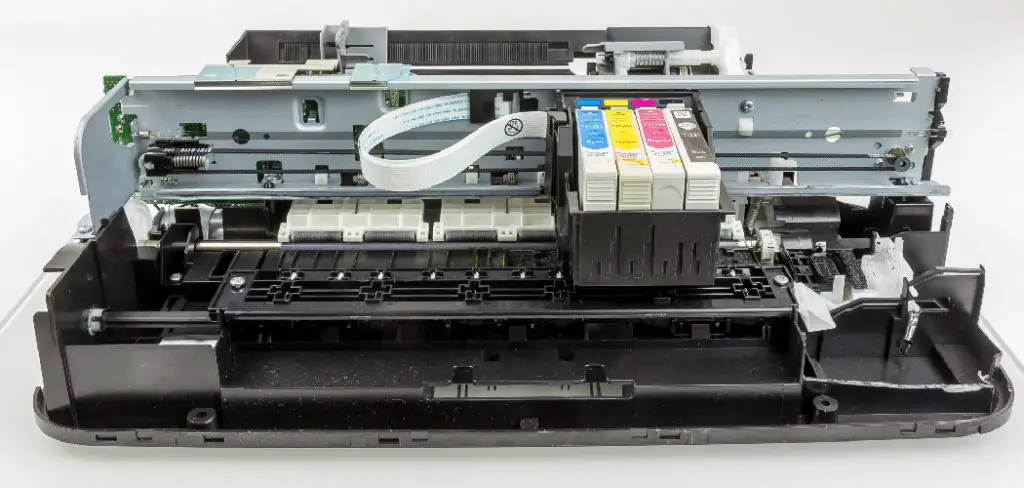
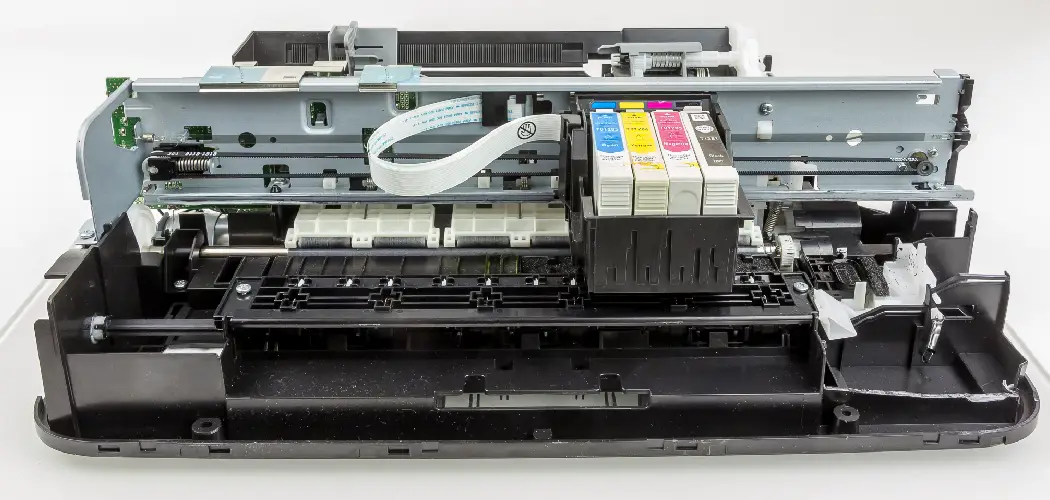
When it comes to maintaining your Epson printer, properly closing the printer lid is an essential step that contributes to optimal functioning and longevity. Whether you’re replacing ink cartridges, performing maintenance tasks, or simply ensuring the printer is ready for operation, knowing how to close Epson printer lid can help protect internal components from dust and damage.
This guide will walk you through the simple procedure to close your Epson printer lid effectively, ensuring everything is in place for your next printing job.
What Will You Need?
Before you start, make sure you have these items handy:
- Your Epson printer
- Clean hands or gloves (to avoid leaving fingerprints on the lid)
- Replacement ink cartridges (if necessary)
Once you have everything ready, follow these steps to close your Epson printer lid correctly.
10 Easy Steps on How to Close Epson Printer Lid
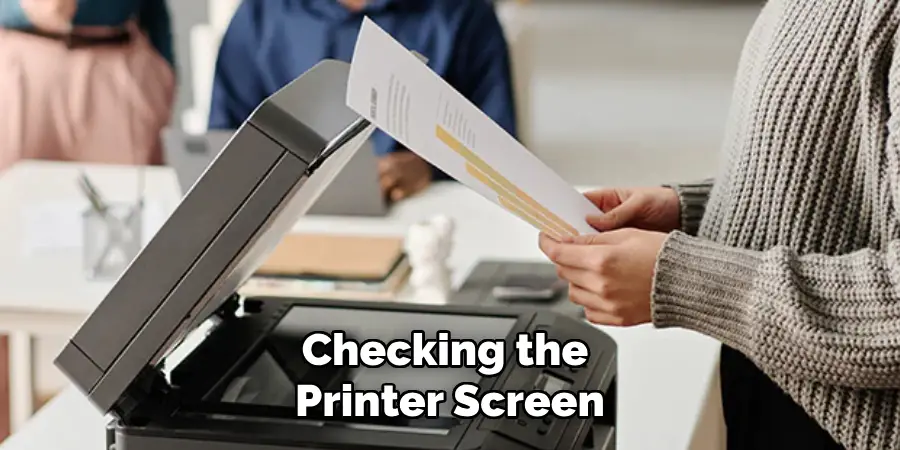
Step 1: Check the Printer Screen
Before closing the lid, ensure there are no error messages or prompts on the printer screen. If there are any issues with the printer, address them first before continuing. This will help prevent any potential damage caused by forcing a lid closure when the printer is not functioning properly.
Step 2: Turn Off the Printer
Before closing the lid, turning off the printer is advisable, especially if you’ve been replacing ink cartridges or making any adjustments. This ensures that the printer’s internal components are in a safe state and prevents any accidental changes to settings or misalignment of mechanisms while you handle the lid.
To turn off the printer, locate the power button on the front or side panel. Press and hold the button until the printer powers down completely, and wait for any lights on the display to turn off as well. This step protects the printer’s functionality and allows you to handle it without risking any operational interruptions caused by moving parts still in motion.
Once the printer is powered down, you can close the lid confidently, ensuring the device remains protected and ready for your subsequent use.
Step 3: Align the Lid with the Printer Body
Once the printer is turned off, carefully position the lid above it. Ensure that any hinges or locking mechanisms on the lid align with their corresponding parts on the printer body.
This alignment is crucial for a smooth closure and to prevent damage. Take your time to observe and adjust as necessary before closing the lid. Proper alignment not only facilitates a secure fit but also ensures that the printer remains protected from dust and other external elements.
Step 4: Lower the Lid Gently
Once the lid is aligned with the printer body, slowly and gently lower the lid into place. Avoid applying excessive force, which could damage the hinges or the printer. As you lower the lid, listen for any audible clicks or indicators that suggest the lid is seated correctly.
It’s essential to ensure that the lid is evenly reduced on both sides to maintain the printer’s integrity and avoid any gaps that may allow dust or other particles to enter. Patience during this step will help ensure a secure closure that protects your printer’s internal components.
Step 5: Secure the Lid
Once the lid is positioned correctly and lowered gently, it’s time to secure it in place. If your Epson printer features latches or locking mechanisms, ensure they snap into place to provide a tight seal. This step is vital to prevent any lid movement during operation, which could lead to misalignment or damage.
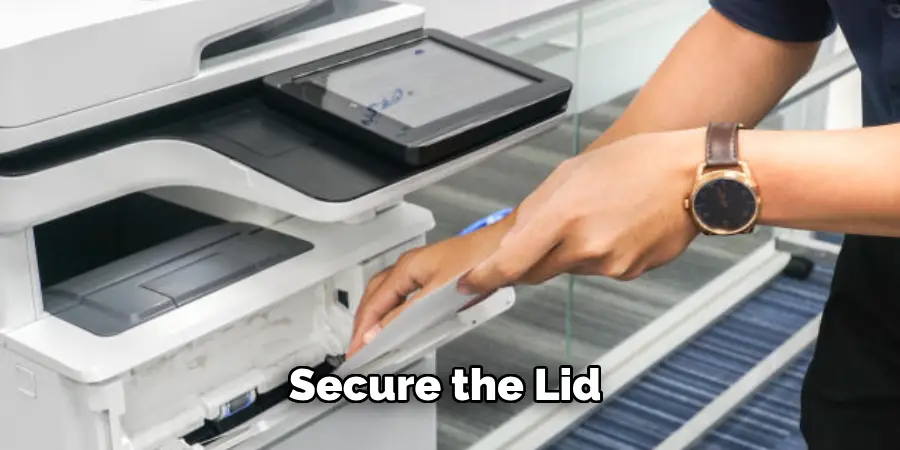
If there are audible clicks when securing the lid, it indicates that the mechanisms are appropriately engaged. Take a moment to inspect the lid from all sides to confirm that it is securely closed and sits flush against the printer body, ensuring complete protection for the internal components.
Step 6: Check for Proper Closure
After securing the lid, it’s essential to double-check that the lid is closed correctly. Visually inspect the edges of the lid to ensure there are no gaps, and gently press down on the lid to confirm it feels snug and secure. A lid that isn’t seated correctly can lead to potential print issues and may expose internal components to dust and damage.
If you notice any misalignment or the lid does not feel secure, go back and repeat the previous steps to make the necessary adjustments before proceeding. This final verification ensures your Epson printer is well-protected and ready for use.
Step 7: Power On the Printer
With the lid securely closed, it’s time to turn the printer back on. Locate the power button and press it to power up the device. Watch for any error messages or prompts displayed on the screen as the printer boots up.
This step is crucial, as it checks that everything functions correctly after the lid is closed. If no issues arise, you can proceed to prepare the printer for your next printing job. Double-check the lid and the printer’s settings to ensure everything is in order if any error messages appear.
Step 8: Perform a Test Print
Once the printer is powered on and appears to be functioning correctly, performing a test print is advisable. Send a simple document to the printer and observe its performance. This will confirm that the printer’s internal mechanisms are aligned and functioning correctly after closing the lid.
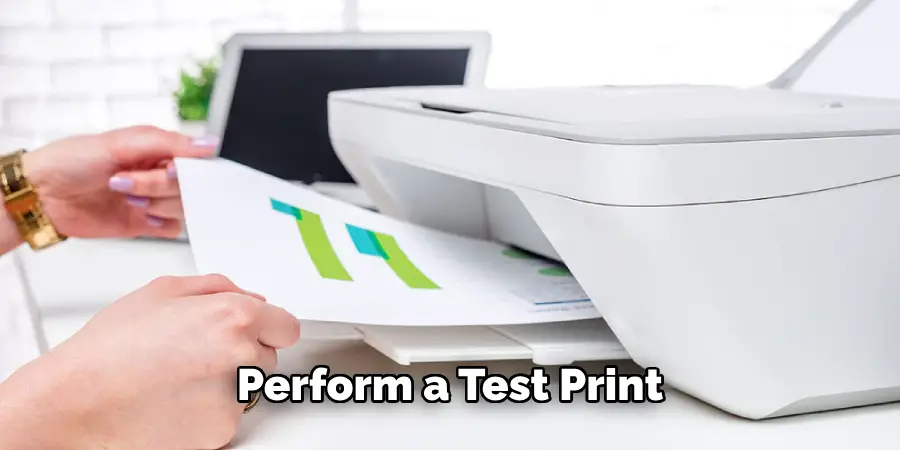
If the test print comes out without issues, you can feel confident that the lid closure process was successful and that your printer is ready for regular use.
Step 9: Regular Maintenance Checks
Maintaining your Epson printer goes beyond merely closing the lid correctly; regular checks are essential to ensure optimal performance and longevity of the device. Schedule routine inspections to monitor the printer’s condition, which includes looking for signs of wear and tear, checking the ink levels, and ensuring that no dust or debris accumulates in and around the printer.
Additionally, it’s essential to clean the print heads and rollers periodically to prevent clogs and to ensure high-quality prints. Refer to the manufacturer’s guidelines for recommended cleaning schedules and techniques. Keeping software and drivers up to date can also enhance performance, so routinely check for updates through the Epson website or your printer’s software interface.
Establishing a maintenance routine ensures your printer remains in good working order and increases efficiency in your printing tasks, saving you time and potential frustration in the long run.
Step 10: Store Properly
Proper storage of your Epson printer is vital for maintaining its functionality and longevity, especially if you don’t use it regularly. When planning to store the printer, choose a clean, dry, and dust-free environment to prevent any contamination from particles that may accumulate over time. Ideally, store the printer in its original packaging or use a breathable cover designed specifically for electronic devices to protect it from dust while allowing proper air circulation.
Before storing, ensure that the printer is powered off and the lid is securely closed, as described in previous steps. Removing any paper from the tray is also advisable to avoid potential jams or creases developing during long periods of inactivity. In addition, check the ink cartridges; if the printer will be unused for an extended period, consider removing them to prevent them from drying out. Store them in a sealed container, away from direct sunlight, and check periodically to ensure they remain in good condition.
By following these steps, you can ensure that your Epson printer’s lid is closed correctly and securely, providing optimal protection for its internal components.
5 Things You Should Avoid
- Forcefully Slamming the Lid: Avoid applying excessive force when closing the lid, as this can damage the hinges or the lid itself. Always lower the lid gently to ensure it seats correctly without risk of breakage.
- Ignoring Misalignment: Don’t overlook any misalignment when closing the lid. If the lid doesn’t sit flush or is visibly askew, take the time to realign it before securing it. Ignoring this can lead to potential printing issues down the line.
- Leaving the Lid Open During Operation: Never operate the printer with the lid open, as this can expose internal components to dust and debris, compromising print quality and potentially damaging sensitive parts.
- Neglecting to Check for Objects on the Printer: Be cautious not to leave any objects or papers on top of the printer before closing the lid. Doing so can obstruct the lid from closing properly, which may result in damage or malfunction.
- Avoid Inadequate Maintenance: Don’t neglect routine maintenance and checks on your printer, including cleaning, software updates, and storage. These are essential to keep the device functioning at its best and prolong its lifespan.

Conclusion
In summary, properly closing the lid of your Epson printer is essential for maintaining its performance and protecting its internal components.
By following the outlined steps on how to close Epson printer lid—ensuring a snug fit, powering on the printer to check for any errors, and conducting test prints—you can be confident that the printer is secure and ready for its next job. Routine maintenance and careful storage further enhance the lifespan of your device. Avoiding common mistakes such as slamming the lid or neglecting alignment can prevent issues affecting print quality.
With these practices in place, you’ll ensure that your Epson printer remains in excellent condition for optimal printing experiences.