
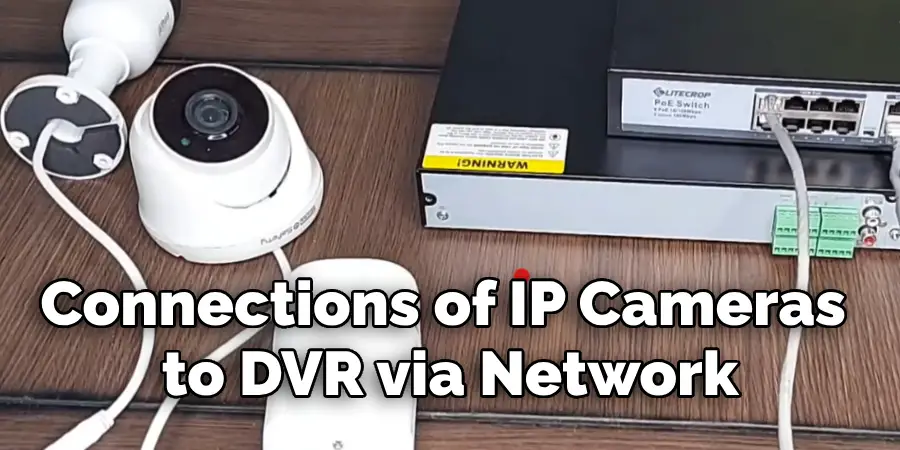
Connecting an IP camera to a DVR (Digital Video Recorder) allows for seamless integration of surveillance systems, enabling users to monitor and record video footage efficiently. To begin, it’s crucial to understand the compatibility between the IP camera and the DVR, ensuring they support the same protocols and standards.
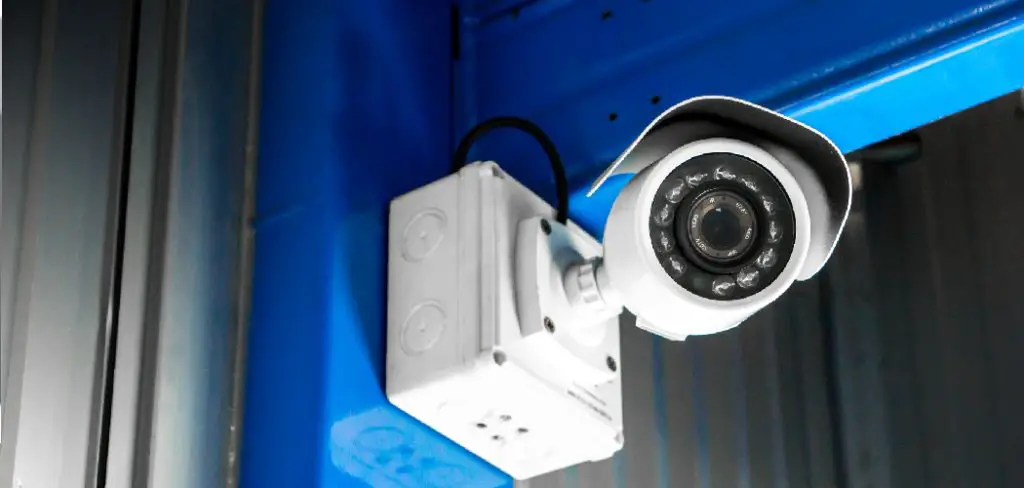
Next, establish a network connection between the IP camera and the DVR, either through a wired Ethernet connection or wirelessly via Wi-Fi. Configure the IP camera’s settings to ensure it is transmitting video streams compatible with the DVR’s recording format.
Once the connection is established, configure the DVR to recognize and manage the IP camera’s feeds, assigning it a unique channel for monitoring and recording purposes. By following these steps on how to connect IP camera to DVR, users can effectively connect an IP camera to a DVR, creating a comprehensive surveillance system for enhanced security and monitoring capabilities.
Importance of Integrating IP Cameras With DVR Systems
Integrating IP cameras with DVR systems significantly enhances the functionality and efficiency of a surveillance system. This integration facilitates centralized monitoring, allowing users to view and record video footage from multiple IP cameras simultaneously. The digital nature of the setup offers superior image quality and easier retrieval of footage compared to analog systems.
Furthermore, it enables advanced features such as motion detection, remote viewing, and real-time alerts, thereby boosting security measures. By leveraging the synergies between IP cameras and DVR systems, users benefit from a scalable, flexible surveillance solution that can be tailored to meet the evolving security requirements of residential or commercial properties. This integration not only maximizes the effectiveness of the security setup but also provides peace of mind through enhanced monitoring capabilities.
Benefits of Connecting IP Cameras to DVR
The benefits of connecting IP cameras to DVR systems are manifold, highlighting the marriage of convenience and advanced security. First and foremost, this setup simplifies the management and storage of high-definition video footage. Unlike traditional setups that may require separate storage solutions, DVR systems offer centralized data management, ensuring that video recordings from various IP cameras are stored efficiently and accessed easily.
Additionally, the combination of IP cameras with DVR enhances system reliability and redundancy. In the event of network issues, DVR systems can continue recording, ensuring no lapse in surveillance coverage. Furthermore, the integration supports scalability, allowing users to add more cameras without significant infrastructure changes. Users also enjoy improved video quality, with the ability to record in higher resolutions that IP cameras offer, making the identification of persons and activities more accurate.
Lastly, the integration provides greater flexibility in remote monitoring and control, enabling users to access live and recorded footage from any internet-enabled device, offering unprecedented levels of surveillance and security.
Understanding IP Cameras and DVR Systems
IP cameras, or Internet Protocol cameras, represent a leap forward from traditional analog CCTV systems, utilizing a network to transmit image data and control signals over an IP network. This technology allows for greater flexibility in installation and higher quality video feeds, as IP cameras can be placed anywhere within the network range. Unlike analog cameras, IP cameras can send and receive data via the internet or a local area network (LAN), making them ideal for modern surveillance needs.
Digital Video Recorders (DVRs), on the other hand, are designed to process video feeds from analog cameras. However, when paired with a network video recorder (NVR) or hybrid system, DVRs can also consolidate video data from IP cameras. This setup translates into a powerful surveillance solution that can interface with both analog and digital input sources, providing users with a versatile and comprehensive security system.
This combination facilitates more advanced surveillance capabilities, such as higher resolution recordings, wider coverage angles, and intelligent video analysis features like facial recognition and motion detection. Understanding the distinctions and complementarities between IP cameras and DVR systems is essential for anyone looking to establish a robust security and surveillance setup.
Compatibility Considerations Between IP Cameras and DVRs
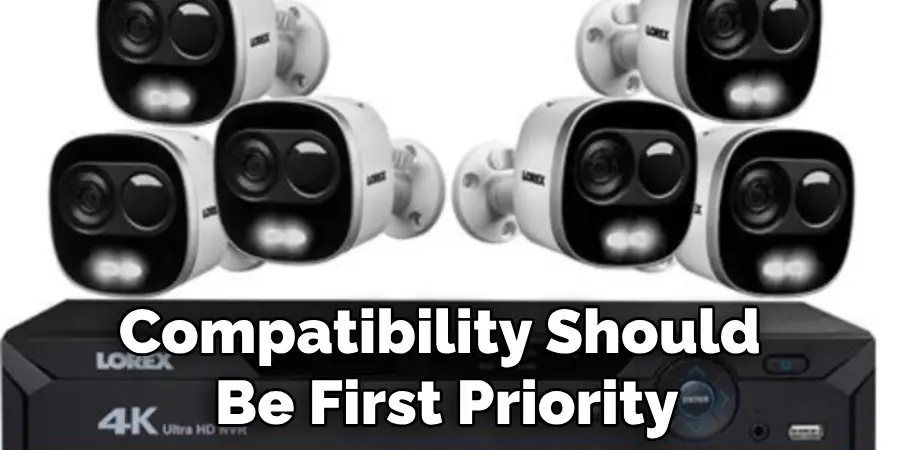
When integrating IP cameras with DVR systems, understanding compatibility is crucial for a seamless operation. Not all IP cameras and DVRs are designed to work together, hence assessing compatibility should be the first step in the integration process. One of the primary considerations is the video compression format. IP cameras and DVRs must support the same video compression standards, such as H.264 or H.265, to ensure efficient video transmission and storage.
Another key factor is the resolution support. Ensuring that both the IP camera and DVR can handle the same resolutions is vital, as mismatches can lead to suboptimal video quality or even incompatibility. Network protocols, such as ONVIF (Open Network Video Interface Forum), also play a significant role in compatibility. ONVIF-compliant devices are designed to be interoperable, making it easier to integrate cameras and DVRs from different manufacturers.
Additionally, users should verify the physical connectors and power requirements of both the IP cameras and the DVR system to avoid any connection issues. Considering these compatibility aspects can significantly impact the effectiveness of the surveillance system, optimizing both its performance and reliability.
Assessing IP Camera and DVR Compatibility
Before undertaking the integration of IP cameras with a DVR system, a thorough compatibility assessment is crucial. This evaluation ensures that both components of the surveillance system can communicate and operate seamlessly with one another.
Start with verifying the video compression format supported by both the IP camera and the DVR, as a mismatch in this area could result in inefficient storage use or inability to view the footage. Furthermore, consider the resolution capabilities of both devices. High-definition IP cameras require DVRs that can handle the increased data rates of HD video without loss of quality.
Network compatibility is another vital aspect. Ensure that both the IP camera and DVR support the same network protocols. ONVIF compatibility is particularly valuable as it aims to standardize the interface between IP products. If the devices are ONVIF-compliant, it greatly simplifies the integration process and enhances interoperability.
Lastly, do not overlook the physical and electrical connection requirements. The power supply needs, network interface (wired or wireless), and any proprietary connectors should be compatible between the IP camera and DVR system. Only after confirming these fundamental compatibility factors should the integration proceed. This strategic approach mitigates potential technical issues, ensuring a smooth, efficient surveillance setup tailored to your security needs.
Identifying Supported Camera Protocols and Formats
A critical aspect of integrating IP cameras with DVR systems is identifying the supported camera protocols and formats. Protocols such as ONVIF, PSIA (Physical Security Interoperability Alliance), and proprietary protocols specific to manufacturers, dictate how devices communicate over a network.
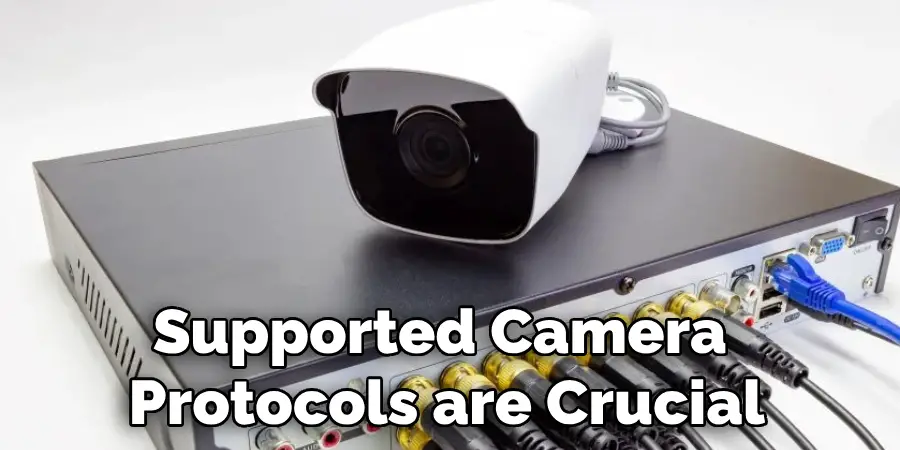
ONVIF is widely adopted because it supports interoperability among network video products regardless of the manufacturer. Therefore, ensuring both your IP cameras and DVR systems are ONVIF-compliant can greatly facilitate integration and ensure a broader compatibility range.
In addition to protocols, understanding the supported video formats is essential. The most common video compression formats include H.264 and H.265. H.264 is widely used for its effective balance between high video quality and low bandwidth consumption, whereas H.265 offers even greater efficiency, particularly for HD and 4K video. Selecting IP cameras and DVRs that support advanced compression formats can significantly reduce storage requirements and bandwidth usage without compromising video quality.
When planning your surveillance system’s integration, carefully review the specifications of your existing or prospective IP cameras and DVR systems. Look for detailed information on supported protocols and video compression formats, as these will be key factors in ensuring compatibility and optimal performance of your security setup.
10 Methods How to Connect Ip Camera to Dvr
1.Direct Connection via Ethernet Cable:
The simplest method involves connecting the IP camera directly to the DVR using an Ethernet cable. Ensure both devices are on the same network and configure the DVR to recognize the IP camera’s feed through its IP address. This method allows for direct streaming and recording of video footage without the need for additional equipment.
2.Using a POE Switch:
If the IP camera supports Power over Ethernet (PoE), connect it to a PoE switch along with the DVR. The switch provides power and network connectivity to the camera, simplifying installation and management. Configure the DVR to detect and record footage from the IP camera connected to the PoE switch.
3.Wireless Connection via Wi-Fi:
Some IP cameras support wireless connectivity, allowing them to transmit video footage over Wi-Fi networks. Connect the IP camera to the same Wi-Fi network as the DVR and configure both devices to communicate with each other wirelessly. Ensure a stable connection and sufficient bandwidth for streaming high-quality video.
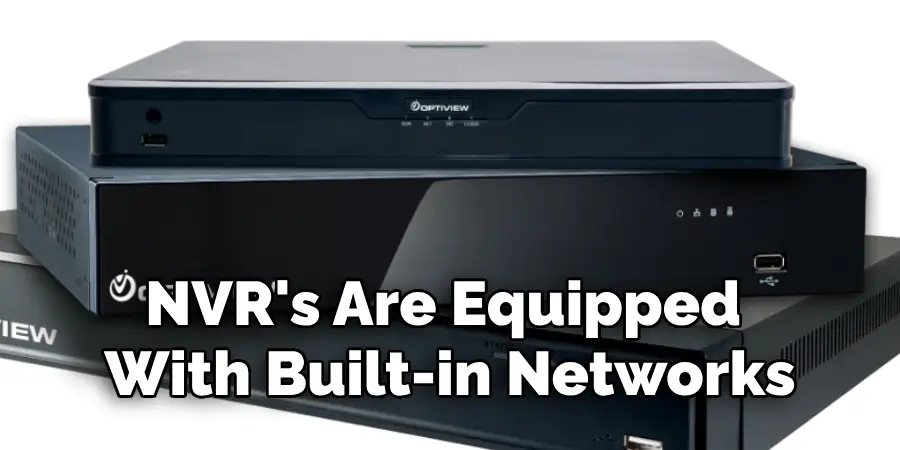
4.Using a Network Video Recorder (NVR):
Instead of a traditional DVR, use a Network Video Recorder (NVR) designed specifically for IP cameras. NVRs are equipped with built-in network ports and software that support direct connection and management of IP cameras. Simply connect the IP camera to the NVR’s network port and configure it through the NVR’s interface for seamless integration.
5.RTSP Streaming Protocol:
Many IP cameras support the Real-Time Streaming Protocol (RTSP), which allows for direct streaming of video footage to compatible devices like DVRs. Configure the DVR to receive video streams from the IP camera using its RTSP URL and port number. Ensure compatibility and proper configuration of both devices for successful streaming and recording.
6.Using a PoE Injector:
If the IP camera supports PoE but the DVR does not have built-in PoE ports, use a PoE injector to supply power and network connectivity to the camera. Connect the IP camera to the PoE injector, then connect the injector to the DVR using an Ethernet cable. Configure the DVR to recognize and record footage from the IP camera connected via the PoE injector.
7.Third-Party Integration Software:
Some DVRs come with software or plugins that allow for integration with third-party IP cameras. Install the necessary software or plugin on the DVR and configure it to recognize and manage the IP camera’s feed. Ensure compatibility and proper configuration to enable seamless integration and recording.
8.Using ONVIF Protocol:
ONVIF (Open Network Video Interface Forum) is a standard protocol for IP-based security products, including cameras and recorders. Ensure both the IP camera and DVR support ONVIF protocol and configure them to communicate with each other using ONVIF profiles. This method allows for interoperability between different manufacturers’ devices for flexible system integration.
9.Dynamic DNS (DDNS) Configuration:
If the IP camera’s IP address is dynamic or changes frequently, configure Dynamic DNS (DDNS) on both the camera and DVR. DDNS allows for mapping a domain name to the camera’s dynamic IP address, ensuring consistent access and communication between devices. Configure the DVR to recognize the camera’s DDNS address for seamless connection and recording.
10.Cloud-Based Integration:
Some IP cameras and DVRs support cloud-based integration, allowing for remote access and management of video footage. Connect the IP camera to the DVR and configure both devices to synchronize footage to the cloud storage service. Access recorded footage and live streams remotely using a web browser or dedicated mobile app for enhanced monitoring and security.
Connecting IP Cameras to DVR via Network
Connecting IP cameras to DVR systems via a network, especially for larger surveillance operations, requires a strategic approach to ensure efficient data transmission and system reliability. Leveraging a local area network (LAN) allows for the consolidation of video data streams from multiple IP cameras to a single DVR unit. Initially, ensure that all IP cameras and the DVR are connected to the same LAN and have unique IP addresses to prevent address conflicts. Configuration of the DVR system is crucial; it must be set up to recognize and accept video streams from the specific IP addresses assigned to the cameras.
This setup facilitates centralized recording and monitoring of video feeds from different cameras on the network. Additionally, implementing network management practices, such as segmenting the video surveillance traffic from the rest of the network, can help maintain optimal network performance and reduce video latency. This network-based connection method is scalable, supporting the addition of more IP cameras without requiring significant changes to the existing infrastructure, provided the network’s bandwidth capabilities are observed.
Troubleshooting Common Connectivity Issues and Errors
When integrating IP cameras with DVR systems, you might encounter various connectivity issues and errors. These problems can range from video signal loss to intermittent connections or even no video feed at all. To address these common challenges, follow these troubleshooting steps:
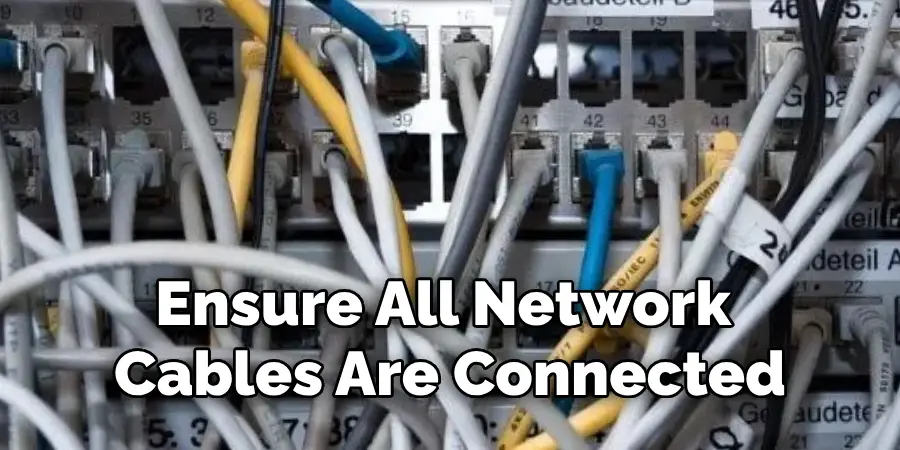
1. Check Network Cables and Connections: Start by ensuring all network cables are securely connected and not damaged. A loose or faulty Ethernet cable can cause intermittent or no connectivity. Replace any damaged cables and re-secure all connections.
2. Verify IP Configuration: Confirm that the IP camera and DVR have the correct IP configuration. Ensure that the IP addresses, subnet masks, and gateway settings are correctly assigned and match your network’s configuration. Incorrect settings can prevent the devices from communicating with each other.
3. Update Firmware: Outdated firmware can lead to compatibility issues and connectivity problems. Check the manufacturer’s website for the latest firmware versions for both the IP cameras and DVR, and update them if necessary.
4. Reboot the Devices: Sometimes, simply rebooting the IP camera and DVR can resolve connectivity issues. This action can refresh the network connection and clear any temporary glitches affecting the devices.
5. Check for IP Address Conflicts: Ensure that each device on your network, including IP cameras and DVR, has a unique IP address. IP address conflicts occur when two devices are assigned the same IP address, leading to network communication failures.
6. Test with a Direct Connection: Temporarily connect the IP camera directly to the DVR or a computer using an Ethernet cable. This can help determine if the issue lies with the network configuration or the devices themselves.
7. Inspect POE Injectors and Switches: If you are using POE injectors or switches to power your IP cameras, verify that they are functioning correctly. A malfunctioning POE injector can disrupt the power supply and network connectivity to the camera.
8. Review DVR Network Settings: Access the DVR’s network settings to ensure it is configured to accept connections from the IP cameras. Incorrect settings can block the video stream from the cameras.
9. Disable Firewall or Security Software Temporarily: Firewalls or security software can inadvertently block communication between the IP camera and DVR. Temporarily disable these to check if they are causing the connectivity issues.
By systematically going through these troubleshooting steps, you can identify and resolve most connectivity issues and errors encountered when integrating IP cameras with DVR systems.
Conclusion
In conclusion, mastering the connection between IP cameras and DVR systems is crucial for establishing a seamless and efficient surveillance infrastructure. By following the comprehensive guide provided, you’ve gained the knowledge and skills necessary to integrate IP cameras with DVRs effectively.
Whether connecting via network configurations, setting up camera streams on the DVR, or troubleshooting connectivity issues, each step contributes to a centralized surveillance solution capable of monitoring and recording footage from multiple IP cameras.
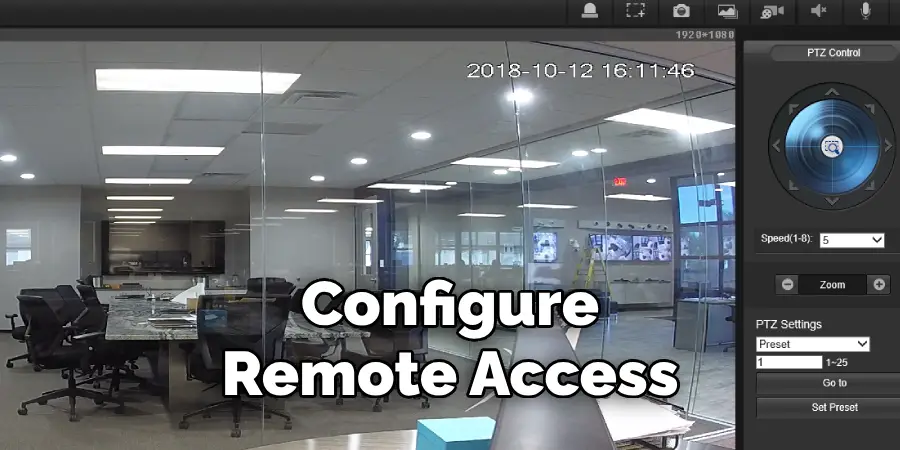
Additionally, with the ability to configure remote access for monitoring and adherence to legal and regulatory considerations, you can ensure the security and compliance of your surveillance system. Be sure to follow all instructions on how to connect IP camera to DVR carefully, and always consult an expert when in doubt.