
In an era where security is paramount, IP (Internet Protocol) cameras have emerged as pivotal tools for both home and business surveillance. Their growing popularity can be attributed to their ability to provide live and recorded video footage over the Internet, enabling remote monitoring from anywhere in the world.
This guide aims to demystify the process of how to setup IP camera. This task starts with a comprehensive understanding of your specific camera model and the existing network environment in which it will operate. Key steps include correctly powering the device, connecting it to your network, and configuring camera settings to meet your surveillance needs.
Before beginning the setup process, gathering the necessary tools and materials, such as network cables or power adapters, is essential to ensure your network can support the camera. This introduction serves as a roadmap to guide you through the essentials of successfully deploying IP cameras for enhanced security.
Gathering Information and Preparing
Before jumping into your IP camera’s physical setup, gathering essential information and adequately preparing can make the installation process smoother and more efficient.
A critical first step is to thoroughly read through the camera’s manual. Manuals are a treasure trove of vital information, offering specific instructions and compatibility details unique to your camera model. Ignoring this step could lead to unnecessary hiccups during setup.
Gathering the following information is crucial before proceeding with the installation

Camera Model and Specifications: Understanding your camera’s capabilities, requirements, and limitations is key. This knowledge will help you assess if your current network setup is adequate or if additional equipment is necessary to support the camera’s functions.
- Network Details: Knowing your network’s details is indispensable whether you intend to connect the camera via Wi-Fi or a wired connection. Ensure you have your network name (SSID) and password for a Wi-Fi connection. If you’re opting for a wired connection, gather information about your router or switch and ensure you have an available port for the camera.
- Installation Location: The placement of your camera plays a critical role in its effectiveness. Consider factors such as power access, the camera’s viewing angle, potential obstacles that might obstruct the view, and the area’s general security needs. Selecting the optimal location requires balancing these considerations to ensure comprehensive surveillance coverage.
Taking these preparatory steps seriously ensures you’re well-equipped to set up your IP camera, minimizing the chances of encountering preventable issues down the line. Remember, the goal is not just to install the camera but to do so in a way that maximizes its utility and effectiveness in your security setup.
How to Setup IP Camera: Connecting the Camera to Power
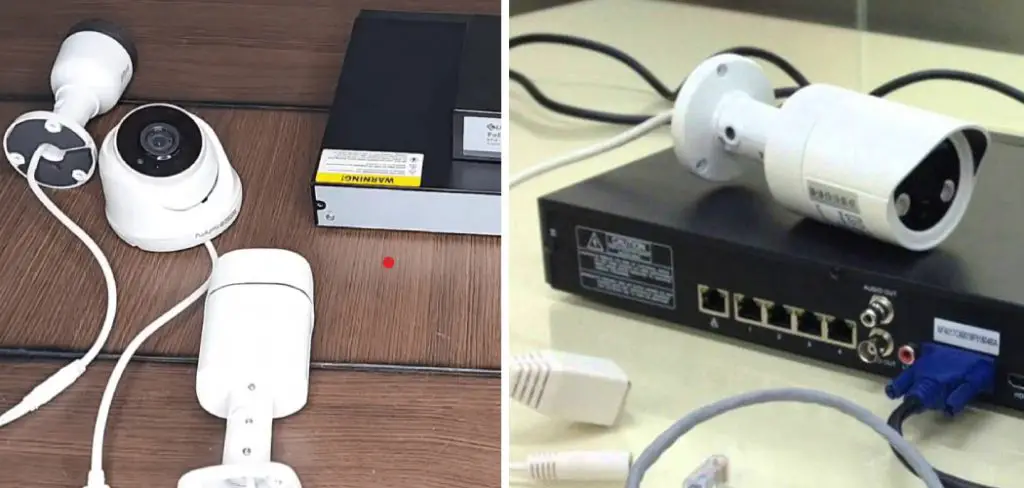
There are primarily two methodologies to power an IP camera, each serving distinct scenarios and setups. The first method, Power over Ethernet (PoE), is notably efficient, supplying both power and data connection via a single Ethernet cable. This method requires that both the camera and the network switch (or injector) support PoE. To connect a camera using PoE:
- Ensure your camera and network equipment (switch or injector) are PoE-compatible.
- Connect one end of the Ethernet cable to the camera’s network port.
- Plug the other end of the cable into a PoE port on your switch or a PoE injector connected to your network.
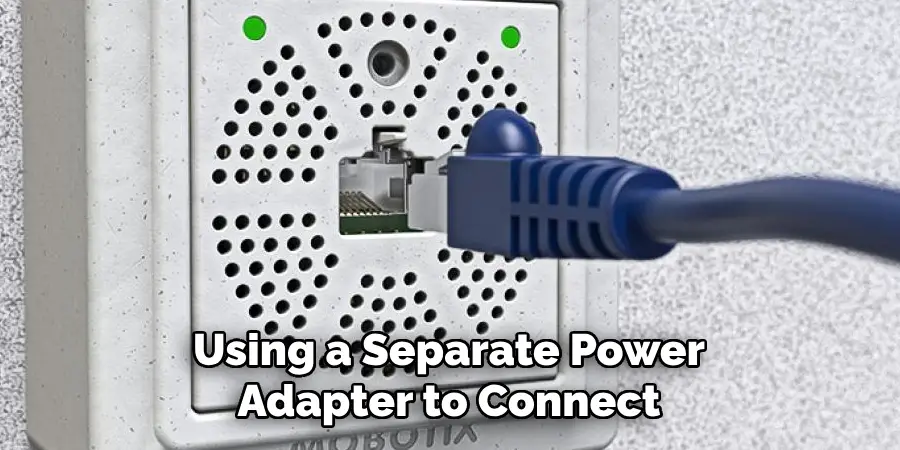
The second method involves using a separate power adapter to connect the camera directly to an electrical outlet, which is a common approach for models without PoE support:
- Locate the power adapter that came with your camera.
- Connect the adapter to the camera’s power input.
- Plug the adapter into a nearby power outlet.
Both methods offer robust solutions for powering your IP camera. PoE provides a cleaner, more streamlined installation and the separate adapter offers flexibility for cameras positioned away from network equipment. Selecting the method that best aligns with your camera’s capabilities and your installation environment is crucial.
How to Setup IP Camera: Connecting the Camera to the Network
After establishing power for the camera, the next critical step is connecting it to your network. This can be done using a wired or wireless (Wi-Fi) connection, each with its advantages and setup procedures.
1. Wired Connection
A wired connection is often preferred for its stability and reliability. To connect your IP camera using an Ethernet cable:
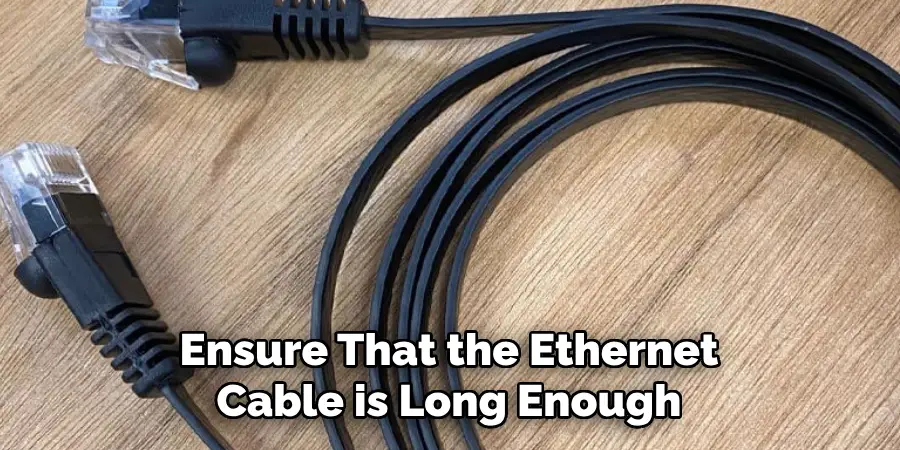
- Choosing and Preparing an Ethernet Cable: Ensure that the Ethernet cable is long enough to reach your router or network switch to the camera’s installation location without straining or stretching. Using a Cat5e cable or higher (such as Cat6) is recommended for optimal performance.
- Connecting the Cable: Connect one end to the camera’s Ethernet port once you have your cable. This port is typically labeled and located near the power connection. Then, connect the other end of the cable to an available port on your router or network switch. To minimize interference and potential connectivity issues, avoid running the Ethernet cable alongside power cables or sources of significant electromagnetic interference.
- Confirming the Connection: Most cameras will indicate a successful wired connection through a solid or blinking light near the Ethernet port. It’s also wise to check the camera’s app or software interface, if available, to confirm that the camera is online and communicating over the network.
2. Wireless Connection (Wi-Fi)
A wireless connection offers flexibility and ease of installation for locations where running an Ethernet cable is not feasible.
- Locating Wi-Fi Settings: Wi-Fi settings can usually be found in two ways. If your camera has a physical interface or display, the network settings might be directly accessible. More commonly, you’ll need to use the manufacturer’s app or software loaded on a computer or smartphone to configure Wi-Fi settings.
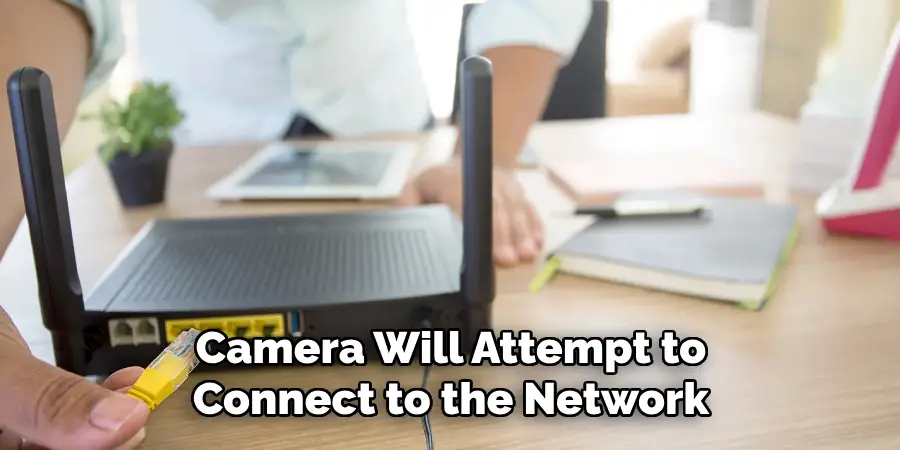
- Selecting Your Wi-Fi Network and Entering the Password: Look for the network settings or Wi-Fi setup section within the camera’s software or app. Here, you should see a list of available Wi-Fi networks. Select your home or office network from the list and enter the password when prompted. Ensure the password is entered correctly, paying special attention to case sensitivity and special characters.
- Confirming Successful Connection: After entering your Wi-Fi details, the camera will attempt to connect to the network. This process may take a few moments. Success is typically indicated within the app or software and often by a change in the camera’s LED status (from blinking to solid, for instance). Some models may require a restart to complete the connection process.
Whether you choose a wired or wireless connection, ensuring it is secure and stable is crucial. Wired connections generally offer better speed and reliability, while wireless connections provide greater flexibility in camera placement.
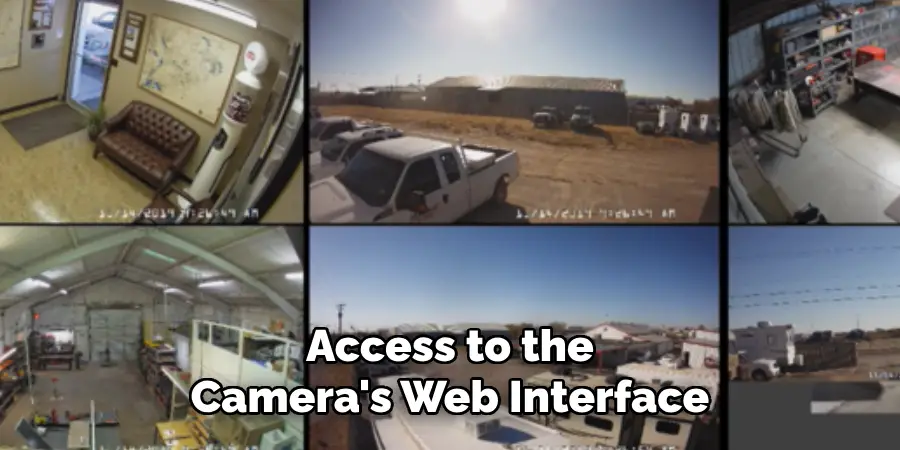
How to Setup IP Camera: Accessing the Camera’s Web Interface
The web interface of an IP camera serves as the central hub for configuring and managing all aspects of the camera’s settings and capabilities. This interface allows users to customize features such as image quality, motion detection settings, alert configurations, and network connectivity options.
Access to this platform is essential for personalizing your surveillance system to meet specific security needs, providing a user-friendly environment to monitor live feeds, archive footage, and update firmware for enhanced performance and reliability.
There are primarily two methods for accessing the web interface of an IP camera: directly through the camera’s IP address or using the manufacturer’s software to facilitate the process.
1. Using the Camera’s IP Address
The most direct way to access your camera’s web interface is by entering its IP address into a web browser. To find the camera’s IP address, you can either consult the router’s list of connected devices in its administration settings or utilize network scanning software tools designed to identify devices on your network.
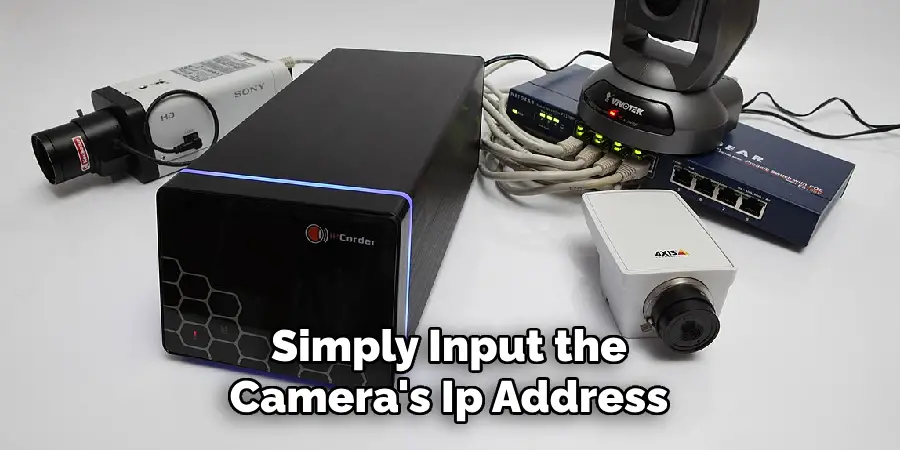
Once identified, simply input the camera’s IP address into the address bar of any standard web browser (such as Chrome, Firefox, or Safari) and press enter. This action should prompt the camera’s login page, where you can enter your credentials to access the interface.
2. Finding the Camera’s IP Address:
- Go to your router’s administration page, usually accessible by entering a specific IP address into your browser (refer to your router’s manual for the exact address and login details).
- Look for a section labeled “Connected Devices,” “Device List,” or something similar, where you’ll find the IP camera listed along with its associated IP address.
- Alternatively, use a network scanner tool that scans your network for devices. These tools often display each device’s IP address and other pertinent information.
3. Entering the IP Address in a Web Browser:
- Once you have the IP address, type it into your browser’s address bar and press Enter. This should bring you directly to the camera’s login page.
4. Using the Manufacturer’s Software
Some IP cameras require specific software for initial setup and access to the web interface. This software, usually available for download on the manufacturer’s website, can simplify the process by automatically detecting the camera on your network and guiding you through the initial configuration steps. To use this method:
5. Downloading the Software:
- Refer to your camera’s manual or the manufacturer’s website for instructions on downloading the required software.
- Install the software on your computer or mobile device as directed.
6. Accessing the Camera:
- Open the software and follow the provided steps to detect the camera and access its settings. This might involve entering the camera’s serial number or scanning a QR code.
- Once detected, the software should provide a direct link or method to access the camera’s web interface without manually entering the IP address.
Whether through the IP address or the manufacturer’s software, accessing the web interface is critical in setting up and customizing your IP camera’s functionality to suit your security needs. Always ensure you have the latest browser or software updates to maintain compatibility and security standards.
Configuring the Camera Settings
Once you’ve gained access to the camera’s web interface, the next crucial step is to configure the camera settings according to your needs.
While the range of configurable options may vary depending on the camera model and manufacturer, several key configuration areas are commonly found across most IP cameras. Understanding and customizing these settings can significantly enhance your surveillance system’s effectiveness and efficiency.
Video Recording Settings
Resolution and Frame Rate: The resolution setting determines the clarity of the video captured by your camera, with higher resolutions providing sharper images. The frame rate, measured in frames per second (fps), affects how smooth the video playback appears. Adjusting these settings can help balance between image quality and storage requirements.
- Recording Schedule: This option allows you to define specific times for the camera to record video, which can be continuous, triggered by motion detection, or scheduled at certain intervals. It’s particularly useful for minimizing unnecessary footage and focusing on critical monitoring periods.
- Storage Location: If your camera supports local storage, such as an SD card or network-attached storage, you must configure the storage settings. This includes selecting the storage location and managing storage limits, such as overwriting old footage when full.
Network Settings
- Confirming Network Connection: Ensure your camera remains correctly connected by checking the connection status. This is crucial for remote access and notifications.
- IP Address Assignment: Deciding between DHCP (Dynamic Host Configuration Protocol) and a static IP address is an important network setting. DHCP allows your camera to automatically receive an IP address from the router, simplifying setup. In contrast, a static IP address remains constant, which may be preferable for easier access and configuration.
Image Settings
Adjusting image settings is vital for obtaining the best possible video quality from your camera:
- Brightness, Contrast, and White Balance: These settings help you adjust the video feed’s lighting and color balance, ensuring that the footage is clear under various lighting conditions. Optimal adjustments can significantly improve the visibility of key details in the video.
User Management
- Creating Accounts and Assigning Access Privileges: Depending on your surveillance system’s needs, you might need to create user accounts for individuals who require access to view or manage the camera footage. Assigning access privileges helps maintain the system’s security by ensuring that users can only access the features relevant to their roles.
Properly configuring your IP camera’s settings is critical to maximizing its potential as a surveillance tool. Depending on your specific security needs, you may need to revisit and adjust these settings periodically to ensure that the camera operates optimally under varying conditions and requirements.
Mobile App Setup (if applicable)
Many IP camera manufacturers offer a mobile app to complement their devices, enabling users to access camera controls and live footage directly from their smartphones or tablets.
This is particularly useful for those needing to monitor their space remotely or on the go. To get started, you should first visit your camera’s manufacturer’s website or consult the user manual to determine if a compatible mobile app is available for your specific camera model.
Downloading and Setting Up the App:
- Navigate to your mobile device’s App Store (iOS) or Google Play Store (Android).
- Search for the app name provided by the manufacturer and download the application.
- Once installed, open the app and follow the on-screen instructions to connect your IP camera. This typically involves registering for an account, adding your camera by entering the serial number or scanning a QR code, and connecting it to your Wi-Fi network.
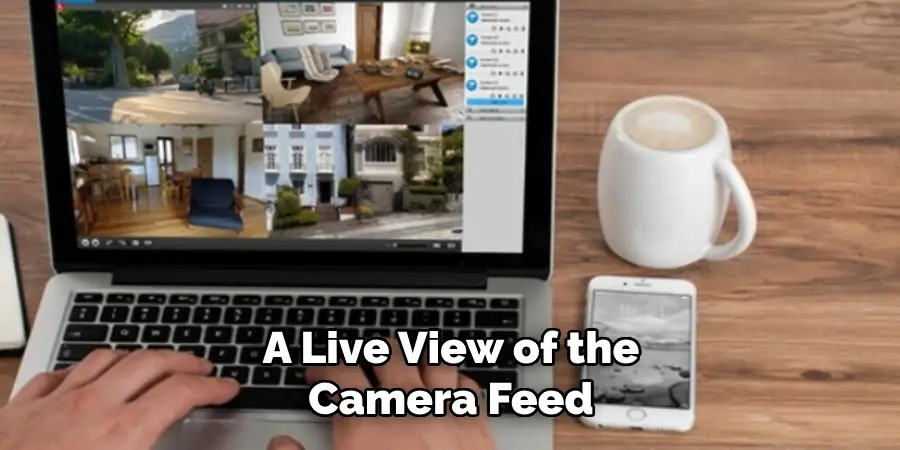
Available app functionalities often include a live view of the camera feed, playback of recorded footage, and the ability to receive motion detection alerts. Some apps may also offer limited control over the camera’s configuration settings, such as adjusting the resolution, frame rate, or alert sensitivity.
Utilizing the mobile app effectively extends the flexibility and accessibility of your surveillance system, allowing you to keep an eye on your property anytime and anywhere.
That’s it! You’ve now learned how to setup ip camera, access its web interface, and configure the camera settings to suit your security needs. You’ve also discovered how a mobile app can enhance your surveillance system’s effectiveness. Remember to regularly check for updates and adjust the settings as needed to ensure optimal performance from your IP camera
With proper setup and configuration, you can have peace of mind knowing that your property is always under reliable surveillance protection. So, don’t hesitate to invest in an IP camera for added security and surveillance in your home or business. Stay safe! Let’s keep an eye on what matters most to us.
Testing and Troubleshooting
After successfully setting up your IP camera and configuring its settings to meet your specific surveillance needs, capturing and transmitting thorough testing is imperative to ensure everything is functioning as intended. This stage is crucial for verifying the camera’s operational efficacy and for preempting any potential issues that could compromise your security system’s reliability.
Verifying the Video Feed
Access the camera’s video feed through the web interface or the manufacturer’s mobile app. This step is essential to confirm that the camera captures and transmits video correctly.
Look for clear visuals without significant lag, indicating proper setup and adequate network speed. Testing the video feed in various lighting conditions, especially if your camera has night vision capabilities, ensures consistent performance regardless of the time of day.
Testing Recording and Playback Functionality
If your system includes recording capabilities, whether continuous, on motion detection, or on a schedule, verifying that the recordings are being captured as configured is vital.
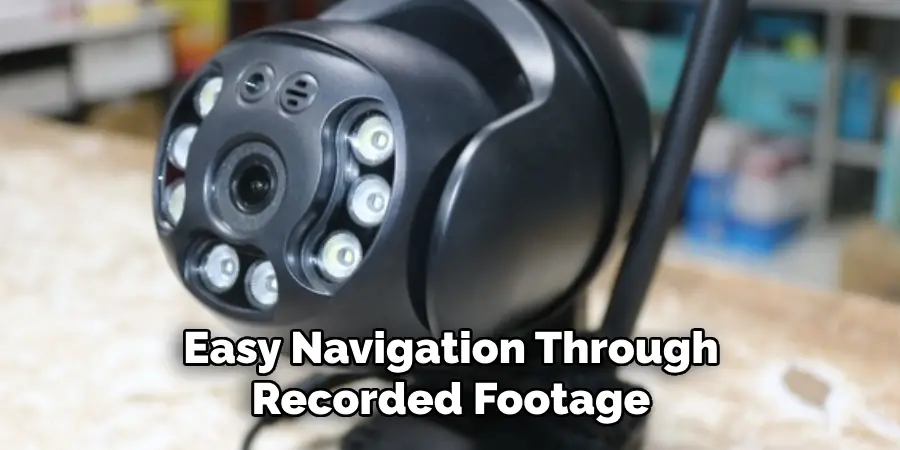
After initiating a test recording, access the stored footage to check for clarity and ensure it adheres to your scheduled or event-triggered requirements. Playback functionality should also be smooth, with easy navigation through recorded footage, which is crucial for reviewing events.
Checking for Errors or Unusual Behavior
During the testing phase, watch for error messages or unexpected behavior, such as intermittent video feed, distorted images, or failure to record according to the set parameters. Such issues could signal problems that need immediate attention to ensure the integrity of your surveillance system.
Basic Troubleshooting Tips
Despite the meticulous setup, you might encounter issues that necessitate troubleshooting. Begin with simple solutions:
- Rebooting the Camera and Router: Sometimes, a simple restart of the camera and your network router can resolve connectivity issues or glitches.
- Verifying Network Connectivity and Cable Connections: Ensure that your camera’s network connection is stable and that all cables are securely connected. A loose cable can sometimes be the culprit behind connectivity or power issues.
- Consulting the Camera’s Manual or Manufacturer Support: For more specific issues or error messages, refer to the camera’s user manual or contact the manufacturer’s support team. They can provide detailed guidance tailored to your camera model.
Regular testing and maintenance of your IP camera system are as crucial as the initial setup. By staying vigilant and promptly addressing any issues, you can maintain a reliable surveillance system that serves your security needs effectively.
Remember, the goal is not just to have a surveillance system in place but to ensure it works efficiently and reliably at all times, providing peace of mind that your property is monitored and secure.
Security Considerations and Ongoing Maintenance
Securing your IP camera system is paramount to prevent unauthorized access and to ensure that your surveillance remains private and effective. A crucial first step is to change the default passwords of your camera and Wi-Fi network to strong, unique alternatives.
This simple action can significantly hinder unauthorized users from gaining access. Furthermore, enable encryption on your camera if the option is available. Encryption will protect the data transmission between your camera and your network, making it challenging for potential intruders to intercept and understand the captured video feeds.
Another critical security aspect is keeping your camera’s firmware up to date. Manufacturers regularly release firmware updates that add new features and, more importantly, patch known security vulnerabilities. Regularly checking for and installing these updates can protect your system from becoming an easy target for cyber attacks.
In addition to these security measures, ongoing maintenance plays a vital role in ensuring the longevity and effectiveness of your surveillance system. A key maintenance task is cleaning the camera lens; even a small amount of dust or debris can compromise image quality, affecting the overall usability of your footage.
It’s also advisable to periodically review and adjust your camera’s settings. Your surveillance needs may evolve over time, necessitating changes in recording schedules, motion detection sensitivity, or other configurations to ensure your security system continues to meet your requirements effectively.
You can maintain a robust surveillance system by adhering to these security measures and committing to regular maintenance. This not only helps deter potential intruders but also ensures that should an incident occur, your system is optimally equipped to document it clearly and reliably. Consequently, these practices prevent unauthorized access and maximize your investment in security technology to safeguard what matters most.
Conclusion
In conclusion, the process of how to setup IP camera involves meticulous planning, installation, testing, and maintenance to ensure its effective operation and longevity. Initially, strategic placement is paramount for comprehensive surveillance coverage, followed by a careful configuration to align the camera’s settings with your specific security needs.
Testing each component, from video feed verification to recording functionality, is crucial in preempting any operational issues during setup. However, consulting the camera’s manual and manufacturer support is vital for more detailed instructions and tailored troubleshooting assistance.
Furthermore, readers are reminded to prioritize robust security measures, such as password updates and firmware maintenance, alongside regular system checks to bolster the surveillance system’s security and functionality. Adhering to these guidelines ensures that your IP camera system operates efficiently, offering peace of mind that your premises remain secure and monitored.