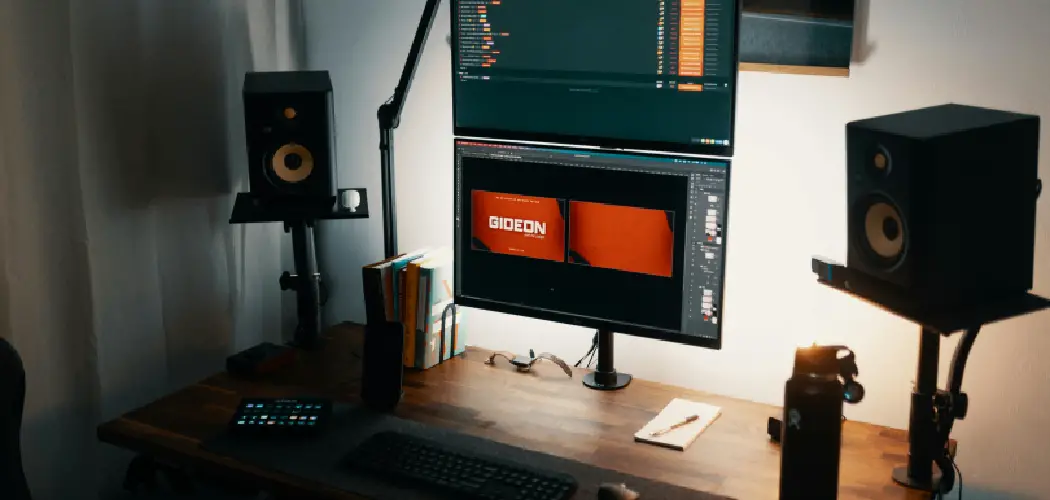
In today’s digital world, audio quality plays a crucial role in enhancing our overall experience, particularly when it comes to gaming, streaming, or video conferencing. Connecting external speakers to a computer monitor can significantly improve sound fidelity, creating a more immersive environment that enhances enjoyment and productivity. Without high-quality audio, even the most visually stunning content can fall flat, making it essential to explore how to connect speakers to computer monitor effectively.

This article will guide you through various connection methods, including direct connections to the monitor’s audio output ports, using the computer as an intermediary for enhanced compatibility, and taking advantage of wireless options like Bluetooth. By understanding these methods, you can tailor your audio setup to suit your needs and achieve a richer sound experience.
Understanding Audio Output Options
Built-in Monitor Speakers vs. External Speakers
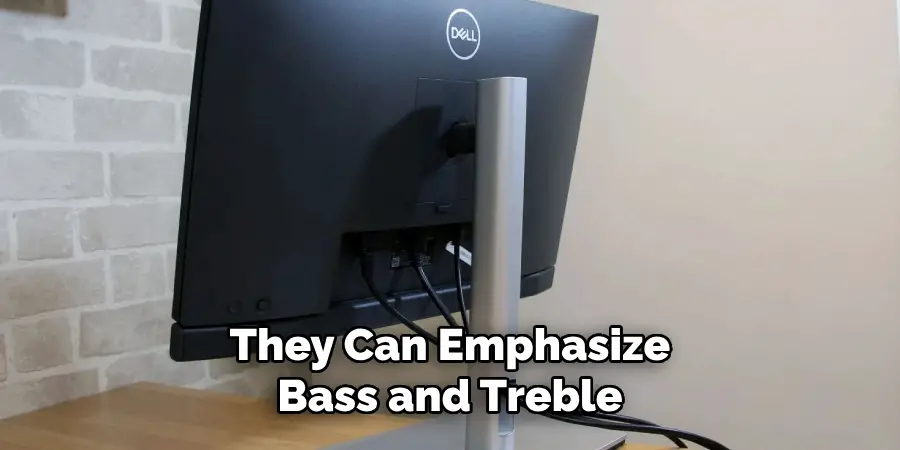
While built-in monitor speakers can offer basic sound capabilities for casual use, they often fall short in audio quality compared to external speakers. Monitor speakers generally lack the depth and richness required for an immersive listening experience. External speakers, on the other hand, are designed specifically to deliver enhanced sound fidelity with greater volume, clarity, and frequency response.
They can emphasize bass and treble, providing a dynamic soundscape ideal for gaming, music, and movies. As a result, many users prefer external speakers for a more satisfying audio experience, as they significantly improve overall sound quality and allow for a more engaging environment.
Identifying Available Ports on the Monitor
To connect external audio devices effectively, it is essential to identify the available audio output ports on your monitor. Common ports include the 3.5mm headphone jack, RCA ports (typically color-coded red and white), and HDMI audio-out options. To determine if your monitor supports audio output, check the specifications provided by the manufacturer or visually inspect the monitor for these ports.
Suppose your monitor lacks dedicated audio output options. In that case, you may need additional equipment, such as a USB audio adapter or an HDMI audio extractor, to facilitate a connection to external speakers. By being aware of the available ports, you can make informed decisions about your audio setup and ensure compatibility with your speaker system.
How to Connect Speakers to Computer Monitor: Connecting Speakers Directly to the Monitor
Using the 3.5mm Headphone Jack
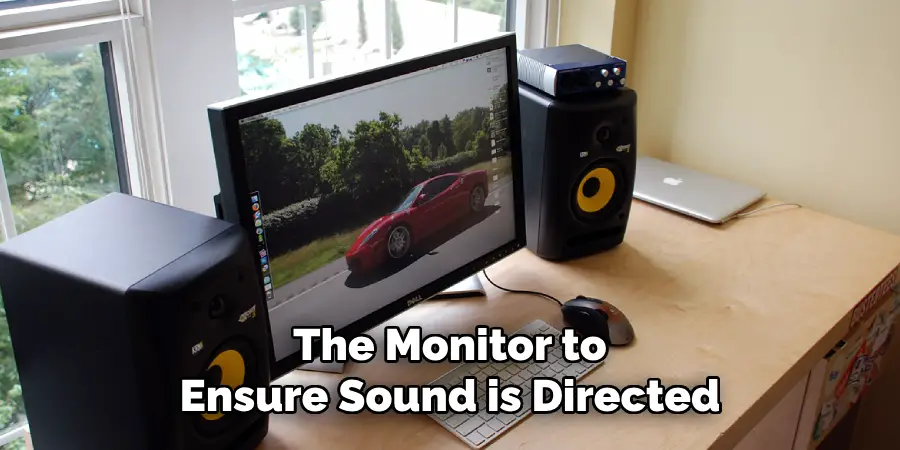
Connecting external speakers to a monitor using a 3.5mm headphone jack is straightforward and effective. Begin by locating the monitor’s 3.5mm headphone jack, usually found at the back or side of the unit. Take the audio cable from your speakers and insert the 3.5mm connector into this jack. Once connected, power on your external speakers. Next, you may need to adjust the output settings on the monitor to ensure sound is directed to the speakers.
Navigate to the monitor menu using the buttons on the device itself, locate the audio settings, and change the output from internal speakers to the headphone jack. After completing these steps, play some audio on your computer to test whether sound is coming through the external speakers.
Using RCA Ports
If your monitor is equipped with RCA ports (red and white connectors), you can connect your speakers using these color-coded inputs. Begin by selecting the appropriate RCA cable, ensuring it has male connectors on both ends. Insert the red connector into the red port and the white connector into the white port on both the monitor and the speakers, ensuring a secure fit.
Once connected, power on your external speakers and adjust the volume as needed. Similar to the headphone jack method, you must configure the monitor’s audio settings. Access the monitor’s menu, navigate to audio settings, and select the RCA output option for audio playback. This ensures that sound is transmitted through the RCA-connected speakers.
Using HDMI Audio Out
For monitors that support HDMI audio, connecting speakers can provide high-quality sound. To begin, take an HDMI cable and connect one end to the HDMI output on your computer and the other end to the HDMI input of your speakers or an HDMI audio extractor if you are using one. Ensure that everything is powered on and properly connected. After establishing the physical connection, you must configure the monitor’s audio settings.
Access the monitor menu, locate the audio settings, and select the HDMI audio output as the sound source. This setup lets your external speakers receive audio signals directly through the HDMI connection, ensuring optimal sound quality. Once everything is configured, test your setup by playing audio on your computer to confirm that sound is playing through the HDMI-connected speakers.
How to Connect Speakers to Computer Monitor: Connecting Speakers via the Computer
Using the Computer’s Audio Output
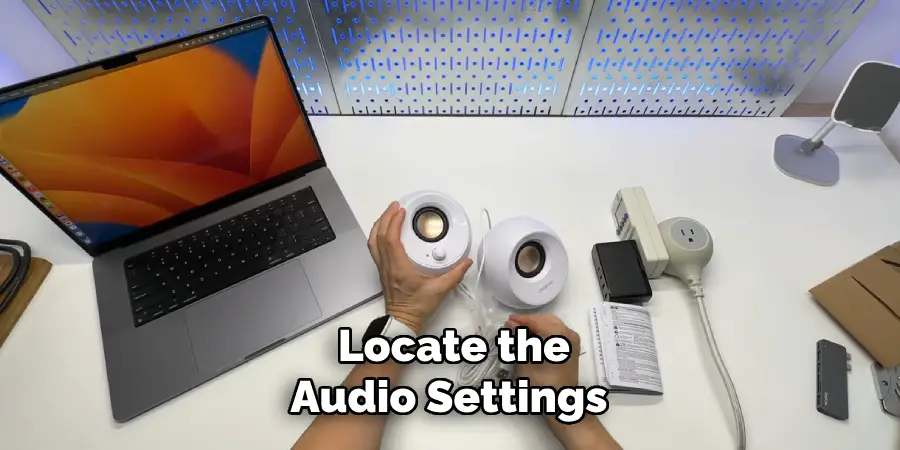
Connecting speakers directly to your computer efficiently enhances audio quality, particularly if your monitor lacks sufficient audio output options. To start, locate the 3.5mm headphone jack on your computer; this is typically found on the front or back panel of a desktop or the side of a laptop. Take your speaker’s audio cable and plug the 3.5mm connector into this jack. Alternatively, if your speakers support a USB connection, simply connect them to any available USB port on your computer. Once connected, power on your external speakers.
You’ll need to ensure that the computer’s audio settings are properly configured; this can usually be done by right-clicking the speaker icon in the system tray, selecting “Playback devices,” and setting your external speakers as the default output device. This process ensures the sound is routed through the speakers, providing an enhanced auditory experience.
Using HDMI with the Computer
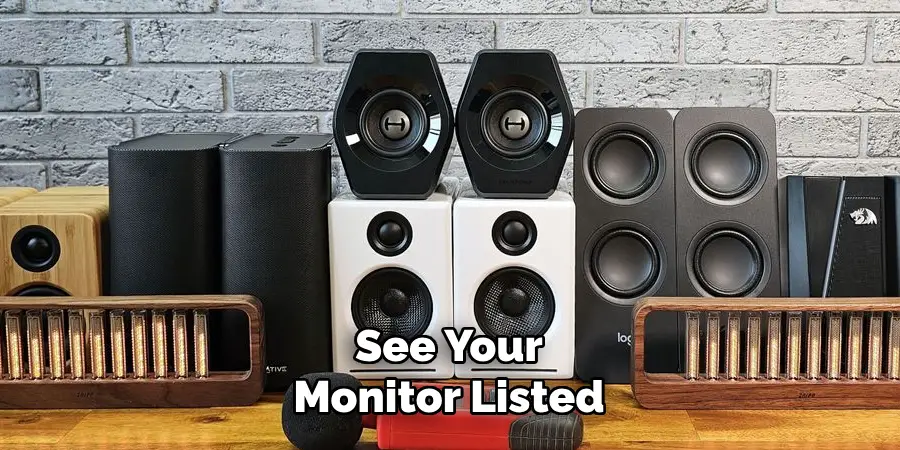
If your computer has an HDMI output and your monitor possesses HDMI capability, this can be an excellent method for transmitting both video and audio. Begin by connecting an HDMI cable from your computer’s HDMI output to your monitor’s HDMI input. After establishing the physical connection, you need to configure your computer’s audio settings. Right-click the speaker icon in the system tray and select “Playback devices.” Here, you should see your monitor listed; select it and click “Set Default.”
This configuration sends audio through the monitor to any speakers connected to its audio output port. This setup allows you to enjoy a seamless audio-visual experience, taking full advantage of your external speakers’ capabilities while simplifying your connections.
Connecting Wireless Speakers
Using Bluetooth
Connecting Bluetooth speakers to your computer for wireless audio playback is a convenient way to enhance your listening experience. To begin, ensure that your Bluetooth speakers are charged and in pairing mode; typically, this is done by pressing a dedicated Bluetooth button on the speaker until you see a flashing light.
On your computer, navigate to the Bluetooth settings by clicking on the Start menu, selecting “Settings,” and then “Devices.” Turn on Bluetooth if it’s not already enabled. Click on “Add Bluetooth or other device,” choose Bluetooth from the options, and wait for your speaker to appear in the list. Click on the speaker’s name to pair it with your computer. Once paired, you may need to set the Bluetooth speakers as your default audio output device.
Right-click the speaker icon in the system tray, choose “Playback devices,” select your Bluetooth speakers, and click “Set Default.” After this, you can enjoy seamless, wireless audio playback.
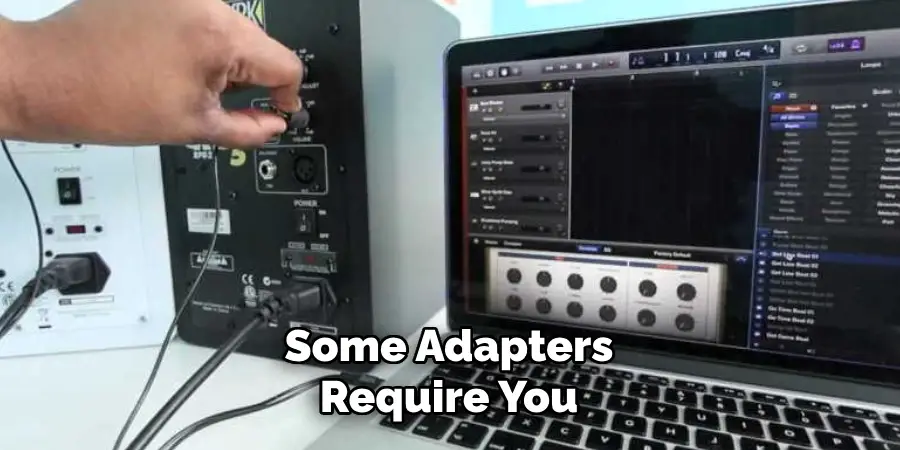
Using Wireless USB Adapters
A wireless USB adapter is an excellent solution for speakers lacking built-in Bluetooth capability. Start by purchasing a compatible wireless USB audio adapter designed for your speaker type. Insert the USB adapter into an available USB port on your computer, allowing it to install automatically. Next, connect your wireless speakers to the adapter by turning them on and ensuring they are in pairing or connected mode.
Some adapters require you to press a pairing button to help the speakers detect the connection. Once the speakers are linked to the adapter, adjust the audio settings on your computer by right-clicking the speaker icon in the system tray, selecting “Playback devices,” and choosing your newly connected wireless speakers as the default audio output device. This setup allows you to enjoy the benefits of wireless sound without relying on Bluetooth connectivity, providing flexibility for various speaker models.
Troubleshooting Common Issues
No Sound from the Speakers
If you experience no sound from your connected speakers, check all cable connections to ensure they are secure. Confirm that the speakers are powered on and not in mute mode. Next, navigate to your computer’s audio settings by right-clicking the speaker icon in the system tray. Ensure that the correct audio output device is selected and set as default. Additionally, check the volume levels on both the speakers and the computer to make sure they are appropriately adjusted.
Poor Sound Quality
Poor sound quality can stem from various issues, such as interference, low volume, or distorted audio. Firstly, check the placement of your speakers; they should be positioned away from walls or electronic devices that may cause interference. If sound quality is still lacking, adjust the audio settings on your computer.
Access the equalizer settings to enhance specific frequencies. Ensure that the speakers are compatible with your monitor or computer, as mismatched specifications can lead to subpar performance. Lastly, if using wireless speakers, verify that the Bluetooth connection is stable and that no other devices are causing interference.
Lag or Delay in Audio
Lag or delay in audio, especially with wireless connections, can be frustrating. To minimize latency, reduce the distance between your speakers and the computer, as this can improve the wireless signal. Make sure your Bluetooth drivers are up to date, as outdated drivers can lead to performance issues.
If the lag persists, consider switching to a wired connection, which typically offers a more stable and immediate audio experience. Additionally, avoid having too many devices connected wirelessly, as this can contribute to audio delays.
Best Practices for Audio Setup
Optimizing Speaker Placement
To achieve the best audio experience, positioning your speakers correctly is essential. Aim to place them at ear level, allowing sound to travel directly towards the listener. Ideally, speakers should be equidistant from the listener to create a balanced soundstage. Additionally, consider your room’s acoustics, as reflective surfaces like walls and windows can impact sound quality. Avoid placing speakers too close to corners; instead, try moving them away from walls to reduce bass buildup and enhance clarity.
Configuring Audio Settings
Once your speakers are positioned optimally, it’s time to configure the audio settings on your computer or monitor. Adjust the bass, treble, and balance controls to tailor the sound to your preference. Utilizing equalizer software can enable further customization, allowing you to enhance specific frequency ranges for a more immersive experience. Testing different settings can help you find the perfect audio balance tailored to your listening environment.
Conclusion
In this guide, we explored multiple methods on how to connect speakers to computer monitor, including direct connections through the monitor’s audio ports, wired links via audio cables to the computer, and wireless options using Bluetooth or USB adapters. Each method offers unique benefits, allowing you to choose the best fit for your audio needs. For optimal sound quality, it’s crucial to double-check all connections and settings, ensuring your speakers are set as the default audio output device.
Additionally, employing high-quality cables can significantly enhance performance, while keeping audio drivers up to date can prevent connectivity issues. Remember, with the right setup, connecting external speakers can greatly elevate your listening experience, making the effort to get it right truly worthwhile. Enjoy your audio journey!