If you have an older Acer monitor with better days, it’s time to give it new life with a simple monitor stand upgrade. Taking apart the plastic stand that came with your monitor may seem intimidating, but with the right tools and care, even the most technologically challenged among us can remove that beaten-up stand. While monitor technology continues to improve, the plastic bases that hold our screens often degrade more quickly.
In this guide, I’ll walk you through how to disassemble Acer monitor stand with everyday household items. By refreshing the stand, you can breathe new life into your trusted display and keep it in the rotation for many more years of service.
Necessary Items
Before you get started, make sure you have the following items ready:
- Phillips-head screwdriver
- Flathead screwdriver
- Small pliers or tweezers (optional)
- Towel or soft cloth to protect your monitor screen
10 Steps on How to Disassemble Acer Monitor Stand
Step 1: Power Down and Unplug Your Monitor
To ensure your safety while disassembling the stand, it’s essential to switch off your monitor and disconnect it from any power source. This will also prevent any accidental screen damage during the disassembly process.
Step 2: Remove Any Connected Cables and Accessories
Carefully disconnect all cables and accessories from your monitor, including the power cable, HDMI or VGA cable, and any USB devices. Place them in a safe location for later use.
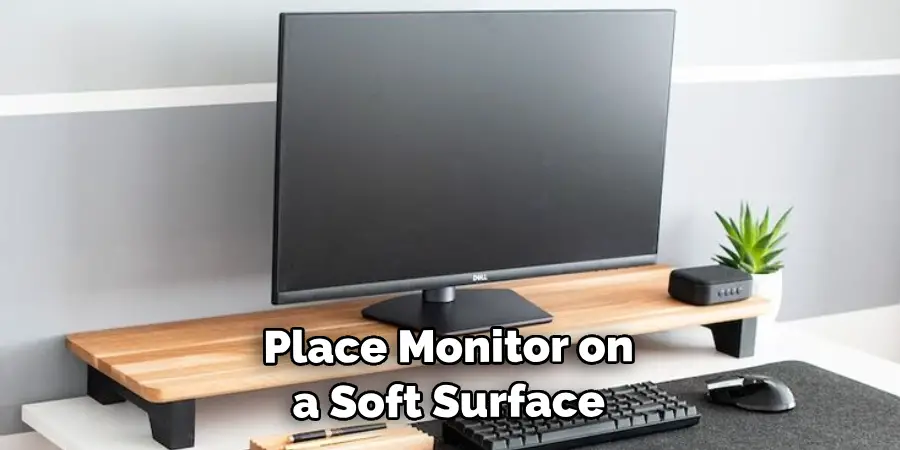
Step 3: Place the Monitor on a Soft Surface
Place your monitor on a soft towel or cloth with the screen facing downwards to protect it from scratches or damage. This will also provide a stable surface for the disassembly.
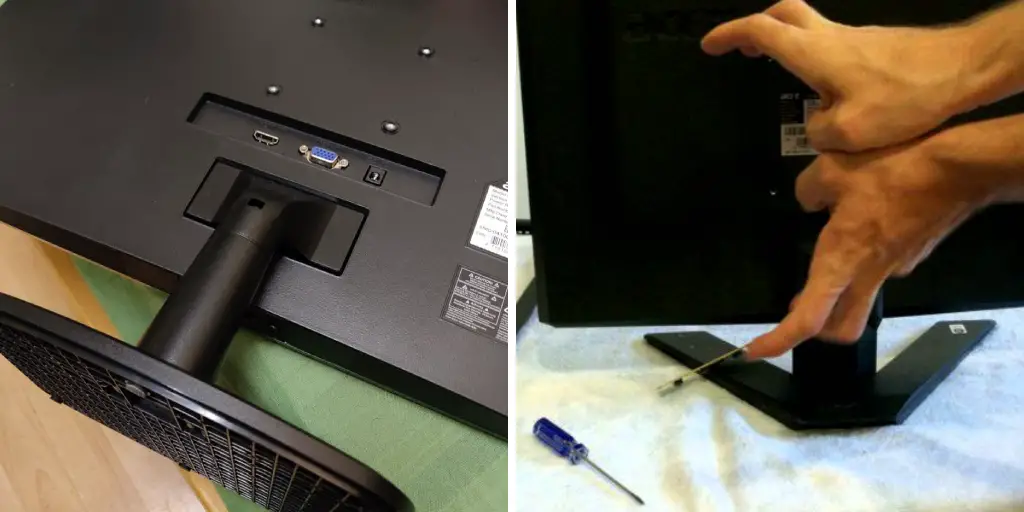
Step 4: Locate the Screws on the Stand
Using a Phillips-head screwdriver, locate and remove any screws on the stand. These are typically found near the bottom of the frame or behind plastic covers.
Step 5: Remove Any Plastic Covers or Clips
If your monitor stand has plastic covers or clips, carefully remove them using a flathead screwdriver or your fingers. This will expose any additional screws that need to be removed.

Step 6: Gently Pull Apart the Stand
Using both hands, gently pull apart the two halves of the stand in a slow and controlled manner. Be careful not to apply too much force, as this may cause damage to delicate components inside the frame.
Step 7: Remove the Base Plate
Once the stand is separated, you will see a base plate attached to the bottom of your monitor. Using a Phillips-head screwdriver, remove any screws holding the base plate in place.
Step 8: Carefully Lift Off the Stand
With all screws removed, carefully lift off the stand from your monitor and place it on a flat surface.
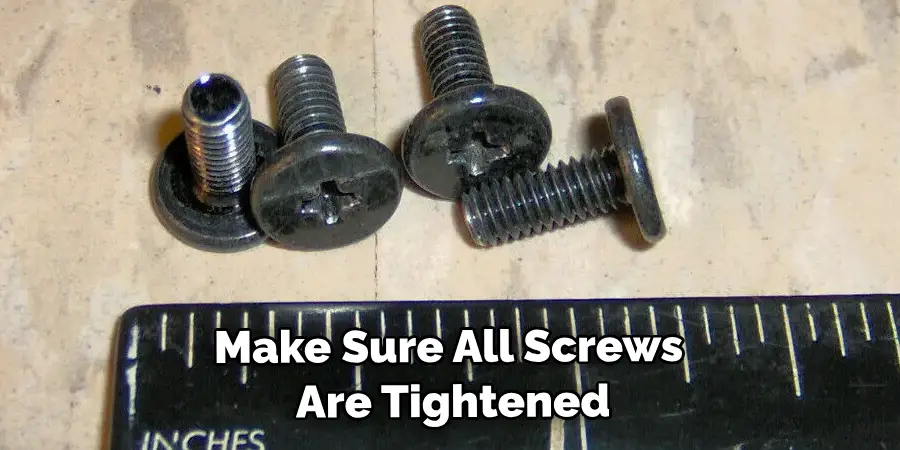
Step 9: Check for Any Remaining Screws
Inspect the stand and make sure all screws have been removed. If you find any remaining screws, remove them using a screwdriver.
Step 10: Clean and Reassemble Your Monitor Stand
Before reassembling your monitor stand, take this opportunity to clean it with a damp cloth or compressed air to remove any dust or debris. Once clean, carefully reassemble the frame in reverse order and tighten all screws securely.
With just a few simple steps, you can easily disassemble your Acer monitor stand and give it new life. Remember to be gentle and take your time to avoid damaging your precious monitor screen. Once the stand is reassembled, you can enjoy using your refreshed display for many years.
8 Things to Avoid When Disassembling Your Monitor Stand
1. Applying Too Much Force When Pulling Apart the Stand
As mentioned earlier, it’s essential to be gentle when pulling apart the stand to avoid damaging delicate components. Applying too much force may also cause the air to break, making it difficult to reassemble.
2. Misplacing Screws or Other Components
Make sure to keep track of all screws and other components removed during the disassembly process. Misplacing even one screw can make it challenging to reassemble the stand correctly.
3. Not Protecting Your Monitor Screen from Scratches
Always place your monitor on a soft surface, facing downwards, to protect the screen from any scratches or damage during the disassembly process.
4. Using the Wrong Type of Screwdriver
Make sure to use a Phillips-head screwdriver to remove screws on your monitor stand. Using the wrong type of screwdriver may strip or damage the screws, making it difficult to remove them.
5. Rushing Through the Process
Take your time and follow each step carefully to avoid any mistakes or damage. Rushing through the process may result in a broken stand or damaged monitor.
6. Not Powering Down and Unplugging Your Monitor
Remember to power down your monitor and disconnect it from any power source before starting the disassembly process. This is for your safety and to prevent any accidental screen damage.
7. Not Cleaning the Stand Before Reassembly
Take the time to clean your monitor stand with a damp cloth or compressed air before reassembling it. This will ensure that any dust or debris is removed and your stand is in good condition.
8. Disassembling the Stand on an Unstable Surface
It’s essential to have a stable surface for disassembling your monitor stand to avoid any accidents or damage. Always use a soft towel or cloth to protect your screen and provide stability.
Disassembling an Acer monitor stand can be a simple and cost-effective way to refresh your display and keep it in use for many more years. Remember to be gentle, take your time, and follow these steps carefully to avoid any mistakes or damage.
8 Additional Tips for Maintaining Your Monitor Stand
1. Regularly Clean Your Monitor Stand
Like any other equipment, your monitor can collect dust and dirt over time. Regularly clean it with a damp cloth or compressed air to keep it in good condition.

2. Avoid Placing Heavy Objects on Your Monitor Stand
Monitor stands are designed to hold the weight of your monitor and not much else. Avoid placing heavy objects, such as books or speakers, on your shelf to prevent damage.
3. Check for Loose Screws
Periodically check for any loose screws on your monitor stand and tighten them if needed. This will prevent any wobbling or instability of your monitor.
4. Don’t Over-tighten Screws
While it’s essential to make sure all screws are securely tightened, be careful not to over-tighten them, as this may cause damage to the stand or make it difficult to disassemble in the future.
5. Use a Cable Management System
Invest in a cable management system to keep your monitor stand neat and organized. This will also prevent any tripping hazards or accidental damage to cables.
6. Avoid Excessive Movement of the Stand
Moving your monitor stand around frequently may cause wear and tear, leading to instability or even breakage over time. Try to limit unnecessary movement of the stand.
7. Store the Stand Properly when Not in Use
If you plan on storing your monitor stand for an extended period, store it in a dry and secure place. This will prevent any potential damage or deterioration.
8. Follow the Manufacturer’s Instructions for Disassembly
Always refer to the manufacturer’s instructions before disassembling your monitor stand. This will ensure that you follow the appropriate steps and use the correct tools for your specific model. Keeping these tips in mind can help prolong the life of your monitor stand and keep it in good condition for years to come.
Frequently Asked Questions
Do I Need Any Special Tools to Disassemble My Acer Monitor Stand?
No, you can use essential tools such as a Phillips-head screwdriver and a flathead screwdriver (optional). However, if you have a magnetic screwdriver, it may be easier to remove and keep track of the screws.
Can I Reassemble My Monitor Stand in Reverse Order?
Yes, simply reversely follow the same steps to reassemble your stand. Make sure all screws are tightened securely before use.
Will Disassembling My Monitor Stand Void the Warranty?
It is best to check your warranty information before disassembling your monitor stand. In most cases, the warranty should not be void as long as no damage is caused during the process. However, it’s always best to contact Acer customer support for confirmation if you need clarification.
How Often Should I Clean and Maintain My Monitor Stand?
It is recommended to clean your monitor stand every few months or as needed. Regular maintenance can prolong the life of your stand and keep it looking like new. Additionally, make sure to check for any loose screws or components and tighten them if necessary. With proper care, your monitor stand can last for many years.
Conclusion
In conclusion, learning how to disassemble Acer monitor stand can initially seem daunting, but it can be done quickly with the right tools and instructions. Always consult the manual before starting any disassembly process and take extra care when handling delicate parts. You’ll be amazed by how much space you’ll save by removing the stand and mounting your monitor on a wall or arm.
Plus, efficiently transporting your monitor without the bulky air attached is a major bonus for those who frequently move or travel for work. So take on this DIY project, and give yourself that extra desk space you’ve been dreaming of.