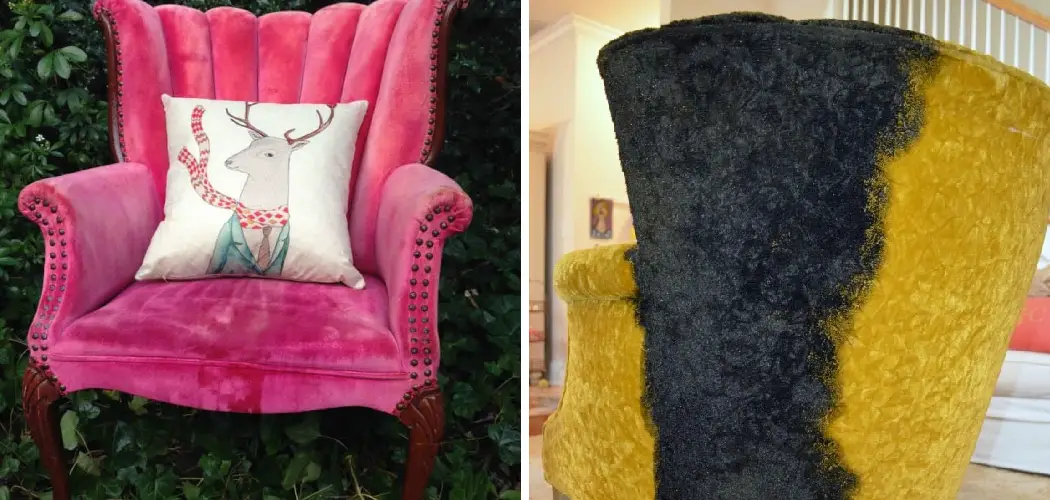
Do you have a velvet chair that has lost its appeal and looks tired and drab? If so, you can dye your velvet chair to give it a new lease of life, making it look unique and exciting.

Dyeing velvet chairs is a creative way of updating your furniture and can give your chairs a new life. Velvet chairs are luxurious, elegant, and soft. If they start looking dull and rugged, it is time to give them a makeover. In this blog, we’ll explain how to dye velvet chair, step-by-step.
Can You Dye the Velvet Chair?
Have you ever looked at your velvet chair and thought about giving it a new color? Maybe you’re tired of its current shade, or it doesn’t match your new decor. The good news is that you can dye your velvet chair!
With a little patience and the right materials, you can transform your chair into a showstopping piece. Just make sure you choose a dye that’s suitable for velvet and follow the instructions carefully. Before you know it, you’ll have a brand-new chair that’s perfect for your space and style.
Why Should You Dye Velvet Chair?
Velvet chairs may not be something you think about dyeing, but why not add some color to your home decor? By dyeing your velvet chair, you can create a statement piece in your living room, bedroom, or any space you desire. Imagine a bold pop of color in an otherwise neutral room or even a more subtle hue to complement existing decor.
Not only will dyeing your velvet chair invigorate your space, but it’s also a cost-effective way to refresh a piece of furniture you already own and love. So, why not take that old, tired velvet chair and give it a new life with a fresh new color?
A Guide on How to Dye Velvet Chair
Step One – Clean Your Chair
Before you start dyeing your velvet chair, it is important to prepare it adequately. You should begin by thoroughly cleaning the entire chair, including the legs. This cleaning is necessary because any dirt or dust left on your chair can interfere with the dyeing process.
To clean, use a microfiber cloth and a light cleaning solution. Use circular motions when cleaning, and make sure you do not saturate the velvet with the cleaning solution.
Step Two – Remove the Stains
For any stains, such as food or ink, that seem stubborn, use a stain remover that is safe for velvet fabric. You can also use mild dish soap or vinegar to remove stains. After the stain comes off, rinse off with clean water and allow the chair to dry.
Step Three – Test the Dye
Before dyeing the entire chair, test the dye on a small portion to see how the fabric reacts to the dye. You can do this by selecting an area that is out of sight, like the bottom of the chair.
Pick a color swatch that is close to the color you want, and check the instructions for mixing the dye. Once you have chosen the desired color, apply it to the fabric. If it suits your fancy, you are free to dye the entire chair similarly.
Step Four – Apply the Dye
First, you need to dissolve the dye powder in hot water according to the instructions and pour it into a wide bucket. If you want a deeper color, add more dye powder. If you prefer a light shade, then add less.
Dip a soft-bristled brush into the dye and start brushing onto your fabric, from the top to the bottom. Make sure you coat every part uniformly, the inside, outside, back, and the seat.
If possible, put on gloves to avoid getting dye on your skin. After dying, let the chair dry overnight. You can also use fans that blow dry air over the chair to speed up the drying process.
Step Five – Set the Dye
Once the chair is dry, it needs to be heat-treated to lock the dye into the fabric. It always helps to flip the chair and dye its underside.
An easy way to do this is to use a clothes iron in a medium-temperature setting. Place a piece of cotton cloth on the dyed chair directly. Make sure you have your iron on a medium setting.
Run the iron over the cotton cloth several times. Make sure you cover every part that has dye on it. When you see the cotton cloth is clean, your chair’s dye is set.
Step Six – Let the Chair Dry
After heat-treating, let your chair dry for a few more hours. The drying process should be thorough to ensure that the fabric does not bleed color when you use it.
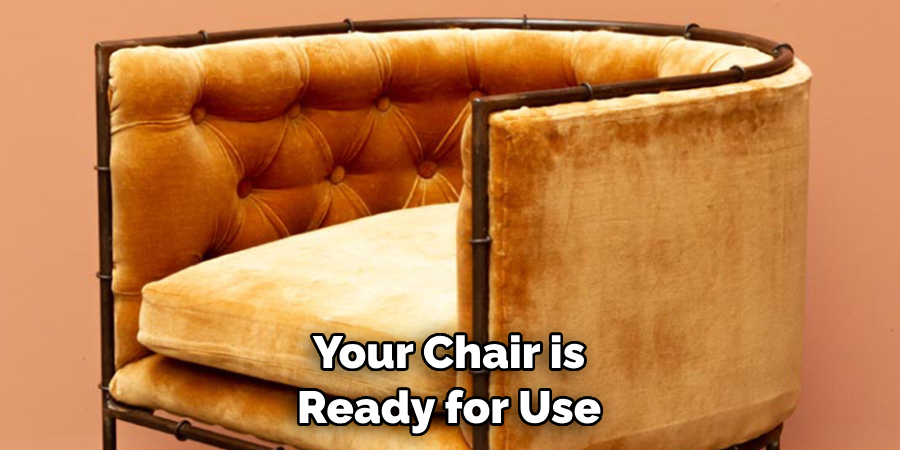
If possible, leave the chair in a well-ventilated place where it can get enough sunlight. If you are not sure that the chair has dried thoroughly, hold a white cloth against the fabric to see if any dye transfers. If there is no transfer, then your chair is ready for use.
Step Seven – Maintain Your Dyed Chair
To maintain the color of your dyed velvet chair, avoid using harsh cleaning solutions or bleach. Instead, use a damp cloth to gently wipe away any spills or dirt.
You can also regularly use vacuum cleaner with a soft brush attachment. In case of stains, spot clean with a mild cleaner and water, then allow it to air dry. With proper care, your dyed velvet chair will maintain its vibrant color for a long time.
Remember to always read and follow the manufacturer’s instructions when dyeing velvet fabric. With these seven steps, you can successfully dye a velvet chair and add a personal touch to your home decor.
5 Considerations Things When You Need to Dye Velvet Chair
1. Choose the Right Dye
When dyeing a velvet chair, it is important to choose the right dye for the job. Depending on the type of velvet fabric that you are working with, you may need to use a specific type of dye.
For example, if your velvet is made from silk or wool, then you will need to use a specialized silk or wool dye. If your velvet is made from synthetic fibers, then you may be able to use a more general-purpose fabric dye.
2. Prepare the Chair for Dyeing
Before beginning any dyeing process, it is important to thoroughly clean and prepare the chair for dyeing. This includes removing any dirt or debris from the surface of the chair and ensuring that all loose threads are trimmed away.
Additionally, any stains should be pre-treated before attempting to dye them to ensure that they will not bleed into other areas of the fabric after being dyed.
3. Test Color Before Applying
It is always a good idea to test out any dyes that you plan on using on a small area of the chair before applying them over larger sections of fabric. This will allow you to see how vibrant the colors are and ensure they look exactly as you envisioned before committing to an entire project.
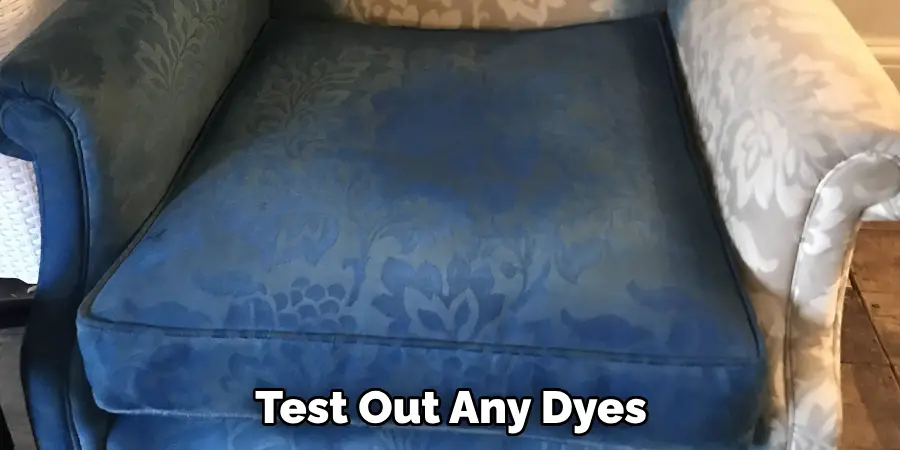
Additionally, this will also help you avoid any potential disasters due to unexpected color results after application.
4. Follow Instructions Carefully
Once you have chosen your dye and prepared your chair for application, it is important to follow all instructions carefully when applying it in order to achieve optimal results. Make sure to read all directions thoroughly and follow each step precisely to ensure that your project turns out just as planned!
5. Rinse Thoroughly After Dyeing
Finally, once you have finished applying your chosen dyes onto your velvet chair, make sure to rinse off any remaining residue thoroughly with cold water in order for the colors to set properly and remain vibrant over time!
Benefits of Dye Velvet Chair
A dye velvet chair is a luxurious addition to any room, bringing a sense of elegance and sophistication. Not only does it offer a plush seat to sink into, but it also has several benefits that make it worth the investment.
For one, dye velvet is incredibly soft and tactile, adding texture and dimension to any space.
Additionally, it is durable and resistant to wear and tear, making it a practical choice for busy households. Moreover, velvet’s unique sheen and depth add an opulent touch to a room, making it a statement piece that can elevate a space’s overall look and feel.
Ultimately, a dye velvet chair offers both comfort and style, making it a smart choice for anyone who wants to add a touch of luxury to their home.
Some Common Mistakes People Make When Trying to Dye Velvet Chair
Velvet is a luxurious, soft, and colorful fabric that can add a touch of elegance to your home décor. When it comes to dyeing velvet chairs, it is important to approach it with the correct techniques as it can be a tricky process. One of the most common mistakes people make when trying to dye velvet chairs is to use the wrong type of dye.
Velvet is a delicate fabric that requires special care, and using the wrong type of dye can damage the fibers or cause the color to bleed and fade over time.

Another mistake to avoid is not testing the dye on a small, inconspicuous area of the chair first to check for any adverse reactions. So, take your time, research, and select the appropriate dye before you begin, and your velvet chairs will look stylish and chic for years to come.
Conclusion
Following the steps outlined above can give your velvet chair a new and beautiful look. You will love the results, and your friends and family will be amazed at your creativity.
By dyeing your velvet chair, you breathe life back into your furniture without buying something new. Not only will you save money, but you’ll also be the proud owner of a one-of-a-kind piece of furniture you can cherish. So, go ahead and dye your velvet chair, and let your creativity shine! Thanks for reading our post about how to dye velvet chair.