Are you looking for ways to feel more energized and organized at work? Elevating your desk is one of the best things you can do to improve productivity, focus, and comfort. With height-adjustable desks becoming increasingly popular, it’s easier than ever to adjust your working environment just the way you like it.

Read on to learn how to elevate a desk and make life easier while ensuring that you feel comfortable no matter your task or job!
Do you find yourself increasingly spending more time in front of your computer? Whether it’s for work or entertainment, sitting at a desk for hours can lead to discomfort. Fortunately, there are some easy changes and adjustments you can make to start better integrating ergonomics into your daily routine.
Here, we’ll discuss how to elevate a desk (and why) so that you can optimize productivity and improve well-being – all while enjoying the comfort of working from home!
Why May You Want to Elevate a Desk?
There are many reasons why you may want to elevate a desk. Such as:
1. To Improve Ergonomics
One of the main reasons for elevating a desk is to improve your ergonomics. This can help reduce the risk of neck, shoulder and back pain that can result from sitting in an awkward position for long periods of time.
2. To Create More Space
Elevating a desk can also help create more space underneath the desk which can be used for storage or just to make the space feel less cramped. Also, having the desk at a higher level can make it easier to access items stored underneath.
3. To Make Working More Comfortable
Elevating your desk can also help make working more comfortable. By adjusting the height of your desk, you can find the perfect position for typing and viewing your monitor without having to strain or slouch.
No matter the reason for wanting to elevate a desk, it is important to do it safely and securely. How you go about elevating your desk will depend on your type of desk and how much elevation you plan on achieving.
Some desks are designed for height adjustment, while others can be elevated using blocks, risers, or stands. By following the steps outlined below, you can successfully and safely elevate a desk to make it more comfortable and better suited to your needs.
How to Elevate a Desk in 6 Easy Steps
Step 1: Gather All Supplies
The very first step is to gather all the supplies you will need. You will need strong, durable caster wheels, a drill and bits, screws, a screwdriver or power drill, and a measuring tape.
Step 2: Measure Your Desk

Next, you want to measure your desk so that you know how much height adjustment is necessary. Make sure to double-check that your measurements are accurate.
Step 3: Attach the Caster Wheels
Now you can attach the caster wheels to the bottom of your desk using screws and a drill or screwdriver. Make sure to secure them firmly in place for extra stability.
Step 4: Securely Raise Up Desk Legs
Once all four caster wheels are attached, you can securely raise up the legs of your desk. Make sure to lift them slowly and evenly so that they don’t get stuck or damaged during the process.
Step 5: Place Desk on Wheels
Now you can place your desk onto the wheels. Double-check that all of the caster wheels are secure and functional before you move your desk. Make sure to move your desk slowly, and always keep an eye out for any obstacles that could prevent it from rolling smoothly.
Step 6: Check Stability & Enjoy

The last step is to check the stability of your elevated desk before enjoying it. Ensure all wheels are secure and your desk is safe and stable at its new height. Once you are satisfied, it’s time to enjoy working in comfort!
Some Additional Tips to Elevate a Desk
1. Do Not Overload Your Desk
When elevating your desk, it is important to make sure that you do not overload it with too many items. Ensure you keep each item’s weight on the desk within the recommended limit for safety purposes.
2. Use Strong Fasteners
Use strong fasteners such as screws, bolts, or nails to ensure that your desk is secure when elevated. Make sure that these fasteners are firmly attached to both surfaces of the desk so it will not come apart.
3. Choose the Right Height
When choosing the right height for your elevated desk, make sure that it is comfortable and easy to use. Consider your own body type and size when selecting a height, so you are able to work efficiently without any issues.
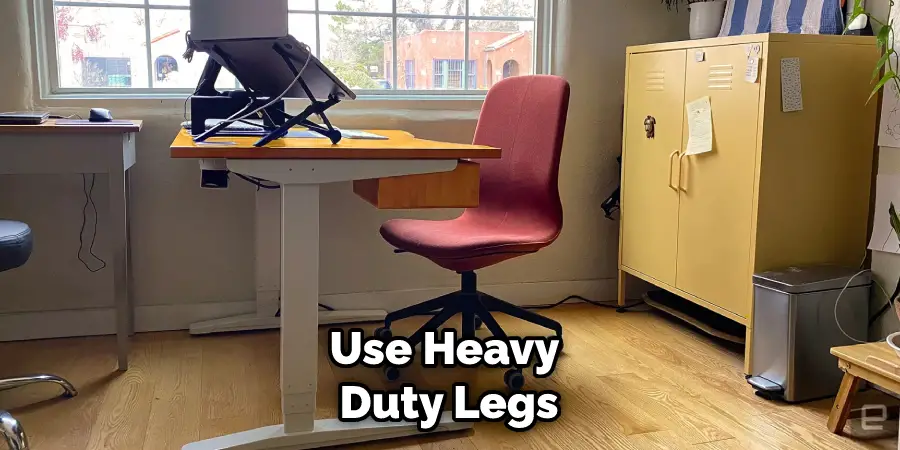
4. Use Heavy Duty Legs

To ensure that your desk can withstand the weight of all items on it, use heavy-duty legs. This will help to prevent any accidents from occurring and keep your desk stable when elevated.
5. Consider How You Will Use Your Desk
Lastly, consider how you will be using your elevated desk. Think about what activities you plan to do at the desk, such as reading, writing, or typing, so that you can choose the right height and size for your needs. These tips allow you to elevate your desk to create a more comfortable workspace.
Following these simple steps, you can elevate your desk to create a more ergonomic workspace. Be sure to use strong fasteners and heavy-duty legs to ensure that your desk is secure when elevated. Also, consider how you will be using the desk and choose the right height and size for your needs. With these tips in mind, you can easily create a more comfortable workspace with an elevated desk.
Frequently Asked Questions
What Precautions Should Be Taken When Elevating a Desk?
When elevating your desk it is important to be aware of safety precautions to ensure the desk is secure and stable during use. It is recommended that you check for any loose parts, screws or bolts in the mechanism before elevation.
Additionally, keeping an eye on weight and balance when raising the desk can help prevent tipping or instability. Finally, be sure to test the stability of the desk before use and make adjustments as necessary.
What Tools Are Needed to Elevate a Desk?
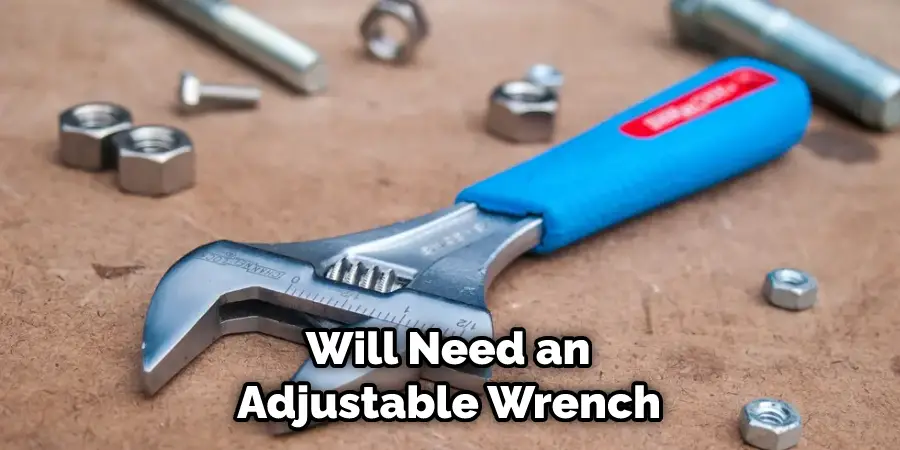
The exact tools that are needed depend on what type of desk you have. Generally speaking, you will need an adjustable wrench, screwdriver set and appropriately sized screws to help secure the desk in its elevated position. Be sure to choose the right size screws and bolts for your particular model of the desk.

Can an Electric Desk Be Elevated?
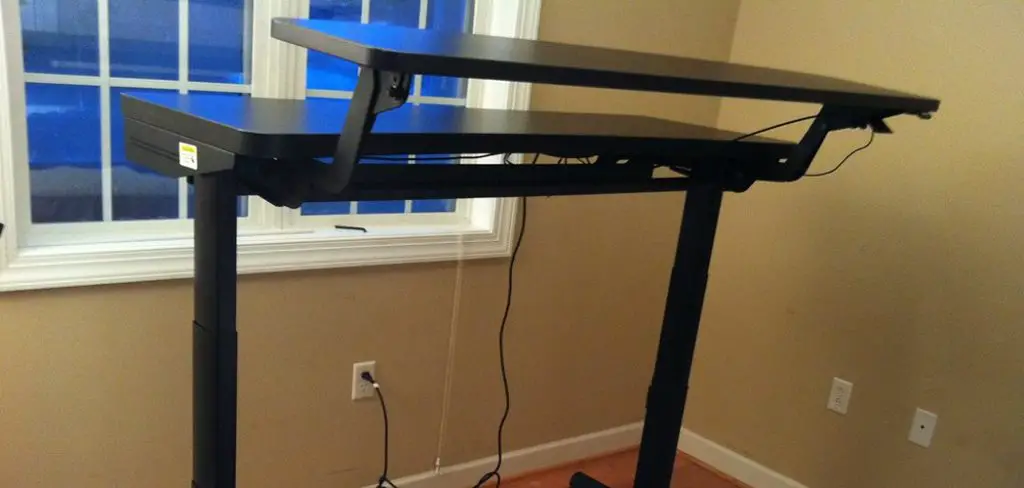
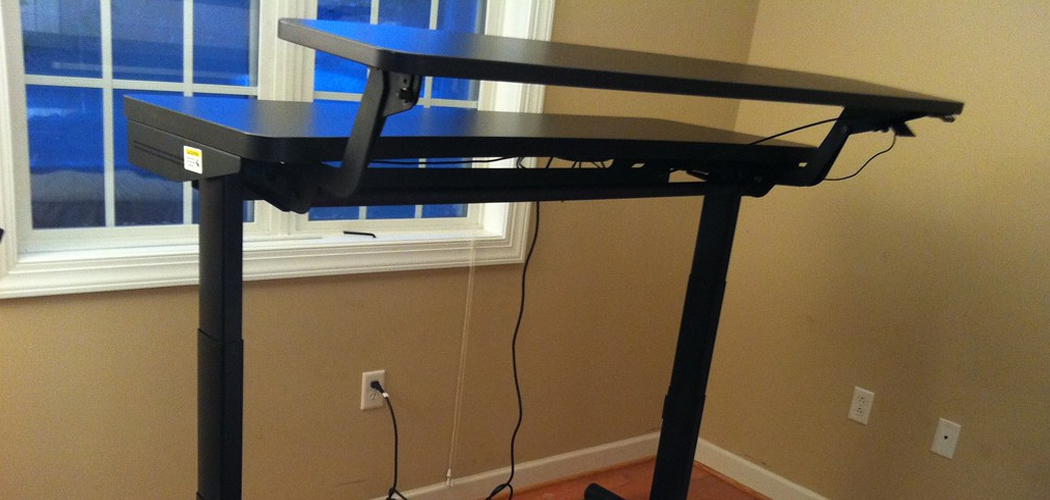
Yes, electric desks are designed to adjust easily to different heights with just a push of a button. Usually, an adjustable switch or knob will be located on the side of the desk to control its elevation. This makes it simple and convenient for users to find their desired height without having to take apart or reassemble any parts of the desk.
What Is a Good Height for an Elevated Desk?
The ideal height will depend on your individual needs and preferences, but generally speaking, a good starting point is to adjust the desk so that your elbows are at a 90-degree angle when typing or working. This will help prevent strain on your back and neck from leaning forward or backward for extended periods of time.
Additionally, make sure to take regular breaks throughout the day to help maintain posture and avoid fatigue.
Conclusion
Now you know how to elevate a desk in 6 easy steps. Gather all the supplies you will need, measure your desk, attach the caster wheels, securely raise up the legs of your desk, place it on the wheels, and check the stability before enjoying it.
Be sure to use strong fasteners and heavy-duty legs for extra security, and consider how you will use the desk before elevating it. With these tips, you can easily create a more comfortable workspace with an elevated desk.
In closing, elevating a desk can be a great way to inject a sense of energy and creativity into your workspace.
Whether you are looking for an inexpensive solution like a stack of textbooks or want to invest in an adjustable standing desk, there is an option out there to suit your needs. Just make sure that when you elevate the desk, it fits comfortably with your lifestyle and works well for your work.
You may need to adjust your chair or other furniture around it and move items closer or farther away from the height of the desk. Pay attention to how this change affects your body posture, and remember to take breaks if needed.

