Are you tired of constantly printing and running out of ink? Epson has designed a solution with its Ecotank printers. These printers have refillable ink tanks that you can easily fill yourself, making them a more cost-effective and eco-friendly option.

How to fill Epson Ecotank is a straightforward process that can enhance your printing experience while saving you money in the long run. Unlike traditional cartridge systems, Ecotank printers come equipped with large refillable ink tanks that offer a high page yield and reduce the frequency of replacements.
This guide will walk you through the steps needed to fill your Ecotank, ensuring you maintain optimal performance and quality in your printing tasks. Whether you are a first-time user or looking to refresh your ink supply, this introduction will help you understand the essentials of keeping your printer well-equipped.
What Will You Need?
The first step in learning how to fill Epson Ecotank is getting everything you need to do the job correctly. Luckily, the process does not require any special tools or equipment. You will only need some patience and a set of ink bottles designed for your specific Ecotank model.
Epson offers a variety of ink bottle sets tailored for different printer models, so be sure to purchase the correct one to avoid compatibility issues. These refillable ink bottles come with easy-to-use nozzles that make filling effortless.
Additionally, keep some paper towels handy, as handling ink can get messy at times. It is also advisable to wear gloves or have tissues nearby in case you accidentally spill any ink.

10 Easy Steps on How to Fill Epson Ecotank
Step 1. Prepare Your Workspace:
Before you begin the ink-filling process, creating a suitable workspace that minimizes the risk of spills and ensures ease of access to your materials is essential. Choose a clean, flat surface such as a table or a desk where you can comfortably reach everything you need.
Lay down some old newspapers or a disposable tablecloth to protect the surface from any potential ink stains. Ensure your Epson Ecotank printer is turned off and unplugged for safety. Keeping all your supplies within arm’s reach will streamline the process, allowing you to focus on filling the tanks without interruption.
By preparing your workspace thoughtfully, you will not only enhance your efficiency but also avoid any unnecessary mess that can come from handling ink bottles.
Step 2. Gather Your Ink Bottles:
Once your workspace is prepared, it’s time to gather the ink bottles you will use for the refill. Ensure you have the correct ink bottles for your Epson Ecotank model, as using the wrong type can lead to performance issues or damage. Check the labels on the ink bottles to confirm that they are compatible with your printer.
Lay out the bottles in the order of the color channels—typically black, cyan, magenta, and yellow—to streamline the filling process. With your ink bottles ready and correctly aligned, you’re set to move on to the next step of the filling procedure.
Step 3. Open the Ink Tank Cover:
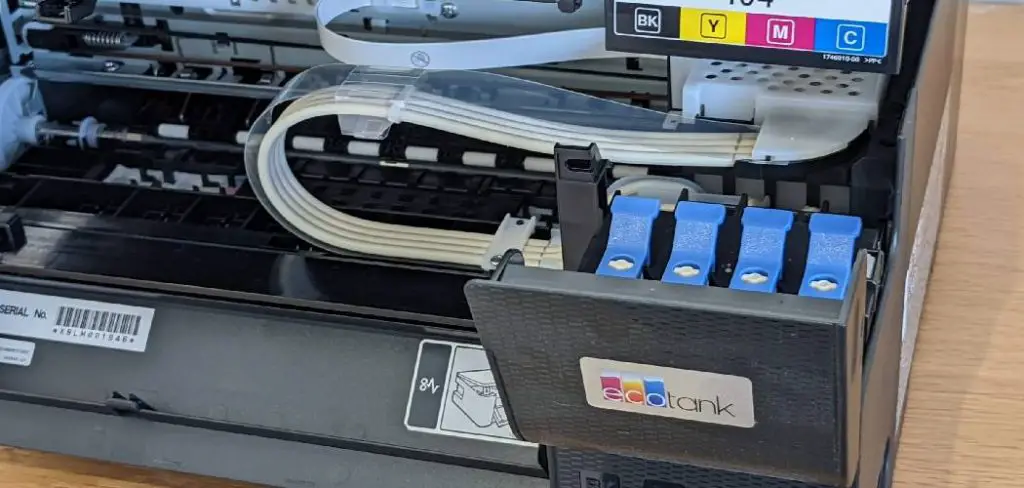
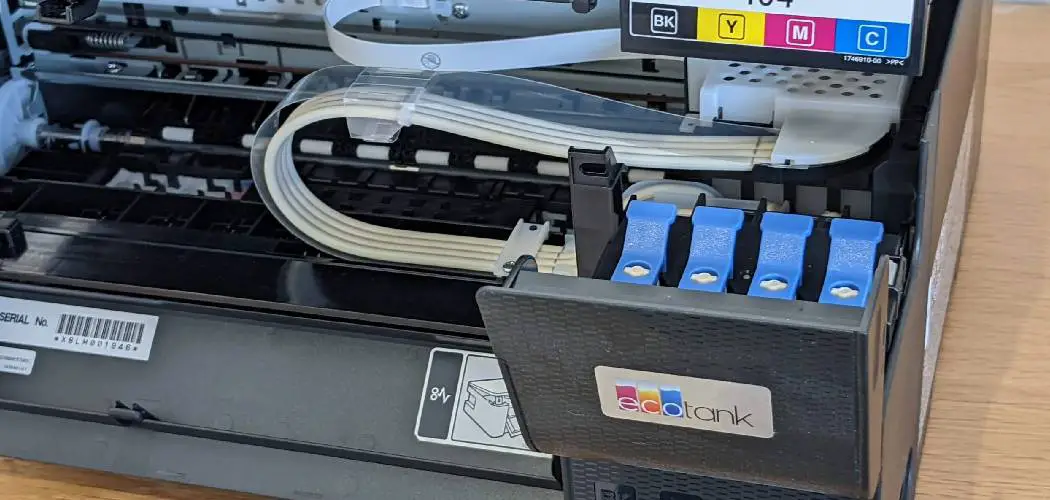
Now that your ink bottles are ready, the next step is to locate and open the ink tank cover on your Epson Ecotank printer. Typically, the cover is situated on the front or side of the printer, depending on the model. Gently press the latch or tab to release the cover, allowing you access to the ink tank compartments.
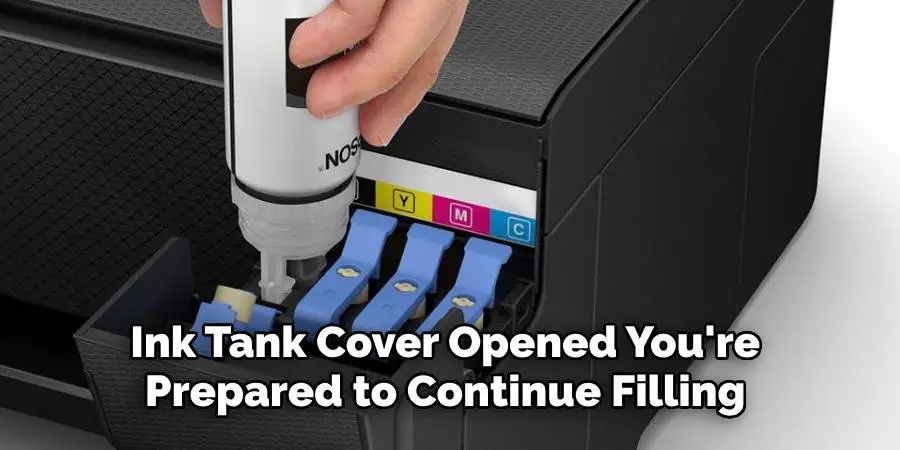
Take a moment to identify each color channel, as this will help you to avoid any mix-ups during the filling process. Be cautious while handling the cover to prevent any unnecessary damage, and ensure that you are working in a well-lit area for better visibility. With the ink tank cover opened, you’re prepared to continue filling your Ecotank.

Step 4. Insert the Ink Bottle Nozzle:
With the ink tank cover open and the color channels identified, it’s time to insert the ink bottle nozzle into the corresponding ink tank. Carefully lift the ink bottle and align the nozzle with the appropriate tank to ensure you fill the correct color. Gently insert the nozzle into the ink tank’s opening, providing it fits snugly but without applying excessive force.
Some models may have a locking mechanism; if yours does, engage it for a secure fit. This step is crucial as it prevents spills and ensures the ink flows directly into the tank. Now that you’ve positioned the ink bottle correctly, you can fill the tank with ink.
Step 5. Fill the Ink Tank:
Now that the ink bottle nozzle is securely inserted into the ink tank, you can begin filling the tank with ink. Slowly squeeze the ink bottle to allow the ink to flow into the tank. Pay close attention to the ink level as it fills; most Ecotank models will have a clear indicator or a marked line showing the maximum fill level.
Avoid overfilling, which can cause spills and affect the printer’s performance. Take your time during this step to ensure the ink flows steadily and smoothly into the tank. Once the tank reaches the desired level, gently remove the nozzle from the tank opening and replace the cap on the ink bottle. Let any excess ink drip back into the bottle before sealing it to prevent wastage.
Step 6. Clean Up Any Spills:
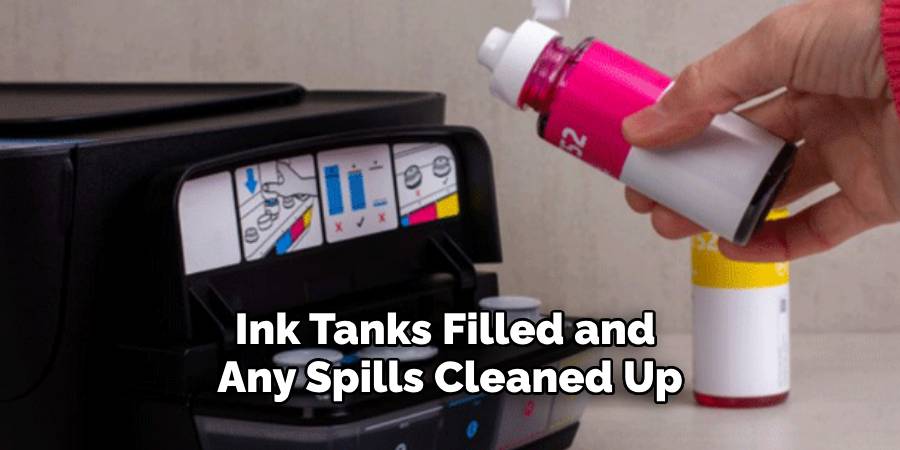
After successfully filling the ink tank, it’s essential to check for any accidental spills around the ink tank area. Even with careful handling, ink can sometimes escape during the filling process. Use paper towels to gently wipe away any drips or smudges to ensure a clean workspace and prevent any potential damage to your printer.
Clean thoroughly, as dried ink can be more difficult to remove later. Act quickly to avoid permanent staining if you find any spills on your clothing or surfaces. A dedicated cloth for cleaning can also help keep your workspace tidy. Once everything is clean, you can proceed to the next step.
Step 7. Replace the Ink Tank Cover:
With the ink tanks filled and any spills cleaned up, it’s time to replace the ink tank cover securely. Carefully align the cover with its hinges and press it down until you hear a click, indicating it has been locked back into place.

Ensuring that the cover is closed correctly is crucial since an open cover may disrupt the printer’s operation or lead to unwanted dust and debris entering the ink tanks. Take a moment to double-check that the cover is fully seated and has no gaps. Once satisfied, you are ready to move on to the next step.
Step 8. Turn On the Printer:
Now that your ink tank is filled and securely covered, plug your Epson Ecotank printer back into the power source. Turn on the printer using the power button on the front panel. It may take a moment for the printer to power up, and it will often perform a self-check. Pay attention to the printer’s display or indicator lights to confirm that it functions normally.
If any error messages appear, consult the printer’s manual for troubleshooting tips. Once your printer is powered on and ready, you can proceed to the next step.
Step 9. Run an Ink Level Check:
After turning on your printer, it’s a good idea to run an ink level check to ensure that the new ink has been recognized and the tanks are filled correctly. Most Epson Ecotank printers have an automatic monitoring feature that will show you the current ink levels on the display.
Alternatively, you can access the printer’s maintenance menu through your connected computer or mobile app. Running this check can help confirm that no air bubbles or clogs have developed during the filling process. If the ink levels are not displaying accurately, consider repeating the filling procedure to resolve any issues.
Step 10. Print a Test Page:
The final step in the ink-filling process is printing a test page to confirm everything is functioning smoothly. Go to the printer’s menu and select the option to print a test page. This will show that the printer is working correctly and allow you to evaluate the quality of the new ink. Check for color accuracy and print quality, ensuring that all colors show clearly and without any streaks or smudges. If the printout looks good, you can start using your Epson Ecotank printer for all your printing needs. For any issues with the output, refer to your printer’s manual for troubleshooting guidance, or consider running a print head cleaning cycle to enhance performance.
By following these easy steps, you can efficiently refill the ink tanks of your Epson Ecotank printer and continue printing without worrying about running out of ink.

Conclusion
How to fill Epson Ecotank printer is a straightforward process that ensures you maintain optimal printer performance.
Following the step-by-step procedure outlined above, you can confidently fill the ink tanks, check levels, and test printing quality. This practice saves you money and contributes to a more environmentally friendly approach by reducing waste associated with traditional ink cartridges.
Regular maintenance, including cleaning spills and verifying ink levels, will keep your printer running smoothly and help you achieve high-quality prints for all your needs. Embrace the convenience of the Ecotank system to enhance your printing experience!

