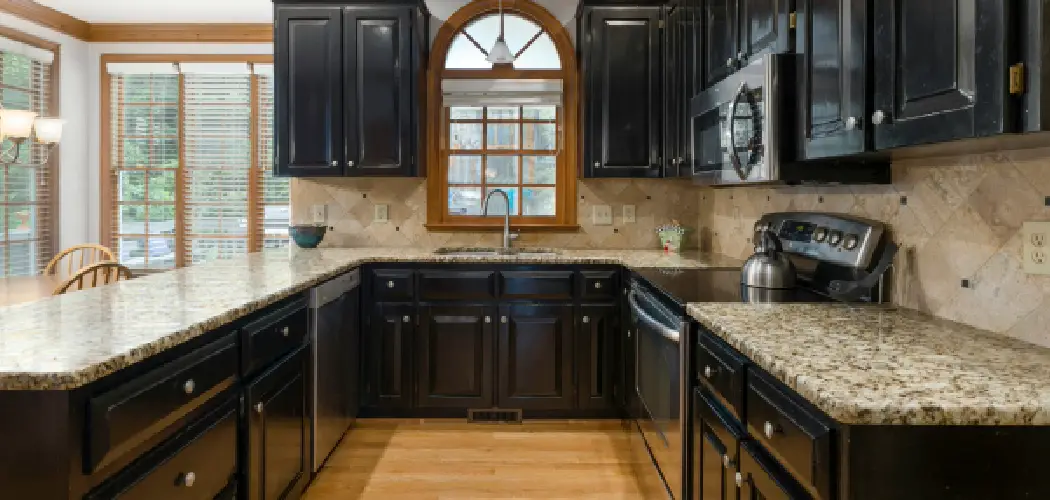
When renovating or installing new cabinetry, homeowners often encounter gaps between cabinets that can be both unsightly and impractical. These gaps, which may vary in size, can disrupt the seamless look of a kitchen or bathroom and potentially harbor dust and debris.
Addressing them not only enhances the aesthetic appeal but also improves the functionality of the space. Whether you’re dealing with new installations or existing cabinetry, there are several effective methods on how to fill gap between two cabinets to fill these gaps neatly and efficiently, restoring continuity to your cabinetry layout without a major overhaul.
Why Are There Gaps Between Cabinets?
Before we dive into filling the gaps, it’s important to understand why they occur in the first place. The most common reasons for gaps between cabinets include:
Uneven Walls or Floors
When installing cabinets against uneven surfaces, there may be variations in height or width that cause small gaps. Over time, these gaps may become more noticeable as the cabinets settle into place.
Shoddy Installation
Poorly installed cabinets can also lead to gaps, especially if they were not leveled or secured properly during installation.
Cabinet Design
Some cabinet designs may have intentional gaps between them for aesthetic purposes. These are usually small and evenly spaced to create a visually appealing design.
It’s important to consider the cause of your cabinet gap before deciding on a solution. If it’s due to uneven surfaces or poor installation, addressing those issues should be the first step. However, if it’s a design element, you may need to explore different methods of filling the gaps while still maintaining the overall look.
Necessary Tools and Materials
The tools and materials you’ll need to fill the gap between the two cabinets may vary depending on the method you choose. However, here are some essential items that will be useful for most solutions:
Measuring Tape
Before you start filling the gap, it’s important to accurately measure its size. This will help you determine the best method and materials to use.
Filler Material
Depending on your preferred method, you may need some type of filler material such as wood shims, caulk, or foam strips.
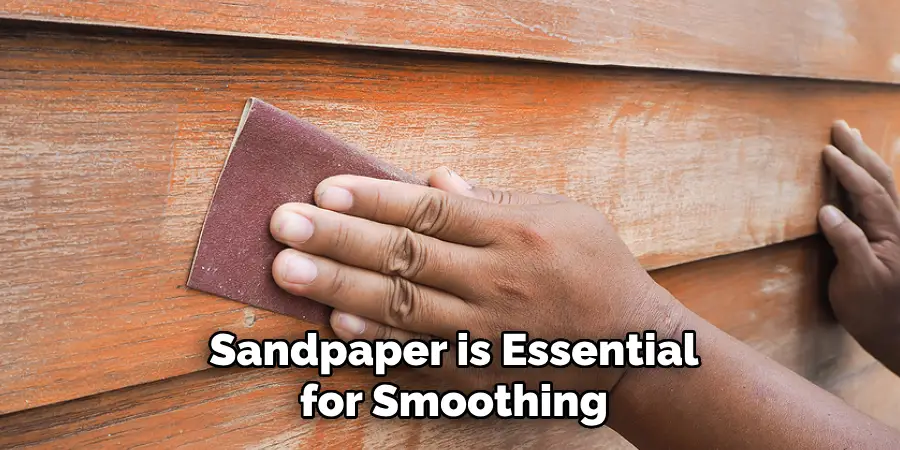
Sandpaper
If using wood filler or other similar products, sandpaper is essential for smoothing out any uneven surfaces after application.
Paint or Stain
You may also need paint or stain to match the color of your cabinets if you’re using a filler material that needs to be painted over.
Saw
In some cases, you may need a saw to trim down filler materials to fit the gap.
8 Methods on How to Fill Gap Between Two Cabinets
Method 1: Caulking
One of the simplest and most cost-effective methods for filling gaps between cabinets is using caulk. This method works best for smaller gaps that are less than 1/4 inch wide. To use this method, follow these steps:
- Clean the gap thoroughly with a damp cloth to remove any dust or debris.
- Cut the tip of your caulk tube at a 45-degree angle and insert it into a caulking gun.
- Run a bead of caulk along the entire length of the gap, ensuring that it’s evenly applied.
- Use your finger or a damp cloth to smooth out the caulk and remove any excess.
- Let the caulk dry completely before painting over it, if necessary.

Method 2: Wood Shims
If you have larger gaps between cabinets, wood shims can be an effective solution. These thin pieces of wood are typically used for leveling surfaces and can easily be trimmed down to fit gaps in cabinetry. Here’s how to use them:
- Measure the width and height of your gap and use a saw to trim the shims to fit. Make sure they’re slightly longer than the gap to ensure a snug fit.
- Insert the shims into the gap, stacking them, if necessary, until it’s filled completely.
- Use a hammer or mallet to gently tap the shims in place and secure them.
- Sand down any rough edges or excess shims before painting over or staining them to match your cabinets.
Method 3: Foam Strips
Similar to wood shims, foam strips can also be used for larger gaps between cabinets. These adhesive strips are typically used for insulation purposes but can also serve as an effective gap filler. Here’s how to use them:
- Measure the width and height of your gap and cut the foam strips to fit.
- Peel off the backing of the adhesive strip and insert it into the gap, pressing firmly to secure it in place.
- Repeat this process until the gap is filled completely.
- Trim down any excess foam strips using a utility knife or scissors before painting over or staining them.
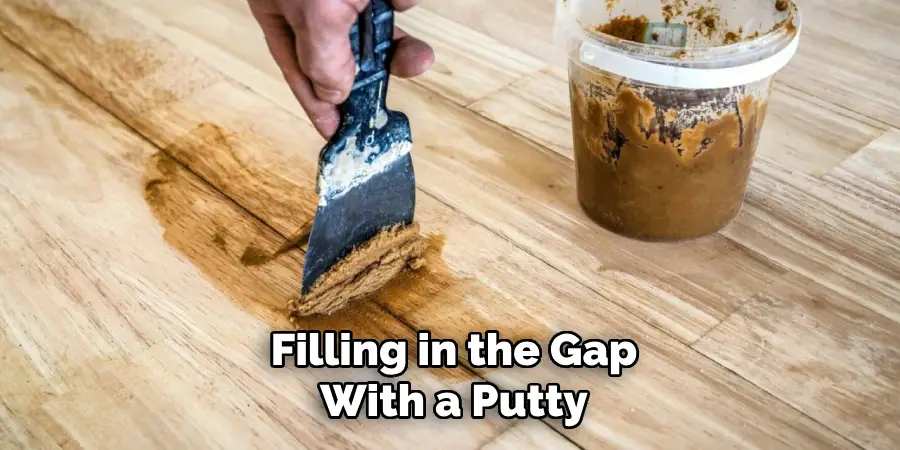
Method 4: Wood Filler
For larger gaps that cannot be filled with caulk or shims, wood filler can be an effective solution. This method involves filling in the gap with a putty-like substance that dries hard and can be sanded down for a seamless finish. Here’s how to use it:
- Clean the gap thoroughly and measure its size.
- Mix the wood filler according to the manufacturer’s instructions, ensuring that it’s smooth and free of lumps.
- Use a putty knife or scraper to fill in the gap with the wood filler, smoothing out any excess.
- Let it dry completely before sanding down any rough edges and painting over it if necessary.
Method 5: Trim Pieces
If your cabinet gap is near a corner or wall, you may be able to use trim pieces to cover it up. This method works best for smaller gaps and can add an elegant touch to your cabinetry. Here’s how to do it:
- Measure the gap and cut a trim piece to fit using a saw.
- Sand down any rough edges and paint or stain them to match your cabinets.
- Finishing nails or adhesives are used to secure the trim piece in place, covering the gap completely.
Method 6: Molding
Similar to using trim pieces, molding can also be used to fill gaps between cabinets. This method works best for larger gaps and can add a decorative touch to your cabinetry. Here’s how to use it:
- Measure the length of your cabinet gap and cut a piece of molding to fit using a saw.
- Sand down any rough edges and paint or stain it as desired.
- Finishing nails or adhesives are used to secure the molding in place, covering the gap completely.
Method 7: Sliding Shelves or Pull-Out Organizers
If your cabinet gap is between two shelves, you may want to consider installing a sliding shelf or pull-out organizer. This will not only fill the gap but also provide additional storage space and functionality. Here’s how to do it:
- Measure the width and height of your cabinet gap.
- Purchase a sliding shelf or pull-out organizer that fits those measurements.
- Install it according to the manufacturer’s instructions, filling in the gap completely.
Method 8: Professional Installation
If your cabinet gaps are large or numerous, it may be best to hire a professional to fill them for you. This will ensure a seamless and high-quality finish and may also be necessary if the gaps are causing structural issues with your cabinets. Make sure to research reputable professionals before hiring them and get multiple quotes to compare prices.
Following these methods on how to fill gap between two cabinets, you can easily fill gaps between your cabinets and achieve a seamless and professional-looking finish. It’s important to consider the size of the gap and the materials used before choosing a method, and always take proper safety precautions when using tools.

With a little effort and some simple techniques, you can have perfectly fitted cabinets in no time. So go ahead and try out these methods to fill those pesky gaps between your cabinets and give your kitchen or bathroom a flawless look! Happy renovating!
Frequently Asked Questions
Q: Why Are There Gaps Between My Cabinets?
A: Gaps between cabinets can occur due to uneven walls, settling of the house, or improper installation. They can also be intentional for ventilation purposes or to accommodate pipes and wires. It’s important to address these gaps, as they can affect the functionality and aesthetics of your cabinetry.
Q: Can I Fill Gaps Between Cabinets with Just Caulk?
A: Caulk is a quick and easy solution for smaller gaps between cabinets. However, if the gap is too large or irregular in shape, caulk may not provide a strong enough seal. In these cases, it’s best to use other methods such as shims or wood filler.
Q: Do I Need Professional Help to Fill Gaps Between My Cabinets?
A: It depends on the size and severity of the gaps. Smaller gaps can be filled using DIY methods, but larger or more complex gaps may require the expertise of a professional. If you’re unsure, it’s always best to consult with a professional for an accurate assessment and recommendation.
Q: Can I Paint Over or Stain the Fillers Used to Cover Gaps Between Cabinets?
A: Yes, most fillers can be painted over or stained to match your cabinets. Just make sure to properly prep and sand them before applying any paint or stain. It’s also important to use quality paint or stain products that are meant for wood surfaces. This will ensure a lasting finish that matches the rest of your cabinetry.
Conclusion
Filling gaps between two cabinets can be a simple DIY project with the right materials and tools. It’s important to accurately measure the gap size and choose an appropriate method on how to fill gap between two cabinets based on its width and height.
Consider factors such as cost, aesthetics, and functionality when choosing a method, and always follow manufacturer instructions for best results. If in doubt or dealing with large gaps, it’s recommended to seek professional help for a seamless finish. Happy DIY-ing