Do you love the look of butcher block wood? Are you looking to make a statement in your office or craft room with an impressive desk that is both stylish and functional? With just a few simple steps on how to finish butcher block desk, you can easily transform a piece of butcher block into a beautiful work surface.

In this blog post, we’ll take you through the entire process of crafting your own personalized desk from start to finish.
Whether it’s refurbishing existing furniture pieces or creating something completely new and unique, learn how easy it can be to build your very own butcher block desk. Keep reading for detailed instructions on how to custom design and perfectly finish off your dream desk!
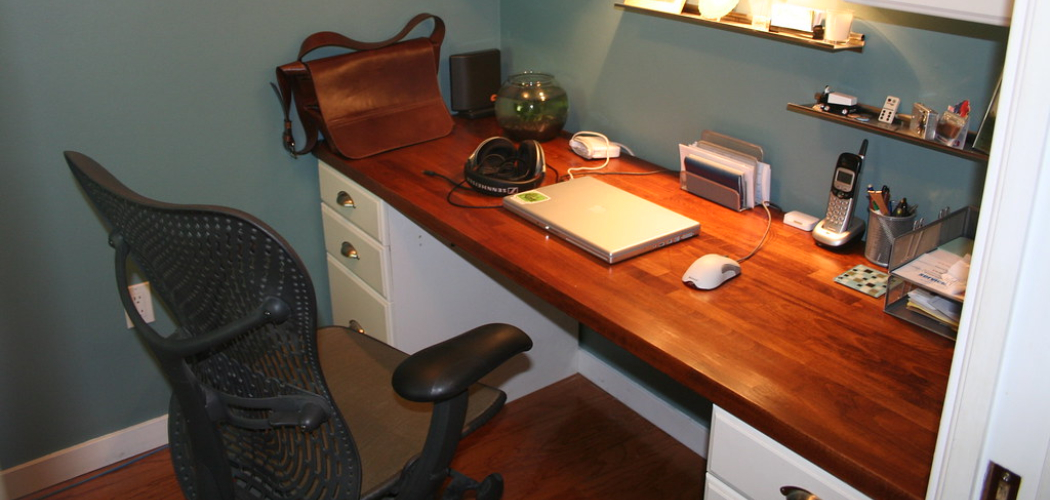
What is Butcher Block Desk?
Butcher block is a type of countertop material made from wood, usually hardwood. Unlike other types of wood, it has been specially treated to make it harder and more durable. Butcher blocks can be used on counters and tables for added visual appeal or as the surface of an entire desk. It is perfect for creating a one-of-a-kind piece of furniture with its natural beauty and unique character.
Needed Tools and Materials
Before you start working on your project, make sure that you have all the necessary tools and materials ready. You’ll need:
- A Sheet of Sandpaper (Fine Grit)
- Wood Finish or Sealant
- Paintbrushes/Rollers
- Clamps (Optional)
- Protective Wear (Gloves, Goggles, Etc.)
10 Step-by-step Instructions on How to Finish Butcher Block Desk
Step 1: Prep the Surface
Start by lightly sanding your butcher block with a fine-grit sandpaper. This will help to smooth out any rough edges and create a clean surface for your finish. If the butcher block has been previously treated, it may not require sanding.

It is important to wipe the surface clean and remove any dust or debris that may have accumulated. But, be sure to wear protective gloves while handling the sandpaper. If you have clamps, it’s helpful to secure the butcher block in place while sanding.
Step 2: Apply Wood Finish/Sealant
Once the surface is prepped, you are ready to start applying a wood finish or sealant. Depending on your desired outcome, choose an appropriate product that will provide maximum protection while also enhancing the natural beauty of the wood.
Keep in mind that some finishes may require multiple layers for optimal results. It is also important to allow the required amount of time for each coat to dry before moving on to the next step. Always wear protective gloves when handling the finish/sealant.
Step 3: Allow to Dry
Allow your first coat of finish to dry completely before adding any additional coats. Depending on the product you have chosen, this could take anywhere from an hour up to 24 hours.
To be safe, it’s best to allow ample drying time between each coat so that you can achieve the best possible outcome for your project. It is also important to keep the area well-ventilated while drying. Otherwise, the fumes from the finish could become hazardous.
Step 4: Sand Again
In between coats of finish, you may want to lightly sand the surface with fine-grit paper in order to ensure a smooth and even application. If you are applying multiple coats, this step will become increasingly important.
It will help to ensure that each layer is applied evenly and without any bumps or imperfections. But, be sure to use a light touch when sanding and don’t apply too much pressure. This could cause the surface to become uneven.
Step 5: Apply More Coats
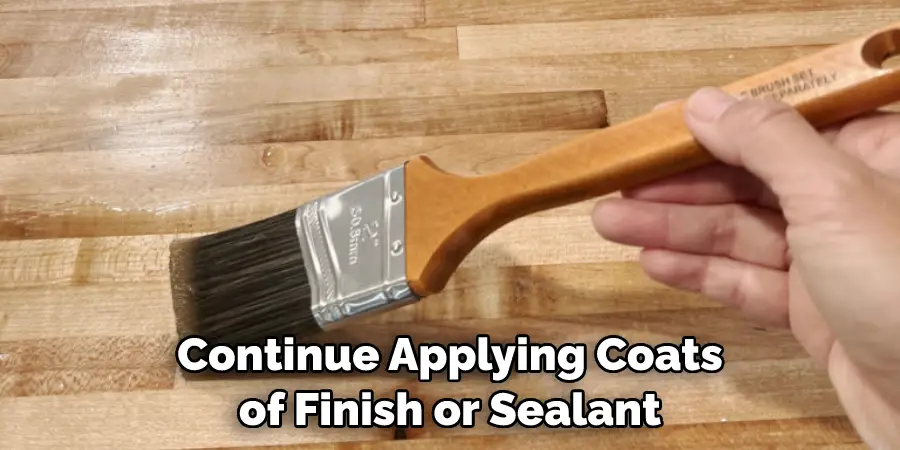
Continue applying coats of finish or sealant until you achieve your desired look. Be sure to allow ample drying time between each coat for best results. It’s important to remember that you can always add more coats, but it is much harder to take them away.
If you find that the surface is still too shiny after the last coat, you can always sand it down a bit more to achieve a matte finish. This will also help to give the desk a more natural look.
Step 6: Clean Up Any Excess Finish
Once you have applied your final layer of wood finish, use a damp cloth to gently remove any excess product that has accumulated on the surface or in the corners of your desk.
If left unattended, this can create an unsightly finish. But, it’s important to be careful when wiping away any excess finish so that you don’t damage the surface of your desk. So, use light pressure and take your time.
Step 7: Optional Step – Add Clamps
If you would like an extra level of protection for your butcher block desk, consider adding clamps along the sides. This will help to keep the material in place while also providing extra durability. If you do decide to use clamps, make sure that they are not too tight as this could cause the material to warp or split.
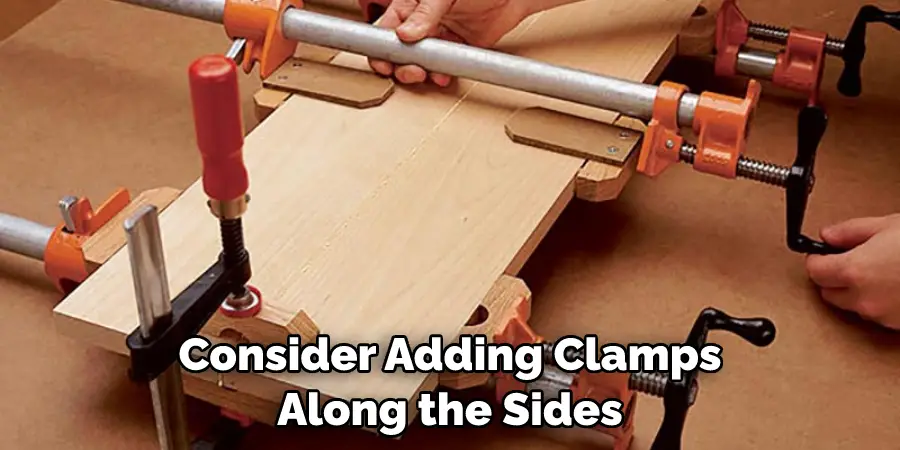
But, it’s important to ensure that they are tight enough to provide a secure seal between the finish and the wood. It’s best to use the correct size clamps for your project for optimal results.
Step 8: Allow to Cure Fully
Once you have finished applying all the layers of finish and clamps, allow your desk to cure fully before taking it into use. This could take anywhere from 24-48 hours depending on the type of product you’ve used and other factors such as temperature and humidity levels in your environment.
This step is especially important if you plan to use the desk for food preparation as it will help to ensure that any chemicals from the finish don’t leach into your food. It is also important to make sure that the desk is completely dry before using it.
Step 9: Maintenance & Cleaning Tips
To maintain the beauty of your butcher block desk, it’s important to take proper care of it. Cleaning and upkeep are easy, just be sure to avoid using harsh detergents or abrasive products which could damage the finish.
For best results, use a mild soap mixed with warm water to gently clean the surface. And remember to occasionally apply wood conditioner or sealant in order to keep your butcher block looking new!
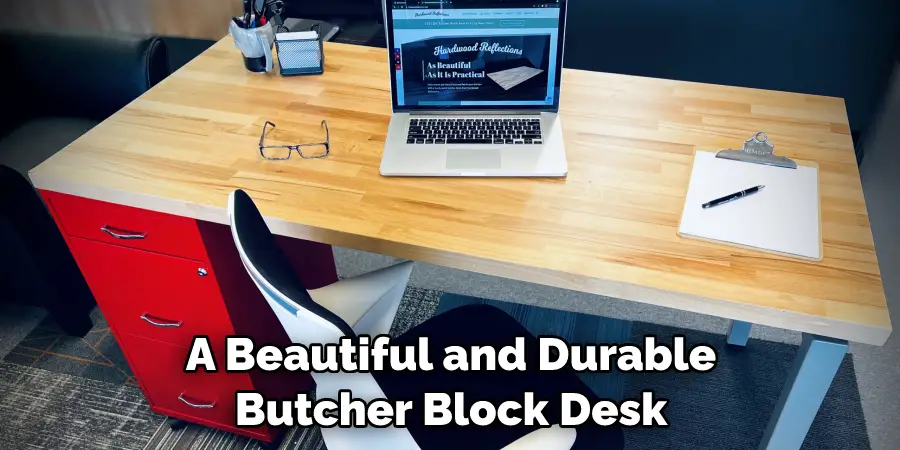
Step 10: Enjoy Your New Desk
And there you have it – a beautiful and durable butcher block desk that will last for many years to come. Now all you have to do is sit back and enjoy your new workspace! With proper care, it should remain in great condition for many years. So, be sure to take some time to appreciate your hard work and enjoy the beauty of your new desk.
With these simple steps on how to finish butcher block desk, you can create a custom butcher block desk that will last for years. The natural beauty of this material makes it an ideal choice for any workspace or area needing a unique touch. So why not give it a try? You won’t regret it!
Frequently Asked Questions
Q: What Kind of Finish Should I Use for My Butcher Block Desk?
A: The type of finish you choose will depend on the look you want to achieve. For an all-natural look, go with a clear sealant or oil-based finish. If you desire more protection and durability, opt for a polyurethane varnish or lacquer.
Q: How Often Do I Need to Apply Wood Conditioner?
A: Wood conditioner should be applied periodically – depending on usage and other factors that may affect the wood – in order to keep it looking new and protected from damage. Generally, applying conditioner about once a year is recommended.
Q: What Type of Clamps Should I Use?
A: Any type of clamp will do, as long as it is sturdy enough to hold the desk in place. Be sure to select clamps that won’t leave any marks or scratches on the finish of your desk.
Q: How Long Does It Take for Butcher Block Desk to Cure Fully?
A: The curing time of your desk will depend on the type of finish and sealant you’ve used, as well as the temperature and humidity levels in your environment. Generally, it is recommended to allow ample drying time between coats (at least 24-48 hours) and a full cure time (up to 7 days).
Conclusion
Finishing a butcher block desk is an exciting project that brings a great sense of accomplishment. It’s important to remember to use the right materials and tools and to be patient with the process—it’s not something you can rush through. Taking the time to properly prepare your surface, apply stain or finish, and allow for proper drying, will yield the best results.
With some patience and dedication, you’ll have a gorgeous butcher block desk that adds style and charm to any room in your house! Don’t forget to polish it regularly with food-grade mineral oil or beeswax for a long-lasting finish. The key to any project is planning ahead, which is why it’s also great advice when finishing butcher block desks. Thanks for reading this article on how to finish butcher block desk.