Do you have a recliner that’s in need of an upgrade? Are the springs and frame starting to sag or become unstable? Don’t throw it out yet – with some simple repairs, you can make your beloved chair as good as new!
In this blog post, we’ll explore how to fix a broken recliner frame yourself. We’ll discuss what tools you need, the steps involved in completing the repair process, tips for making sure the job is done correctly and advice on finding replacement parts if needed.
So whether it’s restoring comfort back into your favorite chair or just ensuring family members won’t be stranded mid-recline — read on for all the info you need!

11 Step by Step Guidelines How to Fix a Broken Recliner Frame
Step 1: Prepare Your Tools
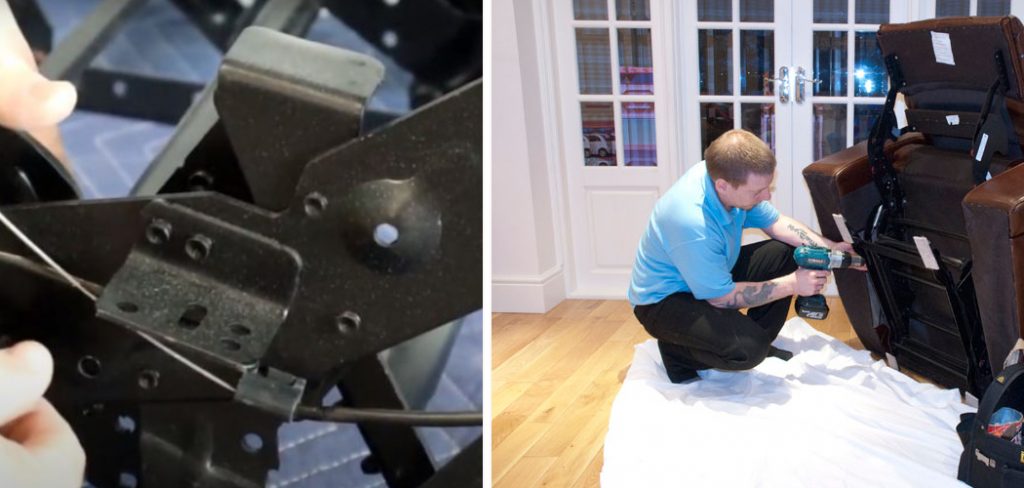
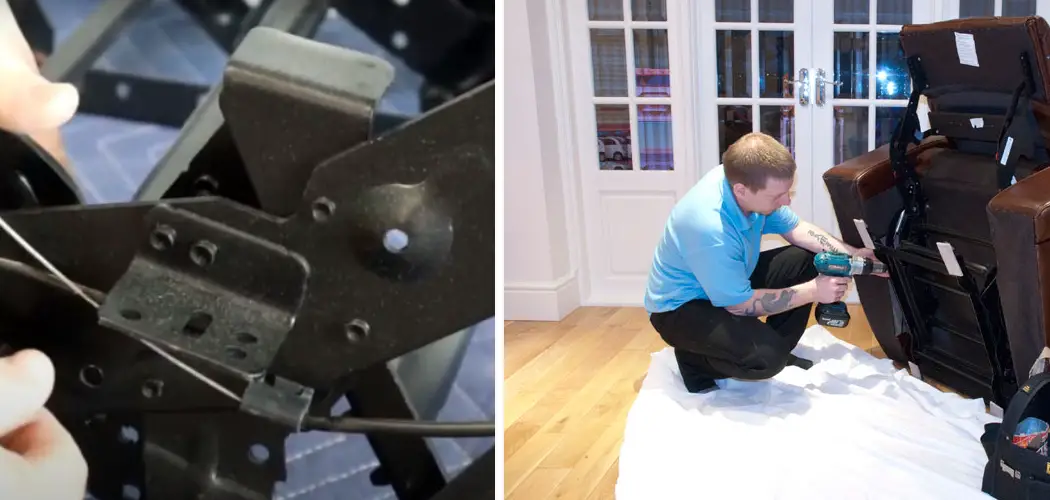
Before you begin the repair process, make sure you have all the tools and supplies necessary for the job. You’ll need a screwdriver, pliers, a drill and screw bits, and a rubber mallet. If you’re replacing any parts, make sure you have the exact measurements and specifications for each piece. This will make sure you get the right fit for your chair.
Step 2: Identify the Problem
Examine your recliner to determine the cause of the problem. Is it sagging springs? Broken frame parts? Loose hardware? Determine what needs to be fixed before taking any further action. This will help you identify the best course of action for your repair. If the damage is too extensive, consider replacing the recliner instead of attempting a repair.
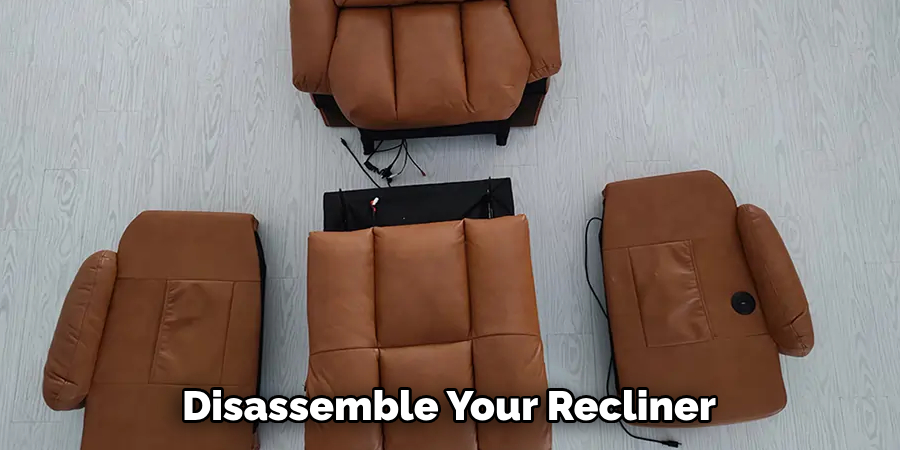
Step 3: Disassemble Your Recliner
Once you know where the issue lies, disassemble your recliner piece by piece starting from the bottom up. This will help make repairs easier if you need to replace broken frame pieces or springs. It will also help you locate any loose screws or bolts that may need tightening up. This is also a good time to check for any worn or frayed pieces that need to be replaced.

Step 4: Tighten Loose Screws and Bolts
Once you have all the pieces apart, check for any loose screws or bolts that need tightening. Use a screwdriver and a drill to tighten them up if needed. Be sure not to overtighten though, as this can cause more damage. It’s best to work slowly and carefully, checking each piece for tension as you go.
Step 5: Reinforce the Frame
If your recliner’s frame is weak or broken in certain areas, reinforcement may be necessary. This is done by adding extra support boards or braces along the frame. You can find these at most hardware stores – just make sure they match your existing recliner frame size! If necessary, you can also use a rubber mallet to hammer the boards or braces into place. It’s important to make sure the frame is completely secure before proceeding with further repairs.
Step 6: Replace Parts As Needed
If there are any parts of the frame that cannot be salvaged, you will need to replace them. Look online or at your local hardware store for replacement parts that match the size and style of your recliner frame. This will help ensure the frame is secure and stable once it’s been put back together.
Step 7: Reassemble the Frame
Once you have all the replacement pieces as well as any extra supports or braces, it’s time to reassemble your recliner frame. Be sure to properly align each piece before securing with screws and bolts – this will ensure everything fits together correctly. But remember, don’t overtighten! It’s best to work slowly and carefully, making sure each part is secure before moving on.
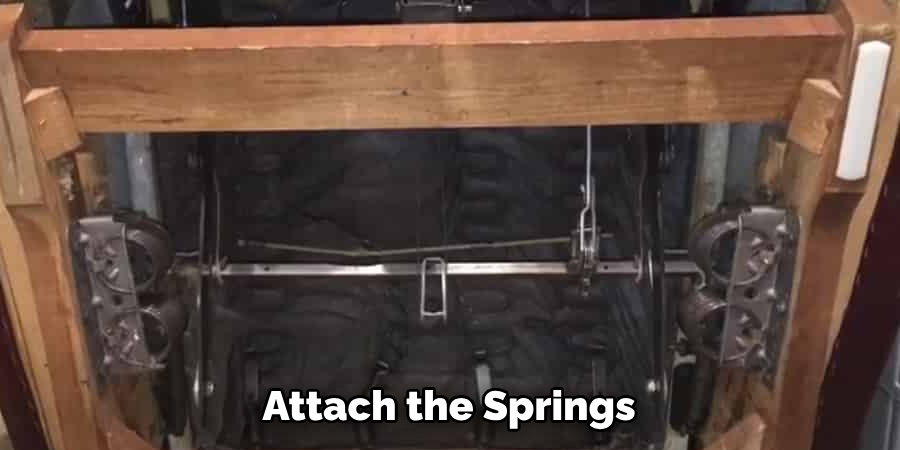
Step 8: Attach Springs
Next, attach the springs back into place on the frame. Use a rubber mallet if needed to gently tap them into place so they fit snugly against the frame. Once they’re positioned correctly, secure them down with screws or bolts like before. This will help ensure long-lasting support and comfort once the recliner is back in use. This is also a good time to test for any further issues that may need to be addressed.

Step 9: Test the Frame
Once all the pieces are back in place, test the frame to make sure everything works properly. Sit in it and recline it a few times to ensure that everything moves smoothly – if not, go back and double check each piece for proper alignment. It’s also a good idea to check the frame for any signs of strain or weakness.
Step 10: Test Again After Use
Finally, after regular use of your recliner, be sure to check its frame periodically for any loose screws or bolts that may need tightening up. Regular maintenance like this will help keep your recliner working like new! But if you do find any signs of wear or damage, be sure to repeat the repair process as needed.
Step 11: Keep It Clean
As with any furniture piece, regular cleaning is important to maintain its longevity. Vacuum away dust and dirt periodically, and use a damp cloth with mild soap to wipe down the frame when needed. It’s also a good idea to check for stains or discolorations that may need special treatment. Always make sure to follow the manufacturer’s instructions for cleaning and maintenance.
We hope this guide was helpful in learning how to fix a broken recliner frame! With these step-by-step instructions and a few simple tools, you can easily restore your favorite chair back into shape again – saving both money and time. Happy reclining!
Do You Need to Hire a Professional?
Though the task of fixing a broken recliner frame is relatively simple, it is still beneficial to know when you should call in a professional. If your recliner is beyond repair, or if the issues are more complicated than just replacing springs and tightening bolts – then it’s best to hire someone with experience in this type of repair. A professional can ensure that your favorite chair gets the proper care and attention it needs for many years of comfortable use!
Good luck with all your DIY furniture repairs! Let us know how it goes!

How Much Will It Cost?
How much it will cost to fix a broken recliner frame depends on the parts and supplies needed for the repair. Replacement springs supports, and other hardware can typically be found at your local hardware store for under $50. You may also need a few tools, such as a screwdriver or drill. This should bring total replacement costs to around $100-$150 depending on the complexity of the repair – far cheaper than replacing your chair altogether!
In short, with just some basic tools and knowledge, you can easily fix a broken recliner frame yourself. Don’t forget to check for loose screws or bolts from time to time, and remember regular cleaning is necessary to keep it functioning properly. Good luck!
Frequently Asked Questions
Q: How Long Does It Take to Repair a Broken Recliner Frame?
A: It depends on the complexity of the issue. For minor repairs such as tightening screws or replacing springs, the process can take about an hour. If more extensive repairs are needed, it can take anywhere from 2-4 hours to complete the job.
Q: Do I Need Professional Assistance?
A: It depends on the complexity of the issue. If you feel confident in your ability to diagnose and repair the frame yourself, then DIY is a great option! However, if there are any issues beyond your skill level, it’s best to call in a professional for assistance.
Q: What Kind of Tools Will I Need?
A: For minor repairs such as tightening screws or replacing springs, you’ll need basic tools like a screwdriver, pliers and rubber mallet. For more extensive repairs, you may need additional tools such as a drill or saw. It’s always best to double check your local hardware store for the appropriate supplies.
Q: How Often Should I Check My Recliner Frame?
A: We recommend checking your recliner frame periodically for any loose screws or bolts that may need tightening up. This will help keep it functioning like new and can prevent further damage down the road! Additionally, regular cleaning with a damp cloth and mild soap is important to maintain its longevity.

Conclusion
Crafting your own recliner frame doesn’t have to be a feat for only the most experienced handymen and women. With a few simple tools and following this tutorial, anyone can fix a broken recliner frame with ease. Now that you know how to repair it, take your time, practice the steps outlined here, and commit them to memory so you can tackle any similar furniture repairs in the future.
Not only will learning how to fix a broken recliner frame save you money on repairs, but it will also give you a feeling of accomplishment and pride knowing you fixed something yourself. Don’t hesitate to apply these techniques next time you come across an issue – get up close and personal with your worn-out recliner frame now!

