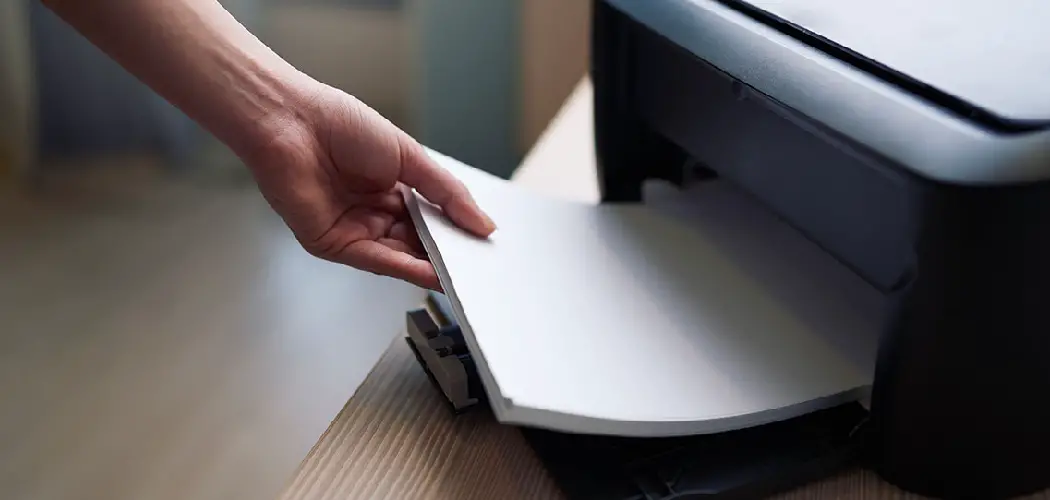
Are you facing a paper jam on your Brother printer? No need to worry—this guide will walk you through the steps for fixing the issue and getting your printer up and running again.
How to fix a paper jam on a Brother printer can be frustrating, especially when you’re in the middle of an important printing task. Understanding the common causes and effective solutions can save you time and reduce stress. In this guide, we will walk you through the troubleshooting steps to identify the source of the jam and provide tips on how to clear the blockage safely and efficiently.
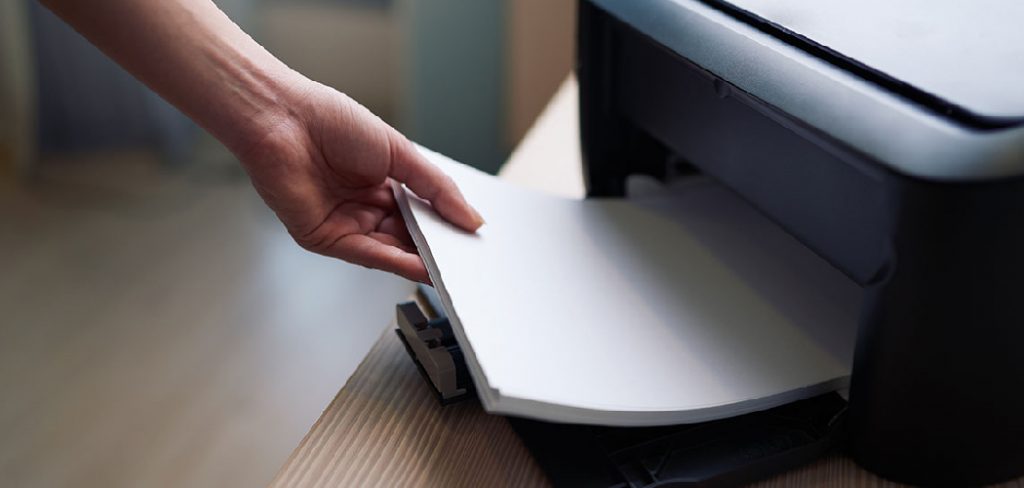
Whether you’re a seasoned user or a novice, these straightforward techniques will help ensure your Brother printer operates smoothly and minimize the chances of future jamming issues.
What Will You Need?
Before diving into the steps for fixing a paper jam, ensure you gather the necessary tools for the job. You will only need a few items that are likely already in your home or office:
- A flashlight (optional but helpful for seeing inside the printer)
- Tweezers or tongs
- Clean cloth or paper towels
- Rubbing alcohol or water
Once you have these items, you can start troubleshooting the paper jam on your Brother printer.
10 Easy Steps on How to Fix a Paper Jam on a Brother Printer
Step 1: Identify the Location of the Jam
The first step in resolving a paper jam is to determine exactly where the jam has occurred within the printer. Begin by turning off the printer and unplugging it for safety. Carefully open the printer cover to expose the paper path. Look for signs of jammed paper, such as torn pieces or crumpled sheets. Pay special attention to areas around the paper feed tray and the output tray, as these are common locations for jams.
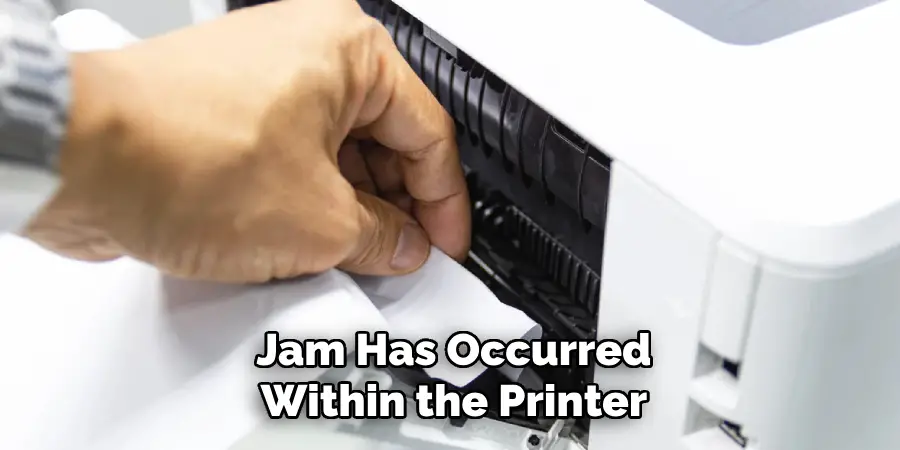
If you’re having difficulty spotting the jam, use your flashlight to illuminate the interior spaces of the printer. If the paper is visible in the output tray, gently pull it out to avoid tearing. Note that some jams can occur more profoundly within the printer, requiring you to remove the toner cartridge or other components to gain access. Taking a systematic approach to locating the jam will ensure you can resolve the issue effectively and prevent further complications.
Step 2: Remove Any Jammed Paper
Once you have identified the location of the jam, it’s time to remove any jammed paper carefully. Start by gently pulling out any visible sheets of paper in the direction of the paper path to avoid causing further damage. If the paper tears while pulling it out, use your tweezers or tongs to grasp any remaining pieces inside the printer.
Be cautious not to touch any internal components or gears while working. Once all jammed paper has been successfully removed, check for any small scraps that might cause future jams, ensuring the paper path is completely clear before proceeding to the next steps.
Step 3: Check for Other Blockages
After removing the jammed paper, inspecting the printer for any other potential blockages is essential. Look for small pieces of debris, such as paper fragments or foreign objects, that may have fallen into the paper path.
Additionally, ensure that the printer rollers are free from dust and buildup, as these can hinder paper movement. If you spot any obstructions, carefully remove them using a clean cloth or tweezers. This step is crucial for preventing future jams and ensuring the printer operates efficiently.
Step 4: Inspect the Printer Rollers
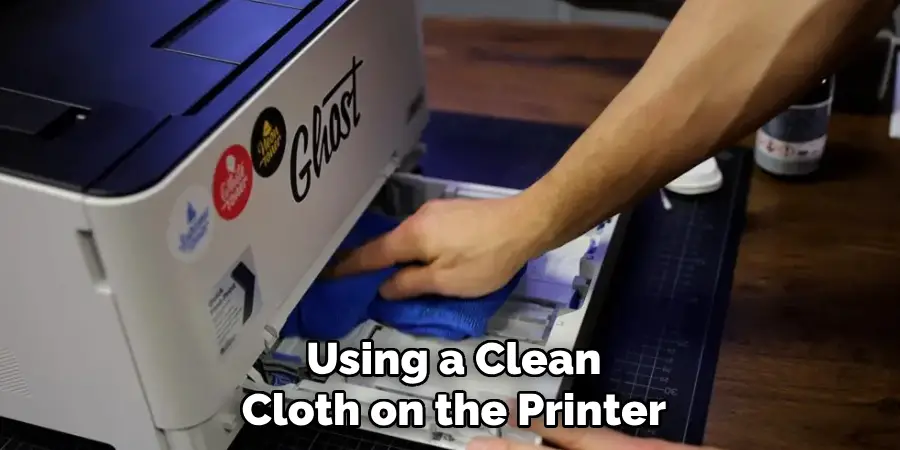
The next step is to check the printer rollers, vital in feeding paper through the printer. With your printer still powered off and unplugged, carefully examine the rollers for any signs of wear or damage. Look for dirt, dust, or debris that may have accumulated on the surface.
If you notice any buildup, use a clean cloth lightly dampened with rubbing alcohol to clean the rollers gently. Rotate the rollers manually to ensure that you clean all sides. If the rollers are excessively worn or damaged, you may need to replace them to ensure optimal paper feeding and prevent future jams.
Step 5: Reassemble the Printer Components
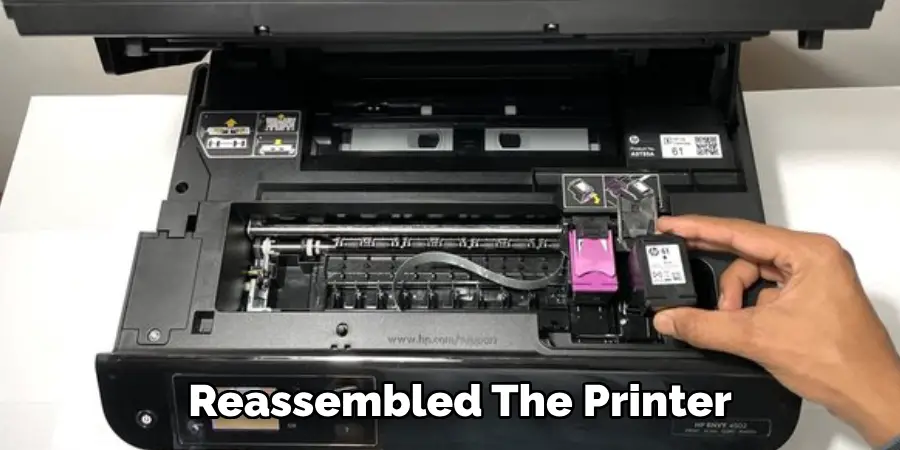
After ensuring that the paper path and rollers are clear, it’s time to reassemble any components you had removed during your inspection. If you have removed the toner cartridge or any other parts, carefully replace them in their original positions. Ensure you follow the manufacturer’s instructions for reassembly to avoid any potential issues.
Pay special attention to ensure all parts are aligned correctly and locked into place. A misaligned component can lead to further jams or operational problems. Additionally, reattach any covers or panels you had removed before powering on the printer.
Step 6: Test the Printer
Once you have reassembled the printer, plug it back in and turn it on to perform a test print. Make sure to use a fresh sheet of paper when doing this. Observe the printer as it feeds the paper to confirm that it works smoothly without any hitches.
If the printer usually operates, congratulations! You’ve successfully cleared the paper jam. However, if the issue persists, it may be a sign of a deeper mechanical problem or that the initial cause of the jam hasn’t been fully resolved.
Repeat the troubleshooting steps and double-check for any remaining obstructions. If the issue persists, it may be time to seek professional assistance.
Step 7: Update Printer Drivers
Sometimes, printing issues can stem from outdated software or drivers. To ensure your Brother printer runs smoothly, check for the latest drivers and software updates on the Brother website or through your printer’s software application.
Updating your printer’s firmware can enhance performance and fix bugs that may lead to paper jams or other operational hiccups. Follow the provided instructions for downloading and installing updates specific to your printer model.
Step 8: Adjust Paper Settings
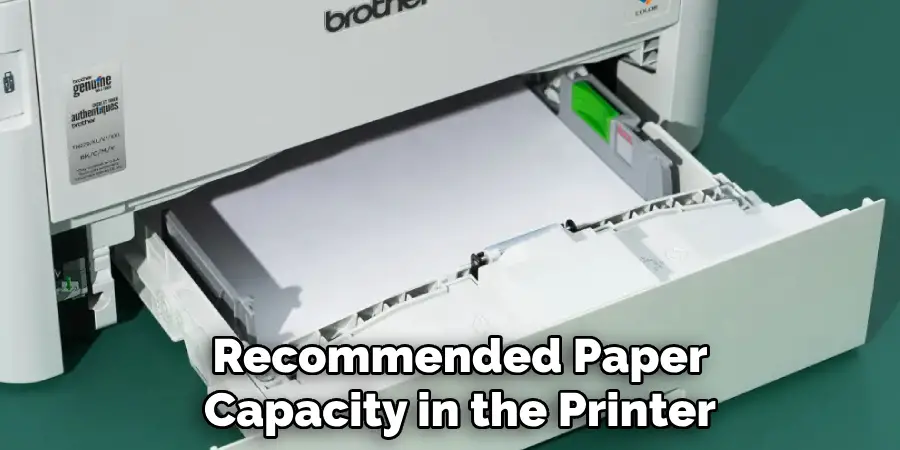
Using the correct paper settings on your printer can significantly reduce the chances of encountering paper jams. Verify the paper type and size settings in your printer’s software match the paper you’re using. If you’re printing on thicker or specialty paper, ensure the printer is set to handle those specific types, as improper settings can lead to jams. Additionally, do not overload the paper tray; always adhere to the manufacturer’s recommended paper capacity.
Step 9: Perform Regular Maintenance
Implementing a routine maintenance schedule for your Brother printer is essential to prevent paper jams from recurring. Regularly clean the printer rollers and interior to remove dust and debris contributing to jams. Additionally, check for worn-out components like rollers or gears that may need replacement over time. This proactive approach will help maintain optimal printing conditions and extend the life of your printer.
Step 10: Know When to Seek Professional Help
If you’ve followed all the steps outlined above and are still experiencing persistent paper jams, it may be time to consult a professional technician. There could be underlying mechanical issues that require expert attention. Consider contacting Brother’s customer support or visiting an authorized service center for assistance. Timely intervention can save you time, money, and frustration in the long run, ensuring your printer continues operating efficiently.
Following these steps, you can effectively troubleshoot and resolve paper jams in your Brother printer.
5 Things You Should Avoid
- Forcefully Pulling the Paper: Avoid yanking at torn or jammed paper, as this could further damage the printer’s internal components or lead to additional jams. Always pull gently in the direction of the paper path.
- Ignoring the Manufacturer’s Guidelines: Avoid troubleshooting methods not recommended by Brother. Consult the user manual or manufacturer’s website for best practices specific to your printer model.
- Using Unapproved Cleaning Materials: Do not use harsh or abrasive cleaning agents when cleaning your printer, as these can damage sensitive parts. Stick to a lint-free cloth and mild cleaning solutions.
- Neglecting Regular Maintenance: Please conduct regular maintenance to avoid recurrent paper jams. Ensure you clean the rollers and inspect components frequently to maintain printer health.
- Overloading the Paper Tray: Avoid exceeding the paper capacity recommended by the manufacturer, as this can lead to misfeeds and jams. Always ensure the paper is aligned correctly and not crumpled in the tray.
By avoiding these common mistakes, you can prevent paper jams and keep your Brother printer running smoothly.
Conclusion
Resolving paper jams in a Brother printer can often be achieved by following a systematic approach. Most issues can be addressed efficiently by carefully inspecting the paper path and rollers, reassembling components correctly, testing the printer, updating software, and adjusting settings. Regular maintenance is crucial for preventing future jams and ensuring that the printer remains in optimal condition.
However, if persistent problems arise, professional help may be necessary to address underlying mechanical issues. Adhering to these guidelines can enhance your printer’s performance and reduce the likelihood of encountering frustrating paper jams in the future.
Hopefully, the article on how to fix a paper jam on a brother printer has been helpful to you. Happy printing!

