A recliner is a comfortable and practical piece of furniture, but over time, its handle can wear out or break, making it difficult to use.

Fortunately, fixing a recliner handle is often a straightforward process that doesn’t require professional help. With a few tools and some basic steps, you can restore your recliner to full functionality and extend its lifespan.
This guide on how to fix a recliner handle will walk you through how to identify the issue and repair or replace the handle efficiently.
Why Does a Recliner Handle Break?
Before we dive into the steps for fixing a recliner handle, it’s essential to understand why the handle may break in the first place.
The most common reason is regular wear and tear. If you use your recliner frequently, its handle will eventually start to show signs of wear and tear, such as loosening or bending.
Another possible reason is improper use of the handle. For example, if you pull or push on it too hard, it can cause strain and damage over time.
Lastly, a manufacturing defect could also be the culprit for a broken recliner handle. In this case, the handle may break unexpectedly or soon after purchase.
Identifying the Issue
Before attempting to fix a recliner handle, you need to identify what’s causing the problem. Here are some common issues that can arise with a recliner handle:
Loose Screws:
Over time, the screws holding the handle in place may loosen due to regular use. This can cause the handle to wobble or even detach from the recliner.
Bent Handle:
If you’ve used too much force on the handle, it may become bent, making it difficult to operate.
Broken Mechanism:
If the handle is not responding at all, it’s possible that the internal mechanism connecting the handle to the recliner has broken or become disconnected.
8 Step-by-step Guidelines on How to Fix a Recliner Handle
Step 1: Gather Your Tools
To fix a recliner handle, you’ll need a few essential tools:
Screwdriver:
You will need a screwdriver to tighten loose screws or remove them if necessary.
Pliers:
Pliers will come in handy for bending the handle back into shape or removing any broken pieces.
Allen Wrench:
If your recliner has an allen wrench, you’ll need it to adjust and tighten the bolts that connect the handle to the recliner’s mechanism.
Step 2: Determine the Type of Handle
Recliner handles come in various designs, and knowing the type of handle on your recliner is crucial for an effective repair. There are generally two main types of recliner handles to consider:
Exterior Pull Handle:
This is the most common type and is typically located on the side of the recliner. It’s often made of plastic or metal and operates through a direct pull mechanism.
Lever-Style Handle:
This handle type sticks out more prominently and operates by pushing or pulling the lever to recline the chair.
Take a moment to inspect your recliner and identify which type you have. Understanding the design will help you determine the best approach for accessing and repairing or replacing the handle. If you’re unsure, check your recliner’s manual for clarification.
Step 3: Check for Loose Screws
Once you’ve gathered your tools and identified the type of handle, the next step is to check for loose screws. Inspect the screws securing the handle to the recliner and look for any that seem to be loosened or missing.
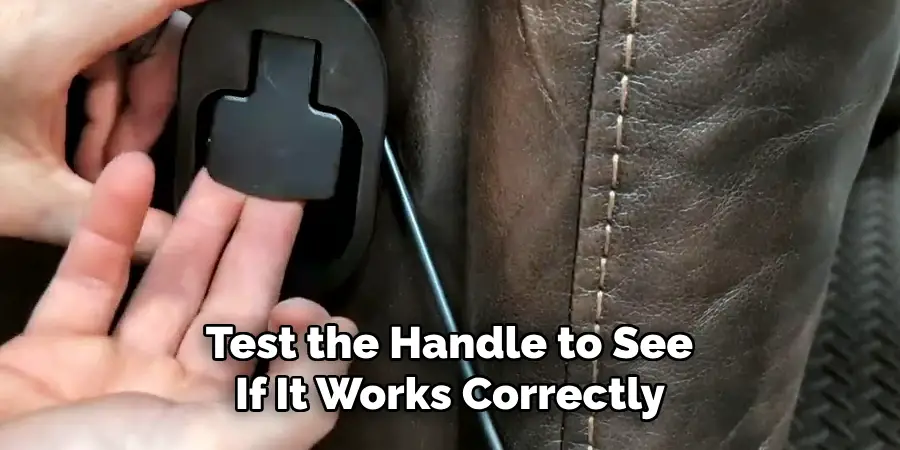
Using your screwdriver, tighten any screws that are not firmly in place. If you find a missing screw, replace it with the correct size to ensure the handle is properly secured. Be careful not to overtighten, as this could strip the threads or damage the handle. Once all screws are tightened, test the handle to see if it works correctly. If the issue persists, proceed to the next step for further troubleshooting.
Step 4: Remove the Handle
If tightening screws does not solve the problem, you may need to remove the handle completely. Using your screwdriver or allen wrench, carefully remove all screws and bolts connecting the handle to the recliner’s mechanism. Keep track of each piece and its placement for easy reassembly later.
It’s also a good idea to take this opportunity to clean any dust or debris that may have accumulated in the handle mechanism. Use a cloth or compressed air to remove any buildup which can hinder the proper functioning of the handle.
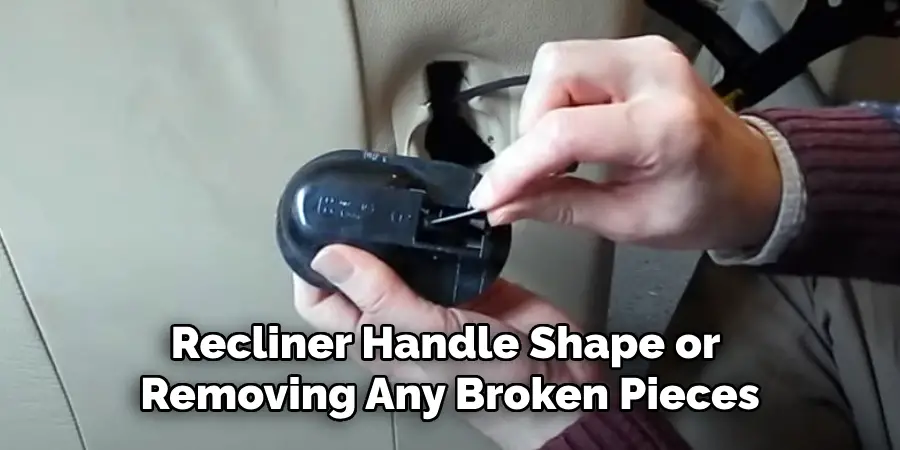
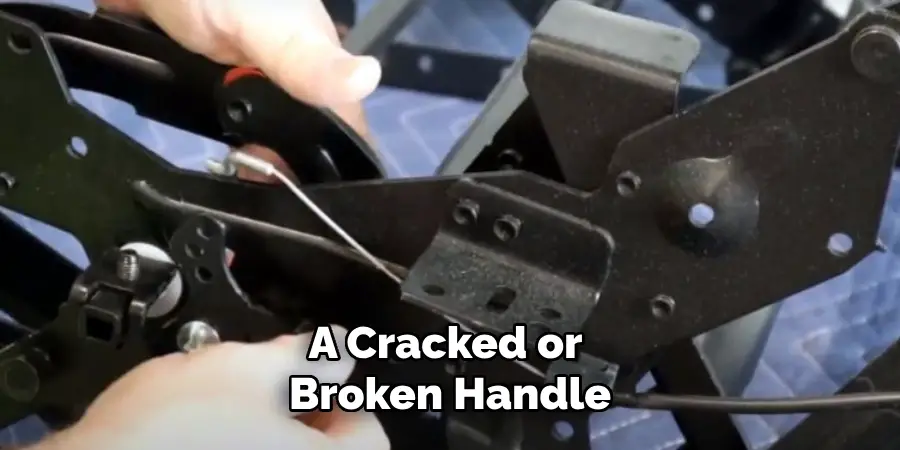
Step 5: Inspect the Handle for Damage
With the handle removed, thoroughly inspect it for any visible damage such as bending or cracks. If the handle is bent, use pliers to gently straighten it back into shape. For a cracked or broken handle, you will likely need to replace it entirely with a new one from a hardware store.
You can also test the handle’s functionality by pressing or pulling on it to see if there is any resistance. If you feel the mechanism inside is faulty, continue to the next step for further troubleshooting.
Step 6: Repairing or Replacing the Mechanism
If the handle itself appears to be in good condition, but it still doesn’t work correctly, then the issue may lie with the internal mechanism. In this case, you may need to repair or replace that part.
This step may require some technical knowledge and skill, so if you’re not confident in your abilities, it’s best to seek professional help at this point.
Step 7: Reassemble Handle and Test
Once you’ve repaired or replaced any damaged parts, it’s time to reassemble the handle. Follow the reverse process of removing the handle, making sure all screws and bolts are securely in place.
Test the handle’s functionality by pulling or pushing on it to ensure it reclines smoothly without any resistance.
Step 8: Regular Maintenance
Now that your recliner handle is fixed, it’s essential to practice regular maintenance to prevent issues from arising in the future. Wipe down the handle and mechanism with a cloth regularly, and periodically check for loose screws or other signs of wear and tear. With proper care, your recliner handle should continue to function smoothly for years to come.
Following these guidelines on how to fix a recliner handle should help you troubleshoot and fix common issues with recliner handles. However, if the problem persists or requires a more complicated repair, it’s always best to seek professional assistance to ensure your recliner is functioning safely and correctly. In addition, remember to follow any specific care instructions provided by the manufacturer for optimal performance of your recliner handle. Happy relaxing!
Do You Need to Use Professionals?
While many recliner handle repairs can be completed with basic tools and a bit of patience, there are instances where professional assistance may be necessary. If the internal mechanism of the recliner is damaged or if you are unsure about disassembling complex parts, it’s best to contact a professional. Professionals have the expertise, proper tools, and experience to diagnose and fix the issue efficiently, ensuring that your recliner functions safely.
Additionally, tampering with some parts of the recliner might void the warranty, so consulting a professional can help maintain the warranty’s validity. Ultimately, if you don’t feel confident in your repair skills or the problem seems beyond simple fixes, seeking professional help can save you time and effort while ensuring a proper resolution.
Frequently Asked Questions
Q1: Can I Replace a Recliner Handle With a Different Type?
A1: In most cases, the type of recliner handle is specific to the mechanism and cannot be replaced with a different type. It’s best to consult the manufacturer’s manual or a professional for guidance on compatibility.
Q2: How Often Should I Clean and Maintain My Recliner Handle?
A2: It’s recommended to clean and maintain your recliner handle at least once every three months. However, if you notice any issues with its functionality, it’s best to check for loose screws or other signs of wear and tear more frequently.
Q3: Can I Use WD-40 or Other Lubricants on My Recliner Handle Mechanism?
A3: While it may be tempting to use lubricants like WD-40 on squeaky or stiff recliner handles, it is not advised. These products can attract more dust and debris, causing build-up and hindering the handle’s proper functioning. Instead, use a dry cloth or compressed air to clean the mechanism regularly. If there is still an issue, consult a professional for proper lubrication options.
Q4: How Can I Prevent My Recliner Handle From Breaking?
A4: Regular maintenance and gentle usage are key in preventing your recliner handle from breaking. Avoid applying too much force or weight on the handle when using it and make sure all screws are tightened properly. Additionally, avoid keeping heavy objects on or near the handle as this can cause damage over time.
Conclusion
Fixing a recliner handle may seem daunting at first, but with the right tools, patience, and attention to detail, it is a task that can often be completed at home. By following the outlined steps on how to fix a recliner handle, inspecting for damage, and performing regular maintenance, you can extend the life of your recliner handle and prevent future issues.
However, for more complex problems or when in doubt, seeking professional assistance is always a good choice to ensure safe and effective repairs. Proper care and timely fixes will ensure your recliner remains a reliable and comfortable part of your home for years to come.