A meeting table is more than just a piece of furniture; it’s a central hub for collaboration, decision-making, and first impressions. A prominent scratch can detract from the professional atmosphere you strive to create, suggesting a lack of care or attention to detail. Maintaining its appearance is crucial for projecting a polished and competent image to clients and team members alike.

Fortunately, a scratch doesn’t mean your table is ruined or needs expensive replacement. With a bit of patience and the right approach, you can often restore the surface yourself, preserving both the table’s function and its aesthetic value. This guide on how to fix a scratch on a meeting table will walk you through the process, helping you address the damage effectively and keep your meeting space looking its best.
8 Step-by-step Guides on How to Fix a Scratch on a Meeting Table:
Step 1: Assess the Scratch and Gather Your Materials
The first crucial action is to carefully examine the scratch to determine its depth and severity, which will dictate your repair method. Run your fingernail lightly across the damage. If your nail doesn’t catch, it’s likely a shallow surface scratch in the finish. If your nail catches, it’s a deeper gouge that has penetrated the wood itself. For surface scratches, you might only need a simple polish or a wax filler stick. For deeper ones, you will need a more involved approach involving wood filler and refinishing, so a proper assessment is key to a successful repair.
Once you have identified the type of scratch, you can gather the necessary materials. For a minor scratch, you’ll need soft, lint-free cloths, a cleaning solution (like diluted mild soap and water), a wax filler stick or a touch-up marker that matches your table’s finish, and a plastic putty knife or scraper. For a deeper scratch, your list will expand to include wood filler, fine-grit sandpaper (around 220-grit), a tack cloth, a small artist’s brush, and a matching stain and topcoat (like polyurethane or lacquer) to blend the repair seamlessly with the rest of the table.
Step 2: Thoroughly Clean the Area
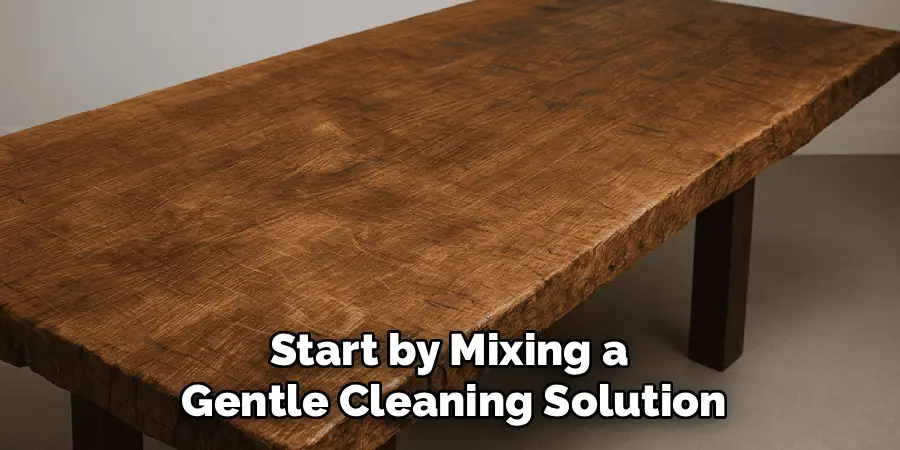
Before you begin any repair work, the area around the scratch must be immaculately clean. Any dust, oil, or residue left on the surface can interfere with the repair materials, preventing them from adhering properly and potentially making the final result look messy or uneven. Start by mixing a gentle cleaning solution, such as a few drops of mild dish soap in a bowl of warm water. Avoid harsh chemicals or abrasive cleaners, as they can damage the table’s finish further and create a bigger problem than the one you are trying to solve.
Dampen a soft, lint-free cloth with your cleaning solution, wringing it out so it is not dripping wet. Gently wipe the entire area around the scratch, extending a few inches beyond the damage to ensure the whole workspace is clean. Use a second clean, dry cloth to immediately wipe away any moisture, as leaving water to sit on a wood surface can cause its own damage, such as swelling or discoloration. Take your time with this step; a clean and dry surface is the foundation for a professional-looking repair that will stand the test of time.
Step 3: Apply a Matching Filler for Deeper Scratches
If you’re dealing with a deeper scratch that has broken through the finish and into the wood, a simple touch-up marker won’t be enough. You will need to use a product designed to fill the void, such as a wax filler stick or a wood putty. Wax sticks are often the easiest option for beginners. They come in various colors, so select one that closely matches your table’s primary wood color. You can even blend multiple sticks to achieve a more precise color match. Warm the stick slightly with your hands to make it more pliable before application.

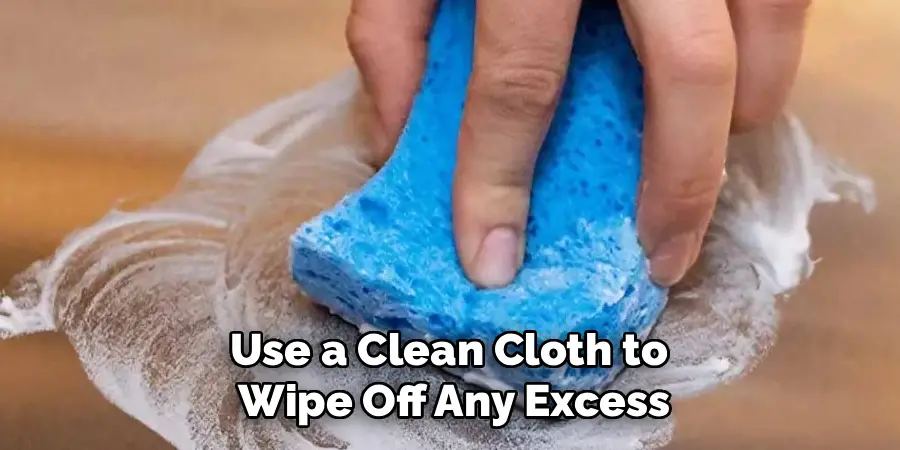
To apply the filler, rub the wax stick firmly across the scratch, perpendicular to the direction of the damage. This ensures the wax is pushed down into the gouge, filling it completely. Continue applying until the scratch is slightly overfilled. Then, take a flexible plastic card or a specialized plastic scraper and gently scrape away the excess wax, ensuring the filled area is perfectly level with the surrounding table surface. For wood putty, apply it with a small putty knife, press it into the scratch, and scrape away the excess before it dries, following the product’s specific instructions.
Step 4: Use a Touch-Up Marker for Minor Scratches
For very fine, shallow scratches that have only affected the top layer of the finish, a touch-up marker is an excellent and simple solution. These markers contain a small amount of stain and finish that can effectively camouflage minor imperfections without requiring any sanding or complex application. The most important part of this process is selecting a marker that is an exact or very close match to your table’s stain color. It’s often a good idea to buy a kit that includes several shades, allowing you to test and find the perfect one for your piece of furniture.
Before applying the marker directly to the scratch, test it on an inconspicuous area of the table, such as the underside or the inside of a leg, to confirm the color match. Once you are confident in the color, carefully apply the marker directly into the scratch using light, steady strokes. Follow the grain of the wood. It is better to apply several thin coats and build up the color gradually than to apply one heavy, dark coat. After applying, immediately use a soft, clean cloth to wipe away any excess ink from the surrounding area to prevent it from staining the undamaged finish.
Step 5: Sand the Area for a Smooth Finish
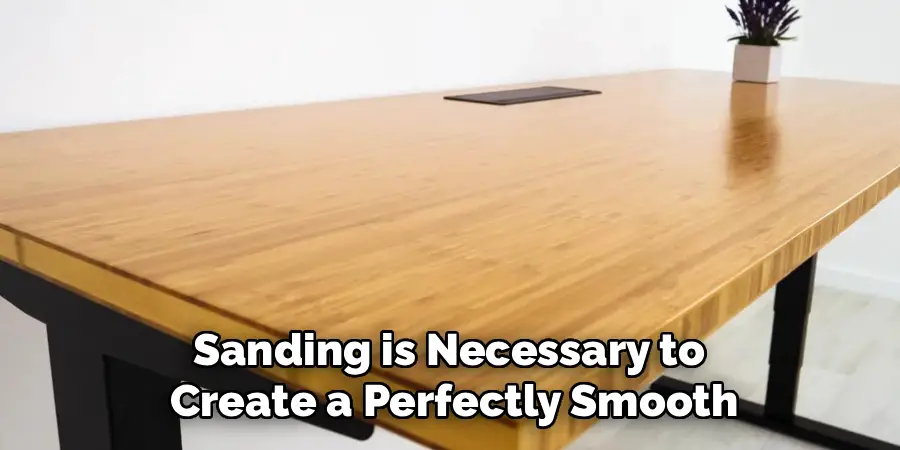
This step is primarily for repairs involving wood filler or putty, where sanding is necessary to create a perfectly smooth and level surface before staining or sealing. If you only used a touch-up marker on a surface scratch, you can likely skip this step. For filled scratches, wait until the filler is completely dry and cured according to the manufacturer’s instructions. Rushing this can ruin the repair, as uncured filler can be pulled out by the sandpaper or clog the paper, creating an uneven mess that is difficult to fix.
Wrap a piece of fine-grit sandpaper (a 220-grit is usually appropriate) around a small sanding block. A block ensures you apply even pressure and only sand the repaired area, preventing accidental damage to the surrounding finish. Lightly sand the filled area, moving in the direction of the wood grain. Your goal is not to remove a lot of material but simply to smooth the filler until it is completely flush with the table surface. Periodically wipe away the dust with a tack cloth and check your progress by running your fingers over the area until it feels perfectly smooth.
Step 6: Apply a Matching Stain
After sanding a filled scratch, the repaired area will be a different color from the rest of the table. To fix this, you need to apply a wood stain that matches the original finish. Choosing the right stain color is critical for a seamless repair. If you know the original manufacturer and finish name, you may be able to purchase the exact same stain. Otherwise, take a photo of your table to a hardware or paint store for help, or purchase a few small sample cans of similar colors to test on an unseen part of the table first.
Using a small artist’s brush or the tip of a clean, lint-free cloth, carefully apply a thin layer of stain directly onto the sanded, filled area. Be precise to avoid getting stain on the surrounding finished wood. It is better to start with a lighter coat, as you can always add more to darken the color. Let the stain penetrate the wood for the amount of time recommended by the manufacturer, then use a clean cloth to wipe off any excess. Allow the stain to dry completely, which can take several hours or even a full day, depending on the product and conditions.
Step 7: Seal the Repair with a Topcoat
Once the stain is completely dry, you need to apply a protective topcoat. This final layer seals the repair, protects it from future damage, and helps it blend in with the sheen of the rest of the table’s finish. The topcoat should match the original finish of your table, whether it is polyurethane, lacquer, or varnish, and should also match the sheen (e.g., matte, satin, or gloss). Applying the wrong sheen will make your repair stand out just as much as the initial scratch did, so check carefully.
Using a small, high-quality artist’s brush, apply a very thin, even layer of the clear topcoat over the stained and repaired area. Try to feather the edges of your application slightly to help it blend with the existing finish. Your goal is to apply just enough to cover the repair without creating a noticeable raised edge. Let the first coat dry completely as directed by the product instructions. You may need to apply a second or even a third thin coat to build up the finish to match the height and sheen of the original, allowing for adequate drying time between each application.
Step 8: Buff and Polish the Entire Table
After your repair has fully cured (it is best to wait at least 24-48 hours), the final step is to buff and polish the entire tabletop. This helps to unify the surface, ensuring that your repaired spot blends in perfectly with the rest of the table and the whole piece has a consistent, beautiful shine. This step elevates your work from a simple patch-up to a professional-quality restoration, restoring the table’s impressive appearance and making the repair virtually invisible to the casual observer.
Apply a small amount of a quality furniture polish or wax to a clean, soft, lint-free cloth. Using wide, circular motions, polish the entire surface of the table, not just the repaired area. This process gently cleans the table and evens out the sheen across the entire top, including over your newly sealed spot. Once you have applied the polish, take another clean, dry cloth and buff the surface, again using broad, sweeping motions, until it gleams. This final buff removes any excess polish and leaves a protective layer and a streak-free, impressive shine.
Following these steps on how to fix a scratch on a meeting table, you can easily restore the appearance of your table and keep it looking its best for all your important meetings and events. But in addition to this simple repair process, there are also some additional tips and tricks you can use to maintain the condition of your meeting table.
Do You Need To Use Professionals?
For minor surface scratches, a DIY repair is often sufficient and cost-effective. However, there are situations where calling in a professional furniture restorer is the wiser choice. If the scratch is extremely deep or if there is extensive damage like a long crack or a large area of discoloration, a professional will have the specialized tools and expertise to handle it.
They are skilled in advanced techniques like grain matching and color blending on a large scale. Furthermore, if the meeting table is a valuable antique or is made from an exotic, difficult-to-work-with wood, attempting a repair yourself could risk devaluing the piece or causing irreversible damage. Professionals understand the nuances of different finishes and wood types, ensuring the repair is done correctly and preserves the table’s integrity and value.
How Much Will It Cost?
The cost of fixing a scratch on a meeting table varies dramatically based on your approach. A DIY repair is incredibly budget-friendly; you can often get all the necessary supplies for under $50. A set of touch-up markers might cost around $15, while a small container of wood filler, sandpaper, and a sample size of stain and topcoat will likely be in the $20-$40 range.
In contrast, hiring a professional will be significantly more expensive. A furniture restorer may charge a minimum service fee, often starting at $100-$200, just for a house call. The total cost will depend on the severity of the damage, the type of wood and finish, and the time required for the repair, potentially running into several hundred dollars for complex restorations.

Conclusion
A scratch on your meeting table doesn’t have to be a permanent mark on your company’s image. By carefully assessing the damage and following a methodical approach on how to fix a scratch on a meeting table, you can effectively repair the blemish and restore your table to its former glory.
From simple touch-ups with a marker to more involved filling and refinishing, the tools and techniques are accessible for a successful DIY project. Taking the time to perform a thoughtful repair not only saves money but also shows a commitment to maintaining a professional and welcoming environment.