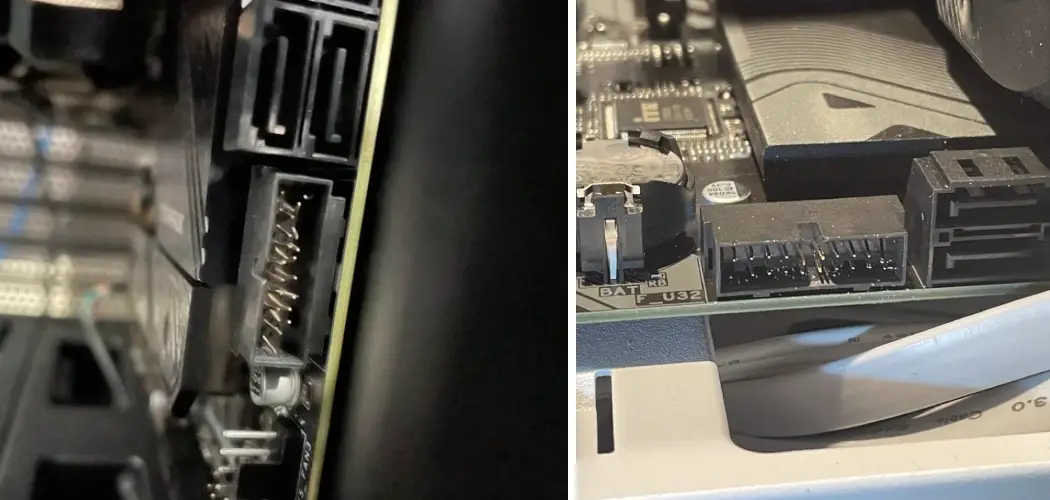
Are you having trouble connecting your USB 3.0 device to your computer? Do you suspect that bent pins in the USB port may cause the issue? Don’t worry. It’s a common problem that can easily be fixed with simple steps.
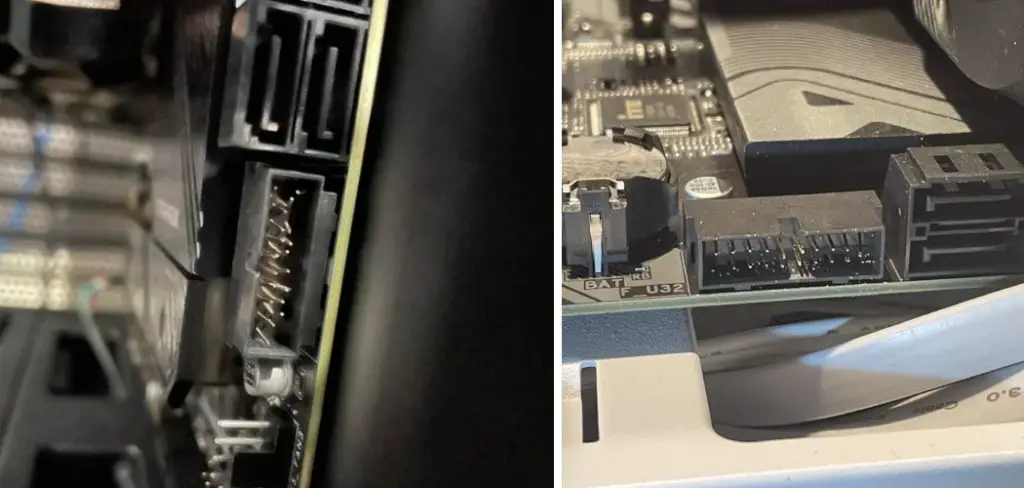
Bent USB 3.0 pins can be a frustrating issue, often leading to connectivity problems or rendering your device unusable. Understanding how to fix bent usb 3.0 pins can save you time and money, eliminating the need for costly replacements. In this guide, we will explore practical steps and tools you can use to carefully realign and repair bent pins, ensuring your USB connections are restored to full functionality.
Whether you have a damaged USB port on your computer, laptop, or peripheral device, our straightforward instructions will help you navigate this common problem with confidence.
What Will You Need?
Before you begin attempting to fix bent USB 3.0 pins, there are a few tools and materials that you will need:
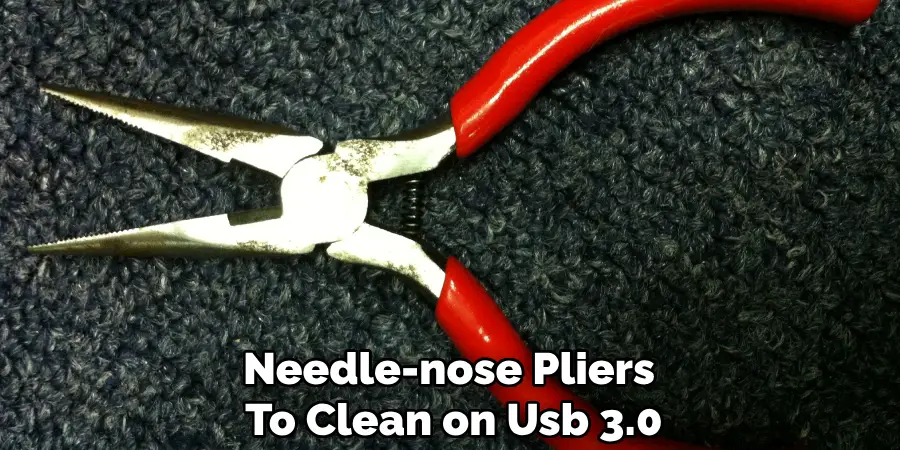
- Small Tweezers or Needle-nose Pliers: These tools will be used to straighten the bent pins carefully.
- Magnifying Glass: This can help you see the small pins more clearly and make it easier to work with them.
- Isopropyl Alcohol: This can be used to clean any debris or dirt from the affected area before and after the repair process.
- Cotton Swabs: These will be useful for applying the isopropyl alcohol and cleaning the pins.
- A Steady Hand: Repairing bent USB 3.0 pins will require patience and precision, so it’s essential to have a steady hand and work in a well-lit area.

10 Easy Steps on How to Fix Bent Usb 3.0 Pins
Step 1. Inspect the USB Port
Before making any attempts to fix the bent pins, it’s crucial to inspect the USB port thoroughly. Start by scrutinizing the area using the magnifying glass to identify any visible damage or bends. Take note of the orientation of the pins, as USB 3.0 connectors have nine pins that are essential for proper connectivity. Gently clean the inside of the port with a cotton swab dipped in isopropyl alcohol to remove any dirt or dust that may interfere with your view or the repair process.
This inspection will help you assess the extent of the damage and determine the best approach for repairing the bent pins. Remember to also look for any signs of additional wear or damage to the port itself, as this could impact the effectiveness of the repair. Once you clearly understand the condition of the USB port and its pins, you will be ready to proceed to the next steps in the repair process.
Step 2. Prepare Your Tools
Once you have inspected the USB port and assessed the condition of the pins, it’s time to gather and prepare your tools. Ensure your small tweezers or needle-nose pliers are clean and ready for use. If needed, clean the tools with isopropyl alcohol to avoid transferring any dirt or grease onto the pins.
Having a magnifying glass handy will be beneficial for seeing the pins clearly as you work. Make sure your workspace is well-lit and organized, allowing for ease of movement and concentration. Take a moment to check that you have everything you need within reach, as this will help streamline the repair process and keep you focused on the task at hand.
Step 3. Straighten the Bent Pins
Now that you have your tools ready, it’s time to carefully straighten the bent pins using your small tweezers or needle-nose pliers. Begin by gently grasping the bent pin at its base, being cautious not to apply too much pressure, which could cause further damage. Slowly and steadily, apply a slight upward pressure to realign the pin with its original position.
If the pin is severely bent, you may need to make several minor adjustments rather than force it into place immediately. Take your time during this process; precision is critical to ensuring that the pins align correctly without breaking.
Step 4. Check Pin Alignment
After you’ve straightened the bent pins, checking the alignment is essential to ensure they are positioned correctly. Use the magnifying glass to get a closer look at each pin, comparing their alignment to the unbent pins in the port. All pins should sit evenly and parallel in their designated slots. If any pins still appear bent or misaligned, gradually adjust with the tweezers or pliers.
Remember to verify that the pins are not touching or crossing over each other, which can cause short circuits or further connectivity issues. Once you’re confident that the pins are correctly aligned, you can proceed to the next step, which involves cleaning the area again to remove any debris that might have accumulated during the repair. After confirming that everything looks correct, the repair will be close to completion, paving the way for a successful reconnection of your USB device.
Step 5. Clean the USB Port
After ensuring that the pins are correctly aligned, cleaning the USB port once more is essential. Use a cotton swab moistened with isopropyl alcohol to gently clean the port’s interior. This step will remove any debris or residue accumulated during the repair process.
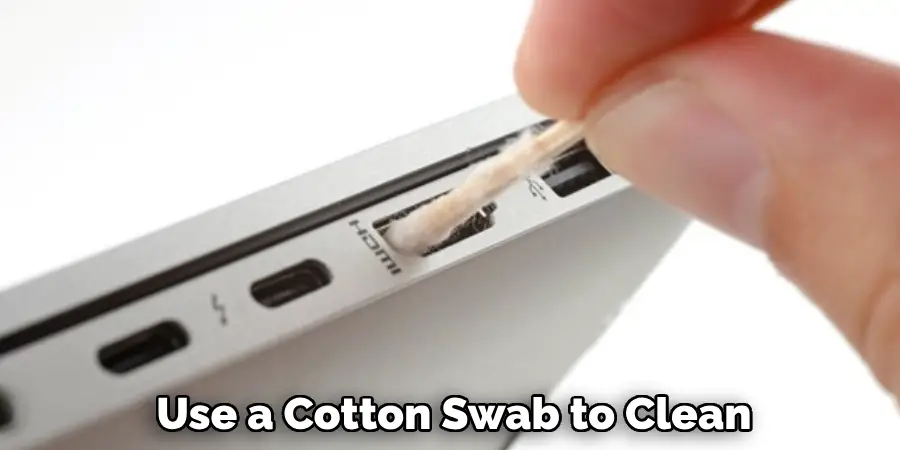
Carefully wipe around the pins, ensuring they do not disturb their positioning. Allow the alcohol to evaporate completely, as moisture can interfere with the connection. A clean port is crucial for optimal functionality and helps avoid future connectivity issues.
Step 6. Test the Port
With the pins aligned and the port cleaned, it’s time to test the USB port to check if the repairs have been successful. Connect a known working USB device to the port and observe whether your computer detects it. If the connection is successful and the device functions as expected, congratulations!
The repair was successful. However, if the device is not recognized, it may be necessary to re-inspect the pins and alignment, as there may still be issues that need addressing.
Step 7. Final Inspection
Before finishing up, perform a final inspection of both the USB port and the connected device. Ensure that all pins are intact, evenly aligned, and free from damage. Take a moment to check the device connection to ensure stability and fit without forcing it into the port.
This step is essential to confirm that everything is in order, reducing the chances of future problems. Consider repeating previous steps or seeking professional assistance if you notice any lingering issues.
Step 8. Secure the USB Port
If your USB port has a protective cover or casing, re-secure it to prevent any dust or debris from entering. This cover protects the port from physical damage and helps maintain clean and reliable connections in the future. If the casing was damaged during the repair, consider replacing it to ensure continuous protection for your USB connections.
Step 9. Monitor Performance
After securing the USB port, it’s essential to monitor its performance and that of the connected device over the following days or weeks. Check for stable connections and consistent performance, and check how well the port recognizes devices. It’s advisable to avoid overloading the port with multiple connections initially, as this could reveal underlying issues that may have been overlooked.
Make a note of any irregularities, such as intermittent disconnections or slower transfer rates, and address these problems promptly. If you experience difficulties, revisit the previous steps to maintain alignment and cleanliness. Regular monitoring will help you catch potential issues early and reinforce the repair’s longevity. If problems persist, it may be indicative of deeper hardware concerns, prompting the consideration of alternative solutions, such as professional repairs or port replacement.
Step 10. Prevent Future Damage
To ensure the longevity of your repaired USB port, it’s crucial to take proactive measures to prevent future damage. Avoid applying excessive force when connecting or disconnecting devices, as this can lead to pin bending or further misalignment.
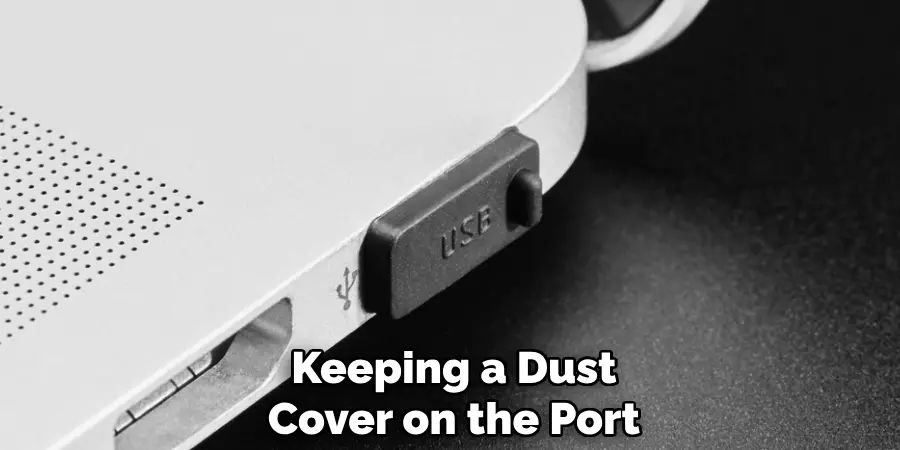
Additionally, refrain from using the port in environments where moisture or dust is prevalent, as these can compromise the internal components. Consider keeping a dust cover on the port when not in use to protect it further. Regularly inspect the port for any signs of wear or damage and promptly address any issues to maintain optimal performance and prevent the recurrence of previous problems.
By following these steps, you can successfully repair a bent USB port and restore the connectivity of your devices.
Conclusion
In summary, how to fix bent USB 3.0 pins requires a careful and methodical approach to ensure successful restoration of functionality.
By diligently assessing the damage, straightening the pins, aligning them accurately, and maintaining a clean environment within the USB port, you can effectively mitigate potential connectivity issues. Following the testing, securing, and monitoring steps ensures that the repair is both effective and sustainable.
Additionally, taking preventative measures will help safeguard the USB port against future damage. Armed with this knowledge, you can address similar problems with confidence, prolonging the life of your USB connections and devices.

