
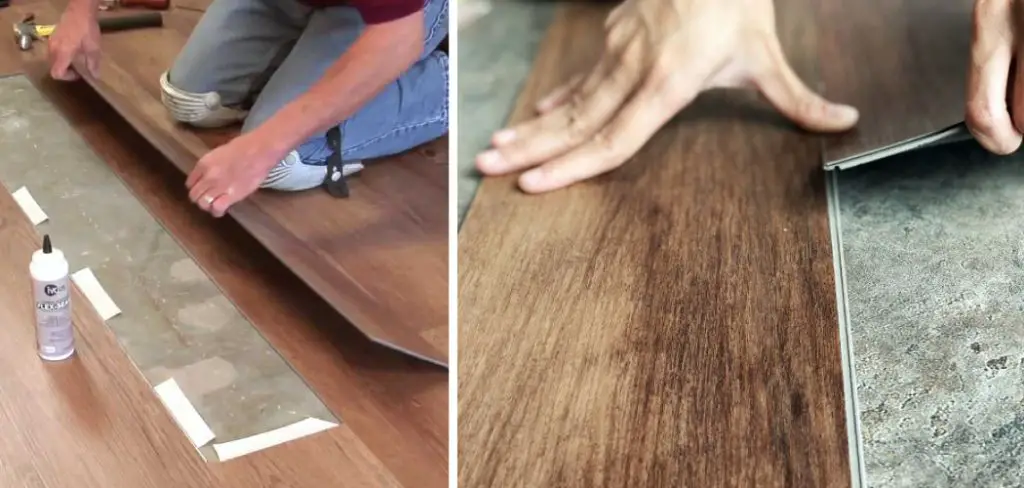
If you’re a homeowner, there’s a good chance you’ve at least heard of lvp flooring. It’s one of the most popular types of flooring on the market, and it can be a great option if you’re looking for something that’s durable and easy to maintain. However, if your lvp flooring is scratched, it can be difficult to fix. This blog post will show you how to fix scratched lvp flooring using a few simple steps. So read on to learn more!
What Causes Scratches on LVP Flooring?
There are a few different things that can cause scratches on lvp flooring. One of the most common causes is furniture. If you have heavy furniture, it can scratch the surface of your flooring. Another common cause of scratches is pets.
If you have a pet that likes to run around or play, they can easily scratch your flooring. Finally, if you have children, they can also cause scratches on your flooring. If you have any of these things in your home, it’s important to be careful to avoid scratches.
Things You’ll Need
- A vacuum cleaner
- A soft cloth
- A mild soap
- Warm water
- White vinegar
- A bucket
Some Effective Ways How to Fix Scratched LVP Flooring
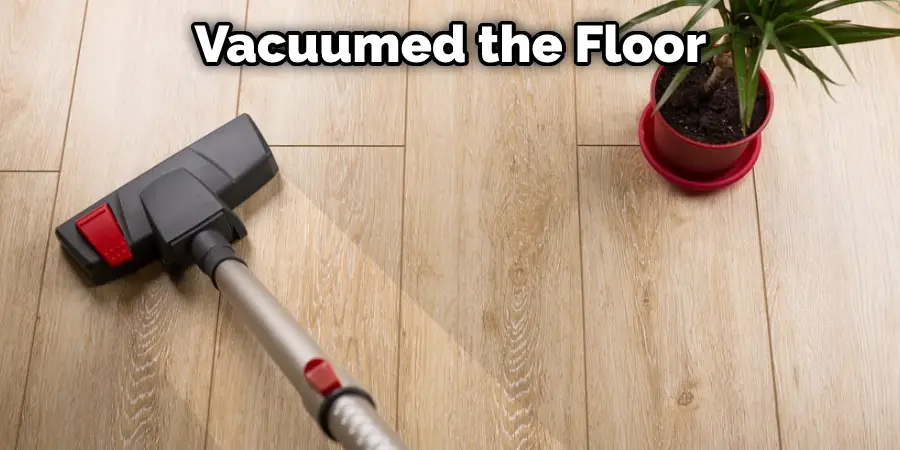
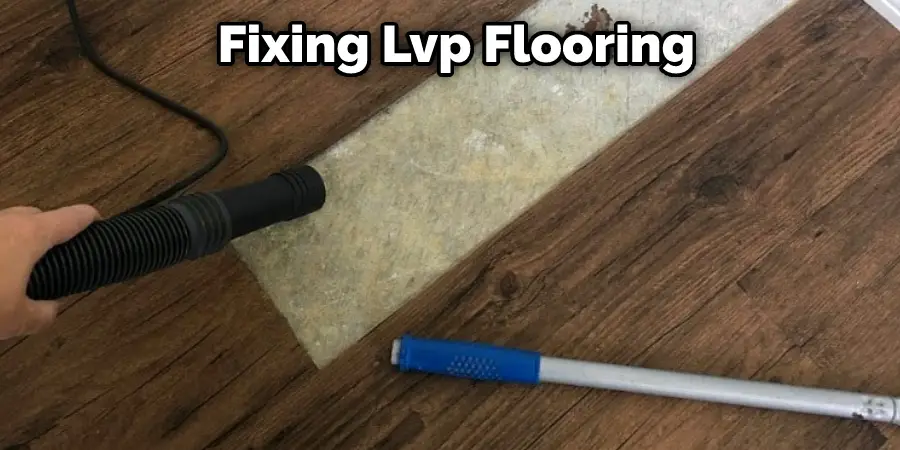
1. Vacuum the Floor
The first thing you’ll need to do is vacuum the floor. This will help remove any dirt or debris that could be causing the scratches. Be sure to use a soft brush attachment to avoid scratching the floor.
2. Wash the Floor
Once you’ve vacuumed the floor, you’ll need to wash it. You can use mild soap and warm water to do this. First, mix the soap and water together in a bucket. Then, use a soft cloth to wipe down the floor. Be sure to rinse the floor with clean water when you’re finished.
3. Use White Vinegar
If the scratches are still visible, you can try using white vinegar. Mix equal parts of water and vinegar in a bucket. Then, use a soft cloth to wipe down the scratched area. The vinegar will help remove any residue that may be causing the scratches.
4. Use a Soft Cloth
If you don’t have any vinegar on hand, you can still use a soft cloth to remove the scratches. Wet the cloth with warm water and mild soap. Then, gently rub the cloth over the scratched area. If the scratches are still visible, you can try using a little bit of pressure.
5. Buff the Floor
If the scratches are still visible, you can try buffing the floor. This will help remove any residue that may be causing the scratches. You can use a soft cloth or a buffing pad to do this. First, wet the cloth or pad with warm water and mild soap. Then, buff the floor in a circular motion. If the scratches are still visible, you can try using a little bit of pressure.
6. Wax the Floor
If the scratches are still visible, you can try waxing the floor. This will create a protective barrier that will help prevent scratches. You can use liquid wax or paste wax to do this. First, apply the wax to the floor in a thin layer. Then, use a soft cloth to buff the wax on the floor. If you’re using liquid wax, you’ll need to let it dry before buffing it.
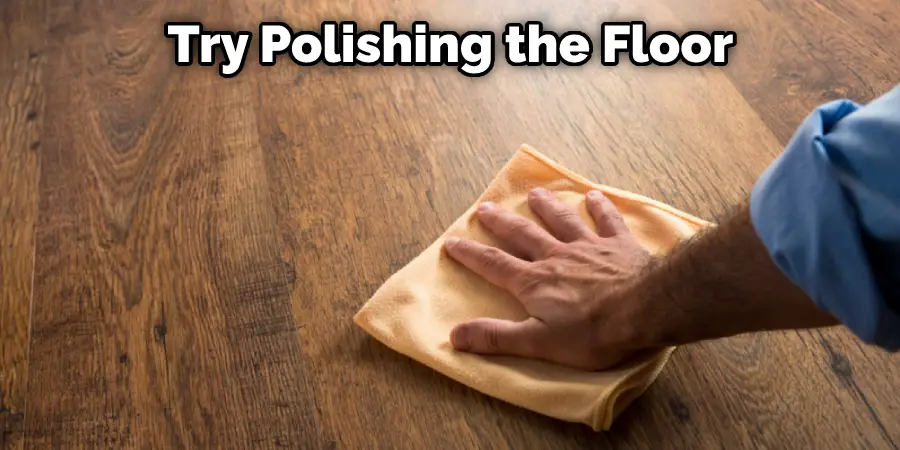
7. Polish the Floor
If the scratches are still visible, you can try polishing the floor. This will help fill in any scratches and create a smooth surface. You can use a liquid polish or a paste polish to do this. First, apply the polish to the floor in a thin layer.
Then, use a soft cloth to buff the polish on the floor. If you’re using a liquid polish, you’ll need to let it dry before buffing it. If the scratches are still visible, you can try using a little bit of pressure.
8. Touch Up the Finish
You can try touching up the finish if the scratch is only in the finish and not down to the wood. This is best done with a matching stain pen or a Sharpie. First, clean the area around the scratch with a mild cleaner. Then, using the pen or Sharpie, fill in the scratch. Let it dry, and then apply a thin layer of matching finish over the top. This method is not always 100% successful, but it is worth a try.
9. Use a Wood Filler
If the scratch is down to the wood, you’ll need to use a wood filler. First, clean the area around the scratch. Apply the wood filler with a putty knife to the crack. Wipe away any excess filler with a damp cloth.
Allow the filler to dry completely before proceeding. If the scratch is still visible, you can try sanding it down with fine-grit sandpaper.
10. Paint the Floor
If the scratch is still visible, you can try painting the floor. This will help cover up the scratch and give the floor a new look. First, clean the area around the scratch with a mild cleaner.
Then, using a small brush, paint over the scratch. Let the paint dry completely before proceeding. If the scratch is still visible, you can try sanding it down with fine-grit sandpaper.
How Much Does It Cost To Fix LVP Flooring?
The cost of fixing Lvp flooring will vary depending on the extent of the damage. If the scratch is only in the finish, you can expect to pay around $50. If the scratch is down to the wood, you can expect to pay around $100. If the damage is extensive, you may need to replace the entire floor, costing upwards of $1,000.
How to Prevent LVP Flooring From Getting Scratched?
The best way to prevent Lvp flooring from getting scratched is to use floor mats. Place floor mats at all entrances to your home to help remove dirt, grit, and debris from shoes. It would be best to place floor mats in high-traffic areas to help protect the floor from scratches. You can also use furniture pads under chairs and tables to help prevent scratches. Finally, you should vacuum and mop the floor regularly to help remove dirt and debris.
How Often Should I Clean LVP Flooring?
You should vacuum and mop Lvp flooring at least once a week. If you have pets, you may need to vacuum and mop more often. It would help if you also spotted clean spills as they happen. When cleaning Lvp flooring, be sure to use a vacuum with a soft brush attachment and a gentle, pH-neutral cleaner. Avoid using harsh cleaners or scrubbing the floor too hard, as this can damage the finish.
Conclusion
This article has outlined a few methods on How to Fix Scratched Lvp Flooring. While some of these methods may not be 100% successful, they are worth a try. After reading this post, you should be able to fix scratched Lvp flooring. If you follow the simple steps outlined in this post, your Lvp flooring will look good as new. So don’t wait – start repairing those scratches today!
You Can Check It Out to Keep Office Chair From Scratching Floor