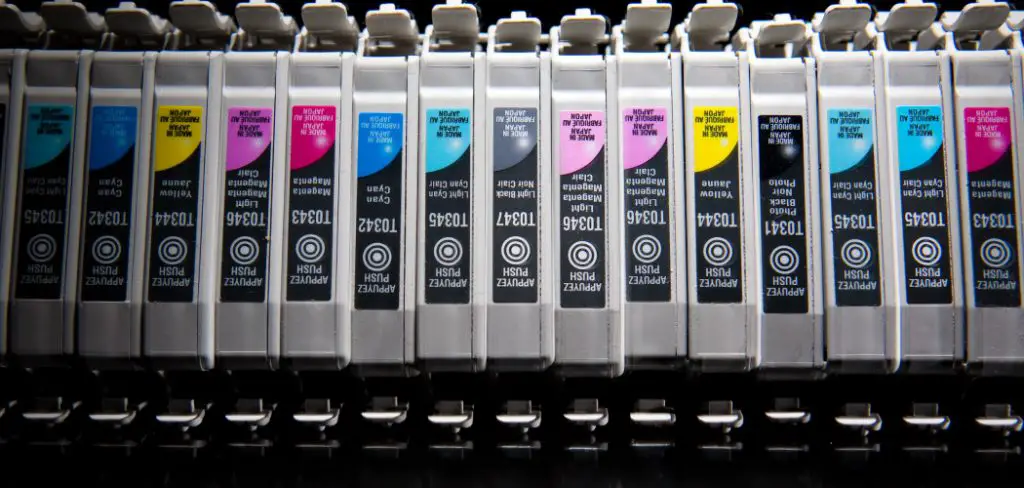
Are you tired of ruining your clothes by spilling computer ink on them? Don’t worry; we’ve got you covered! Here are some easy and effective ways to get computer ink out of clothes.

How to get computer ink out of clothes can often feel like a daunting task, but with the right approach, it can be effectively managed. Ink, especially from printers or pens, can leave stubborn marks that mar your favorite garments. Understanding the specific type of ink and the fabric involved is crucial in selecting the most effective cleaning method.
In this guide, we will explore various techniques and tips to help you tackle ink stains efficiently, ensuring your clothes remain in pristine condition. Whether you’re dealing with a recent mishap or a longstanding stain, these methods will assist you in restoring your garments to their former glory.
What Will You Need?
Before we dive into the different methods, it’s important to gather all of the necessary supplies. Here are some items that you may need:
- Clean white cloth or paper towels
- Rubbing alcohol
- Dishwashing liquid
- Ammonia
- Hydrogen peroxide
- Laundry detergent
Once you have these items, you can remove those pesky ink stains!

10 Easy Steps on How to Get Computer Ink Out of Clothes
Step 1: Act Quickly
The key to successfully removing computer ink from clothes is to act as soon as possible. The longer the ink sits, the more it penetrates the fabric, making it increasingly difficult to remove. If you notice an ink stain, gently blot the area with a clean white cloth or paper towel to absorb as much ink as possible.
Avoid rubbing, as this can push the ink further into the fibers. Once you’ve blotted the stain, it’s time to choose the right cleaning method based on the fabric type and the ink’s composition, ensuring you proceed with caution to avoid damaging your garment.
Step 2: Test the Cleaning Solution
Before applying any cleaning solution directly to the stain, it’s essential to test it on an inconspicuous area of the fabric. This helps ensure the solution won’t cause discoloration or damage to the garment. Use a small amount of your chosen cleaning agent—rubbing alcohol, ammonia, or dishwashing liquid—on a hidden spot, such as inside a seam or hem.
Allow it to sit for a few minutes, then blot it with a clean cloth. You can safely treat the ink stain if there are no adverse effects.
Step 3: Apply the Cleaning Solution
Once you’ve confirmed that the cleaning solution is safe for your fabric, it’s time to apply it directly to the ink stain. Dampen a clean cloth or cotton ball with your chosen cleaning agent, such as rubbing alcohol or dishwashing liquid mixed with water, and gently dab the stained area. Work from the outside of the stain towards the center to prevent spreading of the ink further.

Be careful not to saturate the fabric; a little solution goes a long way. Let the cleaning solution sit for about 5-10 minutes, allowing it to break down the ink before moving on to the next step.
Step 4: Blot the Stain
After allowing the cleaning solution to sit, remove a white cloth or paper towel and gently blot the stained area. This action will help lift the ink from the fabric into the cloth. Remember to use a dabbing motion rather than rubbing, as this can push the ink more profound into the fibers. Continue blotting until you see the ink transferring to the cloth.
If the stain seems to persist, do not hesitate to repeat the application of the cleaning solution and continue blotting until you are satisfied with the results.
Step 5: Rinse the Area
Once you have successfully blotted the stain and the ink has lifted, it’s essential to rinse the area thoroughly. Use cold water to flush out the cleaning solution and any remaining ink residue. Hold the stained area under running water or use a clean, damp cloth to remove the solution. Be sure to work from the back of the fabric to the front if possible, as this helps push the remaining ink out of the fibers.
After rinsing, gently press the fabric to remove excess water, but avoid wringing, as this can distort the garment’s shape.
Step 6: Wash the Garment
After rinsing out the ink stain and cleaning solution, the next step is to wash the garment according to the care label instructions. Use a mild laundry detergent and select the appropriate water temperature for the fabric type. Washing the stained item separately is advisable to avoid any potential ink transfer to other clothes.

Check the stain before drying; if any ink remains, avoid placing the garment in the dryer, as the heat can set the stain. Instead, repeat the previous cleaning steps until the stain is completely removed.
Step 7: Treat Any Remaining Stains
After washing, carefully inspect the garment for any remaining ink stains. Do not dry the fabric if the stain is still visible, as heat can make stains permanent. Instead, apply a stain remover designed explicitly for ink or reapply your original cleaning solution to the affected area. Gently work the solution into the fabric using your fingers or a soft-bristled toothbrush, ensuring not damage the fibers.
Allow it to sit for 5-10 minutes before rinsing again to see if the stain has lifted. If necessary, repeat this step until the stain is completely gone.
Step 8: Dry the Garment
Once you have confirmed that the ink stain has been removed, you can dry the garment. It’s best to air dry the item by laying it flat on a clean surface or hanging it up to dry. Avoid using a dryer until you are absolutely sure that the stain has been eliminated, as heat can cause any lingering ink to set permanently. If you use a flat drying method, ensure that the fabric is reshaped to its original form to prevent distortion.
Once the garment is dry, inspect it one last time to confirm that the stain has been thoroughly addressed, and enjoy your ink-free clothing!
Step 9: Consider Professional Cleaning
If, after multiple attempts, the ink stain persists and you are worried about damaging the fabric further, it may be time to seek professional cleaning services. A professional cleaner has specialized knowledge and access to products that can handle stubborn stains effectively without harming delicate fabrics.
When choosing a cleaner, be sure to inform them about the type of fabric and the nature of the stain so that they can select the best approach for your garment. Remember that early intervention often leads to better outcomes, so don’t hesitate to consult a professional if needed.
Step 10: Prevent Future Ink Stains
Consider taking some preventive measures to avoid the hassle of dealing with ink stains in the future. Start by being mindful of where you place pens or markers and ensure they are stored securely. If you’re using writing instruments while wearing delicate fabrics, try to put a barrier, such as a napkin or a piece of cardboard between the fabric and the item.
Using ink or gel pens with a secure cap can significantly reduce the risk of leaks. Lastly, encourage checking your writing tools for any signs of damage before use, as this can help identify potential issues before they become stains on your favorite garments.
By following these simple steps and taking preventive measures, you can confidently tackle any ink stain that may come your way.
5 Things You Should Avoid
- Avoid Rubbing the Stain: Rubbing can worsen the ink stain by spreading it further into the fabric. Always gently blotting to lift the ink instead of aggressive scrubbing.
- Don’t Use Hot Water: Hot water can set the ink stain, making it much more difficult to remove. Always opt for cold water when rinsing and washing the stained area.
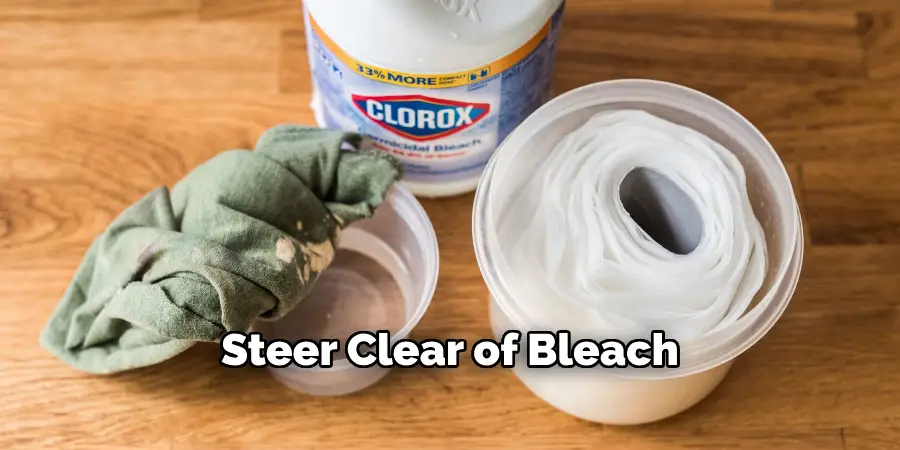
- Steer Clear of Bleach: Bleach can damage fabric and may not effectively remove ink stains. Instead, use stain removers or cleaning solutions specifically designed for ink.
- Avoid Drying Before the Stain is Gone: Putting a stained garment in the dryer can set any remaining ink, making it practically permanent. Ensure the stain is entirely removed before the fabric undergoes heat treatment.
- Don’t Delay Cleaning: The longer you wait to treat an ink stain, the more challenging it becomes to remove. Act quickly and follow the cleaning steps as soon as the stain occurs for the best results.

By avoiding these common mistakes, you can increase your chances of successfully removing ink stains and preserving your favorite clothing items.
Conclusion
How to get computer ink out of clothes requires prompt action and careful technique.
By following the detailed steps outlined—from rinsing the stain immediately to avoiding common mistakes such as using hot water or drying the garment before the stain is fully eradicated—you can effectively restore your fabric to its original state. If the stain proves stubborn, don’t hesitate to consider professional cleaning services. Additionally, implementing preventive measures can help you avoid future ink mishaps.
With the right approach and attention to detail, maintaining your clothing in pristine condition is achievable. This allows you to enjoy your wardrobe without the worry of ink stains.

