Discovering a permanent marker stain on your desk can feel like a minor disaster, especially when it’s a bold Sharpie mark. Whether it’s from a work-from-home mishap, a creative project gone astray, or a child’s artistic expression, that stubborn ink can seem impossible to remove. The good news is that you don’t have to live with the stain or resort to replacing your desk.

With a few common household items and the right techniques, you can effectively erase those unwanted marks. This guide on how to get sharpie off desk will walk you through a simple, step-by-step process to restore your desk’s surface. We’ll cover everything from initial preparation to the final wipe-down, ensuring you can tackle the problem with confidence and achieve a clean, mark-free finish without causing any damage.
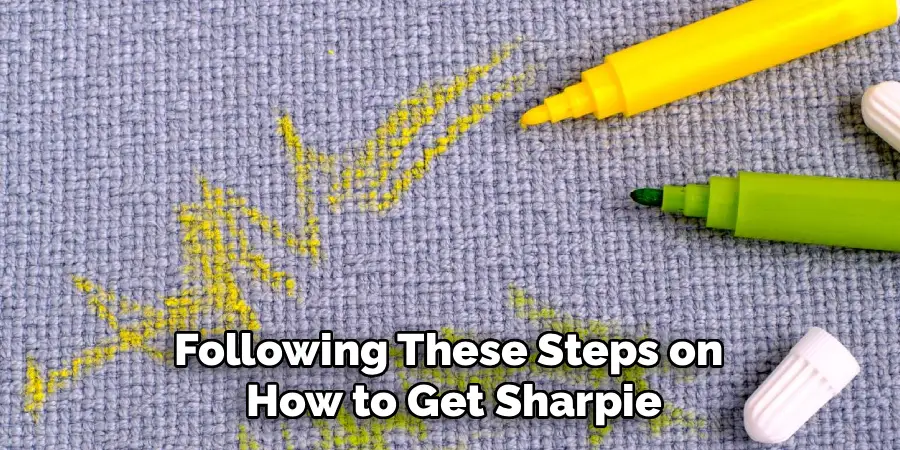
8 Simple Step-by-step Guidelines on How to Get Sharpie Off Desk
Step 1: Gather Your Cleaning Supplies
Before you begin the cleaning process, it’s crucial to gather all the necessary materials. Having everything within reach will make the process smoother and more efficient. For this task, you will need a few key items. First, select your primary cleaning agent; rubbing alcohol (isopropyl alcohol with at least 70% concentration) is highly effective and safe for many desk surfaces. You will also need some soft, clean cloths, such as microfiber towels, and a small bowl or container to hold the alcohol. Additionally, grab a separate cloth for drying the surface afterward.
It’s also a good idea to have some alternative cleaning agents on hand in case the rubbing alcohol isn’t enough for a particularly stubborn stain. Common alternatives include hand sanitizer (which contains alcohol), a dry-erase marker (the solvent in the marker can dissolve the permanent ink), or even a simple pencil eraser for minor marks. Ensure you have proper ventilation in the room by opening a window or turning on a fan, as some of these products can have strong fumes. Assembling your toolkit first prevents you from scrambling for supplies mid-process and helps you work methodically.
Step 2: Test a Small, Inconspicuous Area
This is arguably the most critical step in the entire process and one that should never be skipped. Different desk materials react differently to cleaning agents. What works wonders on a laminate surface might strip the finish from a wooden desk. To prevent causing irreversible damage to your furniture, you must perform a spot test. Choose a small, hidden area on your desk, such as the underside, the back edge, or the inside of a leg. This spot should be out of your normal line of sight.
Once you’ve selected your test area, apply a tiny amount of your chosen cleaning agent (e.g., rubbing alcohol) to a clean cloth and gently dab it onto the spot. Let it sit for about a minute, then wipe it away and inspect the area closely. Look for any signs of discoloration, fading, or damage to the desk’s finish. If the surface looks unchanged, the cleaning agent is likely safe to use on the more visible Sharpie stain. If you notice any negative reaction, you must stop immediately and try a gentler alternative, performing a new spot test with that product.

Step 3: Apply Rubbing Alcohol to a Clean Cloth
With a successful spot test completed, you are now ready to address the Sharpie mark itself. Take one of your clean, soft microfiber cloths and pour a small amount of rubbing alcohol directly onto it. You don’t want to soak the cloth completely; it should be damp but not dripping wet. Using a cloth gives you more control over the application and prevents the alcohol from spreading too far and potentially seeping into joints or untreated edges of the desk, which could cause swelling or damage over time.
Applying the alcohol to the cloth instead of directly onto the desk surface is a deliberate and important technique. Pouring liquid straight onto the stain can create a large puddle that is difficult to manage. This excess liquid could run and affect a larger area of the desk than necessary. A controlled, damp cloth allows you to focus the cleaning power precisely where it’s needed—on the ink. This method ensures an even application and minimizes the risk of over-saturating the surface, which is especially important for porous materials like unsealed wood or certain types of particleboard.
Step 4: Gently Rub the Sharpie Mark in a Circular Motion
Now, take the alcohol-dampened cloth and begin to work on the stain. Place the cloth directly over the Sharpie mark and start rubbing gently in small, circular motions. Applying light to moderate pressure is key here; avoid scrubbing aggressively, as this can abrade the desk’s finish and create a dull spot or even remove the surface material entirely. The circular motion helps to lift the ink particles from the surface without spreading them around. As you rub, you should start to see the permanent ink transferring from the desk onto your cloth.
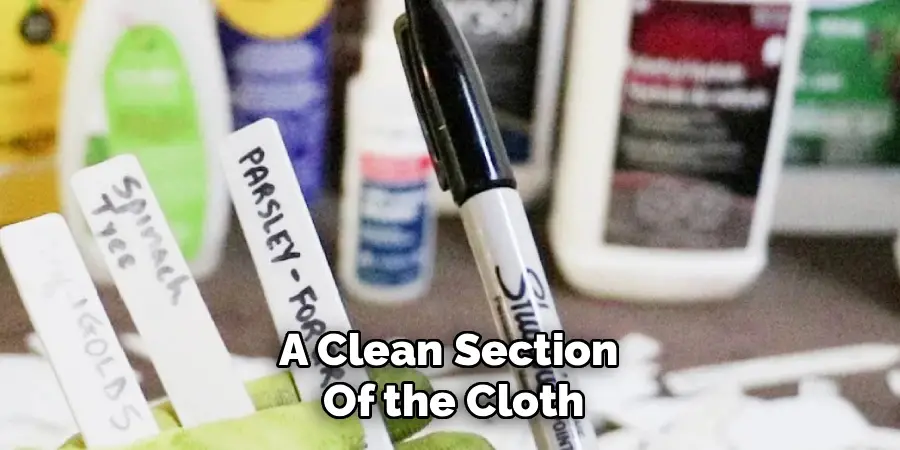
Be patient with this process. Depending on how long the ink has been on the desk and the type of surface, it may take a few moments for the alcohol to break down the permanent solvent in the Sharpie ink. You might need to continue rubbing for a minute or two. Check your clothes periodically; you’ll likely see them becoming stained with ink. To avoid reapplying the lifted ink back onto the desk, be sure to shift to a clean section of the cloth as it becomes soiled. This ensures you are always using a fresh surface to lift the remaining stain.
Step 5: Reapply Alcohol and Continue Rubbing as Needed
For many fresh or light Sharpie stains, one application of alcohol might be sufficient. However, for older or more saturated marks, you will likely need to repeat the process. If the ink is only partially lifted after the first attempt, it’s time for another round. Reapply a small amount of rubbing alcohol to a clean section of your cloth, or grab a new cloth if the first one is heavily soiled with ink. You want to ensure you are working with a clean tool to effectively remove the remaining residue rather than smearing it.
Once your cloth is re-dampened, return to the stain and continue rubbing with the same gentle, circular motions. You may notice that the stain becomes progressively lighter with each application. It’s a process of gradually dissolving and lifting the ink layers. Continue this cycle—applying alcohol and rubbing gently—until the mark has completely disappeared. Patience is essential. Rushing the process by applying more pressure or using a harsher chemical could lead to damage. Stick with the gentle approach, and let the solvent do the work.
Step 6: Try the Dry-Erase Marker Method for Stubborn Stains
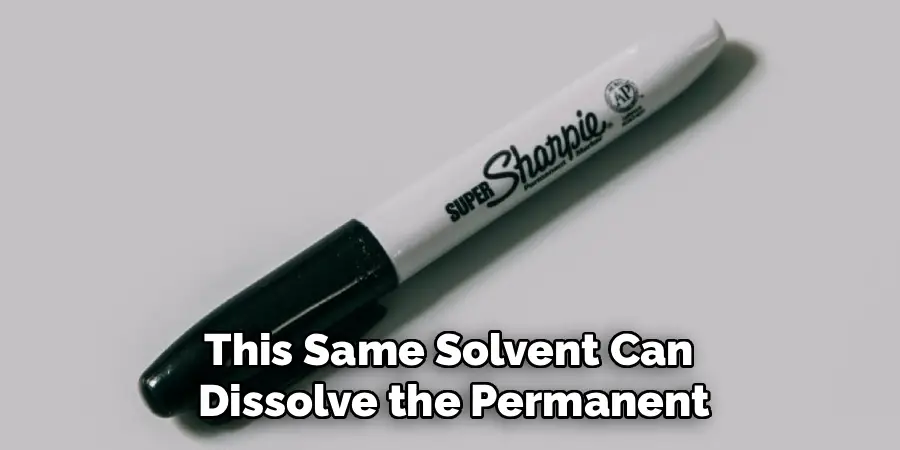
If the rubbing alcohol method has faded the stain but not completely removed it, don’t worry. There is another highly effective trick that often works wonders on stubborn permanent marker stains: the dry-erase marker. The science behind this method is that the solvent in a dry-erase marker is designed to be non-permanent, and this same solvent can dissolve the permanent solvent found in Sharpie ink. Essentially, you are using a similar chemical to “reactivate” the dried permanent ink, making it possible to wipe away.
To use this method, take any color dry-erase marker (black often works best as it’s easy to see) and completely color over the entire Sharpie stain. Make sure you cover every part of the old mark. Let the dry-erase ink sit on top of the permanent ink for a few seconds to allow the solvents to interact. Then, take a clean, dry cloth or a paper towel and simply wipe it all away. In many cases, both the dry-erase ink and the underlying Sharpie ink will come right off. You may need to repeat this once or twice for a very old stain.
Step 7: Clean the Area with a Mild Soap and Water Solution
After successfully removing the Sharpie stain, you will likely have some residue left on your desk from the cleaning agent, whether it was rubbing alcohol or a dry-erase marker. It’s important to clean this residue off to restore the desk’s original finish and remove any lingering chemical odors. The best way to do this is with a simple and gentle solution of mild soap and water. Mix a few drops of dish soap into a small bowl of warm water until it is slightly sudsy.
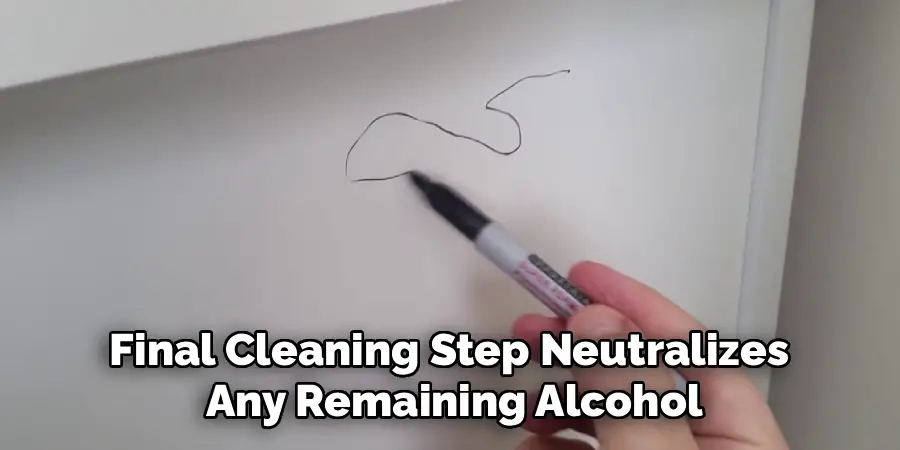
Dip a fresh, clean cloth into the soapy water and wring it out thoroughly so that it is damp, not dripping. Gently wipe down the entire area where you were working, not just the exact spot of the former stain. This helps to blend the cleaned area with the rest of the desk surface, ensuring a uniform appearance and removing any faint outlines or smudges that might be left behind. This final cleaning step neutralizes any remaining alcohol and lifts away any dissolved ink particles that were missed, leaving your desk looking pristine.
Step 8: Dry the Desk Thoroughly with a Clean Cloth
The final step is to completely dry the surface of your desk. Leaving any moisture behind, even a mild soap and water solution, can be damaging, especially for wood, laminate, or particleboard desks. Water can seep into seams or unfinished edges, causing swelling, warping, or discoloration over time. To prevent this, take a separate, completely dry microfiber cloth and wipe down the area you just cleaned. Make sure you absorb all traces of moisture from the surface.
Go over the area a few times, using different dry sections of the cloth to ensure no damp spots remain. Pay special attention to any grooves, textures, or joints in the desk where water could linger. Once you are finished, let the desk air dry for a few more minutes just to be certain all moisture has evaporated before placing any papers, electronics, or other items back on the surface. This final, simple step protects the integrity of your desk and ensures a clean, polished, and professional-looking result.
Following these steps on how to get sharpie off desk surfaces is a quick and easy way to remove any unwanted marks without damaging the desk. However, prevention is always better than a cure. To avoid having to deal with Sharpie stains in the first place, it’s important to set some rules and guidelines for using markers on desks.
Frequently Asked Questions
Q1: How Do I Remove Sharpie From a Wooden Desk?
A1: Removing Sharpie from wood requires a careful approach to avoid damaging the finish. Start with the least abrasive method: a simple pencil eraser. For more stubborn stains, rubbing alcohol is your best bet. Apply it to a cloth, not directly to the wood, and rub gently. If the wood is unfinished, the ink may have soaked into the grain, in which case you might need to lightly sand the area with fine-grit sandpaper and then reapply a matching finish or oil. Always test any method on an inconspicuous spot first.
Q2: Can a Magic Eraser Remove Sharpie From a Desk?
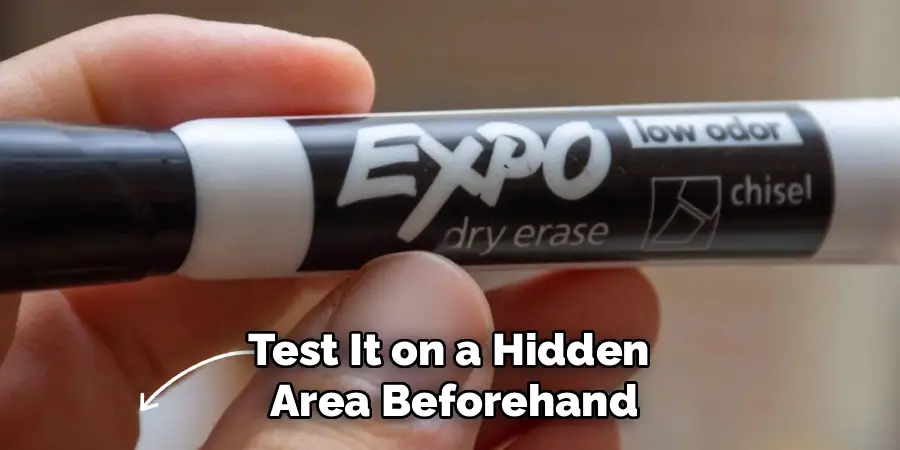
A2: A Magic Eraser can be effective at removing Sharpie from certain surfaces, but you must use it with extreme caution. A Magic Eraser is a micro-abrasive and works like very fine sandpaper. While it can “erase” the stain, it can also remove the finish from your desk, leaving a dull, noticeable patch. It is generally safer to try solvent-based methods like rubbing alcohol or a dry-erase marker first. If you do use a Magic Eraser, use it with very light pressure and test it on a hidden area beforehand.
Conclusion
A stray Sharpie mark on your desk doesn’t have to be a permanent problem. By following these simple, methodical steps on how to get sharpie off desk, you can safely and effectively remove the stain without resorting to harsh chemicals or damaging your furniture. The key to success lies in patience and a gentle approach—starting with a spot test, using the right tools like rubbing alcohol and soft cloths, and cleaning the area afterward.
Armed with this knowledge, you can confidently tackle any future ink incidents and keep your workspace looking clean and professional. Your desk is a central part of your room, and maintaining its appearance contributes to a more organized and pleasant environment.