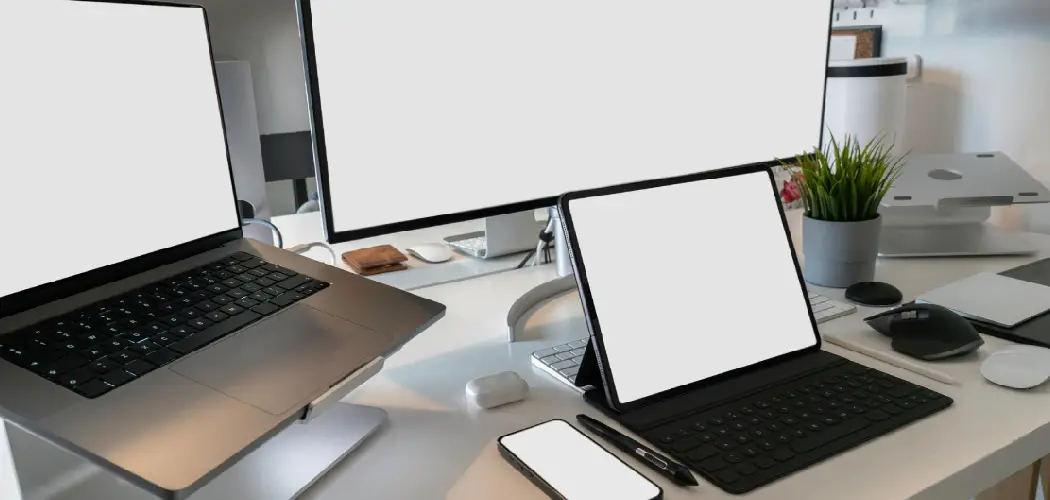
A modern workspace often demands more than a single display. Whether you’re a professional juggling multiple applications, a student balancing research and writing, or a creative collaborating across projects, the efficiency boost of a dual-monitor setup is undeniable. Yet, one of the biggest barriers to achieving this streamlined productivity is cable clutter and hardware complexity. Enter the docking station—a powerful hub that transforms your laptop into a full-fledged workstation with minimal effort.

Understanding how to connect dual monitors to docking station is essential for anyone seeking a tidy, flexible, and powerful workspace. By leveraging a dock, you can provide power, data, and video to your laptop using a single cable, freeing your desk from a tangle of wires while maximizing usability. This article serves as a step-by-step, in-depth guide to achieving a dual-monitor configuration using a docking station, regardless of your operating system or dock type.
Understanding Docking Station Types: Not All Docks Are Created Equal
Overview of Docking Station Technologies
Choosing the right docking station is the foundation for a successful dual-monitor experience. Not all docks deliver the same performance or compatibility; their underlying technology determines how many monitors you can run and at what performance level.
Thunderbolt 3 and 4 Docks
Thunderbolt docks are the top-tier solution, utilizing high-speed data transfer capabilities to enable two or more high-resolution monitors from a single port. These are ideal for users working with graphically demanding tasks, extensive multitasking, or large data transfers. Thunderbolt 3 and 4 are compatible with many high-end laptops, especially those designed for professionals.

USB-C DisplayPort Alt Mode Docks
Some USB-C docks use DisplayPort Alternative (Alt) Mode, which passes the laptop’s direct video signal through the dock. These provide native video quality and can usually support at least one external monitor, sometimes two, depending on your laptop’s graphics card and port specifications. The performance here largely relies on whether your laptop’s USB-C port is full-featured and supports video output—something worth verifying before making a purchase.
DisplayLink-Based Docks
DisplayLink technology offers broad compatibility, working with both USB-A and USB-C ports. These docks include a dedicated chipset and rely on software drivers to transmit video. DisplayLink is a versatile solution, perfect for situations where your laptop’s native ports don’t support multiple monitors. However, DisplayLink’s approach processes video in software before transmitting over USB, which can occasionally lead to minor lag or lower color depth in rare cases.

Why Dock Type Matters
At a glance, docking stations may look similar, but the technology inside influences not just how to connect dual monitors to docking station hardware, but also how smoothly they will function once connected. Understanding these differences will help prevent disappointment and ensure you select hardware that meets your needs.
Before You Buy: Checking Laptop and Monitor Compatibility
Confirming Laptop Ports and Capabilities
Before choosing a docking station, confirm your laptop’s video output capabilities. Not all USB-C ports are equal; some handle data only, while others carry power and video. Review your laptop’s technical documentation or manufacturer’s website to check for Thunderbolt (often marked with a lightning bolt icon) or “DisplayPort” capabilities. If neither is listed and you’re unsure, consult technical support.
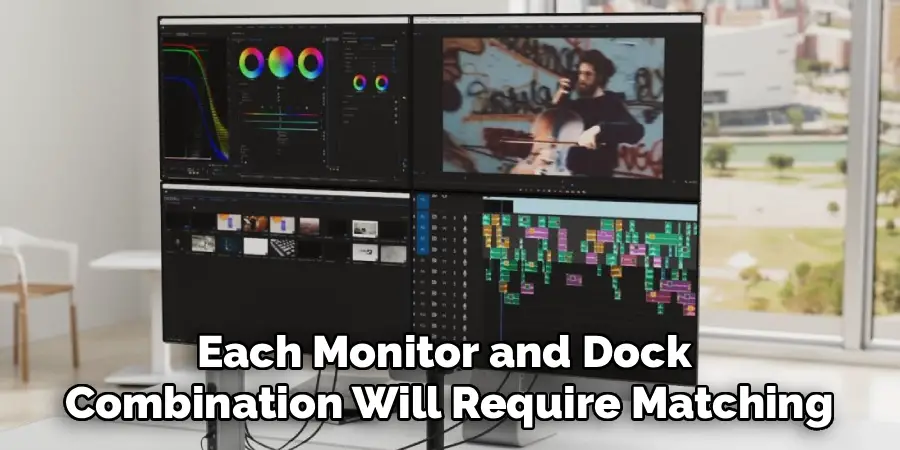
Matching Dock Outputs to Monitor Inputs
Each monitor and dock combination will require matching input and output ports—such as HDMI, DisplayPort, or mini-DisplayPort. Consider what ports your monitors offer, then select a docking station that can accommodate those. Some docks provide adapters, but native support is generally more reliable.
Considering Your Workflow and Space
The type of monitors and docks you choose should reflect your workflow needs. If you frequently move locations, a portable dock compatible with both home and office setups may be ideal. If your workstation is stationary and performance is a top priority, a Thunderbolt dock might be worth the investment.
The Physical Connection: A Step-by-Step Guide
Getting your equipment physically connected may seem straightforward, but sequence and selections can influence reliability and performance.
Connecting the Monitors to the Docking Station
Begin by plugging your monitors into the docking station’s available video output ports. Use the highest-quality connection supported by both the monitor and dock—DisplayPort is typically preferred for crisp visuals and higher refresh rates, though HDMI is a reliable alternative.

Adding Peripherals for Productivity
Once monitors are connected, add other peripherals to the docking station. Devices like keyboards, mice, audio interfaces, and Ethernet cables can be connected directly to the dock, keeping your laptop free from extra clutter.
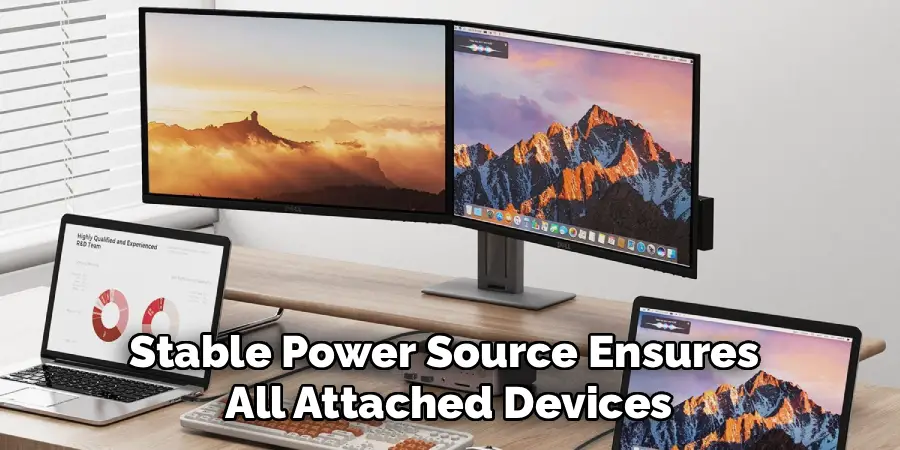
Powering the Dock
Connect the docking station to its power supply, if required. Many docks provide power delivery (PD) to your laptop, charging it while connected. A stable power source ensures all attached devices function correctly.
The Single-Cable Connection
Finally, connect your laptop to the dock using either the Thunderbolt or USB-C cable provided. Only one cable from the dock to the laptop should be used to transfer video, data, and (if supported) charging. Your laptop, monitors, and peripherals now communicate seamlessly through this unified setup.
How to Connect Dual Monitors to Docking Station: Configuring in Windows
Automatic Detection and Initial Setup
Upon connecting your docking station to a Windows laptop, the operating system should automatically recognize both external monitors. However, optimal performance and layout often require manual adjustment.

Navigating Display Settings
Open the Start Menu, type “Display Settings,” and select it. Under “Rearrange your displays,” you will see boxes labeled 1, 2, and possibly 3 (if your laptop screen remains active). To identify which monitor is which, click the “Identify” button—numbers will appear on your screens.
Customizing Monitor Arrangement
Drag and drop the numbered boxes to match the physical layout of your monitors on your desk. This arrangement ensures your mouse cursor moves naturally between screens and windows snap where expected.
Choosing the Display Mode
Scroll down to the “Multiple displays” dropdown menu for each monitor in the settings pane. Set both to “Extend these displays.” This option allows true multitasking, as each monitor operates independently.
Optimizing and Finalizing the Layout
Once extended, you can specify which display is your “Main Display.” This is where your taskbar and primary windows will appear. Right-click the desired screen’s box and select “Make this my main display.” These steps create a seamless user experience and maximize the benefit of your dual-monitor docking station.
Configuring a Dual-Monitor Dock on macOS
Accessing Display Preferences
On a MacBook, system configuration differs only slightly. After connecting your docking station and monitors, go to the Apple menu, select “System Settings” or “System Preferences,” then navigate to the “Displays” pane. Here, you’ll see blue rectangles representing each connected display.
Arranging Monitors and Assigning Roles
Just like in Windows, you can drag the blue rectangles to match the physical arrangement of your monitors. You can also assign the menu bar to a specific display by dragging it within this window. This designates which monitor acts as your primary workspace.
Important Note for Apple Silicon MacBooks
Many M1, M2, and M3 MacBooks (base models) support only a single external monitor by default. If you require two, you’ll need a DisplayLink-enabled docking station and to install the DisplayLink Manager driver. This software makes it possible to run two external displays, overcoming the hardware limitation.
Completing the macOS Configuration
After arranging your displays, close System Settings to save changes. Your Mac is now ready to leverage a dual-monitor setup via your docking station with a smooth, extended desktop experience.
Drivers and Firmware: The Key to a Stable Connection
Why Drivers Matter
Docking stations—particularly those based on DisplayLink technology—often require dedicated software to function fully. Without the right drivers, your monitors may not appear, or features like high refresh rates could be unavailable.
Updating Dock and Laptop Firmware
Visit the manufacturer’s website for your dock and check for firmware updates. These updates can solve incompatibility issues, improve monitor switching speed, and even add support for newly released laptops or operating system versions. It’s wise to register your dock, as this can provide update notifications. Also, periodically update your laptop’s graphics drivers, as these can impact dual-monitor functionality.
Installing and Verifying Software
Carefully follow installation instructions for all drivers, reboot your laptop if prompted, and verify that both displays are functioning as intended. Regular software maintenance is the best way to ensure ongoing performance and minimize frustration.
Fine-Tuning Your Workspace: Resolution, Refresh Rate, and Layout
Adjusting Resolution and Refresh Rate
Once connected, personalize each monitor’s settings in your operating system’s display preferences. Selecting the correct resolution ensures sharp text and images. If your monitors and dock support it, you may also set higher refresh rates for smoother motion—especially valuable for design work, gaming, or reducing eye fatigue.
Rotating and Arranging Screens
For those using one monitor in portrait mode, display preferences in both Windows and macOS allow you to rotate the output. This is especially useful for coding, document editing, or reading lengthy articles.
Ergonomic Positioning Tips for Dual Monitors
Optimal ergonomic positioning means placing both monitors directly at eye level, with your primary monitor centered in front of you. Keep monitors side by side with no space in between to minimize neck movement. Adjust brightness for each environment to reduce glare and prevent eye strain.
Personalizing Your Workflow
Consider which monitor will serve as your primary workspace versus secondary tasks like chat, email, or reference material. With a dual-monitor docking station setup, you can tailor every aspect of your daily work environment to your specific needs.
Troubleshooting Common Docking Station Issues
When Only One Monitor Works
If only one external monitor displays, start by verifying the specifications of both your dock and laptop. Some docks, particularly compact ones or basic USB hubs, support only a single monitor. Try swapping cables and inputs to rule out hardware damage. Be sure the laptop port you’re using is capable of video output and is not data-only—a common pitfall.
Problems with Mirroring Instead of Extending
If your monitors display the same image, rather than extending the desktop, check your display settings and switch from “Duplicate” or “Mirror” to “Extend” mode. On Macs with Apple silicon, this may be a limitation of the hardware and dock—using a DisplayLink-based dock and the DisplayLink Manager app typically resolves this.
Dealing with Flickering or Intermittent Connections
Frequent disconnects or flicker typically indicate a cable, power, or driver issue. Ensure your cables are high-quality and securely connected. Update all relevant drivers and firmware, and if using a docking station with external power, ensure the supply is sufficient for your setup’s needs.
General Troubleshooting Strategies
Restart your laptop and reconnect the dock to reset connections. Try connecting each monitor directly to your laptop to rule out faulty monitors or cables. If all else fails, consult the manufacturer’s customer support for dock- or laptop-specific guidance.
Common Mistakes to Avoid
Confusing Hubs with Docking Stations
Don’t purchase a simple “USB-C hub” expecting full dual-monitor support. Many basic hubs only handle power and data, lacking proper video transmission capabilities. Always check specifications to confirm dual display support.
Overlooking USB-C Port Capabilities
Assume nothing about your laptop’s ports. Verify, with documentation, whether a USB-C port offers video output. It’s common for some laptops, especially budget models, to include USB-C for charging or data only.
Skipping the DisplayLink Driver Install
If your docking station uses DisplayLink technology, omitting this critical step will leave your extra monitor(s) blank. Download and install the latest DisplayLink Manager for Windows or macOS, then restart your laptop for the changes to take effect.
Forgetting Firmware Updates
Manufacturers routinely fix bugs, improve compatibility, and enhance performance through firmware updates. Failing to perform these updates can leave you vulnerable to issues that are easily resolved with a quick upgrade.
Conclusion
Mastering how to connect dual monitors to docking station hardware transforms your workspace—reducing clutter, increasing productivity, and unlocking your laptop’s full potential. The process starts by identifying the right dock type for your needs, checking compatibility, and making the right connections in the correct order.
Don’t forget the importance of driver and firmware updates, and remember to optimize both your operating system settings and physical workspace layout. With the right setup, troubleshooting strategies, and best practices, you’ll gain the confidence to configure and personalize your dual-monitor environment—enabling a streamlined, high-efficiency workstation that keeps up with all you do.