Your office chair is more than just a piece of furniture; it’s a critical tool for productivity and comfort.

A key component of its mobility and stability is its set of casters, or wheels. When they start to wear out, your smooth-gliding chair can become a frustrating, floor-scratching problem. Replacing the casters is a simple, cost-effective way to restore your chair’s function and extend its lifespan.
This guide on how to replace casters on office chair will walk you through everything you need to know, from identifying the problem to completing the replacement with ease.
What Will You Need?
The good news is that you don’t need a professional workshop to tackle this job. The process is straightforward and requires only a few basic items.
Essential Tools & Materials:
- Replacement Casters: Make sure they have the correct stem size and type for your chair. The most common is a “Grip Ring Stem.”
- Pry Tool or Flathead Screwdriver: For removing stubborn old casters.
- Work Gloves: To protect your hands and improve your grip.
- Lubricant (Optional): A spray like WD-40 can help loosen rusted or stuck casters.
- Rag or Paper Towels: For cleaning the caster sockets.
- Rubber Mallet (Optional): Useful for tapping new casters into place if they are a tight fit.
10 Easy Steps on How to Replace Casters on Office Chair
Replacing your chair’s casters is a quick project that can make a huge difference. Follow these detailed steps to get your chair rolling like new again.
Step 1: Prepare Your Workspace
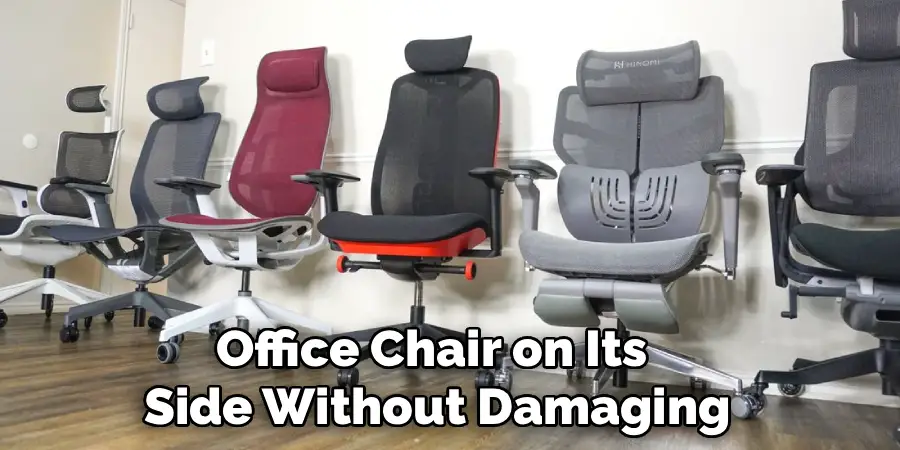
Before you begin, create a clear and safe area to work. Find a space with enough room to comfortably lay the office chair on its side without damaging any other furniture.
A garage floor, a carpeted room, or even an old blanket spread out on a hard floor will work perfectly. This prevents your chair from rolling away while you’re working on it and protects your floor from any potential scratches or grease.
Gather all your tools—your replacement casters, screwdriver, gloves, and optional lubricant—and place them within easy reach. Putting on a pair of sturdy work gloves at this stage is a good idea to protect your hands from grime and give you a better grip on the components.
Step 2: Turn the Chair Over
Carefully turn your office chair upside down or lay it on its side. This position gives you stable and unobstructed access to all the casters at once. Ensure the chair is resting securely and won’t tip over.
If your chair has arms, resting it on the arms and the top of the backrest is often the most stable position. This orientation exposes the five-star base and makes the caster stems fully visible and accessible for removal. You’ll be applying some force in the next steps, so having the chair in a solid, unmoving position is crucial for both safety and efficiency.
Step 3: Inspect the Caster Type
Before you try to remove the old wheels, take a moment to inspect how they are attached. The vast majority of office chairs use casters with a “grip ring stem.” This is a metal post that pushes directly into a socket on the chair’s base and is held in place by a small, C-shaped clip near the top of the stem. You won’t see any screws or bolts holding it in.
However, a small number of chairs, particularly older or specialty models, might use a threaded stem that screws into the base. Identifying the type now will save you a lot of frustration. If you see a hexagonal nut shape at the base of the stem, it’s likely threaded. If not, it’s almost certainly a grip ring stem.

Step 4: Remove the Old Caster
For a grip ring stem caster, removal is about applying a steady, firm force. Grab the caster firmly with your gloved hand, holding the chair base steady with your other hand. Pull the caster straight out from the socket. It may take a bit of wiggling and pulling.
Most casters will pop out with a good tug. If a caster is particularly stubborn, don’t be afraid to use more force. You can also try wiggling it back and forth as you pull to help loosen the grip ring. Be prepared for a sudden release, and make sure your face isn’t directly in the path of the caster as it comes free.
Step 5: Use a Tool for Stubborn Casters
Sometimes, an old caster just won’t budge. This can happen if it’s been in place for years or if rust has formed. If pulling by hand doesn’t work, it’s time to bring in a tool for extra leverage. Take your flathead screwdriver or a small pry bar and wedge the tip into the small gap between the top of the caster’s housing and the chair base.
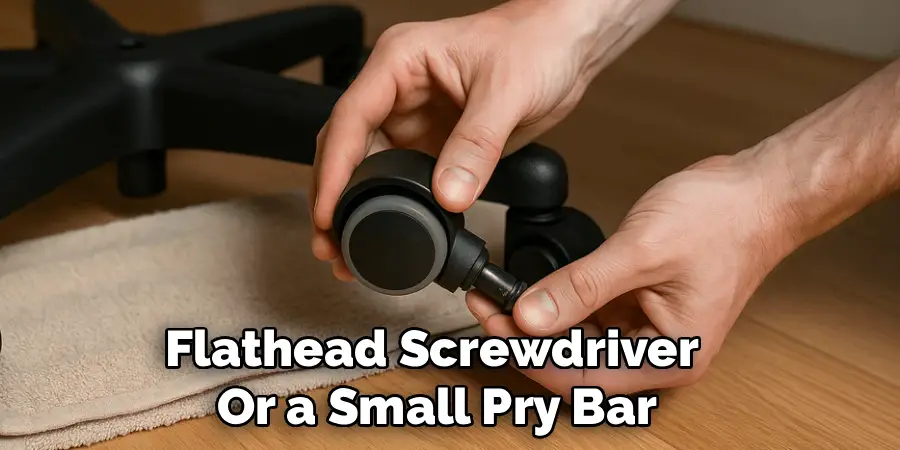
Gently but firmly pry downwards, using the chair base as a fulcrum. Work your way around the caster, prying from different sides to loosen it evenly. If it’s still stuck, a small spray of lubricant like WD-40 into the socket can help break down any rust or grime.
Step 6: Clean the Caster Sockets
With the old caster removed, you’ll see an empty socket in the chair’s leg. Over time, these sockets can accumulate a surprising amount of dirt, dust, and hair. Before you install the new caster, it’s essential to clean this area thoroughly. Use a rag or paper towel to wipe out the inside of the socket.
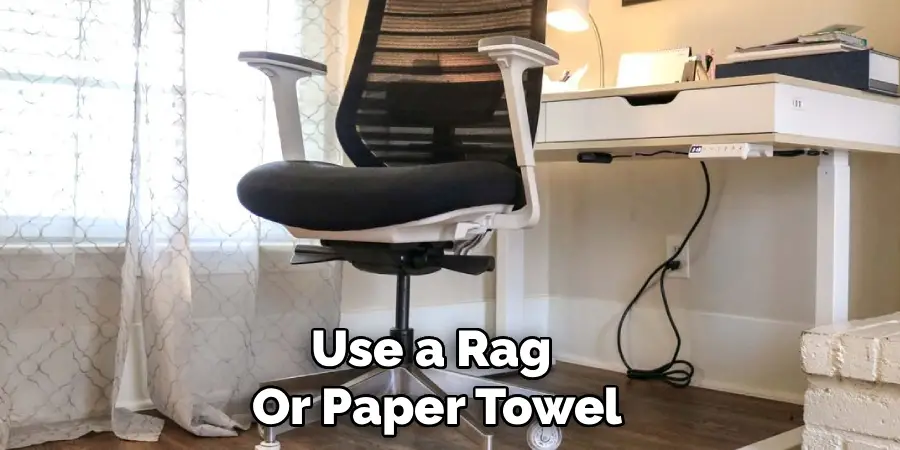
If there’s compacted debris, you can use the tip of your screwdriver to carefully scrape it out. A clean socket ensures that the new caster stem will fit snugly and function correctly, preventing wobbling and ensuring a secure connection for a smooth roll.
Step 7: Repeat for All Casters
Now that you’ve successfully removed the first caster and cleaned its socket, simply repeat the process for the remaining four. Work your way around the chair’s base, systematically removing each old wheel. It’s best to remove all of them before you start installing the new ones.
This assembly-line approach is efficient and ensures you don’t miss any steps, like cleaning each socket. As you remove each old caster, place it in a pile out of the way to avoid confusion and keep your workspace tidy.
Step 8: Align the New Caster
Take one of your new casters and prepare it for installation. Hold it by the wheel and orient the metal stem so it is pointing directly at the empty, cleaned socket on the chair base. Ensure the stem is perfectly straight and aligned with the hole.
Misaligning the stem can damage the plastic socket inside the chair leg or bend the stem itself, making installation difficult or impossible. Take a moment to double-check that you are pushing it in perfectly perpendicular to the chair base. This simple alignment check is key to a smooth and successful installation.
Step 9: Insert the New Caster
With the stem properly aligned, push it firmly into the socket. You should feel some initial resistance as the grip ring on the stem engages with the inside of the socket. Apply steady, even pressure. In most cases, you’ll feel and hear a satisfying “click” or “snap” as the caster locks securely into place.
This sound confirms that the grip ring has passed the retention point inside the socket and the caster is fully seated. Give the newly installed caster a gentle tug to confirm it is secure and doesn’t pull out easily.
Step 10: Secure and Test the Chair
If a new caster doesn’t click into place with hand pressure alone, you can use a rubber mallet for a little extra help. Place a small block of wood or a thick, folded towel over the caster to protect it, and give it a few firm taps with the mallet until it’s fully seated.
Once all five new casters are installed, carefully turn the chair back upright. Before sitting down, roll the chair back and forth a few times to ensure all the wheels spin and swivel freely. Finally, sit in the chair and roll around to test its stability and movement.
5 Things You Should Avoid
- Using the Wrong Size Stem: Not all caster stems are the same. Forcing a stem that is too large can break the chair base, while one that is too small will fall out. Always measure your old stem or check the manufacturer’s specifications before buying replacements.
- Applying Only Sideways Force: When prying off a stubborn caster, avoid only pushing from one side. This can bend the stem or damage the socket. Work your way around the caster, applying leverage from multiple points.
- Ignoring Socket Cleaning: Skipping the step of cleaning the sockets is a common mistake. Debris can prevent the new caster from seating properly, leading to a wobbly and unstable chair.
- Using a Hammer Directly on the Caster: Never hit a new caster directly with a metal hammer. You risk cracking the plastic wheel or housing. If you need more force, use a rubber mallet and protect the caster with a block of wood.
- Mixing Old and New Casters: It might be tempting to replace only the one broken wheel, but this is not recommended. Mixing casters can cause uneven rolling and put extra stress on both the new and old wheels, leading to premature failure. Always replace them as a full set.
Conclusion
How to replace casters on office chair is one of the easiest and most impactful repairs you can perform.
It requires minimal tools, time, and expense, yet it can dramatically improve your daily comfort and productivity. A chair that glides smoothly protects your floors, reduces physical strain, and simply makes your workspace more pleasant.
By following these steps, you can confidently give your trusty chair a new lease on life and get back to rolling smoothly.