
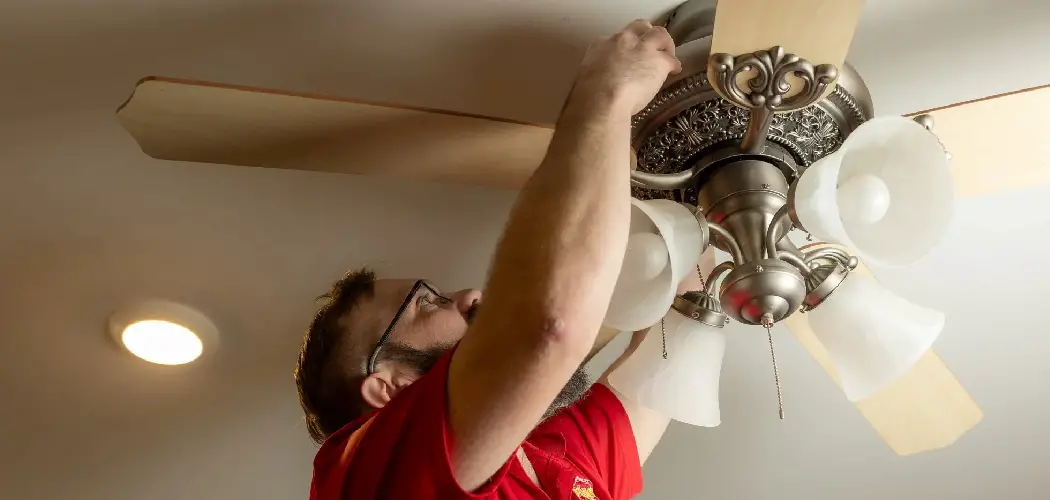
To dust ceiling fans in high offices safely, switch off the power, use a telescoping pole with a microfiber duster or a stable A-frame ladder, and wipe each blade from the motor housing outward. Put a drop cloth underneath first, wear safety goggles, and vacuum the area once the dusting is done.
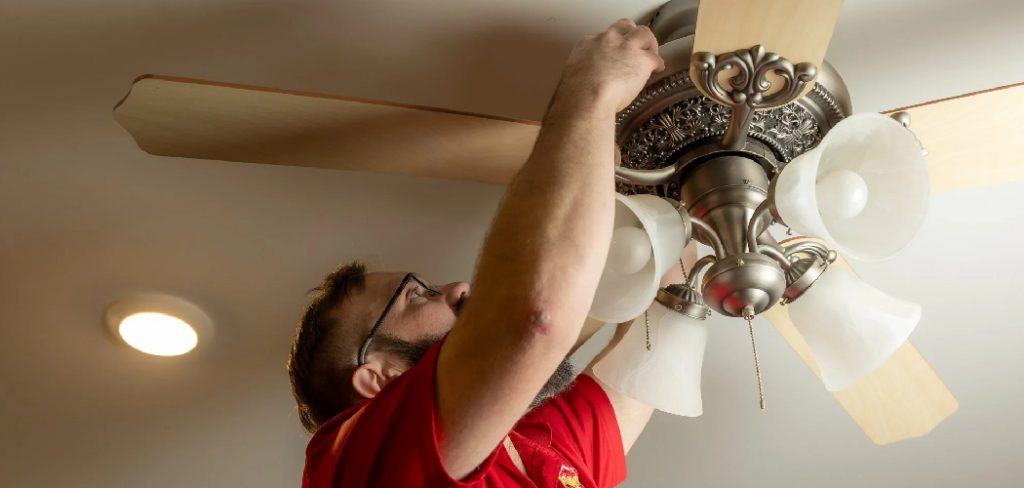
Keeping an office clean is not only about wiping desks and emptying trash bins. Some of the dirtiest spots are the ones people rarely look at, and ceiling fans are a good example. In offices with high ceilings, they can sit above everyone’s line of sight for months while dust slowly gathers on the blades, motor housing, and light fixtures.
That creates a practical problem for facility managers and cleaning crews. A high fan is not difficult to clean in theory, but it does require the right tools and a careful method. Rushing the job can scatter dust across desks, strain the fan hardware, or put the worker at risk.
This guide explains how to dust ceiling fans in high offices with a clear, safe process. It covers the supplies to use, the safety steps to take, and the common mistakes that tend to make this simple job more troublesome than it needs to be.
Understanding the Importance of Clean Office Ceiling Fans
Dust on ceiling fan blades may seem harmless at first. It is easy to ignore because it collects slowly, often along the blade edges where people do not notice it from the floor. Over time, though, buildup can affect both the appearance and performance of the fan.
A heavy layer of dust can create drag on the blades. That does not mean the fan will fail immediately, but it may place extra strain on the motor as the unit works to maintain speed. In some cases, this added resistance could contribute to increased wear, especially when fans are used for long hours in commercial spaces.
Air quality is another concern. When a dusty fan starts spinning, it can send particles back into the room. Employees working below may notice more sneezing, throat irritation, or allergy discomfort, particularly in offices where ventilation is already limited. Dust mites, pollen, and other airborne debris can settle on blades and then circulate again when the fan is switched on.

Clean fans also matter visually. A client may not comment on dusty ceiling fixtures, but they may still notice them. So will employees. Regular maintenance helps the office feel more orderly, more comfortable, and better cared for.
7 Simple Step-By-Step Guidelines on How to Dust Ceiling Fans in High Offices
Step 1: Gather the Appropriate Cleaning Supplies and Safety Gear
Start with the tools. This sounds obvious, but many ceiling fan cleaning jobs become awkward because someone begins with a short duster, a wobbly chair, or whatever cloth happens to be nearby. That is where the trouble often starts.
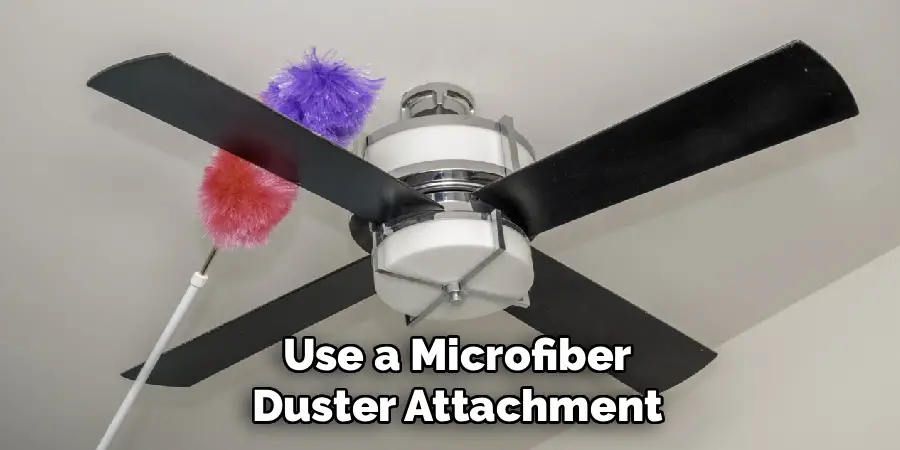
For high office fans, use a microfiber duster attachment and a telescoping extension pole long enough to reach the blades without forcing your body into an unsafe position. A U-shaped microfiber duster is especially useful because it can clean both the top and bottom of a blade at the same time. You will also need a heavy-duty drop cloth or plastic sheeting to catch falling dust.
Microfiber is usually a better choice than a feather duster. It’s fine; synthetic fibers tend to hold dust more effectively instead of pushing it into the air. This makes a noticeable difference when cleaning fans that have not been dusted recently.
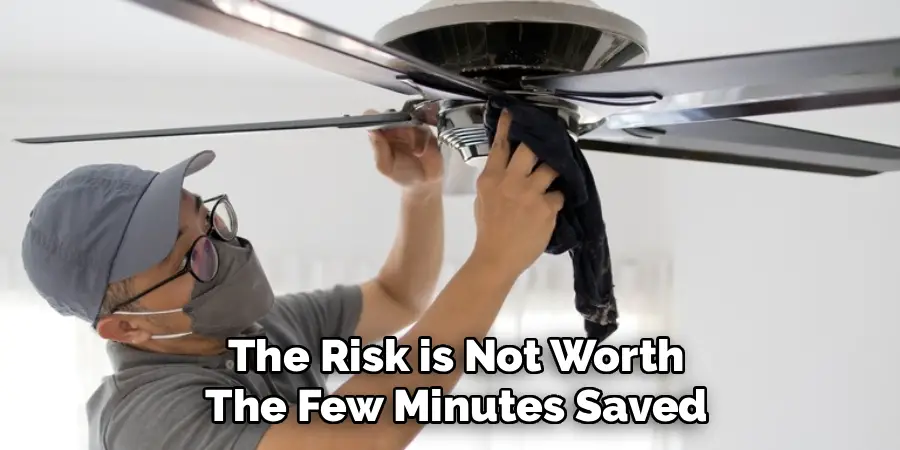
Safety gear matters too. Wear clear safety goggles so falling dust does not get into your eyes. A particulate mask or respirator is also a sensible choice, especially if the fan has visible buildup or the person cleaning is sensitive to dust.
If a ladder is required, use a sturdy A-frame ladder with an appropriate safety rating for the worker’s weight and the needed height. Do not improvise with rolling chairs, desks, boxes, or office furniture. They are not designed for that purpose, and the risk is not worth the few minutes saved.
Step 2: Secure the Surrounding Office Area and Protect Furniture
Before reaching toward the fan, prepare the area below it. Dust will fall. Even with a good microfiber tool, some debris usually breaks loose, especially from blade edges and motor vents.
Move portable electronics, computer monitors, keyboards, documents, personal items, and desk accessories out of the drop zone. If large desks, conference tables, or filing units cannot be moved, cover them fully with canvas drop cloths or thick plastic sheeting. It is better to spend five minutes covering equipment than twenty minutes cleaning dust out of keyboard keys or paperwork.
The workspace also needs to be marked off. Place visible caution signs around the area so employees know overhead cleaning is in progress. In a busy office, people may walk through without looking up, and that creates unnecessary risk for both the cleaner and anyone passing underneath.
This step may feel overly careful for a routine cleaning task. It is not. A falling dust clump is annoying; a dropped tool is more serious. Setting a clear perimeter helps prevent both property damage and accidental injury.
Step 3: Disconnect the Power to Ensure Complete Electrical Safety
Turn off the fan before cleaning it. More importantly, make sure it cannot be switched back on while someone is working near the blades.
Locate the wall switch or the relevant control at the breaker box, then turn the power off. If the fan is controlled by a wall switch, place a visible piece of tape over the switch as a simple warning. In larger offices, where several people may share a space, this small step can prevent someone from turning the fan on without realizing maintenance is underway.
Do not rely only on a remote control. A remote may stop the fan, but it does not provide the same level of certainty as cutting power at the switch or breaker. A button can be pressed accidentally. A stored setting can surprise you. Even a slow-moving blade can strike a cleaning tool, bend a bracket, or cause a worker to react suddenly while standing on a ladder.
The safest approach is plain and somewhat unglamorous: stop the electrical supply before touching the fan. Once the power is off, wait until the blades have stopped completely before beginning.
Step 4: Position Your Ladder or Extension Pole Correctly
Good positioning makes the job easier and safer. It also helps you clean more thoroughly because you are not stretching, twisting, or trying to control a long pole from a poor angle.
If you are using a telescoping pole, stand slightly to the side of the fan rather than directly beneath the motor housing. This keeps dust away from your face and shoulders. It also gives you a better angle for pulling the duster along the blade from the center outward.
Keep your feet planted and your movements slow. Long extension poles can feel awkward at full length, especially when the fan is several feet above you. A controlled pull is better than a quick swipe.
If the fan is too high for a pole and a ladder is needed, place the A-frame ladder on a flat, dry, stable surface. Lock it fully open. Climb only to the manufacturer’s recommended step, and keep your body centered between the side rails. A useful rule is to keep your belt buckle between the rails rather than leaning outward to reach one more inch.
You should be able to reach the blade comfortably. If you have to stand on your toes, stretch your shoulder, or lean away from the ladder, climb down and reposition the ladder. It takes a little longer, but it is far safer than trying to save one trip.
Step 5: Wipe Each Fan Blade Delicately Using a Microfiber Duster
Once the area is prepared and the power is off, begin with the blades. Slide the U-shaped microfiber duster over the first blade so the material touches both the upper and lower surfaces. Then pull the duster slowly from the motor housing toward the blade tip.
Use light, steady pressure. The goal is to lift dust away, not scrub the blade as if it were a floor tile. Aggressive scrubbing can loosen blade hardware or affect the fan’s balance. A fan that wobbles after cleaning may have been pushed too hard, especially if the brackets were already slightly worn.
After cleaning one blade, rotate the fan by hand to bring the next blade into a comfortable position. Do not twist your body or overreach to get to the far side. The fan can move; your ladder setup should not have to become risky.
If the fan has not been cleaned in years, the dust may no longer be loose. It can mix with moisture, grease, or airborne residue and turn into a sticky film. A dry duster may not remove all of it. In that case, lightly mist the microfiber pad with a mild degreasing cleaner, then wipe again. Spray the cloth, not the fan. This gives you more control and reduces the chance of moisture reaching the motor or blade hardware.
Work patiently. High office fans often look simple from the ground, but each blade has edges, brackets, and surfaces where dust can cling. A slow pass usually does a better job than several hurried ones.
Step 6: Clean the Motor Housing and Integrated Light Fixtures
The blades are the most visible part of the fan, but they are not the only part that collects dust. The motor housing, vents, canopy, and any attached lighting should be cleaned as well.
Use a clean, dry microfiber cloth or a smaller dusting wand to wipe the motor housing and upper canopy. Pay attention to the vents, since dust can settle there and may affect heat release over time. Do not spray liquid cleaner directly onto the motor housing. Moisture near internal wiring is a serious concern and may damage the fan.
If the fan includes an integrated light fixture, dust the glass globes or plastic covers gently. A thin layer of dust can reduce brightness enough to make the office feel dimmer, even when the bulbs are working properly.
For exposed bulbs, let them cool completely before cleaning. Hot glass can be fragile, and wiping it with a damp cloth may cause cracking or shattering. Once cool, use a dry cloth or duster and apply very light pressure.
This part of the job can be easy to rush because the blades usually look like the main problem. Still, the housing and lighting are part of the same fixture. Leaving them dusty makes the finished work look incomplete.
Step 7: Vacuum the Fallen Dust and Restore the Office Space
After the overhead cleaning is finished, turn your attention to the floor and furniture. This final cleanup matters. If loose dust is left behind, it can be tracked through the office or pulled back into the air.
Fold the drop cloth inward from the corners so the dust stays contained. Carry it carefully out of the work area. Depending on the cloth type and the amount of dust collected, shake it outside or place it in a commercial washing machine. Avoid snapping or shaking it indoors, since that simply redistributes the dust you just removed.
Next, vacuum the floor beneath and around the fan. A HEPA vacuum is a good option because it can capture smaller particles that ordinary vacuum filters may miss. Move slowly over carpeted areas, especially if visible dust fell beyond the drop cloth.
Once the floor is clean, remove protective coverings from desks and equipment. Put caution signs away. Return moved items to their proper places. Finally, restore power at the switch or breaker and test the fan briefly to make sure it runs smoothly.
If the fan wobbles or makes a new noise after cleaning, switch it off and inspect the blades and brackets. The issue may be minor, but it should not be ignored in a commercial office. Following these steps on how to dust ceiling fans in high offices is a simple process that can keep your workspace clean and safe.
Common Mistakes to Avoid
The most common mistake is skipping safety steps because the job looks simple. A ceiling fan may be a familiar fixture, but cleaning one at height introduces risk. Always turn off the power before working near the blades.
Another mistake is using a feather duster or dry rag that only pushes dust around. Microfiber tends to trap particles more effectively, which makes the job cleaner and reduces the amount of debris falling into the room.
Some cleaners press too hard on the blades, especially when trying to remove stuck-on dust. Heavy pressure can bend brackets or throw the fan slightly out of balance. Gentle, repeated passes are usually safer than force.
It is also easy to forget the area below the fan. Leaving monitors, paperwork, or office equipment uncovered almost guarantees extra cleanup. In the worst case, dust or moisture may get into electronics.
Finally, avoid spraying cleaner directly onto the fan. If liquid is needed, apply it to the cloth first. This is a small detail, but it helps protect the motor, light fixtures, and blade finish.
Frequently Asked Questions
Q1: What Is the Best Tool for Reaching High Ceiling Fans?
The safest and most practical tool for most high office ceiling fans is a telescoping extension pole fitted with a U-shaped microfiber duster. This setup allows the cleaner to reach the blades while keeping both feet on the floor.
A U-shaped duster is useful because it can clean the top and bottom of each blade in one pass. It also reduces the need for awkward angles. For very high ceilings, a ladder or lift may still be necessary, but a long extension pole is usually the better first option when the fan height allows it.
Q2: How Often Should High Office Ceiling Fans Be Cleaned?
In many office settings, ceiling fans should be cleaned every three to four months. That schedule helps prevent visible buildup and may support better indoor air quality.
Some offices need more frequent cleaning. Buildings in polluted urban areas, spaces with heavy foot traffic, and offices near manufacturing or warehouse activity may accumulate dust faster. A monthly inspection is a practical way to decide whether the cleaning schedule should be adjusted.
The fan itself will often tell you. If dust is visible on the blade edges from the floor, it is probably time to clean it.
Q3: Can I Use Liquid Cleaners on Ceiling Fan Blades?
Yes, but use them carefully. For ordinary dust, a dry microfiber cloth or duster is usually enough. Liquid cleaner is more appropriate when the blades have greasy, sticky, or old buildup that does not lift with dry dusting.
If you use a liquid cleaner, spray a small amount onto the microfiber cloth rather than spraying the fan directly. Wipe the blade with light pressure and avoid soaking the surface. Keep all moisture away from the motor housing, vents, and electrical components.

Keep Your Office Air Fresh and Fan Blades Pristine
Cleaning high office ceiling fans does not have to be complicated, but it should be done with care. The right process is simple: prepare the area, turn off the power, use safe access equipment, wipe each blade gently, clean the motor housing and lights, then remove the fallen dust from the room.
That method protects workers, office equipment, and the fan itself. It also keeps dust from being pushed back into the workspace every time the fan runs.
Add ceiling fan cleaning to your regular office maintenance schedule, especially during deep cleans or seasonal facility checks. The result is a cleaner-looking office, better-kept equipment, and a more comfortable environment for everyone working below. Thanks for reading this guide on how to dust ceiling fans in high offices.
