
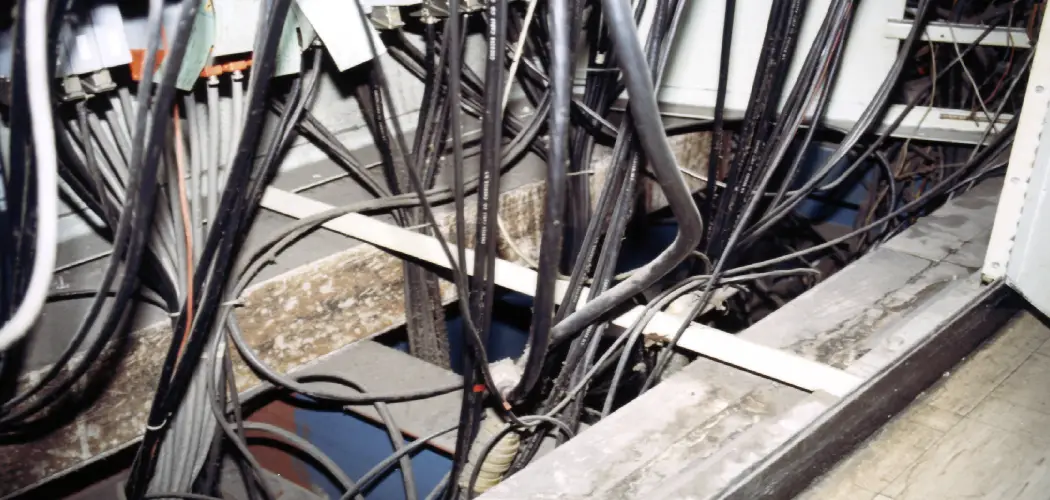
A messy tangle of cables under your desk does more damage than you might think. It makes your workspace look cluttered, creates tripping hazards, collects dust, and can even cause cables to overheat when they’re bunched too tightly together. Whether you’re setting up a home office, a gaming station, or a standing desk, the difference between a chaotic floor and a clean, organized setup often comes down to one thing — cable management.
Knowing how to hide cables under desk is one of the simplest upgrades you can make to your workspace, and it doesn’t require expensive tools or professional help. With the right approach, you can go from a floor covered in tangled cords to a neat, functional desk setup in a single afternoon. This guide walks you through the entire process in seven clear, beginner-friendly steps so you can take control of your cables, reduce visual clutter, and create a workspace that’s both safer and more enjoyable to sit at every day.
Why Hiding Cables Under Your Desk Matters
A clean cable setup isn’t just about looks — it affects how safely and efficiently your workspace functions. Loose cables on the floor are a genuine tripping hazard, especially in high-traffic areas or if you regularly move your chair. Cables left exposed also collect dust and pet hair faster, which can clog ventilation on computers and power bricks and shorten their lifespan.
Organized cables are also much easier to trace when something stops working. Instead of unplugging every cord trying to find the one connected to your monitor, you know exactly where each cable runs.
Step-by-Step Guide to How to Hide Cables Under Desk
Step 1: Gather Everything You’ll Need Before You Start
Before touching a single cable, spend a few minutes collecting the right supplies. You’ll need a cable tray or raceway to mount under the desk, adhesive cable clips or zip ties to bundle cords together, a cable sleeve or braided wrap for groups of cables that run the same direction, and a label maker or small pieces of tape for marking each cord. Having everything within reach before you begin prevents you from stopping halfway through to search for supplies, which often leaves your desk in a worse state than when you started.

Once you have your materials ready, take a photo of your current cable setup from a few different angles. This gives you a reference if something gets disconnected during the process, and it also shows you exactly how far you’ve come once the job is finished.
Step 2: Sort and Label Every Cable Before Routing Them
One of the most common cable management mistakes is routing cables first and labeling them later — or never labeling them at all. Before any cord goes into a sleeve or gets clipped to the underside of your desk, identify what it connects to and mark it clearly. You can use adhesive cable labels, small pieces of tape with a written note, or colored zip ties to color-code cables by category — power cables in one color, data cables in another, and audio cables in a third.
Sorting your cables at this stage also helps you decide which ones actually need to run under the desk and which ones can be shortened, replaced with wireless alternatives, or removed entirely.
Step 3: How to Hide Cables Under Desk Using a Cable Tray
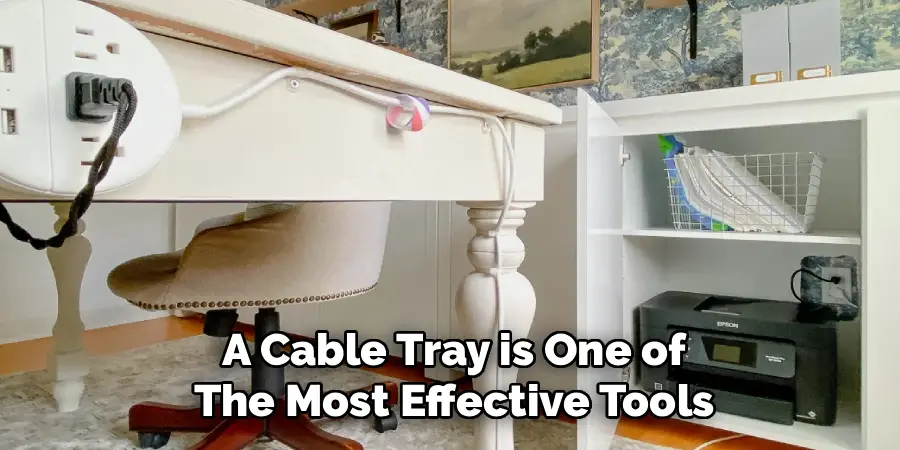
A cable tray is one of the most effective tools for keeping cords organized and out of sight, and installing one is simpler than most people expect. Cable trays are metal or plastic baskets that mount directly to the underside of your desk using screws or adhesive strips. Once in place, they hold your power strip, surge protector, and bundled cables off the floor and out of view. Most trays are wide enough to fit a full-size power strip and several grouped cables side by side without crowding.
To install a cable tray, hold it against the underside of your desk roughly centered from front to back, and position it close enough to the side of the desk where your cables drop down from the surface.
Step 4: Bundle and Sleeve Cables That Run the Same Path
Once your power strip is secured in the cable tray, you can start grouping the cables that travel similar routes. Any cable that runs from the back of your desk down to the tray — like your monitor power cord, your computer tower cord, and your desk lamp — can be bundled together and wrapped inside a cable sleeve. Cable sleeves are flexible fabric or plastic tubes that zip or velcro closed around a group of cables, turning multiple individual cords into a single tidy bundle that’s much easier to manage.
Choose a sleeve long enough to cover the full run from where the cables leave the desk surface to where they enter the cable tray below. Thread each cable through the sleeve before reconnecting anything so you don’t have to force plugged-in connectors through a narrow opening.
Step 5: Use Adhesive Clips to Route Cables Along Desk Edges
Not every cable runs straight from the surface to the tray. Monitor cables, USB cords, and headphone or audio cables often need to travel horizontally across the back or underside of your desk before dropping down. Adhesive cable clips are the right tool for this job — they’re small plastic hooks with a peel-and-stick backing that press onto any flat surface and hold one or two cables in place along a guided path.
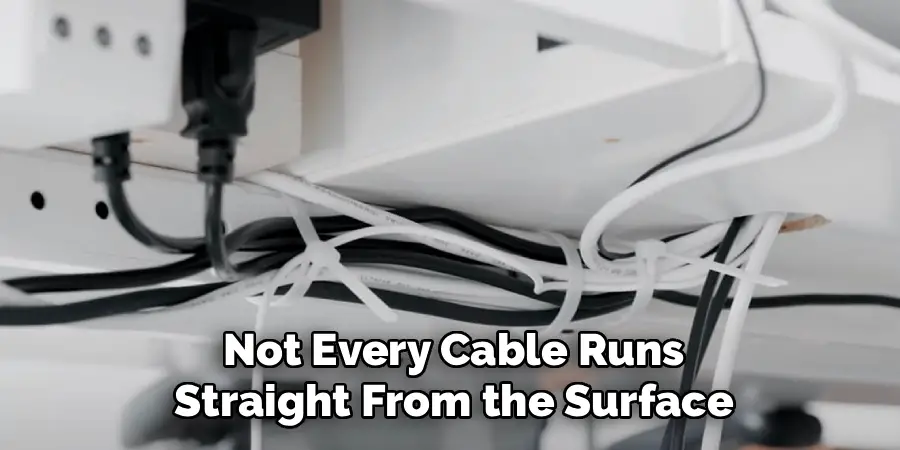
Start at the point where the cable leaves your device and plan its route along the desk’s back rail, side edge, or underside before applying any clips. Straight, logical routes look cleaner and are easier to follow later when you need to replace or disconnect something. Space the clips every six to eight inches so the cable lies flat without sagging between anchor points.
Step 6: Gaming or Multi-Monitor Setup
Gaming setups and multi-monitor workstations typically involve significantly more cables than a basic office desk — multiple display cables, audio interfaces, controller chargers, RGB lighting strips, and external drives can all add up quickly. The key to managing a complex setup is to treat each cable run as its own individual route rather than trying to bundle everything together into one massive sleeve, which becomes impossible to maintain once a single cable needs to be changed.
Group cables by destination rather than by type. All cables going to the left monitor travel together, all cables going to the right monitor travel separately, and all cables going to the computer tower form their own run. Use a different colored cable sleeve or zip tie color for each group so you can identify them instantly without tracing anything by hand.
Frequently Asked Questions
What Is the Best Product for Managing Cables Under a Desk?
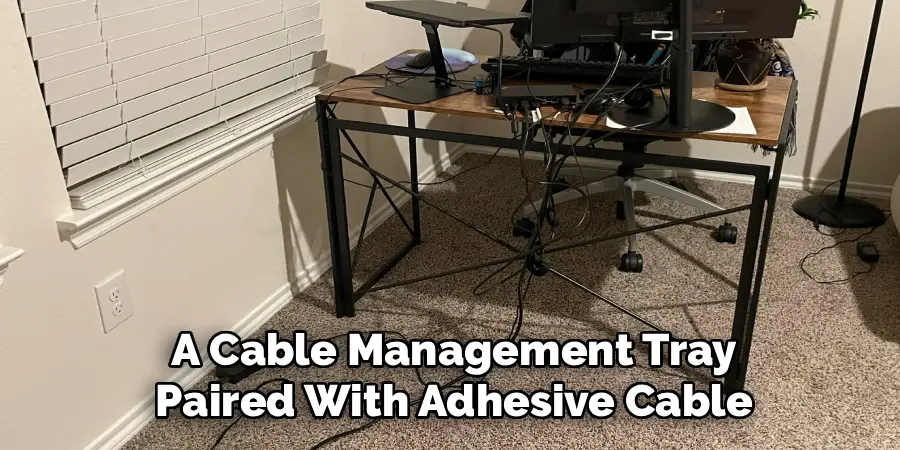
A cable management tray paired with adhesive cable clips is the most practical combination for most setups. The tray holds your power strip and heavy cables off the floor, while the clips guide individual cords along clean routes across the underside or back of the desk.
Will Adhesive Clips Damage My Desk Surface?
Most adhesive cable clips are designed for easy removal and use a mild adhesive that should not damage painted, laminated, or wood surfaces when removed carefully. To minimize risk, avoid leaving them in place for years without checking them, and when removing them, peel slowly at a low angle rather than pulling straight out.
How Do I Manage Cables on a Standing Desk?
Standing desks require extra slack in every cable run because the desk’s height changes throughout the day. Allow at least 18 to 24 inches of additional cable length beyond what you’d use on a fixed desk, and coil the excess loosely in the cable tray rather than pulling cords tight. Use a cable sleeve that’s long enough to cover the full range of desk motion, and make sure no cable is routed in a way that it could catch on the desk’s lifting mechanism.
How Many Cables Can Fit in a Cable Sleeve?
Most standard cable sleeves designed for desk setups can comfortably hold between four and eight cables, depending on the sleeve’s diameter and the thickness of each cable. Thicker power cables take up more space than thin USB or audio cables. If you’re running a large setup, use multiple sleeves for different cable groups rather than forcing too many cords into one sleeve, which makes the bundle bulky, reduces airflow around the cables, and makes individual replacement much harder when you need to swap something out.
Is It Safe to Put a Power Strip Inside a Cable Tray?
Yes, as long as the power strip has proper ventilation and isn’t packed in too tightly with other cables that could trap heat around it. Choose a cable tray that’s wide enough for the power strip to sit with a small amount of clearance on each side. Never coil the power strip’s cord around itself and then put it in the tray, as coiled power cables can overheat under heavy loads.
Conclusion
A clean, well-organized desk setup isn’t as complicated to achieve as it might look. By working through each of these seven steps — gathering the right supplies, labeling every cable before routing, installing a tray, using sleeves and clips intelligently, and finishing with a safety and accessibility check — you transform a frustrating tangle of cords into a system that’s easy to maintain and genuinely pleasant to work at.
The best time to do this is before adding new equipment to your desk, but even an existing setup can be reorganized in an afternoon without professional help. Once you know how to hide cables under desk properly, you’ll find that keeping your workspace neat becomes a habit rather than a chore — and your desk will stay cleaner, safer, and more functional for a long time to come.
