
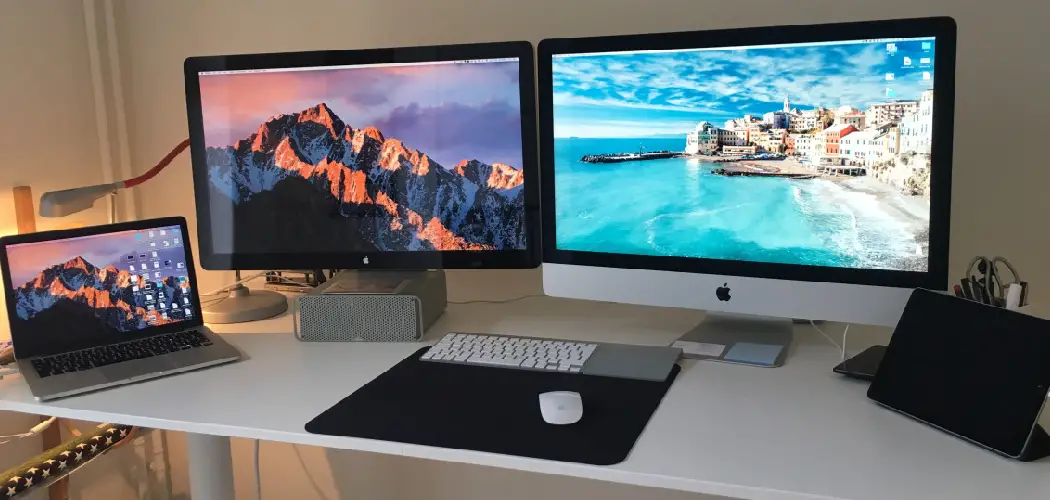
Running two screens at once sounds like something only tech professionals bother with, but the truth is that a dual-monitor setup is one of the most practical upgrades any computer user can make. Whether you work from home, study, game, or just want more space to get things done, having two displays changes how you interact with your computer entirely.
The good news is that setting it up doesn’t require advanced technical knowledge or expensive equipment. Most modern computers — desktops and laptops alike — already support multiple displays right out of the box. The process mostly comes down to knowing what ports you have, picking the right cables, and adjusting a few settings in your operating system.
This guide covers exactly how to connect a computer to two monitors, walking you through every step from checking your hardware to configuring your display layout. By the end, you’ll have both screens up and running with confidence. No guesswork, no jargon — just clear, practical steps that work for Windows and macOS users alike.
Why Connecting A Computer To Two Monitors Matters
Adding a second monitor to your setup does more than just give you extra screen space. It fundamentally changes how efficiently you can work. Research consistently shows that dual-monitor setups improve productivity by reducing the time spent switching between applications. Instead of constantly minimizing and reopening windows, you can have your email open on one screen while working on a document on the other.
For gamers, a second screen lets you browse guides, chat, or monitor system performance without interrupting gameplay. For students, it means keeping research visible while writing an essay. For creative professionals, it provides the room to run editing tools on one screen while previewing work on the other. The setup cost is low, the performance gains are immediate, and once you’ve tried it, going back to a single screen feels limiting.
Step-by-Step Guide To How To Connect A Computer To Two Monitors
Step 1: Check Your Computer’s Available Video Ports
Before buying anything, take a close look at the back of your desktop tower or the sides of your laptop. You’re looking for video output ports, which are the connectors that send a picture signal to a display. Common types include HDMI, DisplayPort, USB-C with video output, and the older VGA and DVI connectors.
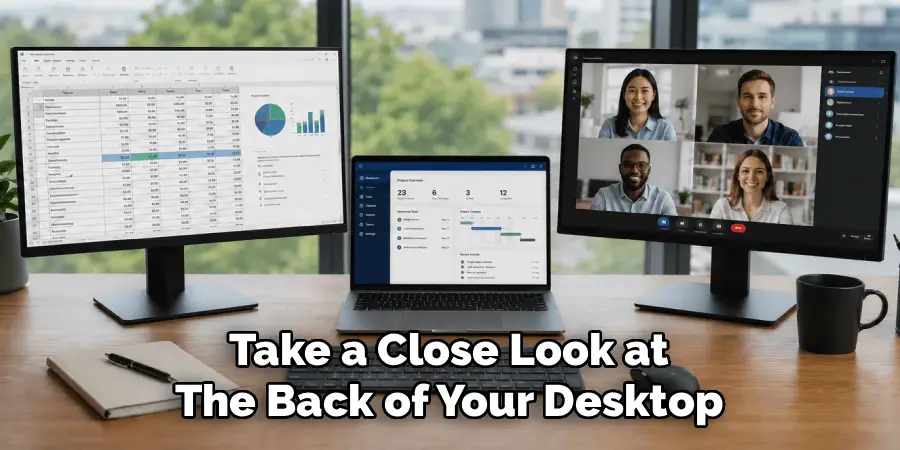
Most desktop graphics cards have at least two or three video outputs, making them ideal for dual-monitor use. Laptops vary more widely — some have two outputs, while others have only one plus a USB-C port that can carry video. Write down what you have before moving on.
Step 2: Check What Ports Your Monitors Support
Now look at the back of each monitor. Identify which input ports are available — again, this is usually HDMI, DisplayPort, or VGA. In an ideal setup, the ports on your computer and each monitor will match directly so you can use a simple cable with no adapters.
If the ports don’t match, that’s not a problem. Adapters and converter cables are widely available and affordable. For example, if your computer has DisplayPort and your monitor only has HDMI, a DisplayPort-to-HDMI cable will bridge the gap cleanly and reliably.
Step 3: Gather the Right Cables and Adapters
Once you know what ports you’re working with, buy the appropriate cables. For the best image quality, HDMI and DisplayPort are your first choices — both support high resolutions and refresh rates without any noticeable quality loss.
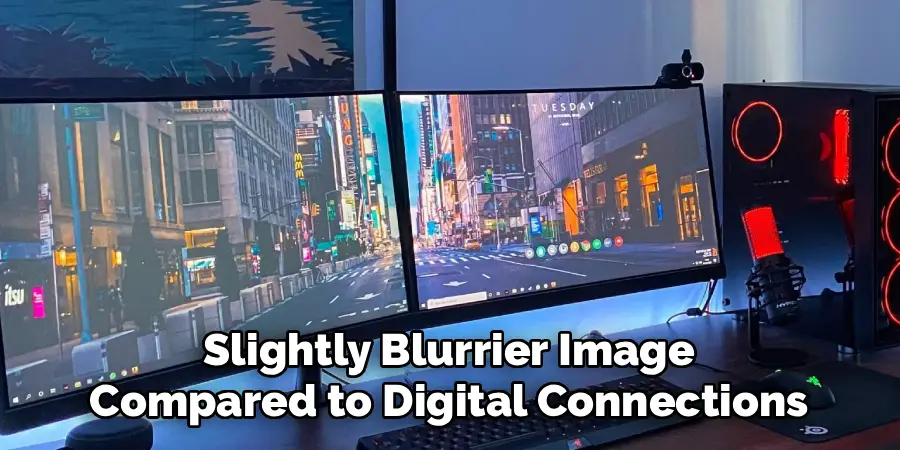
Avoid VGA if you can. It’s an analog signal that tends to produce a softer, slightly blurrier image compared to digital connections. If one of your monitors only has VGA and it’s an older screen, it will still work fine for general tasks, but you’ll notice the difference if you place it next to a sharp HDMI display.
Step 4: Connect Both Monitors to Your Computer
With cables in hand, plug each monitor into a video output port on your computer. Power on both monitors first, then turn on the computer if it isn’t already running. Most systems will detect the new displays automatically within a few seconds of booting up.
If one monitor doesn’t show an image right away, check that it’s powered on and set to the correct input source. Monitors often have an input selection button or menu that lets you switch between HDMI, DisplayPort, and VGA. Select the input that matches the cable you plugged in.
Step 5: Open Display Settings on Your Computer
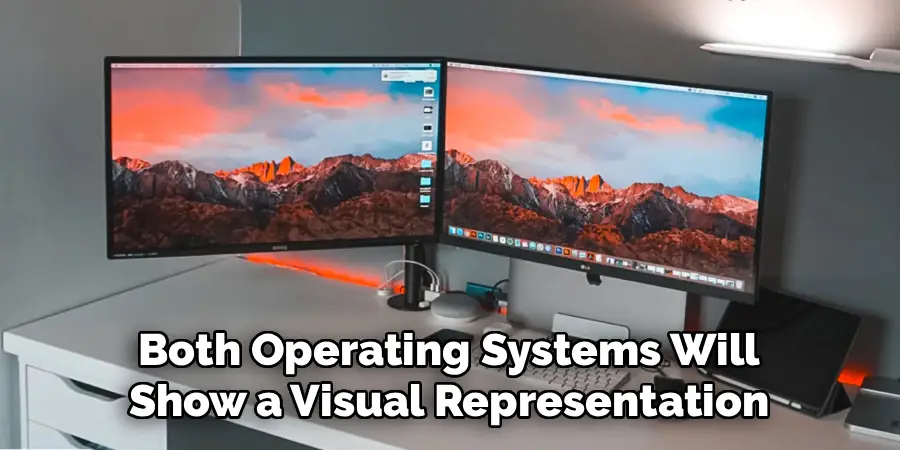
On Windows, right-click on your desktop and select “Display settings.” On macOS, open System Settings and go to “Displays.” Both operating systems will show a visual representation of the monitors it has detected, usually labeled as Display 1 and Display 2.
If only one monitor appears in the settings, scroll down to find the “Detect” button on Windows or check that the second monitor is fully powered on and connected. Understanding how to connect a computer to two monitors goes beyond just plugging in cables — your OS needs to recognize both displays before you can configure them.
Step 6: Arrange and Configure Your Display Layout
Once both monitors appear in display settings, you can drag the display icons to match their physical positions on your desk. If your second monitor sits to the right of your primary one, drag its icon to the right. This controls how your mouse and windows move between screens, so getting it right makes a big difference in daily use.
You’ll also find options to choose your primary display, set each screen’s resolution, and adjust the refresh rate. Set each monitor to its native resolution for the sharpest image. If the monitors are different sizes or have different pixel densities, you can also adjust scaling here to keep text and icons looking consistent.
Step 7: Choose Your Display Mode
The final step is selecting how you want the two screens to work together. On Windows, press the Windows key plus P to open a quick display mode panel. The main options are “Extend,” which gives you one large continuous workspace across both screens, and “Duplicate,” which mirrors the same image on both.

For productivity, gaming, or studying, “Extend” is almost always the right choice. It’s the display mode that makes knowing how to connect a computer to two monitors genuinely worthwhile — your desktop stretches across both screens, and every application has more room to breathe. “Duplicate” is most useful when presenting to a second screen or projector.
Frequently Asked Questions
Can Any Computer Support Two Monitors?
Most modern computers can support at least two displays, but it depends on the hardware. Desktop computers with a dedicated graphics card typically handle dual monitors easily. Laptops vary — some support two external displays, while others are limited to one external monitor alongside the built-in screen. Check your computer’s specifications or the graphics card documentation to confirm how many displays your system supports.
Do Both Monitors Need To Be the Same Brand or Size?
No, they don’t. You can mix and match monitors of different brands, sizes, and resolutions without any issues. The operating system handles differences in screen size and resolution automatically through the display settings. That said, monitors with similar resolutions placed side by side will give you the most visually consistent experience, especially if you frequently move windows between screens.
What If My Computer Only Has One Video Output Port?
If your computer only has one dedicated video output, you still have options. Many computers have a USB-C or Thunderbolt port that supports video output through a compatible adapter or hub. You can also use a USB-to-HDMI adapter, which converts a standard USB port into a video output. Performance varies with these adapters, but for general productivity tasks they work reliably.
Will Using Two Monitors Slow Down My Computer?
For most tasks, the performance impact is minimal. Basic productivity work, web browsing, and document editing put very little demand on the graphics hardware even across two screens. Gaming is a different story — running a game across two monitors, or gaming on one while streaming video on the other, will increase the load on your graphics card. A modern dedicated GPU handles this comfortably, but integrated graphics may show some strain.
What Is the Difference Between HDMI and DisplayPort for Dual Monitors?
Both are excellent digital connections that support high resolutions and refresh rates. DisplayPort has a practical advantage for multi-monitor setups because it supports daisy-chaining, meaning you can connect multiple monitors in a chain from a single DisplayPort output on supported hardware. HDMI is more universally found on monitors and TVs and is perfectly capable for most users. Either works well — use whichever matches your available ports.
Conclusion
Setting up two screens is one of the most straightforward hardware upgrades you can make, and the payoff is immediate. You start with checking your ports, match them with the right cables, connect both monitors, and then spend a few minutes in your operating system’s display settings to configure the layout.
The steps don’t require any technical expertise — just a little preparation before you buy cables and five minutes of configuration once everything is plugged in. Most of the complexity people worry about simply doesn’t exist once you’re in front of the settings menu.
Now that you know how to connect a computer to two monitors, there’s nothing stopping you from setting it up today. Your desk has room, your computer almost certainly supports it, and the productivity boost is worth every minute of setup time.
