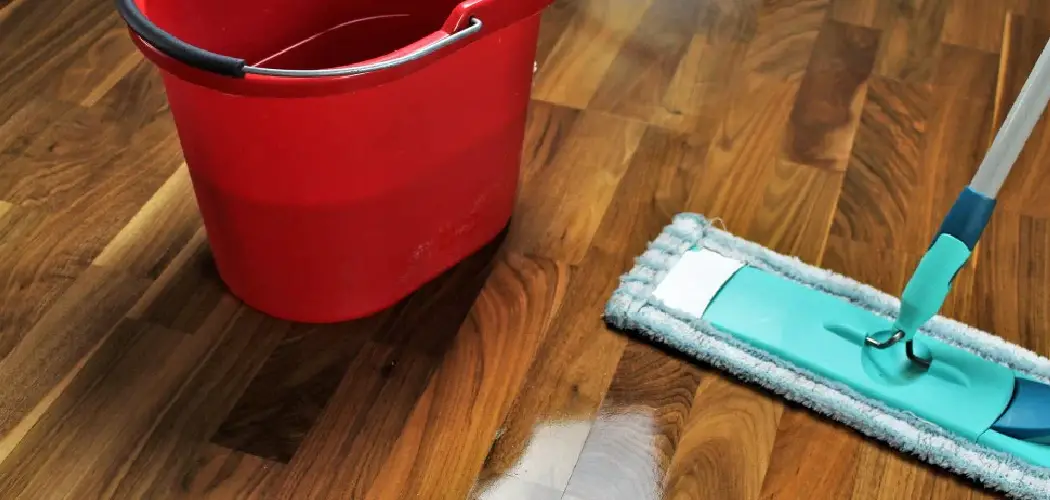
To mop office floors without streaks, remove loose dirt first with a broom, dust mop, or vacuum. Use a clean microfiber mop with a properly diluted pH-neutral floor cleaner and cool water. Mop in a figure-eight pattern, rinse and wring the mop often, replace dirty water before it turns cloudy, and keep foot traffic off the floor until it dries fully.

Clean office floors are easy to take for granted until they start looking dull, cloudy, or marked with drying lines. In many cases, streaks are not caused by the floor itself. They usually come from dirty water, too much cleaner, the wrong mop, or a floor that dries before the cleaning solution has been properly lifted.
A well-mopped floor does more than improve appearances. It can make an office feel better cared for, reduce tracked-in grit, and help visitors form a cleaner impression of the space. The good news is that streak-free mopping is not complicated. It depends on a few disciplined habits: prepare the surface, use the right tools, mix the cleaner correctly, and let the floor dry without interruption. In this guide on how to mop office floors without streaks, we will delve deeper into each of these steps and provide tips for achieving a clean and streak-free floor.
Understanding Different Office Floor Types
Before filling a mop bucket, identify the type of flooring in the office. This matters more than many people assume. A cleaner or method that works well on one surface may leave residue, dullness, or damage on another.
Luxury vinyl tile, often called LVT, and linoleum are common in commercial spaces because they hold up well under regular foot traffic. Even so, they generally need pH-neutral cleaners to help preserve their finish. Hardwood flooring is less forgiving. Too much water may seep into seams and contribute to swelling or warping over time. Ceramic tile can handle more moisture than wood, but grout lines often collect soil and may need more focused attention.
Knowing the floor type helps you choose the right cleaning solution and avoid the hazy film that often gets mistaken for “streaks.” In practice, the wrong product is one of the fastest ways to make a clean floor look unfinished.
Choosing the Right Mop and Cleaning Tools
The mop matters. So does the bucket.
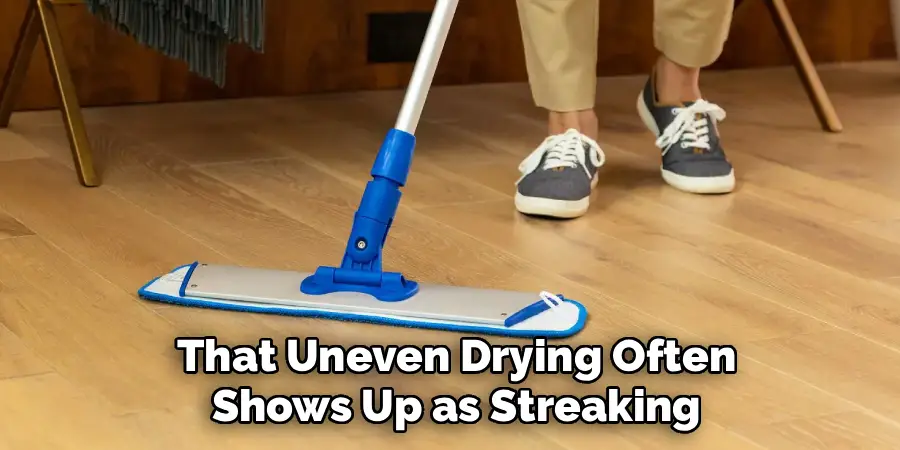
Traditional cotton string mops still appear in many cleaning closets, but they are not always the best choice for office floors. They can hold too much water, spread soil from one area to another, and leave uneven moisture behind. That uneven drying often shows up as streaking.
A microfiber flat mop is usually a better option. Microfiber picks up fine dust and soil more effectively, and it leaves the floor damp rather than soaked when wrung out properly. That small difference can have a noticeable effect on the final finish.
A two-bucket system is also worth using, especially in larger offices. Keep one bucket for a clean solution and the other for rinsing or wringing out dirty water. This setup reduces the chance of putting soil back onto the floor you just cleaned. It may feel like a small procedural detail, but it often separates a passable mopping job from a genuinely clean-looking one.
6 Simple Step-by-Step Guidelines on How to Mop Office Floors Without Streaks
Step 1: Clear the Area and Sweep Thoroughly
Start by clearing the cleaning zone. Move lightweight chairs, trash cans, floor mats, and any small items that might block the mop path. If objects stay in place, dirt can collect around them, and cleaning solution may splash onto furniture or base materials that were not meant to get wet.
Once the area is open, remove dry debris. Use a fine-bristle broom, a commercial dust mop, or a vacuum designed for hard flooring. Pay attention to corners, baseboards, under desks, and around chair legs, where dust and grit tend to gather.
Skipping this step is a common mistake. A wet mop does not make dry dirt disappear. It often turns into a thin, muddy film that dries into visible streaks. Fine dust is especially troublesome because it can spread across a broad area once water hits it. A careful sweep before mopping is less dramatic than the mopping itself, but it usually does more to prevent streaks than people realize.
Step 2: Prepare the Correct Cleaning Solution
Improperly mixed cleaner is one of the most frequent causes of streaky office floors. More product does not mean a cleaner floor. In fact, too much cleaner often leaves a sticky or cloudy residue that attracts new dirt soon after the floor dries.
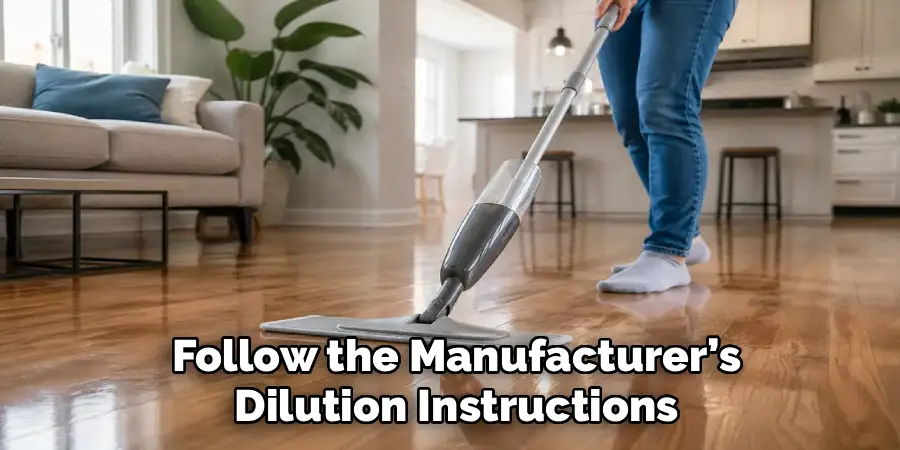
Read the label on the commercial floor cleaner and follow the manufacturer’s dilution instructions. Measure the cleaner rather than guessing. Avoid pouring cleaning fluid directly onto the floor, since concentrated product can leave patches that are difficult to rinse away evenly.
Cool or room-temperature water is generally preferable for routine mopping. Hot water may evaporate more quickly, which can allow the cleaning solution to dry on the surface before it has been spread and removed properly. That quick drying can contribute to chemical streaks or wipe marks.
For many office floors, a properly diluted pH-neutral cleaner mixed with cool water is the safest starting point. It can cut through ordinary office grime without stripping finishes or leaving a heavy film behind.
Step 3: Use the Two-Bucket Mopping System
A single bucket becomes dirty faster than most people expect. After only a few passes, soil from the mop head mixes into the cleaning solution. From there, the mop starts redistributing dirty water rather than removing grime from the floor.
A two-bucket system helps control that problem. Fill one bucket with the measured cleaning solution. Use the second bucket for rinsing and wringing out the mop, or keep it empty so dirty water can be pressed out separately. The point is simple: keep the clean solution as clean as possible for as long as possible.
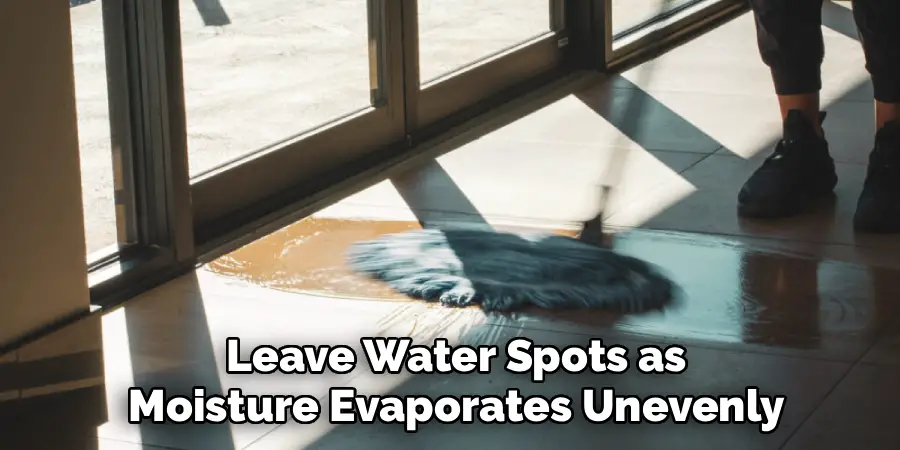
Dip the clean microfiber mop into the solution bucket, then wring it out before it touches the floor. The mop should be damp, not dripping. A soaking wet mop can flood seams, extend drying time, and leave water spots as moisture evaporates unevenly.
This is where patience pays off. If the mop feels too wet, wring it again. A slightly damp mop gives you better control and reduces the chance of streaking.
Step 4: Mop Using a Figure-Eight Motion
Technique affects the finish. Random back-and-forth scrubbing can push dirt around and create uneven drying patterns. A figure-eight motion is more controlled and tends to keep soil moving toward the leading edge of the mop.
Start at the farthest corner of the room and work backward toward the exit. Move the mop in smooth, overlapping figure-eight loops. Each pass should slightly overlap the one before it so you do not leave untouched strips between strokes.
This pattern is useful because it gathers dirt instead of scattering it. It also helps maintain a consistent amount of moisture across the floor. Working backward matters too. If you walk across a damp section, you may leave footprints, shoe oils, or scuff marks that dry into the surface and undo part of the work.
Step 5: Rinse and Wring the Mop Frequently
A mop head collects dirt quickly, especially in office areas with rolling chairs, entry traffic, and dust from paper or packaging. If you keep mopping with a dirty pad, you are no longer cleaning in any meaningful sense. You are spreading a thin layer of soil.
Rinse and wring the mop often. A practical rule is to stop every 10 to 15 square feet, though heavily soiled areas may need more frequent rinsing. Dip the mop into the rinse bucket or wring it thoroughly into the empty side, then return it to the clean solution only after the soil has been removed.
Watch the solution bucket. If the water becomes gray or cloudy, replace it. Continuing with dirty water is one of the surest ways to leave streaks across the entire office floor. In larger spaces, switching to a fresh mop pad midway through the job may also help keep the finish consistent from the first section to the last.
Step 6: Allow the Office Floor to Air Dry Completely
After mopping, leave the floor alone. That may sound obvious, but this final step is often where streaks and footprints appear.
Let the floor air dry completely before anyone walks on it. Do not wipe it with dry towels to speed things along, since towels may leave lint or disturb the even layer of moisture on the surface. If drying needs to happen faster, improve air circulation instead. Keep the HVAC system running or use floor fans where appropriate.
Place visible “Wet Floor” signs at entrances to the cleaned area. This is both a safety measure and a quality-control step. Shoes can deposit dirt and oils onto damp flooring almost instantly. Once that happens, the floor may dry with prints or dull patches.
Return chairs, trash cans, and floor mats only after the floor is dry to the touch. Replacing them too soon can trap moisture underneath and leave marks.
Following these steps on how to mop office floors without streaks will result in a clean and professional-looking workspace.
Common Causes of Streaky Floors
Streaks usually come from a few repeat problems rather than one mysterious cause. The most common issue is too much cleaning product. When excess cleaner remains on the floor, it can dry into a cloudy film.
Dirty mop water is another major factor. A mop head that has not been rinsed properly simply moves soil from one spot to another. That soil may not be obvious while the floor is wet, but it often appears once the surface dries.
Water temperature can play a role as well. Very hot water may cause the cleaning solution to dry too quickly, especially in warm rooms or areas with strong airflow. When that happens, dirt and chemical residue can become trapped on the surface, leaving wipe marks or dull streaks.
Uneven moisture is also worth noting. Floors that are left too wet in some areas and barely damp in others rarely dry evenly.
Maintenance of Cleaning Tools
Clean tools produce cleaner floors. It is a simple rule, but it is easy to overlook at the end of a long shift.
After each mopping session, remove microfiber mop heads and launder them thoroughly. This helps strip out soil, oils, and chemical residue that could transfer back to the floor during the next cleaning. Avoid letting damp mop heads sit in a bucket, since that can lead to odors and bacterial growth.
Rinse buckets completely and allow them to air dry upside down. This helps prevent mildew and keeps old residue from mixing into the next batch of cleaning solution.
Inspect mop handles, frames, and wringers regularly. A wringer that does not work properly can leave too much water in the mop head, which may lead to streaks, longer drying times, and possible floor damage. Replacing worn parts is usually cheaper than dealing with poor cleaning results day after day.
Daily and Weekly Cleaning Routine
A steady cleaning routine makes streak-free mopping easier. When dust, grit, and spills are handled daily, wet mopping does not have to fight through heavy buildup.
Daily cleaning should include sweeping, dust mopping, or vacuuming hard floors. Spills should be spot-cleaned as soon as possible, especially in breakrooms, near coffee stations, and around entrances. Small spills become larger cleaning problems when people walk through them and track residue across the office.
A full wet mopping session is usually appropriate at least once a week. Busy offices, restrooms, lobbies, and breakrooms may need more frequent mopping. The right schedule depends on foot traffic, weather, floor type, and how the space is used.
Regular cleaning also helps protect the flooring itself. Grit acts like fine sandpaper under shoes and chair wheels, so removing it consistently may help reduce wear over time.
Tips for High-Traffic Office Areas
Some parts of an office need more attention than others. Entryways, main hallways, breakrooms, and areas near elevators tend to collect the most dirt. These zones often decide whether the whole office feels clean.
Place heavy-duty walk-off mats at exterior doors. Good mats trap moisture, soil, and grit before they spread across hard flooring. They should be cleaned regularly, though. A saturated or dirty mat can stop helping and start transferring grime back onto shoes.
During wet weather, increase cleaning frequency near entrances. Rain, mud, and salt can move quickly from the doorway into the rest of the building. Spot-mopping these areas during the day may prevent a much larger cleaning job later.
Breakrooms deserve a closer look as well. Small spills from coffee, sugar, cream, and food can leave sticky patches that attract dirt and create dull spots if they are not cleaned promptly.
Mistakes to Avoid
Avoid using a soaking wet mop. Excess water can seep into seams, increase drying time, and leave heavy streaks or water marks.
Do not use household cleaners, dish soap, or bleach unless the flooring manufacturer specifically allows it. These products may strip protective finishes, leave residue, or make floors look dull. Dish soap is especially likely to leave a sticky film when used on large floor areas.
Never skip the dry soil removal step. Mopping over dust, hair, and grit usually creates a dirty slurry that dries badly.
It is also unwise to guess at chemical ratios. Measuring cleaner may feel fussy, but it prevents residue and keeps results more consistent. If streaks keep appearing even after careful mopping, the floor may need a rinse with clean water to remove old product buildup.
Frequently Asked Questions
Q1: How Often Should Office Floors Be Mopped?
Office floors should generally be wet-mopped at least once a week to maintain a clean, professional appearance. High-traffic areas such as lobbies, restrooms, and breakrooms may need daily mopping because they collect more dirt, moisture, and spills.
The exact schedule depends on the size of the office, the number of employees, the type of flooring, and outdoor conditions. During rainy or snowy weather, entrances and hallways may need extra attention.
Q2: Can Vinegar Be Used on Commercial Office Floors?
Vinegar is often used as a household cleaner, but it is not a good choice for most commercial office floors. Because vinegar is acidic, it may dull or damage protective finishes on luxury vinyl, linoleum, and waxed floors.
A commercial-grade, pH-neutral cleaner designed for the specific flooring material is usually the safer option. If there is any uncertainty, check the flooring manufacturer’s care instructions before using a new product.

Next Steps for a Spotless Office Workspace
Streak-free office floors come from repeatable habits, not guesswork. Review the cleaning supplies currently in use and replace worn string mops, dirty pads, or poorly functioning wringers where needed. A microfiber flat mop and a two-bucket system can make a noticeable difference.
Train the cleaning team on dilution ratios, frequent rinsing, and the figure-eight mopping method. These details may seem minor, but together they help prevent the cloudy residue, footprints, and drying marks that make floors look less clean than they are.
With the right process, office floors can dry clear, even, and professional-looking—without extra labor or harsh chemicals. Thanks for reading this guide on how to mop office floors without streaks.