
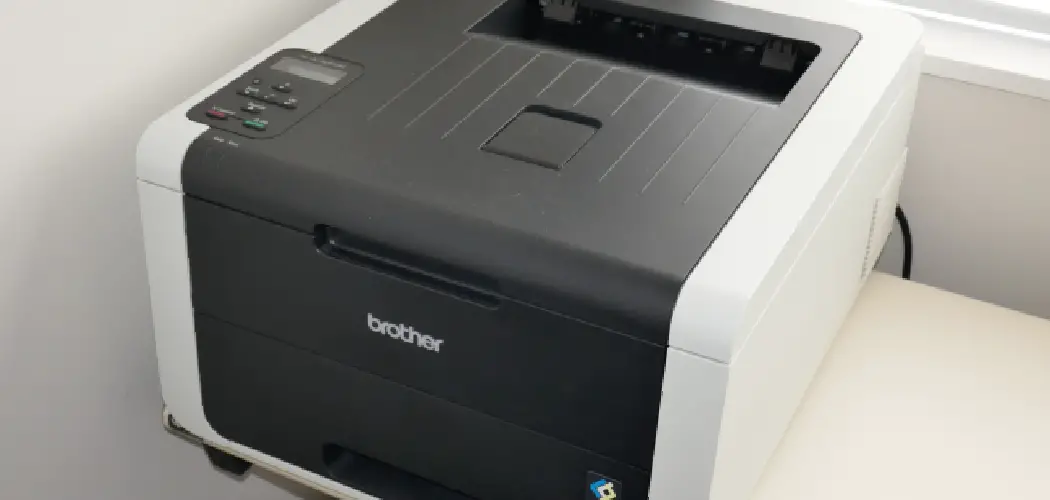
A clean printer is a happy printer. If your Brother printer has started churning out streaky pages, smudged text, or odd paper jams, dust and dried ink are often the culprits. The good news? You don’t need a technician to fix most of these issues. With a little time and the right approach, you can clean your Brother printer at home and bring it back to peak performance.
This guide on how to clean brother printer walks you through everything you need to know. We’ll cover why cleaning matters, what supplies to gather, and a detailed 10-step process for cleaning both the outside and inside of your machine.
By the end, you’ll feel confident keeping your printer in top shape for years to come.
What Are the Benefits?
Cleaning your Brother printer is about more than just looks. Regular maintenance brings real, practical rewards that save you money and frustration over time.
- Sharper print quality. Dust, dried ink, and toner residue build up on the print head and rollers. This causes faded text, streaks, and patchy colors. A good cleaning restores crisp, clear prints.
- Fewer paper jams. Tiny paper fibers and grime collect on the feed rollers. When that happens, your printer struggles to grab and move paper smoothly. Cleaning the rollers helps pages glide through without snags.
- Longer printer life. Like any machine, a printer wears down faster when it’s clogged with debris. Routine cleaning reduces strain on the internal parts, helping your device last longer.
- Lower running costs. When your printer works efficiently, you waste fewer pages on failed prints. You’ll also avoid costly repairs and premature replacements.
- Healthier workspace. Printers gather dust that can spread into the air around them. Wiping yours down keeps your desk area cleaner and more pleasant.
In short, a few minutes of care now prevent bigger headaches later. It’s one of the easiest ways to protect your investment.
What Will You Need?
Before you start, gather a few simple supplies. Most of these are probably already around your home or office.
- Soft, lint-free cloths (microfiber works best)
- Distilled water (avoid tap water, which can leave mineral deposits)
- Cotton swabs for tight corners and small parts
- A can of compressed air to blow out dust
- Mild dish soap (optional, for stubborn grime on the exterior)
- Isopropyl alcohol (70% or higher, used sparingly)
- Disposable gloves to keep ink off your hands
- Paper towels to catch drips and spills
- Your printer’s user manual for model-specific guidance
Having everything ready before you begin makes the job faster and smoother. Lay your supplies out on a clean, flat surface near your printer.
10 Easy Steps on How to Clean Brother Printer
Follow these steps for the best results. Take your time, and don’t rush the process. Patience now means better prints later.
Step 1: Power Down and Unplug
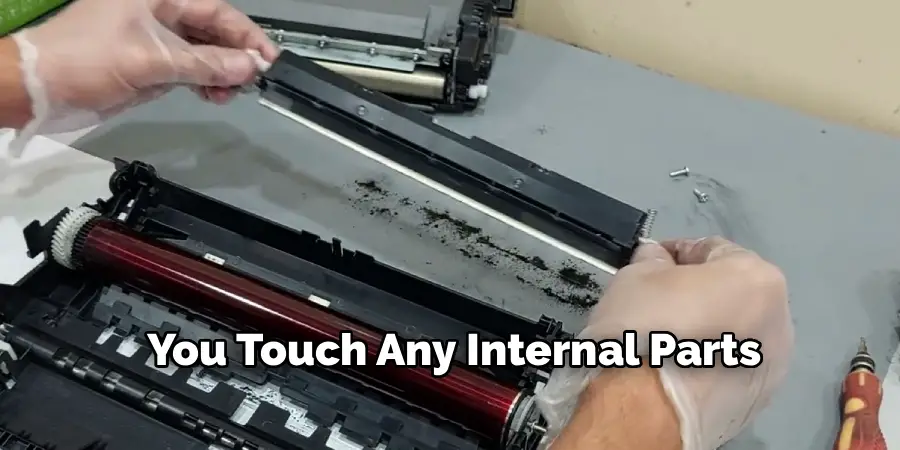
Safety comes first. Before you touch any internal parts, turn off your Brother printer using its power button. Then unplug it from the wall outlet. This protects you from electric shock and prevents the machine from starting a print cycle mid-clean. Let the printer sit for a few minutes so any warm parts, like the fuser, can cool down completely. Working on a powered-off, cool machine is far safer and easier.
Step 2: Clear the Work Area
Move your printer to a flat, well-lit surface where you have plenty of room. A kitchen table or sturdy desk works well. Lay down a few paper towels or newspaper to catch dust and ink. Good lighting helps you spot grime in small crevices. Keep your supplies within arm’s reach so you don’t have to walk away mid-task. A tidy workspace makes the whole job smoother and reduces the risk of misplacing small parts.
Step 3: Wipe Down the Exterior
Start with the outside of the printer. Dampen a soft, lint-free cloth with a little distilled water. Wring it out so it’s barely moist, never dripping. Gently wipe the top, sides, and front of the printer. For sticky spots, add a tiny drop of mild dish soap to your cloth. Avoid spraying any liquid directly onto the machine. For dust trapped in vents and seams, use a dry cotton swab or a quick burst of compressed air. Finish by drying the surface with a clean cloth.
Step 4: Clean the Paper Tray
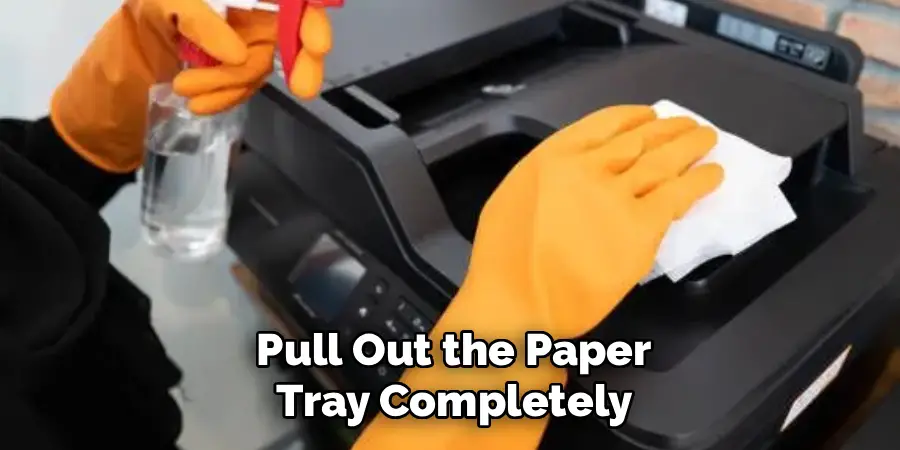
Pull out the paper tray completely. Remove any paper still inside. You’ll often find dust, bits of torn paper, and grime collected here. Wipe the tray with a slightly damp cloth, then dry it thoroughly. Check the corners and guides where paper sits. Make sure the tray is fully dry before you reload paper, since moisture can cause sheets to stick together or jam. A clean tray helps paper feed evenly every time.
Step 5: Open the Printer and Inspect Inside
Carefully open the front or top cover to access the interior. Refer to your manual if you’re unsure how your model opens. Take a moment to look inside before touching anything. Note where dust, ink spots, or paper scraps have gathered. Avoid touching the print head or any electrical contacts directly with your fingers, as oils from your skin can cause problems. A simple visual check helps you target your cleaning where it’s needed most.
Step 6: Blow Out Dust With Compressed Air
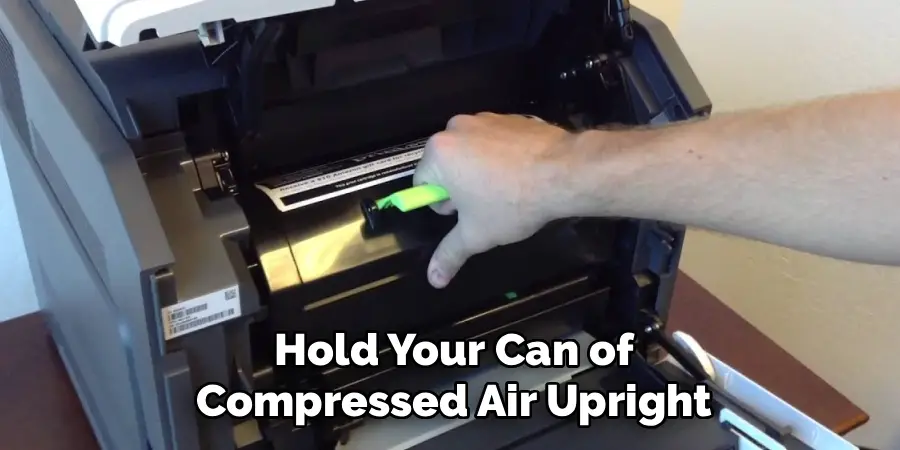
Hold your can of compressed air upright and use short, controlled bursts to clear loose dust from the interior. Aim at corners, vents, and any visible buildup. Keep the nozzle a few inches away from delicate parts. Avoid long, continuous sprays, which can release cold moisture. Don’t blow air directly at the print head with too much force. This step lifts away dry debris that a cloth can’t reach, leaving the inside fresher and clearer.
Step 7: Clean the Print Head
A clogged print head is the top cause of streaky prints. Many Brother printers have a built-in cleaning cycle. To run it, power the printer back on, then go to the menu and select Maintenance or Ink, followed by Print Head Cleaning. Let the cycle finish, then print a test page. If lines still look faulty, run the cycle once more. For laser models, gently wipe the corona wire using the cleaning tab inside the printer instead.
Step 8: Clean the Rollers
The feed rollers grip and pull paper through the machine. Over time, they collect dust and lose traction. Locate the rollers inside the printer or paper feed area. Lightly dampen a lint-free cloth with distilled water or a touch of isopropyl alcohol. Gently wipe each roller while slowly rotating it by hand to reach the full surface. Let the rollers dry completely before closing the printer. Clean rollers mean smoother feeding and fewer frustrating jams.
Step 9: Tidy the Cartridge Area
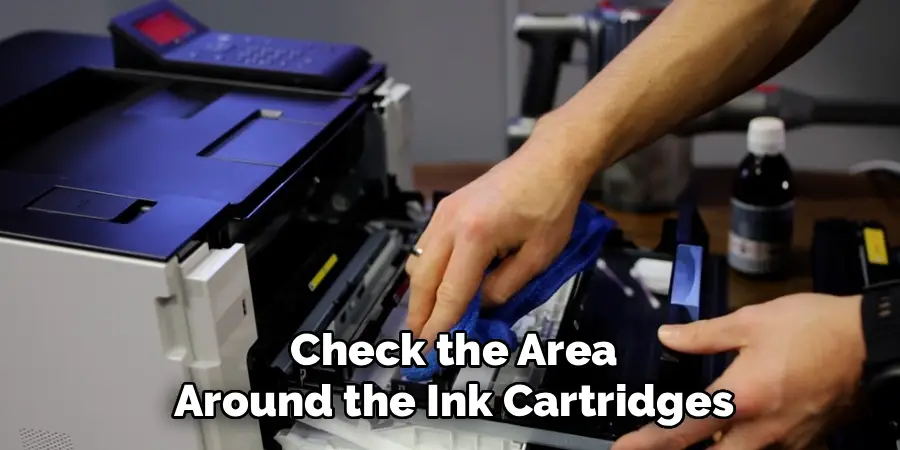
If you have an inkjet model, check the area around the ink cartridges for spills or dried ink. Use a dry cotton swab to gently clean any residue without touching the cartridge chips or contacts. For laser printers, take care around the toner cartridge and avoid breathing in loose toner. If you spot a heavy toner spill, wipe it with a dry cloth rather than blowing it around. Reseat the cartridges firmly once the area is clean.
Step 10: Reassemble and Test
Once every part is clean and fully dry, close all covers and slide the paper tray back in. Reload your paper neatly. Plug the printer back into the wall and power it on. Print a test page to confirm everything works. Look for clear text and even color with no streaks. If the page looks great, you’re done. If not, run another print head cleaning cycle. A successful test page is your reward for a job well done.
5 Things You Should Avoid
Cleaning is helpful, but a few common mistakes can damage your printer. Steer clear of these.
- Never spray liquid directly on the printer. Moisture can seep into electronics and cause short circuits. Always apply liquid to your cloth first.
- Don’t use harsh chemicals. Bleach, ammonia, and strong solvents can ruin plastic surfaces and delicate parts. Stick to mild soap and distilled water.
- Avoid touching the print head with your fingers. Skin oils and pressure can clog nozzles or scratch sensitive components.
- Don’t force stuck parts. If a cover or roller won’t move easily, stop and check your manual. Forcing it can break clips and gears.
- Never clean while powered on. Always unplug first. Cleaning a live machine risks shock and accidental print cycles.
Conclusion
How to clean brother printer is one of the simplest ways to protect its performance and extend its life. With just a few common supplies and a little patience, you can clear away the dust, dried ink, and paper debris that cause most printing problems.
Remember the key points: always power down and unplug first, work on a clean surface, and treat the print head and rollers gently. Avoid harsh chemicals and never spray liquid directly onto the machine. Run the built-in cleaning cycle whenever your prints start to fade or streak.
Make cleaning a regular habit rather than a last resort. A quick wipe-down every few weeks and a deeper clean every couple of months will keep your printer running smoothly. Now that you know exactly how it’s done, grab your cloth and give your Brother printer the care it deserves.
