
Hanging a cabinet can be a daunting task, especially when you’re working with just one stud. Whether you’re updating your kitchen, bathroom, or any other space, securing a cabinet properly is crucial to ensure safety and stability.

This guide on how to hang a cabinet with one stud will walk you through the essential steps and considerations needed to successfully hang a cabinet with only one stud, providing you with expert tips and techniques to achieve a sturdy installation. Even if you’re a DIY enthusiast or tackling this for the first time, following our straightforward methods will make the process manageable and efficient.
What is a Stud?
Before we dive into the process, it’s essential to understand what a stud is and why it’s crucial in hanging cabinets. A stud is a vertical framing member found behind walls that provide support and stability for structure. In most homes, studs are spaced 16 inches apart in the center, but in some cases, you may only have one stud available for hanging a cabinet.
It’s crucial to locate and use a stud when hanging cabinets as it provides the necessary support and prevents the cabinet from pulling away from the wall. It also helps distribute the weight of the cabinet evenly, ensuring it doesn’t become lopsided or fall off entirely.
Tools and Materials Needed
To hang a cabinet with one stud, you will need the following tools and materials:
Cabinet
Choose a cabinet that is lightweight and fits the space where you want to hang it. Ensure that the cabinet has solid wood or plywood backing for added stability.
Stud Finder
A stud finder is a handy tool used to locate studs behind walls accurately. You can purchase an electronic stud finder at your local hardware store or use a magnetic one.
Drill
You will need a drill to make holes in the wall for screws and anchors.

Screws and Anchors
Use screws and anchors that are appropriate for the size and weight of your cabinet. It’s essential to choose strong, sturdy screws as they will be holding the weight of the cabinet.
Level
A level will help ensure that your cabinet is hung straight and even.
Pencil
Use a pencil to mark the location of the stud and where you will be drilling holes.
8 Steps on How to Hang a Cabinet With One Stud
Step 1: Locate the Stud
The first essential step in hanging a cabinet with one stud is accurately locating the stud behind the wall. Use a stud finder to identify the exact position of the stud. Start by turning on the stud finder and calibrating it according to the manufacturer’s instructions. Slowly move the stud finder along the wall in the area where you plan to hang the cabinet. When the stud finder identifies a stud, mark its location with a pencil.
It’s helpful to make multiple marks along the length of the stud to clearly see its exact position. Confirm the stud’s location by measuring 16 inches on either side to ensure it aligns with standard stud spacing, as a mismeasurement can affect the cabinet’s stability. Ensuring you have correctly located the stud is critical for securely hanging your cabinet.
Step 2: Determine the Cabinet’s Placement
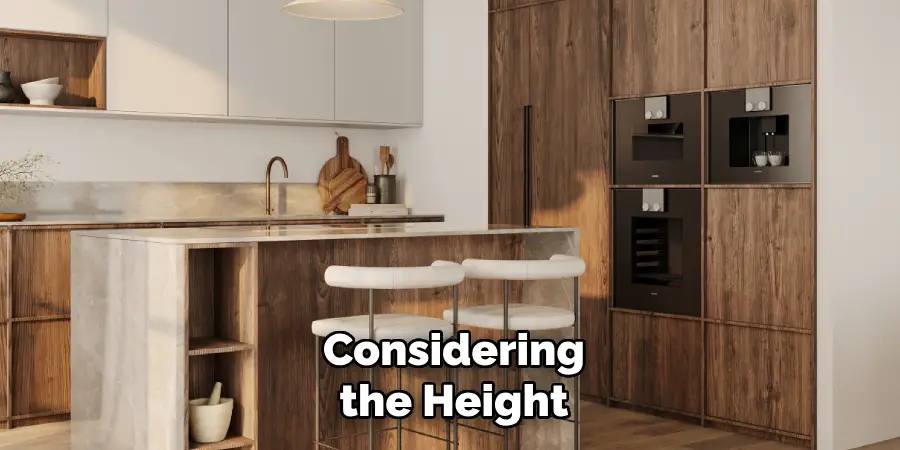
Once you have located the stud, the next step is to determine the ideal placement for your cabinet. Begin by considering the height at which you want your cabinet to be mounted. This may depend on factors such as the typical reach of individuals who will be using the cabinet and the intended use of the cabinet’s contents. Use a measuring tape to mark where the top and bottom of the cabinet will sit on the wall.
Ensure the cabinet will be easily accessible while also considering the aesthetics and alignment with surrounding elements in the room. Holding the cabinet up with assistance can help you visualize its placement, allowing you to adjust your pencil marks if necessary. Once you are satisfied with the positioning, use a level to draw a straight, horizontal line across where the top of the cabinet will align, ensuring that your cabinet will sit perfectly even when installed. This thorough planning will facilitate a smooth installation process and prevent the need for major adjustments later.
Step 3: Pre-Drill Holes
Before you start drilling holes into the wall, pre-drill small guide holes on the back of your cabinet where it will be mounted. These holes will serve as markers for where to drill into the wall. Ensure that they are aligned with the stud’s location and double-check their placement by holding up the cabinet against the wall before proceeding.
You can use a drill bit that is slightly smaller than the diameter of your screws for this step. Pre-drilling holes will prevent the wood from splintering and make it easier to drive in the screws later on.
Step 4: Drill into the Stud
Using your guide holes as a reference, use a drill bit that is appropriate for your screws’ size to create pilot holes into the stud. Pilot holes are essential as they will help guide and secure the screw into place without damaging or cracking the stud.
Ensure that you are drilling straight into the center of the stud and at least 1 inch deep to provide enough support for your cabinet. Repeat this process for all pre-determined screw locations on the cabinet.
Step 5: Insert Anchors
If your cabinet is heavy or if you are using screws that may not provide enough support, consider using anchors to reinforce the installation. Anchors help distribute the weight of the cabinet and prevent it from pulling away from the wall. Simply insert the anchors into each pre-drilled hole before driving in your screws.
But if your cabinet is relatively lightweight and you are confident in the stud’s ability to support its weight, you may opt to skip this step.
Step 6: Mount the Cabinet onto the Wall
With all holes drilled into place, it’s time to mount your cabinet onto the wall. Begin by having someone hold up the cabinet against the wall, aligning it with your pencil marks and ensuring that it sits evenly on top of your level line.
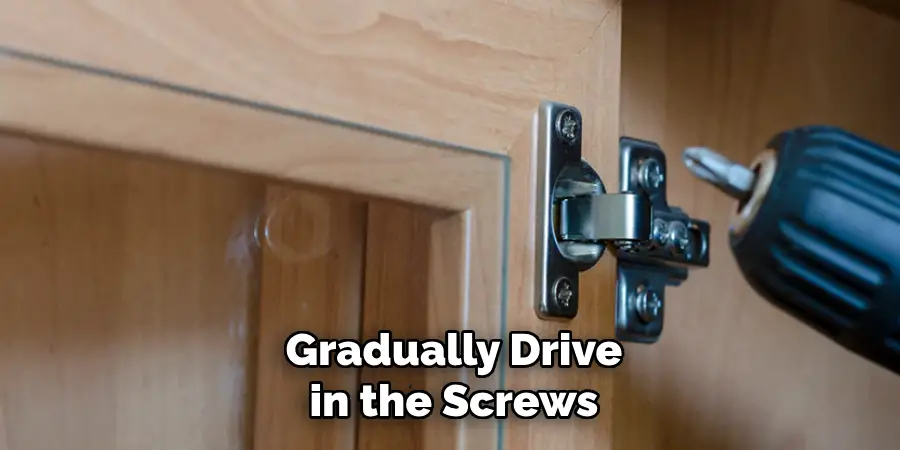
Gradually drive in the screws, making sure they are secure but not over-tightened. Over-tightening can cause damage to the cabinet or stud and compromise its stability.
Step 7: Check for Levelness
After all screws have been secured and tightened, use a level again to double-check that your cabinet is still sitting evenly on the wall. If any adjustments need to be made, carefully loosen the screws and make the necessary changes before re-tightening.
But if everything looks good, you’re almost done!
Step 8: Attach Cabinet Doors and Shelves
The final step is to attach any cabinet doors or shelves that may have been removed for easier installation. Follow the manufacturer’s instructions carefully on how to hang a cabinet with one stud to ensure proper attachment and alignment.
Congratulations! You have successfully hung a cabinet with one stud, and it should now be securely mounted on your wall. Remember, always use caution when installing heavy objects onto walls, and if in doubt, seek professional assistance. Happy organizing!
Additional Tips
- If you are unsure about the strength of your wall or stud, consider using brackets to reinforce the cabinet’s weight distribution.
- Remember to use a level throughout the installation process to ensure a straight and even result.
- For safety reasons, it’s always better to have someone assist you when hanging heavy objects like cabinets.
- If you plan on storing heavy items in your cabinet, consider installing additional support brackets to prevent strain on the cabinet and wall.
- If you are installing multiple cabinets in a row, ensure they are evenly spaced and properly aligned for a cohesive and functional design.
- Make sure to properly measure and plan before beginning the installation process, as mistakes can be costly and time-consuming to fix.
- When in doubt, it’s always best to seek professional assistance for complex or heavy installations. It may save you time and money in the long run.
- Regularly check the stability of your cabinet by gently pushing or pulling on it after installation to ensure it remains securely mounted. If you notice any signs of instability, reinforce or adjust as necessary.
- Keep all screws and hardware in a safe place for future adjustments or repairs.
- Always use caution when using power tools and wear appropriate safety gear. Safety first!
- Last but not least, enjoy your newly installed cabinet and its organized contents! Properly hung cabinets can make a big difference in both functionality and aesthetics of a room. Great job! So long, clutter!

Conclusion
Successfully hanging a cabinet with one stud takes careful planning and precise execution. By thoroughly following each step on how to hang a cabinet with one stud—from locating the stud to ensuring the cabinet is level—you can achieve a secure and aesthetically pleasing installation. Attention to detail and patience are key, as is using the right tools and materials to reinforce the cabinet’s stability.
This process not only highlights the importance of accurate measurements and alignment but also underscores the value of having an assistant for safety and efficiency. With the right approach, you can confidently mount your cabinet and enhance your living space. Remember, safety and quality should always be prioritized, so seek professional help if needed. Enjoy your newly organized space and the satisfaction that comes with a job well done!