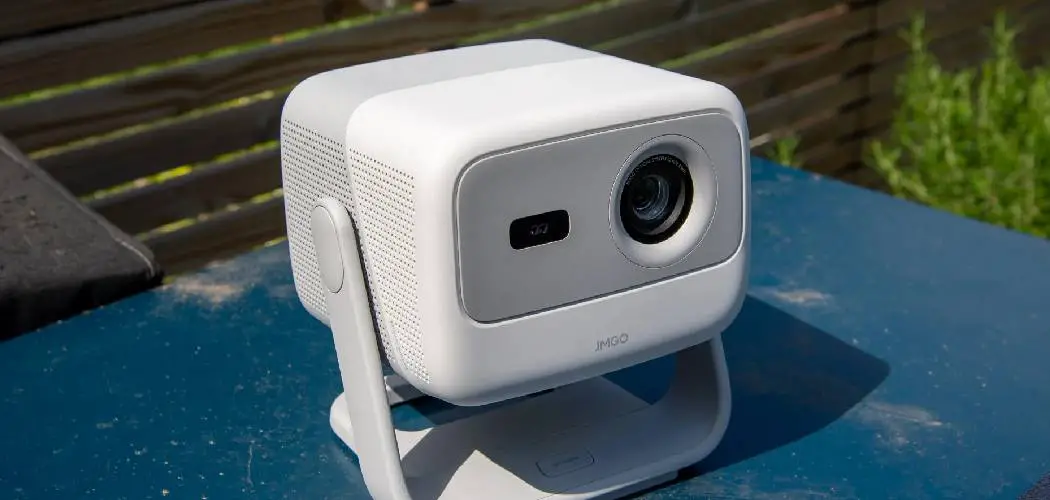
Are you looking for a way to easily display your phone’s screen on a larger surface, such as a projector? Well, you’re in luck!
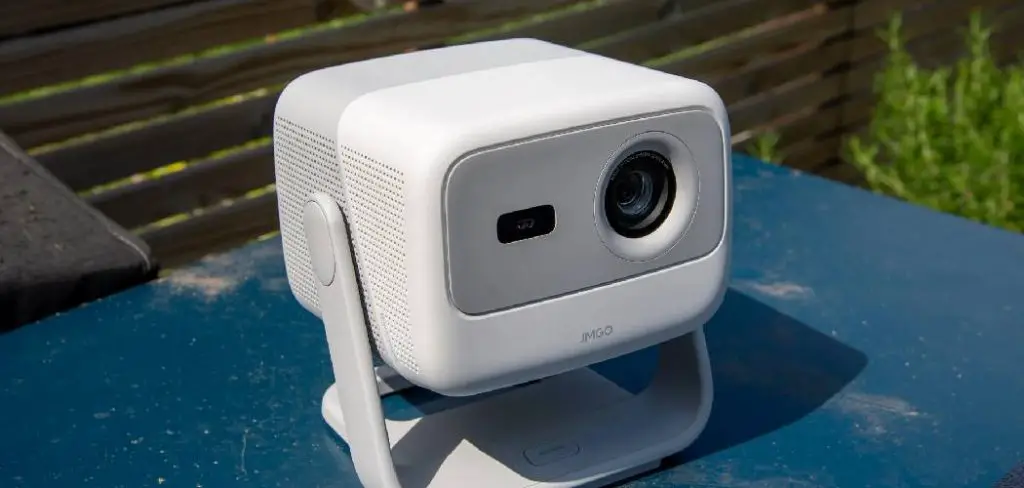
How to hook up phone to projector can enhance presentations, movie nights, or any event where you want to display content on a larger screen. With the right tools and simple steps, you can easily share photos, videos, and documents directly from your device.
This guide will walk you through the various methods available for hooking up your phone to a projector, ensuring a smooth and effective connection whether you’re using a wired or wireless setup.
Whether you’re presenting in a classroom, conducting a business meeting, or enjoying a home theatre experience, knowing how to connect your phone to a projector is a valuable skill that can elevate your viewing experience.
What Will You Need?
Before hooking up your phone to a projector, let’s go over what you’ll need. The requirements may vary depending on the method you choose, but here are some general items you may need:
- A Projector: This is essential for displaying your phone’s screen on a larger surface.
- Your Phone: Whether it’s an iPhone or an Android device, ensure your phone is fully charged and ready to connect.
- Appropriate Cables or Adapters: Depending on your phone and projector models, you may need specific cables or adapters to make the connection possible.
- A wireless Display Adapter: If you prefer a wireless setup, you can use a wireless display adapter, such as Chromecast or Apple TV.
- A Stable Surface for Your Phone: To ensure your phone stays steady and secure during the connection process, ensure you have a stable surface to place it on.
- An HDMI Cable: If you’re using a wired setup, an HDMI cable is typically required to connect your phone to the projector.
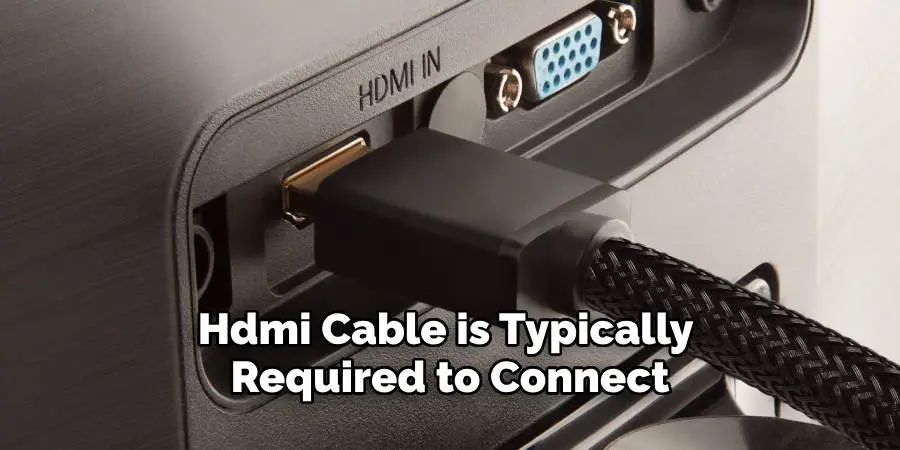
Now that we have everything we need let’s examine the steps for connecting your phone to a projector.
10 Easy Steps on How to Hook Up Phone to Projector
Step 1: Check Compatibility
Before getting started, ensure that your phone and projector are compatible. Check the projector’s input options to see what connection methods it supports (HDMI, USB-C, etc.) and confirm that your phone can output video through one of these methods. If using wireless, ensure that both devices are connected to the same Wi-Fi network.
Step 2: Prepare the Projector
Once you have confirmed compatibility, set up the projector, plug it into a power source, and turn it on. Allow it to warm up for a few moments. Then, select the correct input source on the projector that corresponds to the connection method you plan to use (HDMI, USB, etc.).
This may involve navigating the projector’s menu using the remote control or onboard buttons. Ensure the projector displays a blank screen or the default setup screen, indicating it’s ready to receive input from your phone.
Step 3: Connect Your Phone
Now that your projector is ready, it’s time to connect your phone. If you’re using a wired connection, plug one end of the HDMI cable into your phone using the appropriate adapter (USB-C to HDMI or Lightning to HDMI, depending on your phone model) and the other end into the projector’s HDMI port. For a wireless connection, follow the instructions for your specific display adapter.
For example, if you’re using Chromecast, open the Google Home app on your phone, select your Chromecast device, and tap “Cast Screen.” Follow any prompts to establish the connection between your phone and the projector.
Step 4: Adjust the Projector Settings
Once your phone is connected to the projector, checking and adjusting the projector settings for optimal display is essential. Use the projector’s remote or on-device menu to adjust the brightness, contrast, and resolution settings based on the displayed environment and content.
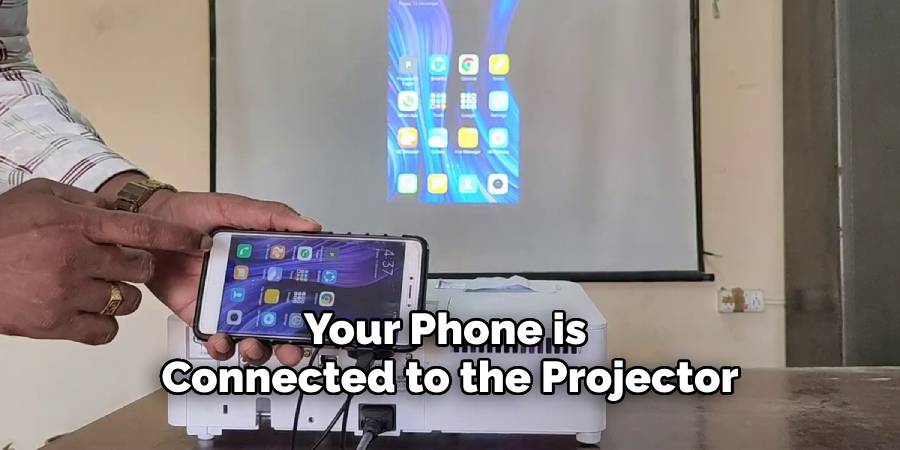
If the image appears blurry or distorted, you may need to change the focus or the zoom settings to ensure a clear and sharp image. Additionally, ensure the screen size is correctly set to fit the display surface so your content is showcased effectively. Take a moment to verify that the audio settings are also appropriate, especially if you’re sharing video content that includes sound.
Step 5: Test the Connection
After adjusting the settings, it’s essential to test the connection to ensure everything is working correctly. Start by playing a video or displaying images from your phone to check the quality of the projected content. Watch for any lag or distortion in the display, and make any necessary adjustments to the projector settings or the phone’s output resolution.
If you’re using a wired connection, ensure the cable is securely connected at both ends. Verify that your phone remains connected to the projector throughout the test for wireless connections. This step provides a smooth presentation or viewing experience when you’re ready to showcase your content.
Step 6: Manage Your Phone’s Display Settings
After confirming that your connection is stable, the next step is to manage your phone’s display settings. Depending on your device, you may have the option to mirror your screen or use it as a second display. For iPhones, go to the Control Center and select “Screen Mirroring,” then choose your projector from the list.
For Android devices, navigate to “Settings,” find “Display,” and select “Cast” or “Screen mirroring,” and then choose the appropriate projector. Adjust the display settings to ensure the aspect ratio is correct and that the projected content fits well on the screen, avoiding any cut-off edges or scaling issues.
Step 7: Maintain an Optimal Viewing Distance
The distance between the projector and the screen will significantly affect the quality of the image displayed. Measure the distance to ensure it falls within the projector’s recommended range for a clear picture. Ideally, the projector should be placed at a distance that allows for a projected image that is neither too small nor excessively large, as this could lead to distortion or difficulty in viewing.
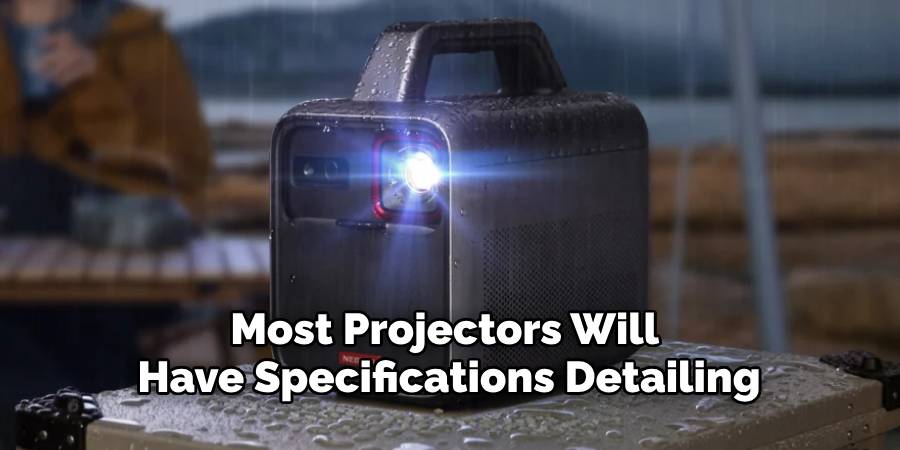
Most projectors will have specifications detailing the optimal throw distance based on image size; consult your projector’s manual for these guidelines. Additionally, the seating arrangement should provide a comfortable viewing experience for everyone in the audience.
Step 8: Position the Projector Correctly
Proper projector positioning is crucial for achieving the best possible image quality. Ensure the projector is level with the screen, as tilting it can lead to keystone distortion, where the image appears trapezoidal rather than rectangular. If your projector has adjustable feet, use them to achieve a level setup.
Additionally, consider the projector’s throw angle; some projectors may require adjustments to ensure the image is projected squarely onto the screen without any part being cut off. If available, use any built-in lens shift features to refine the image placement further. Checking the alignment at this stage can save time and prevent adjustments during your presentation.
Step 9: Select the Right Content for Projection
Now that your projector is properly set up, it’s time to choose the content you wish to display. Consider the audience and purpose of your presentation when selecting videos, slideshows, or images. Ensure that the content is high quality and appropriately formatted for the projector’s resolution, as lower-quality visuals may appear pixelated when enlarged.
If you’re using software like PowerPoint for presentations, review each slide to ensure that the text is legible and the images are clear. For videos, test sound levels and video quality beforehand to avoid any disruptions during your presentation. Preparing your content in advance will help to create a seamless and engaging viewing experience.
Step 10: Prepare for Your Presentation
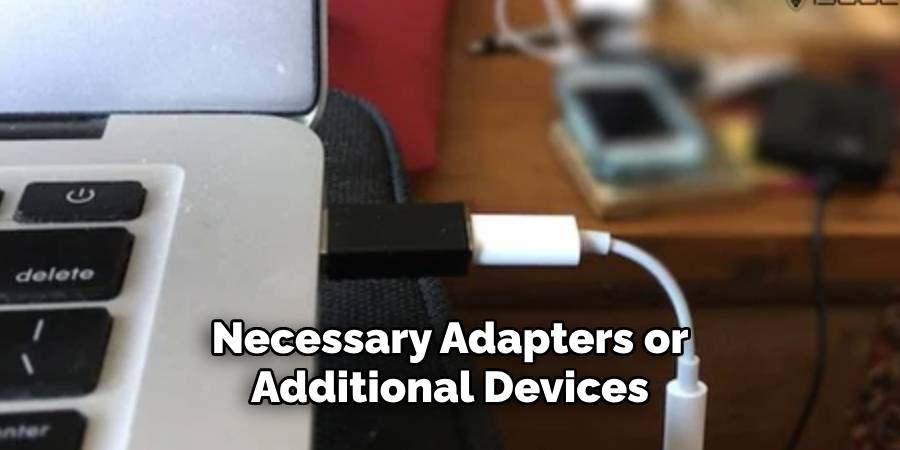
Before you begin your presentation, take a moment to gather everything you will need. Ensure your phone is fully charged or connected to a power source to prevent any interruptions during your display. Check that any necessary adapters or additional devices, like remotes or backup cables, are within reach.
Additionally, familiarize yourself with the flow of your presentation and practice transitioning between different content types, whether it’s slides, videos, or images. This preparation will help you feel more confident and ensure your audience remains engaged throughout your presentation. Finally, arrive at your presentation space early to allow for any last-minute adjustments or troubleshooting.
By following these ten steps, you can set up your phone and projector efficiently to create a seamless presentation or viewing experience.
Conclusion
In conclusion, successfully hooking your phone to a projector can significantly enhance your presentations and viewing experiences.
Follow the outlined steps to create a professional and engaging setup, from checking connections and managing display settings to ensuring proper positioning and content selection.
Preparation is vital; ensuring your equipment is in good working order and familiarizing yourself with your presentation flow will result in a smooth, seamless display. With a bit of attention to detail and practice, you can confidently showcase your content and captivate your audience.
Hopefully, the article on how to hook up phone to projector has provided you with helpful information and tips to make your next presentation or movie night a success. Happy projecting!

