
Are you looking for a way to completely reorganize your workspace and create more privacy in the office? In this post, we will explain the steps involved in installing cubicle walls. Cubicles provide a great amount of personalization within an open office environment, allowing each employee their own space while still limiting distractions between coworkers.
Installing cubicles can be done with relative ease if you have the right tools and guidance on how to install cubicle walls – which is exactly what this blog post provides! Keep reading to find out all that there is to know about installing cubicle walls so that you can create your perfect workplace today!
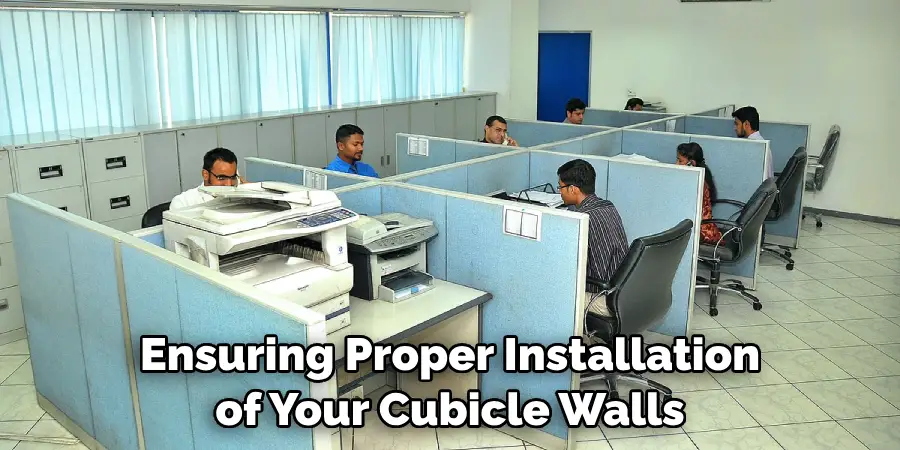
The Importance of Well-Installed Cubicle Walls
Once you have chosen the right cubicle walls for your workspace, proper installation is essential. Well-installed cubicle walls not only ensure that your space looks neat and attractive but also provide functional benefits such as privacy, sound insulation, and safety.
In a busy workplace, cubicles with well-installed walls can help to reduce distractions and create a more productive environment for both employees and customers. Proper installation also helps to ensure that your cubicle walls stand the test of time, withstanding everyday wear-and-tear and other hazards from workplace activities.
When installing cubicle walls, it is important to make sure they are securely fastened in place and sealed properly against the floor and ceiling. This will ensure that dust, dirt, and other debris do not find their way into your workspace through gaps between panels or around frame edges.
It’s also essential to make sure all corners of the cubicle wall system are even so as to prevent any cosmetic damage or accidental injury from occurring when moving furniture or equipment in or out of the space.
Finally, ensuring proper installation of your cubicle walls can also save you money in the long run. Well-installed cubicles last longer and require less repair, allowing you to avoid costly maintenance and replacement costs. Additionally, properly installed cubicles can help to increase the value of your workspace should you decide to sell it in the future.
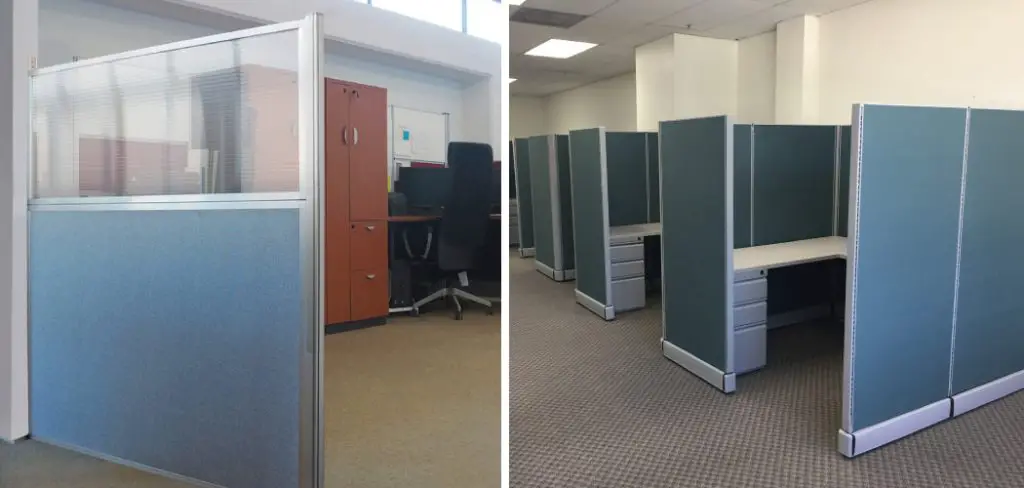
Definition and Purpose of Cubicle Walls
Cubicle walls are a type of office partition that is used to create divisions within an open space. They are typically constructed from fabric-covered metal frames and come in various sizes. Cubicle walls provide a number of advantages, such as improved privacy, noise control, and a more organized working environment.
By allowing employees to have their own space while still being part of the larger office, cubicle walls can help improve employee productivity. Installing cubicle walls is relatively straightforward; however, it does require some careful planning and preparation. With the right tools and materials, anyone can install cubicle walls with relative ease.
10 Methods How to Install Cubicle Walls
1. Measure and Plan:
Before beginning the installation, take accurate measurements of the space where the cubicle walls will be installed. Consider factors such as the size and configuration of the cubicles, the desired height of the walls, and any specific layout requirements.
Use these measurements to create a detailed plan, including a floor plan and wall placement diagrams, to ensure a smooth installation process. However, keep in mind that it is also important to allow for some flexibility in the plan.
2. Prepare the Workspace:
Clear the area where the cubicle walls will be installed and remove any existing furniture or obstructions. Ensure that the floor is clean and level, as this will aid in the stability and alignment of the walls.

If necessary, mark the positions of electrical outlets or other fixtures on the floor and walls to avoid any complications during the installation process. While it is not essential, having an assistant to help with the installation can save time and make the process much easier.
3. Assemble Wall Panels:
If your cubicle walls come in panel form, begin by assembling the individual panels according to the manufacturer’s instructions. Lay out the panels on a clean and flat surface, align the connectors, and secure them together.
Ensure that all panels are securely attached and that any necessary reinforcements, such as corner brackets or stiffeners, are installed. Try to keep the wall sections as light and manageable as possible to make installation easier.
4. Install Base Tracks:
Next, install the base tracks that will support the cubicle walls. Measure and mark the position of the base tracks on the floor, ensuring they are level and aligned with your plan. Attach the base tracks securely using screws or adhesive, following the manufacturer’s instructions.
Make sure the base tracks are tightly secured to provide a stable foundation for the walls. Although the base tracks should be level, you may need to make minor adjustments later on as you install the walls.
5. Erect Wall Frames:
Using the assembled wall panels, begin erecting the cubicle walls by attaching them to the base tracks. Align the panels with the base tracks and connect them securely, following the manufacturer’s guidelines.
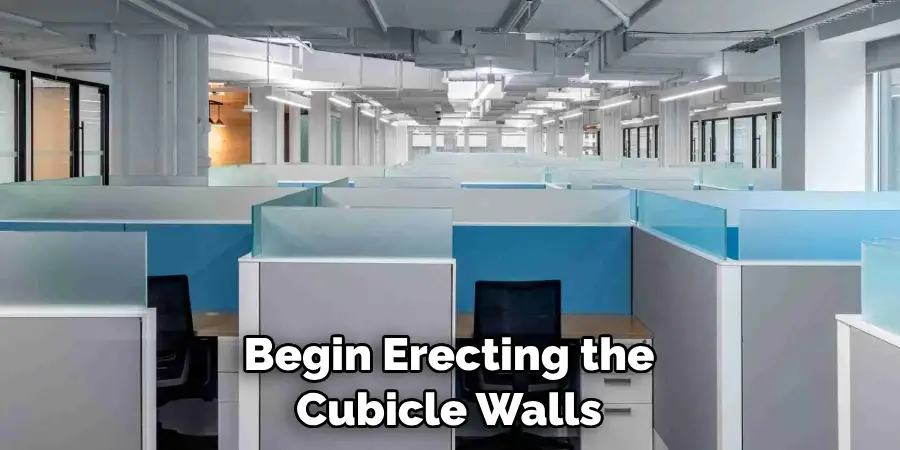
Use connectors or clips to secure the panels together and ensure they are plumb and level. Continue this process until all the walls are in place. In some cases, you may need to use corner pieces or additional wall panels, depending on the size and shape of the cubicle.
6. Install Top Tracks:
Once the wall panels are in position, install the top tracks to secure the walls at the upper level. Measure and mark the position of the top tracks on the ceiling or overhead structure, ensuring they align with your plan.
Attach the top tracks securely, using screws or other recommended fasteners, according to the manufacturer’s instructions. Make sure the top tracks are level and provide adequate support for the walls. Once the tracks are in place, install the top caps on them.
7. Secure Wall Panels:
To enhance the stability and security of the cubicle walls, reinforce them by securely attaching them to the base tracks and top tracks. Use connectors, brackets, or clips to secure the panels at multiple points, ensuring they are firmly in place. Check the alignment and stability of each panel and make any necessary adjustments to achieve a cohesive and secure wall structure.
8. Install Doors and Windows:
If your cubicle walls include doors or windows, install them according to the manufacturer’s instructions. Measure and mark the positions of the openings, ensuring they align with your plan. Attach the doors and windows securely, using hinges, screws, or other recommended methods. Test the functionality of the doors and windows to ensure smooth operation.
9. Concealment and Finishing Touches:
Once the walls are securely in place, conceal any visible hardware or connectors by applying trim or cover panels. These finishing touches not only enhance the aesthetics but also provide a polished and professional look to the cubicle walls.
Additionally, consider adding accessories such as cable management systems, task lighting, or acoustic panels to further enhance the functionality and comfort of the cubicles.
10. Test and Adjust:
Before finalizing the installation process, thoroughly inspect the cubicle walls to ensure stability, alignment, and functionality. Test the doors, windows, and any integrated features to verify their proper operation.
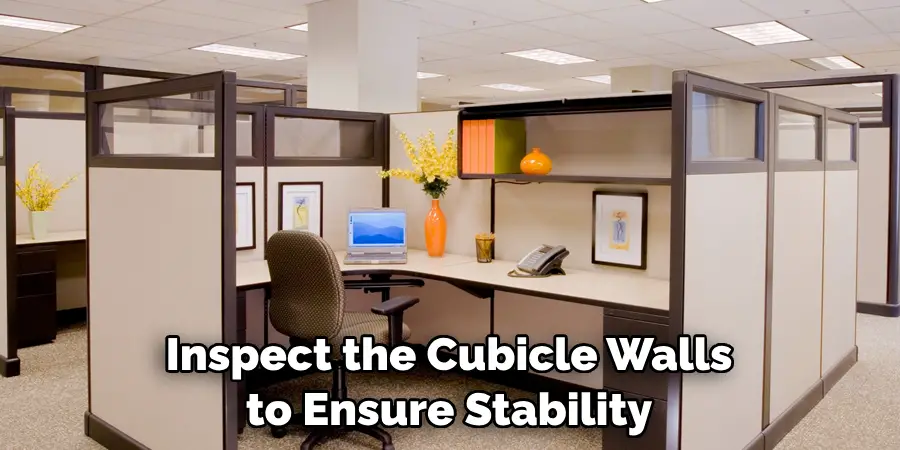
Make any necessary adjustments, such as tightening connectors or realigning panels, to achieve the desired outcome. Once satisfied with the installation, conduct a final walkthrough to ensure everything is in place and meets your requirements.
Some Common Mistakes When Installing Cubicle Walls
1. Not ensuring the walls are level. Before you start installing cubicle walls, use a level to make sure that all of the base components and wall panels are level. If the walls aren’t level, it can impact the overall look and stability of your cubicle wall setup.
2. Overlooking support components. Make sure to include all necessary pieces when constructing your cubicle wall setup. This means double-checking that you have enough support brackets or other components that will help keep the structure sturdy and properly supported while in use.
3. Wrong measurements for panels or base components. Double-check all measurements to make sure they match up with the dimensions of the base components and wall panels before attempting to install them. If you’re off even by a few inches, it could result in an uneven set of cubicles or loose connections between some of the pieces are level and even.
4. Improper installation of wall panels. Wall panels must be securely fastened in place with screws or bolts to make sure they don’t come loose and become a safety hazard. Make sure to use the right tools and fasteners for your wall panel setup, and if you’re unsure, consult a professional installer.
Conclusion
Installing cubicle walls is a detailed and systematic process that requires careful planning, precise measurements, and proper execution. By following these ten step-by-step methods, you can confidently install cubicle walls that create a functional, organized, and private workspace.
Remember to refer to the manufacturer’s instructions and guidelines throughout the installation process to ensure the best results.
With properly installed cubicle walls, you can create an efficient and productive office environment that promotes collaboration, privacy, and a sense of professionalism. Thanks for reading, and we hope this has given you some inspiration on how to install cubicle walls!